
Monogram Space Shuttle
1/72nd Scale


 Page Number
Up the front!
Or Up To The Front Office!
Welcome back gang!
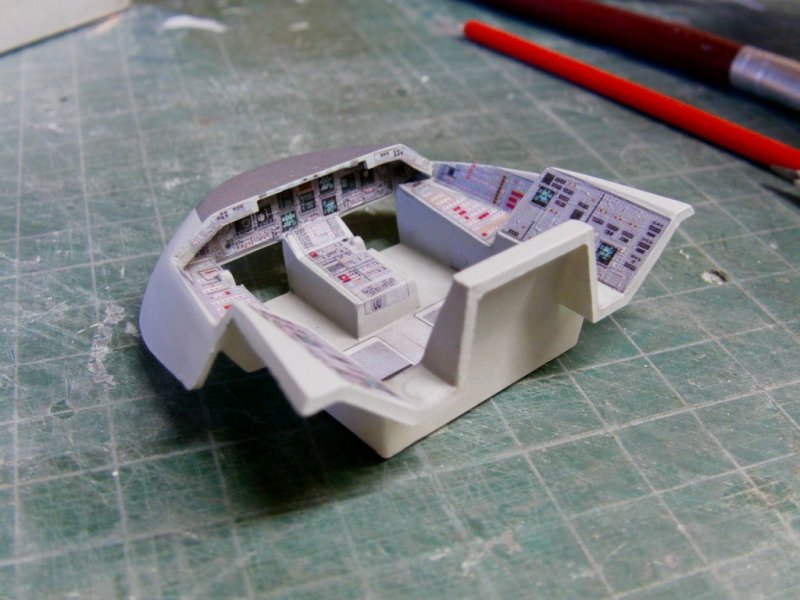
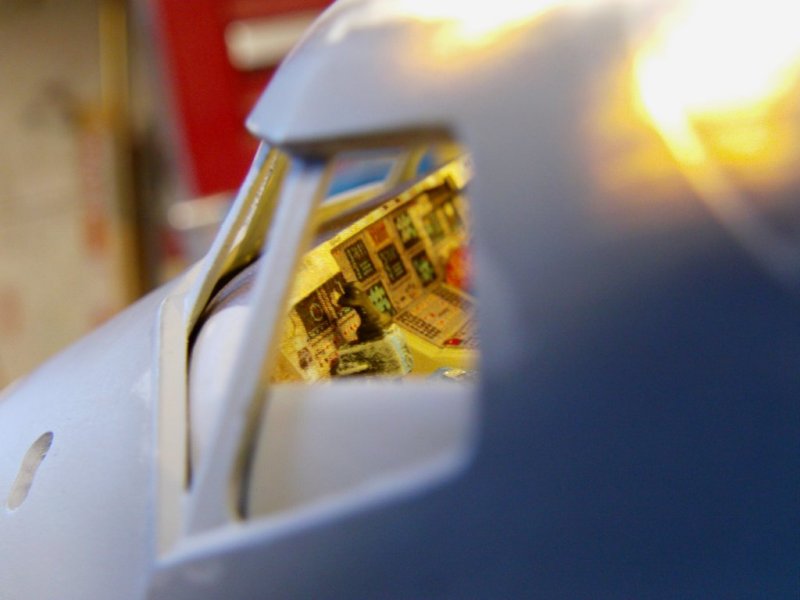
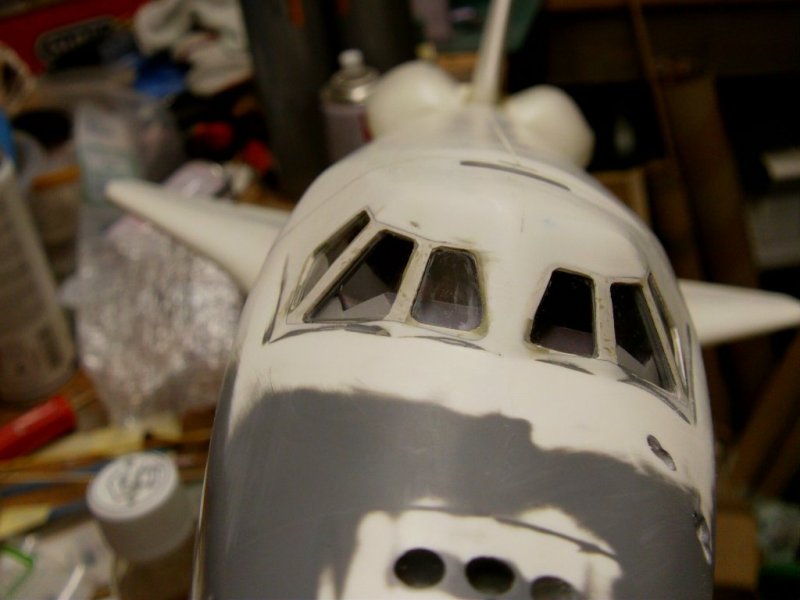
Right, the cockpit conundrums start right about here.
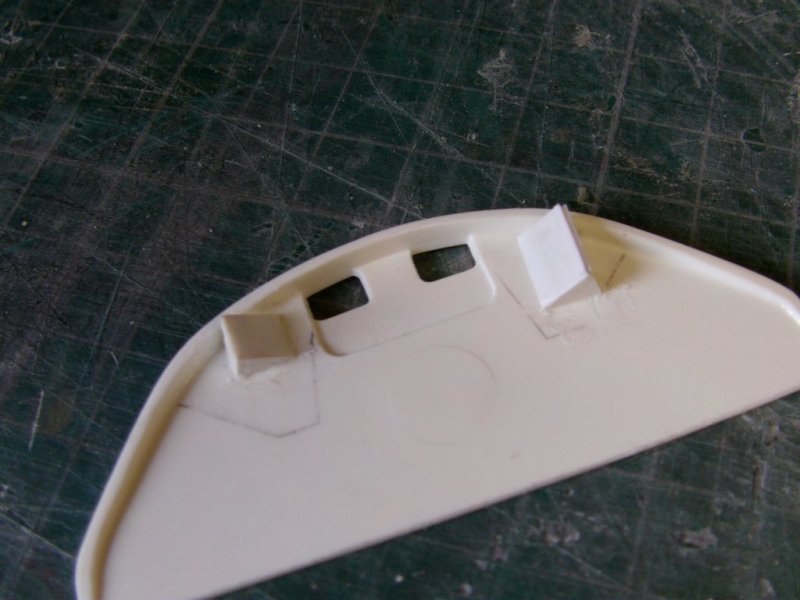
Just a wee bit of farting about with the main bits just to pretty things up a smidgen.
Some sheet styrene for the coaming.
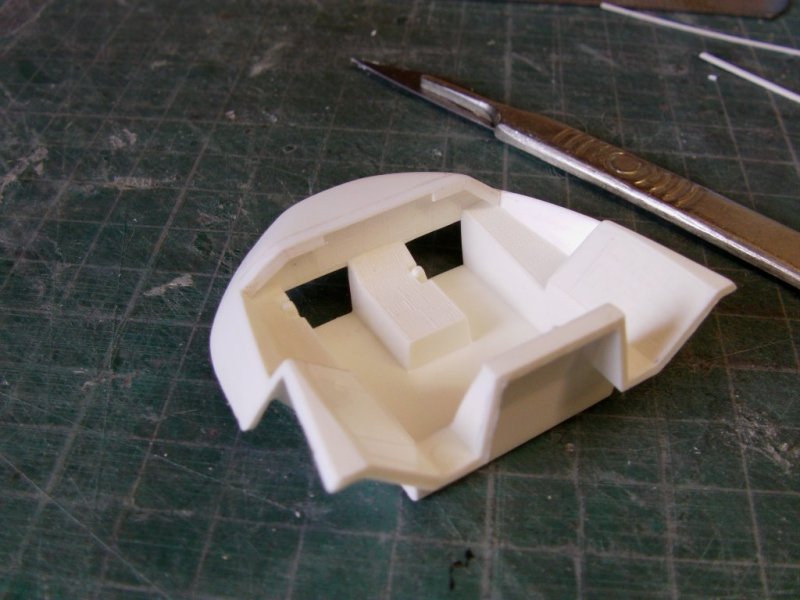
And a couple of boxes for the screens at the manipulator arm station.
Now the kit doesn't include decals or the like for the instrument panels but thankfully,
my best mate has the 72nd Revell shuttle which does.
So they got slapped on the scanner and a bit of measuring and re-drawing took place.
Some paint/soak/stick action later get's this...
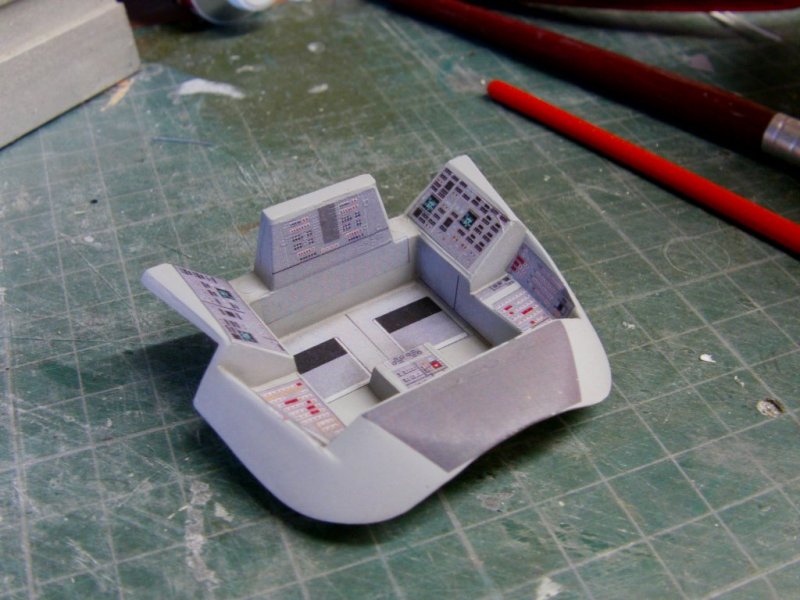
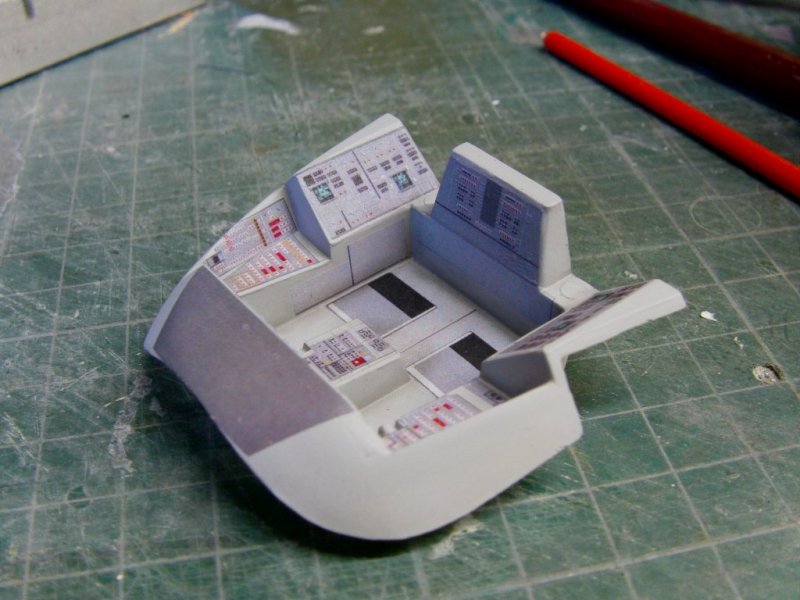
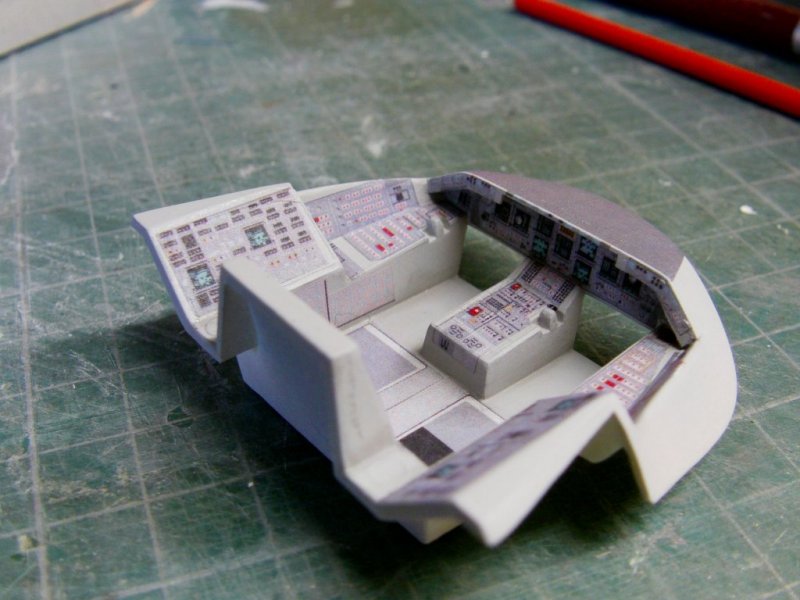
A little test look see.
Aye, that'll about do it.
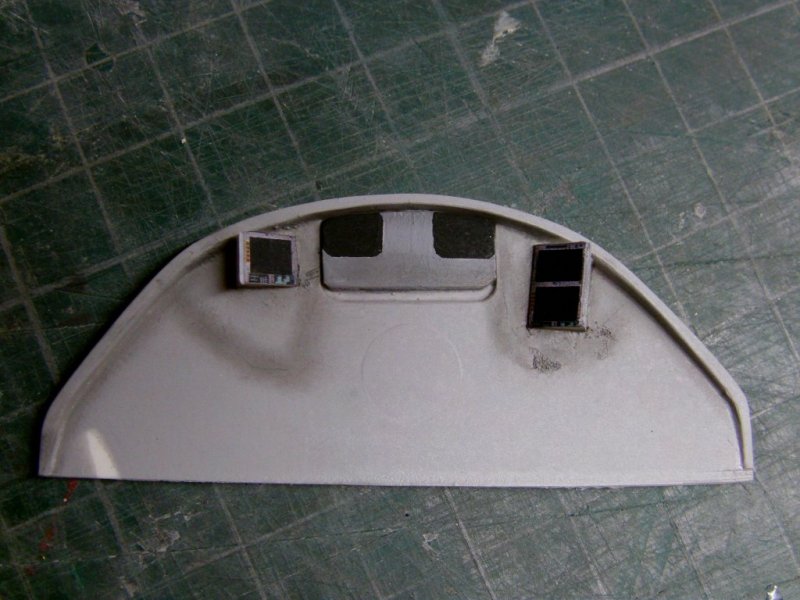
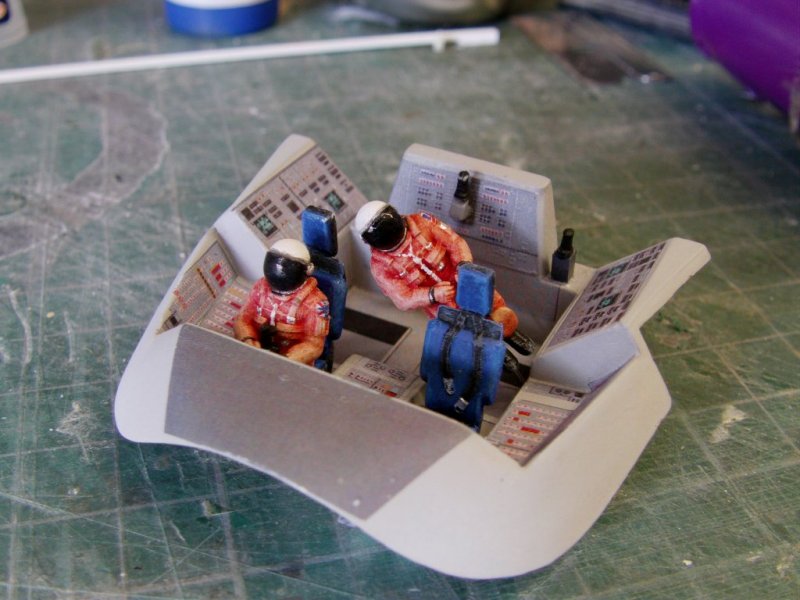
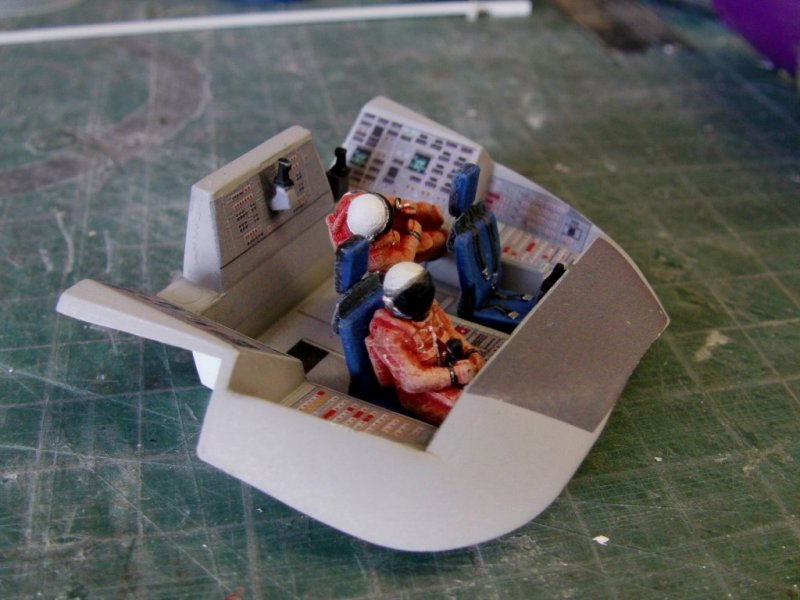
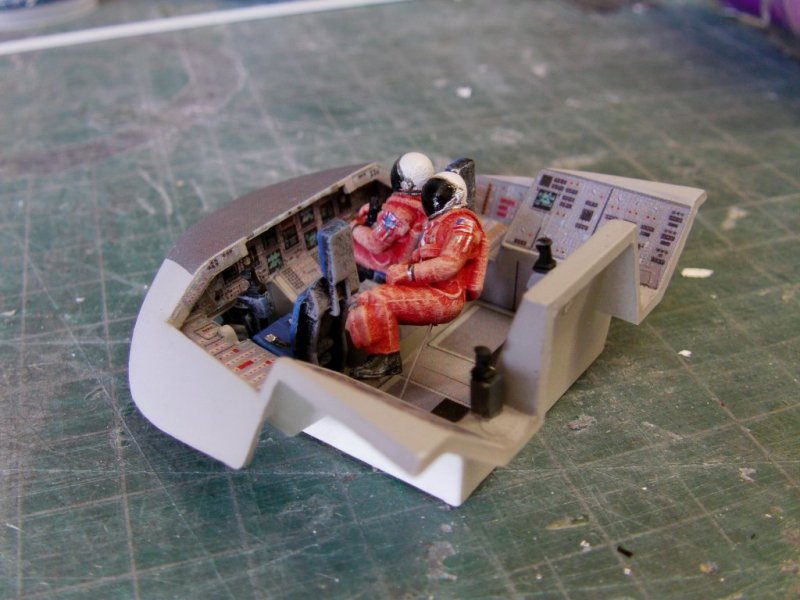
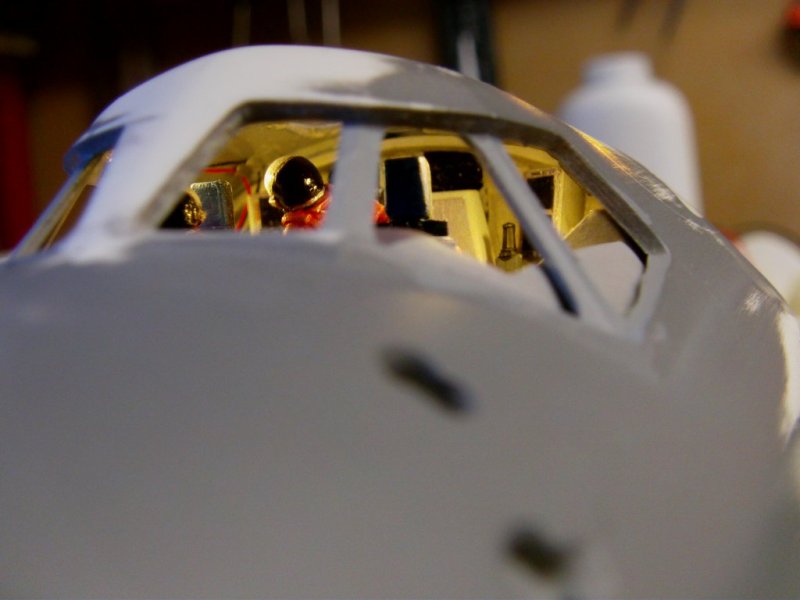
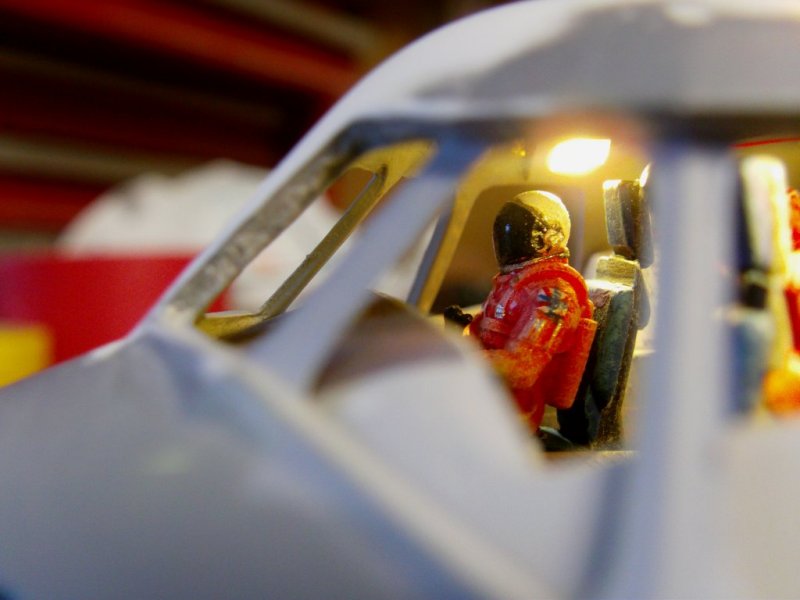
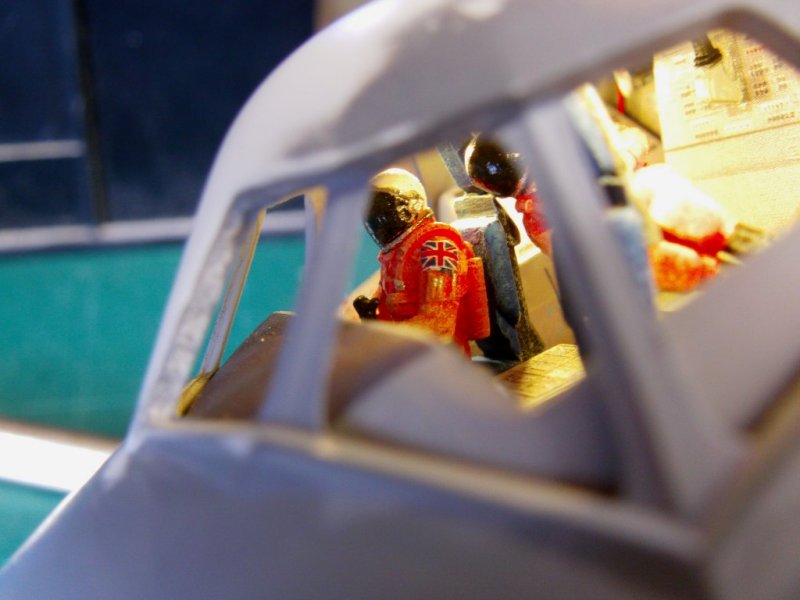
So to the crew figures.
Well the fiddling about didn't really work out so kept it simple and just painted two as is.
One for the pilots seat and the floating one.
Said floating individual held up by a strand of fiber optic.

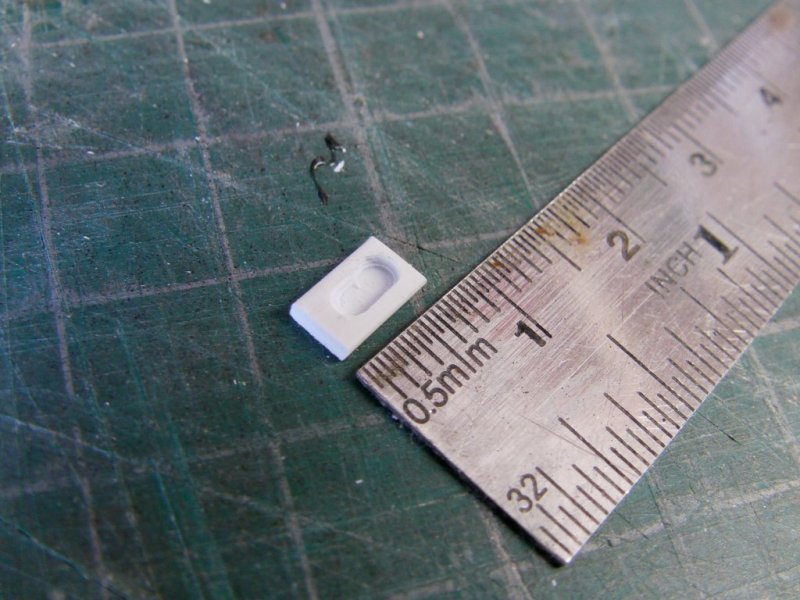
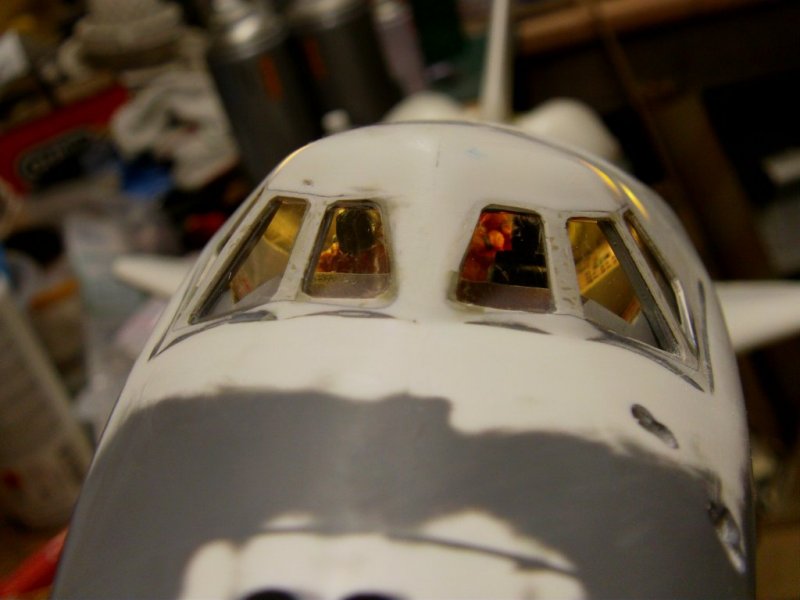
Now for the lighting.
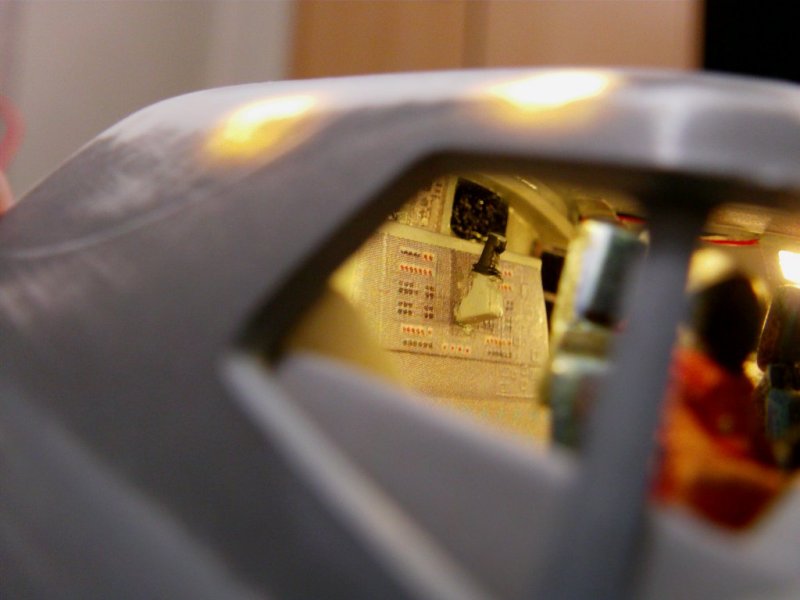
Nothing spectacular, some SMD LEDs with a few lumps of styrene and a bit of trench digging.
One of the afore mentioned lumps...
Four in total made up, painted, LEDs epoxied in and the wee beasties glued up a treat.
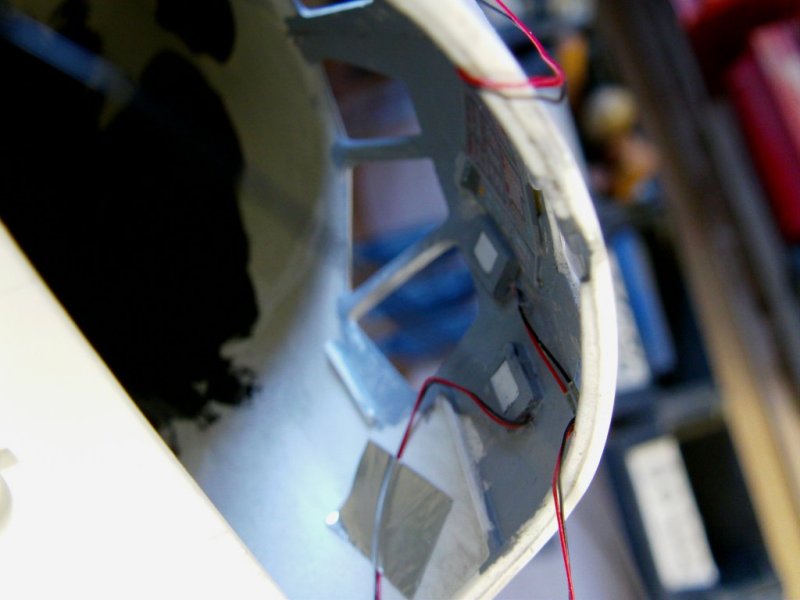
Resistors fitted and small block of 9 volts attached,
Cockpit fitted and made solid.
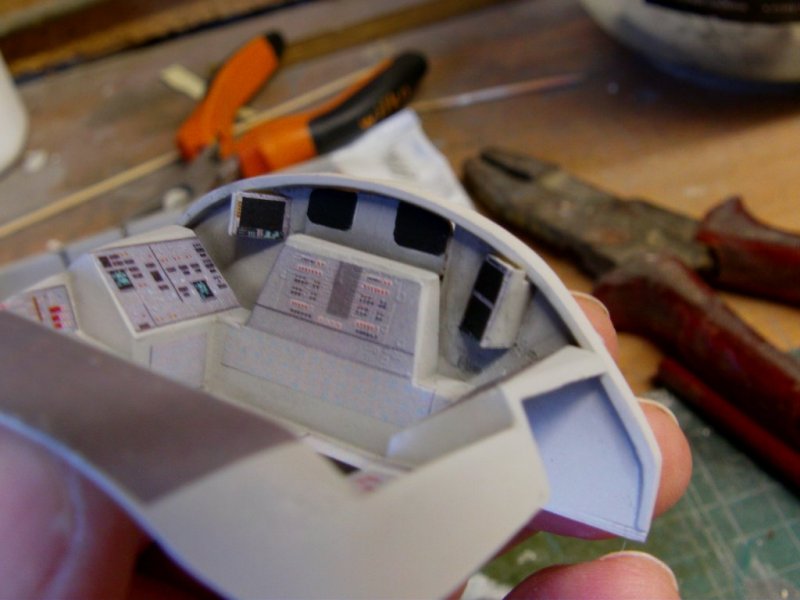
Time for a look see.
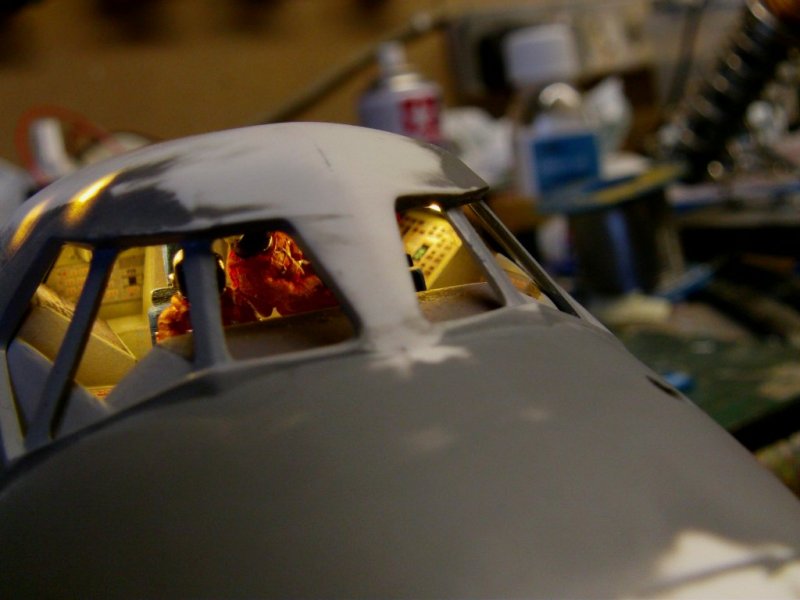
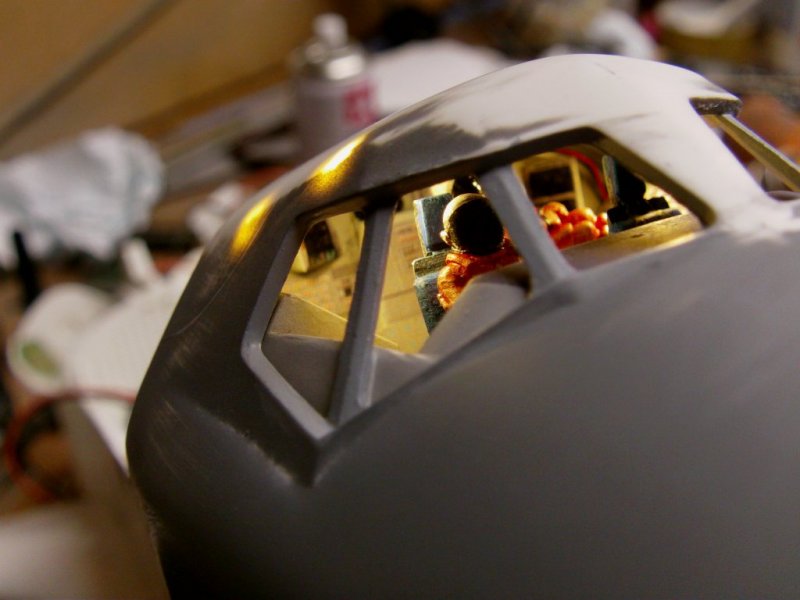
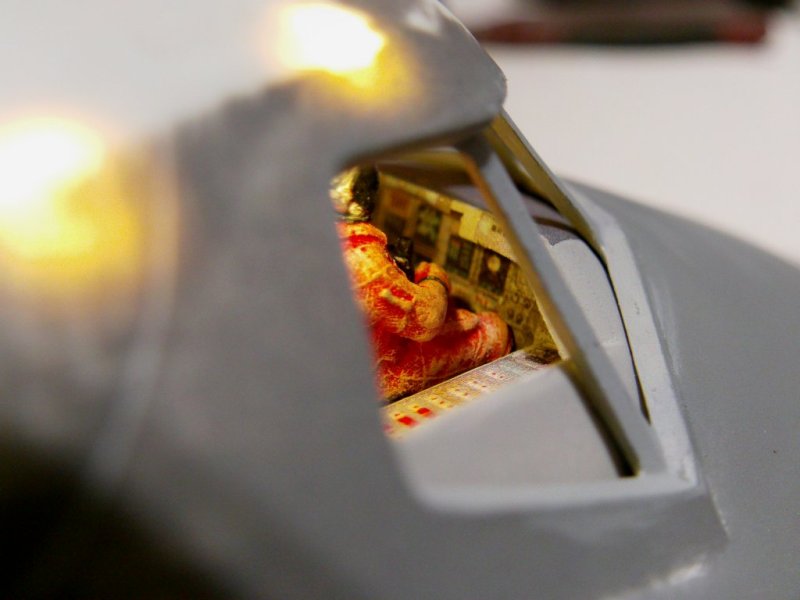
That'll do for me!
Some light bleed that paint will take care of and a decent union flag decal
to go on the pilots arm 'fore I slap he glazing on but it's all there.
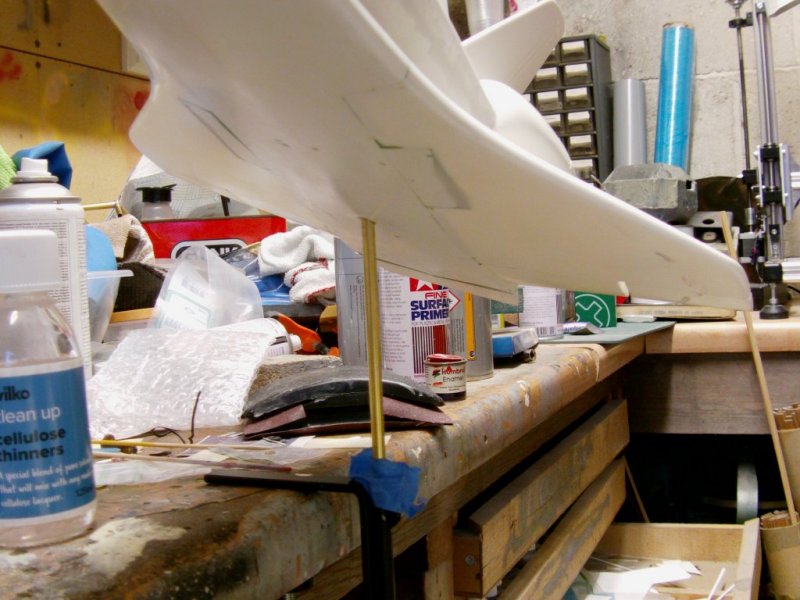
So then, stand pole attached,
payload bay doors glued and filled,
More filler applied and left to cure,
Union flag decal made up and applied.
Go Me !
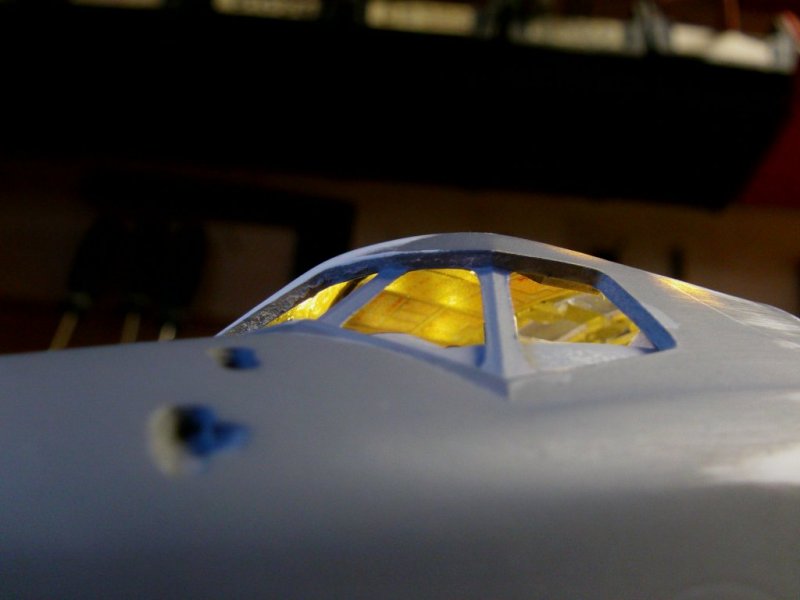
Glazing fitted,
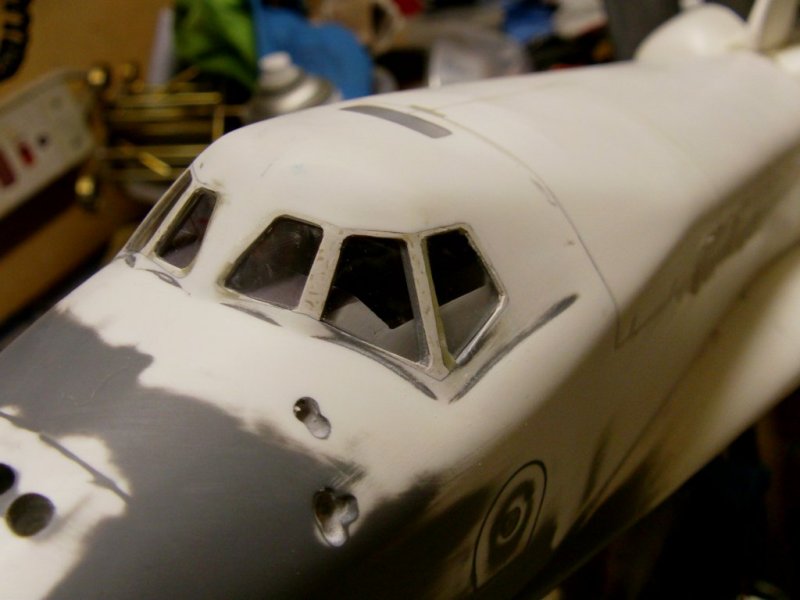
then time to sort the exterior window framing!
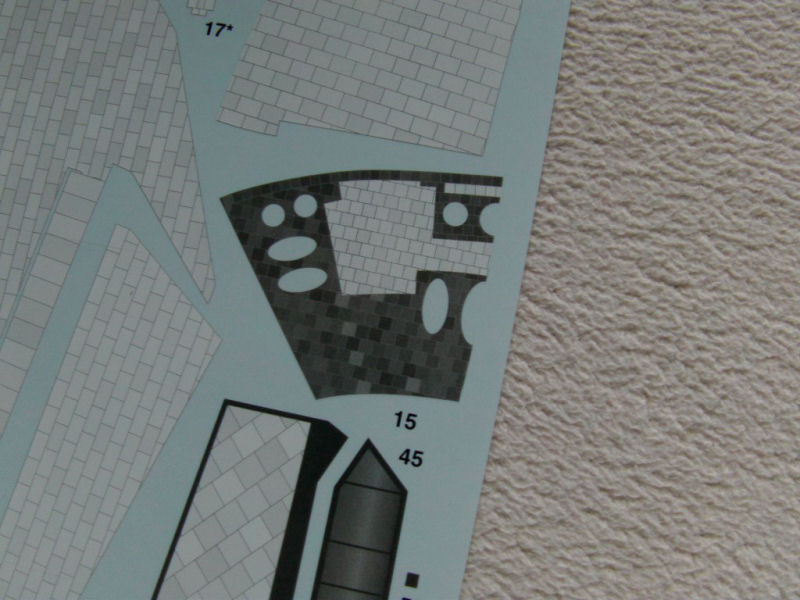
Did an ordinary paper print of the window surround from the decal sheet.
Cut that out in to separate parts and held on to 'em, then laid down some masking tape.
Each strip of tape was laid on top of each other untill I had a thickness of about .75mm in one long strip.
Double sided tape held the paper cut outs on and these all got trimmed up and then stuck on.
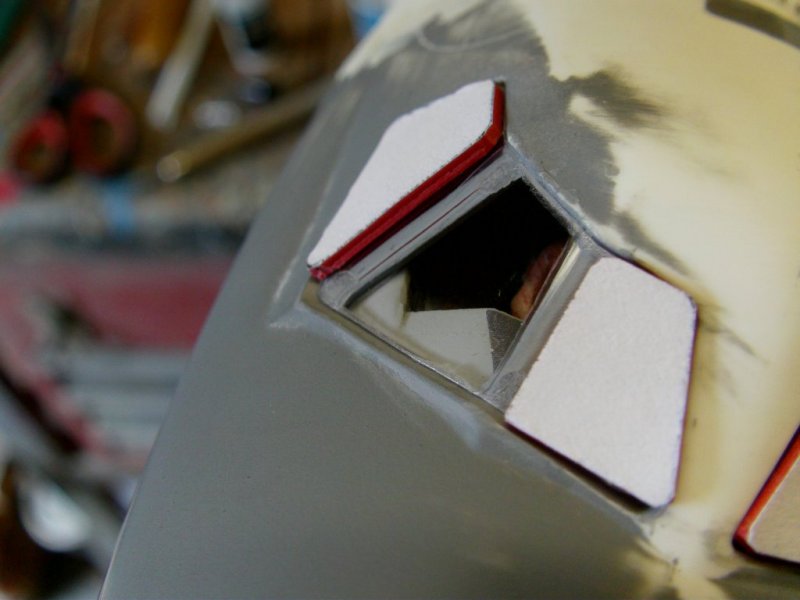

Some quick cure epoxy putty pressed in to the gaps and allowed to cure.
Once done so, then came the wet sand slap fight.
This was sanded down untill level with the frame surrounding the cockpit windows,
the wet tape layers just fell away one by one leaving a framework about .40mm deep.
The last of the tape removed and some wet tooled Aves Apoxie Sculpt to finalise
the frame edges where required.
Lighting test look see and they still work much to my relief.
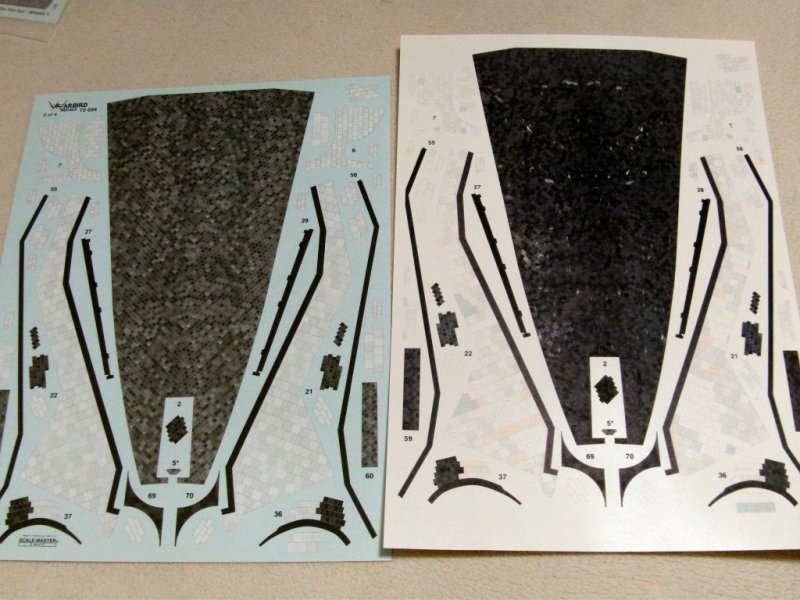
Now the decal question...
Well, they are nice bit I wanted something a bit different.
A bit of testing got me this kinda deal.

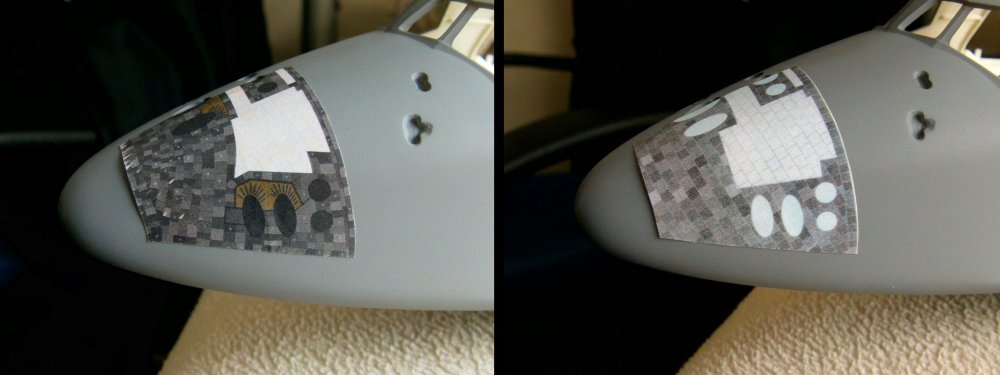
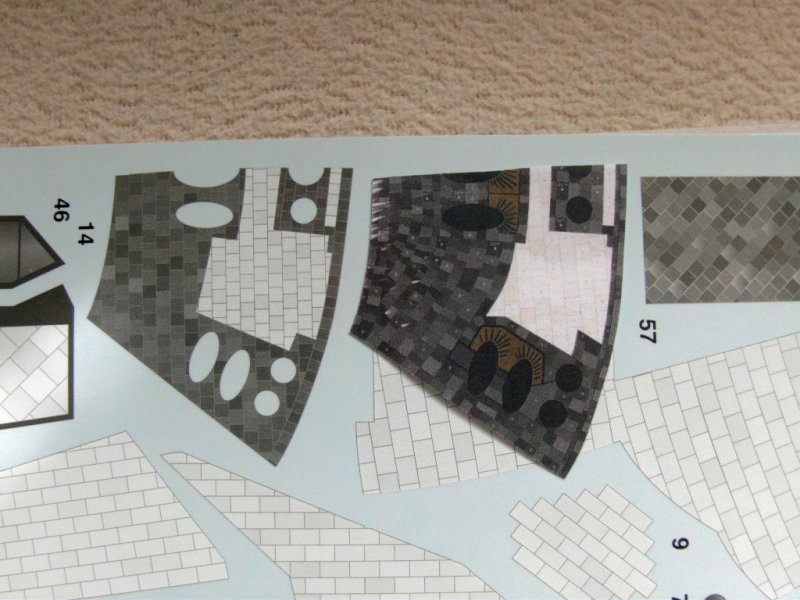
Not a bad start but time to get serious with all four sheets.
So got to it and the final artwork got printed out on white waterslide paper on my handy dandy laser printer.
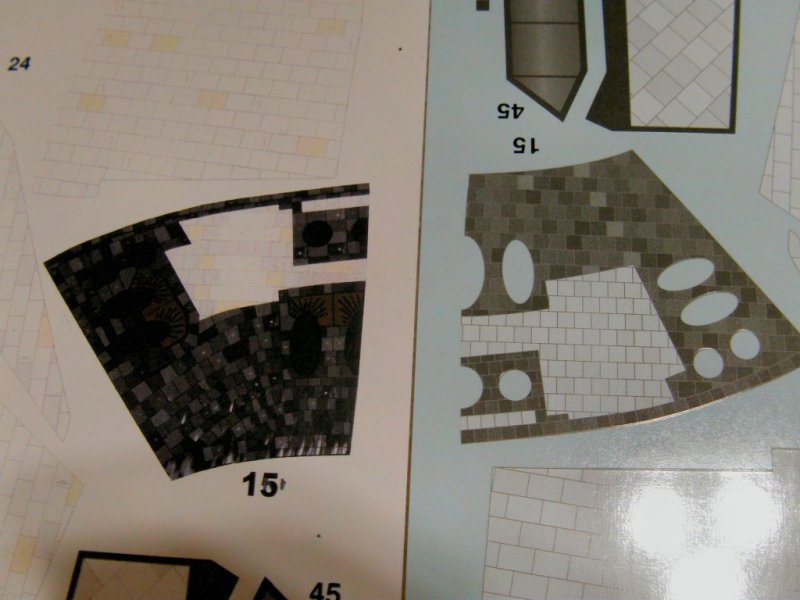
Mine to the left, theirs to the right.
Mine to the left, theirs to the right.
Mine to the left, theirs to the right.
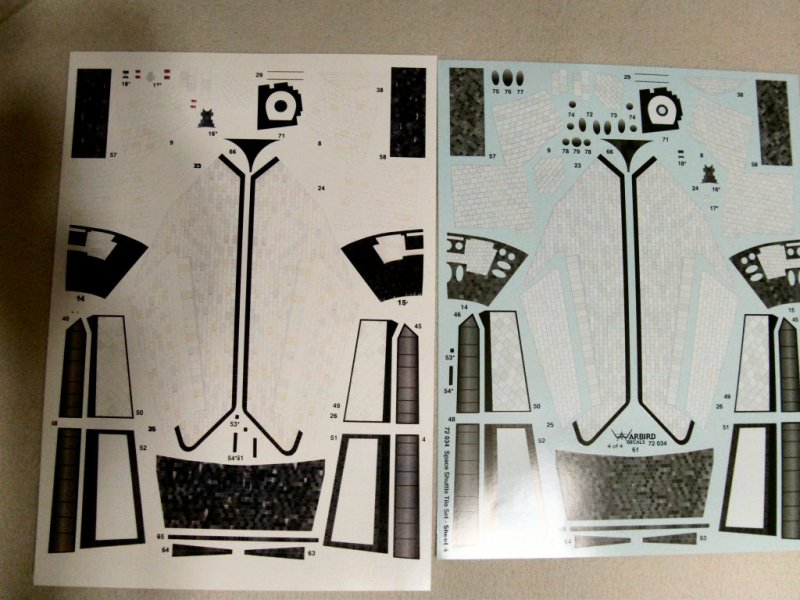
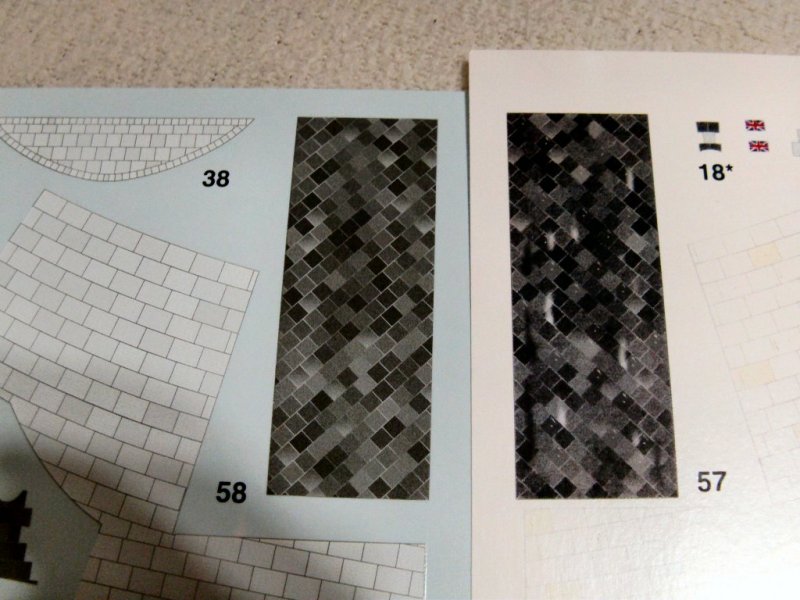
Theirs to the left, mine to the right.
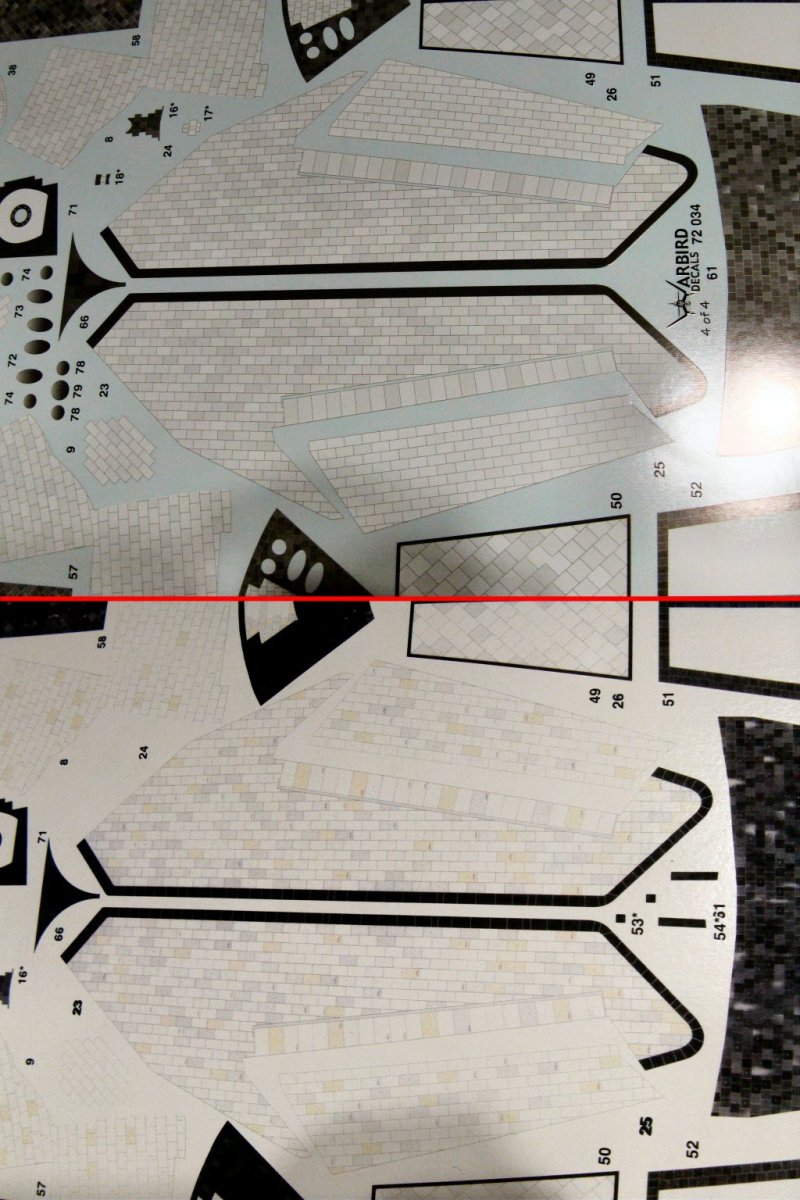
Theirs to the top, mine on the bottom.
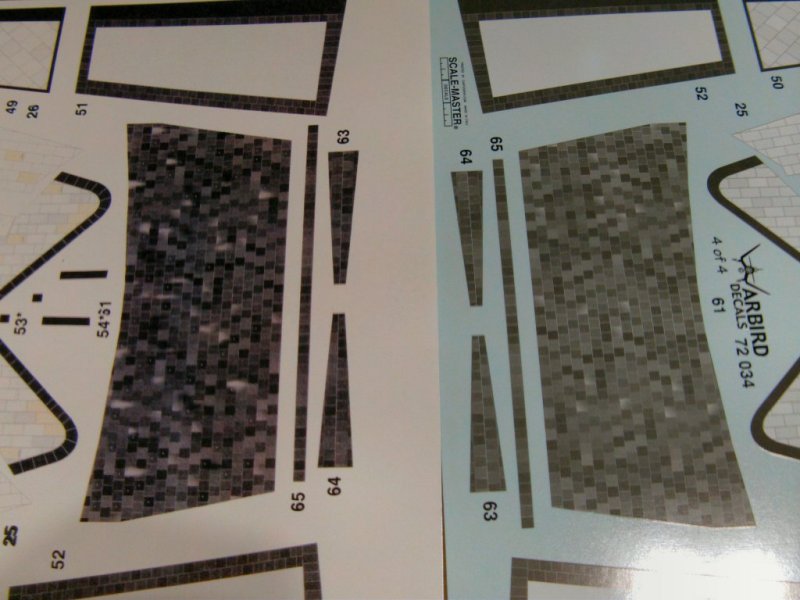
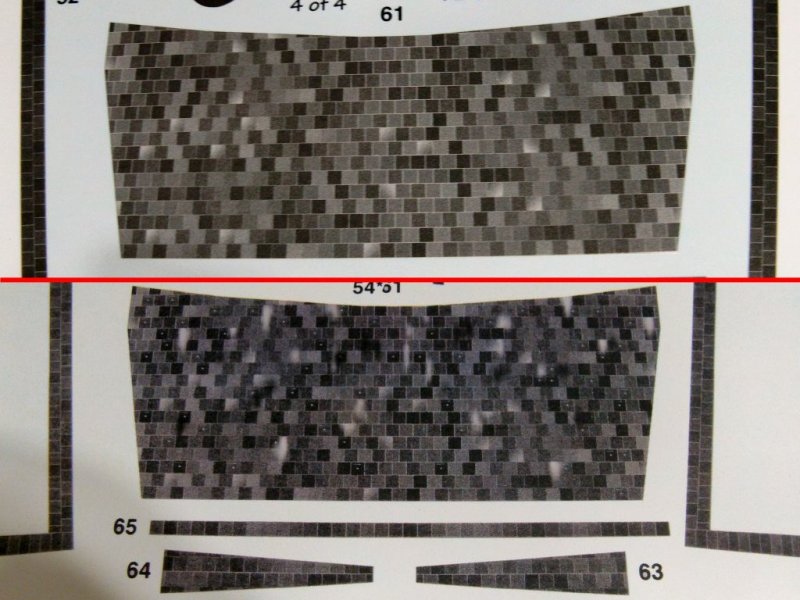
Theirs to the top, mine on the bottom.
Theirs to the top, mine on the bottom.
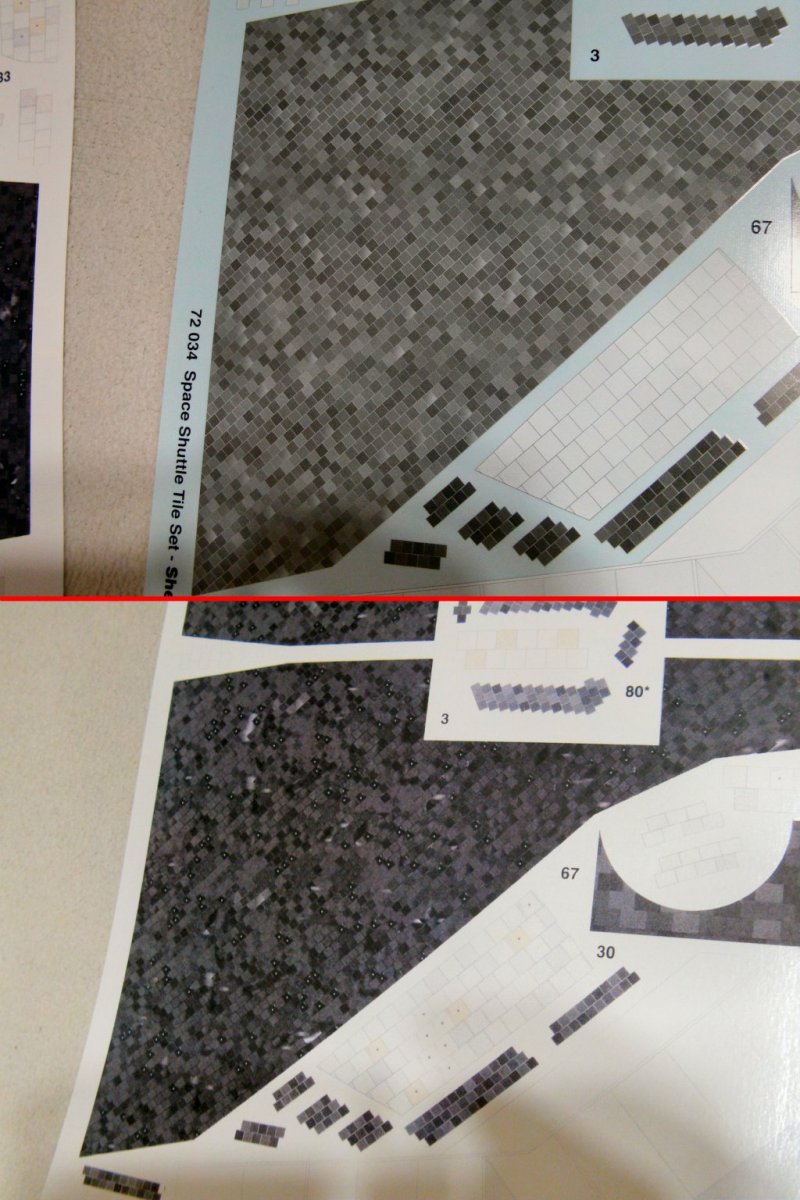
Theirs to the top, mine on the bottom.
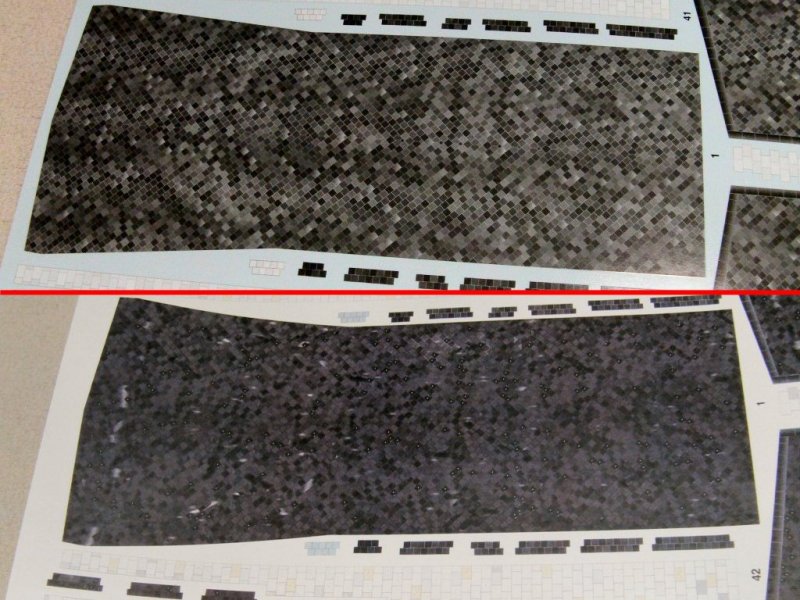
Theirs to the left, mine to the right.
OK, as to how that lot will work out...
That'll be for the next update!
Go easy out there you lot!
Page Number