
Monkey Works Star Wars A-Wing
1/24th Scale


 Page Number
Lumpy bits...
Or Engines As They Are Sometimes Called
Here we go then folks and folkettes!
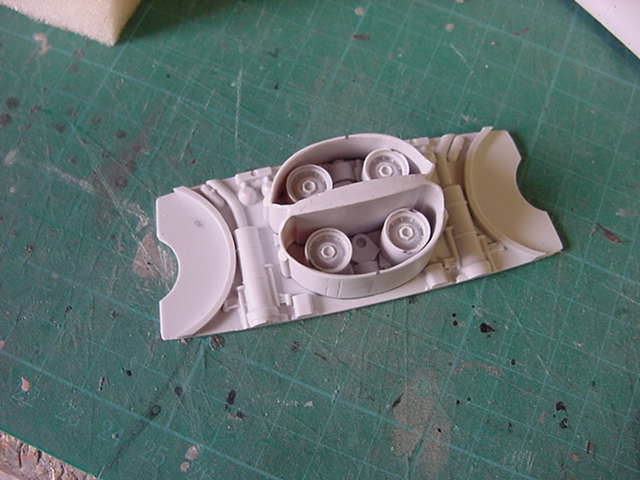
So first up, a bit of ring thing, engine rings to be precise.
This is what the castings I got look like.
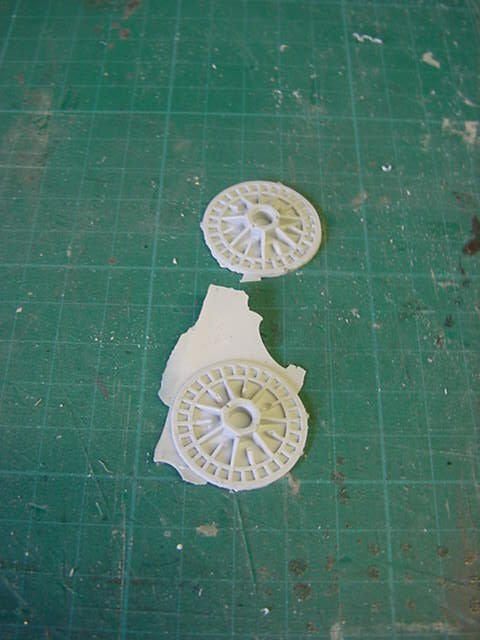
TThese two got introduced to some 100 and 240 grit wet and dry
paper that had been glued to a lump of 1/2" MDF board.
After much rubbing back and forth, they got a wash and spin on some 400 grit wet and dry.
The upshot being these bits and some trial fitting of parts.
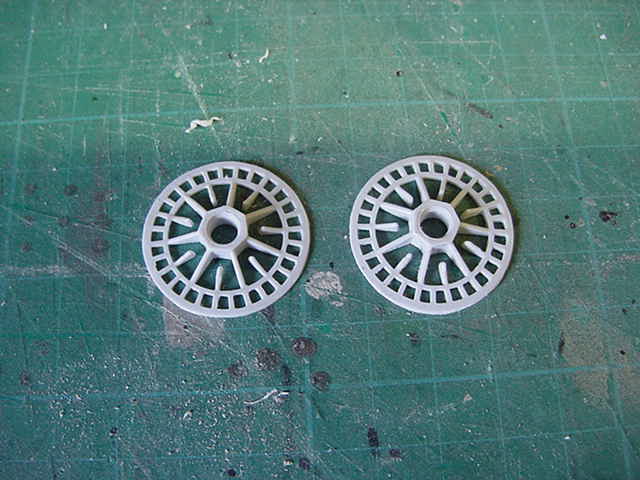
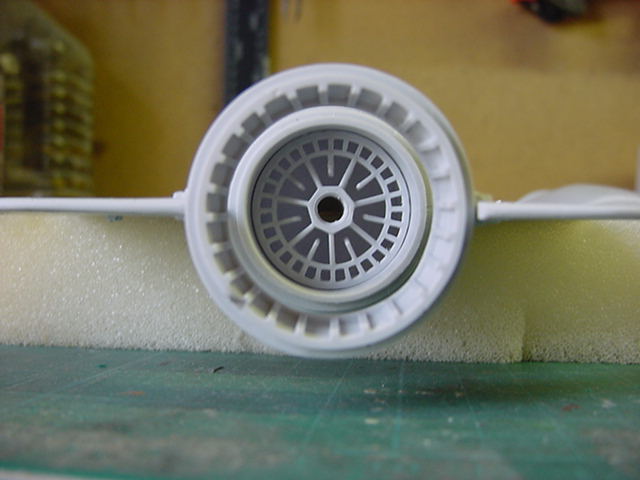
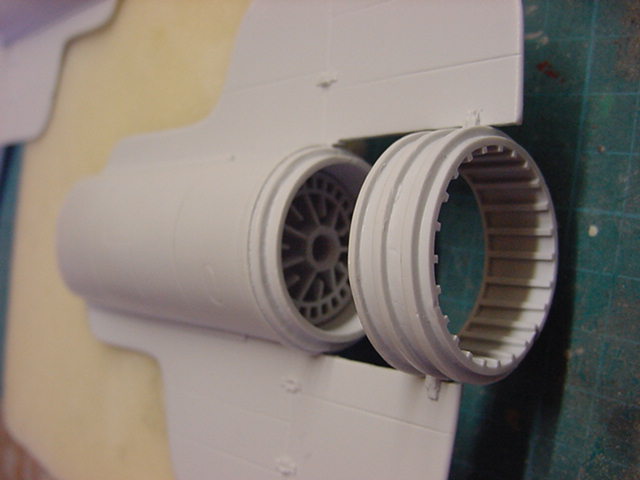
So to prep for sticking the engines on.
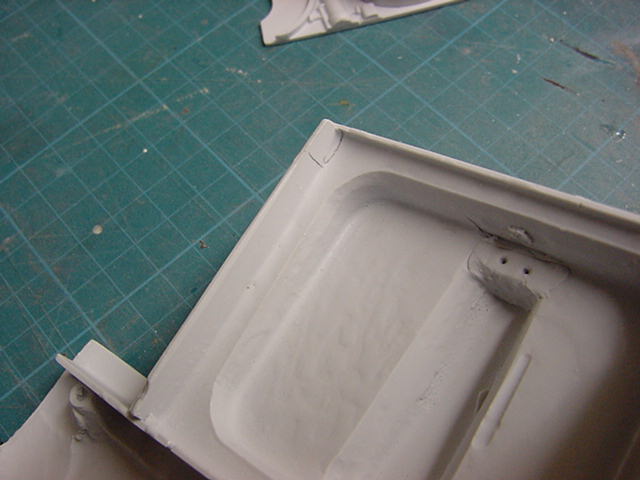
First the rear detail plate has a twin scoop like thingy to attach and this was done.
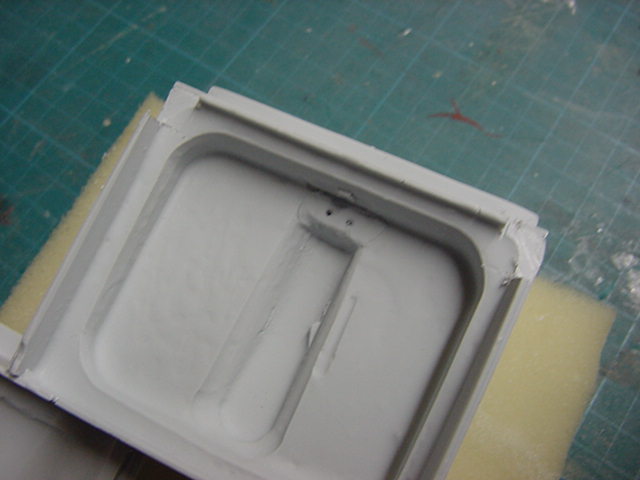
Then on the top fuselage,
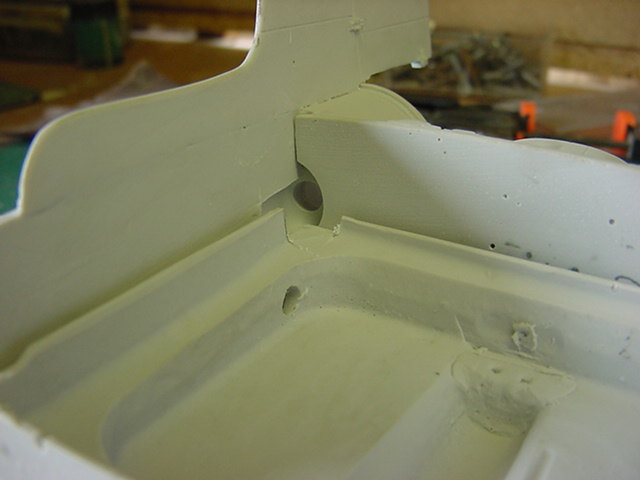
some lumps had to be removed from the rear corners to allow for
the wiring to go through for the engine LEDs.
Once cleaned out, the rear detail plate was stuck where it should be.
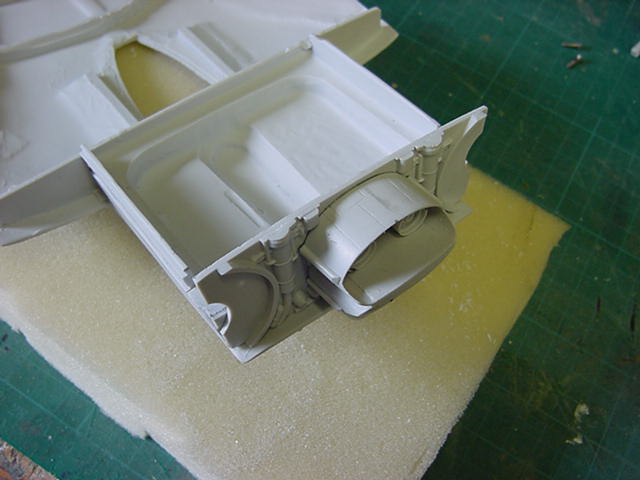
So that sorted, time for an engine dry fit.
This turned up an unexpected gap where it meets the top of the fuselage.
Time for some grinding bit violence to make it behave itself.
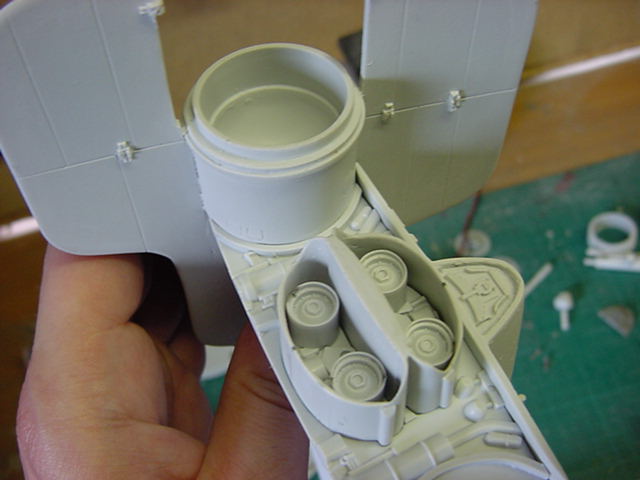
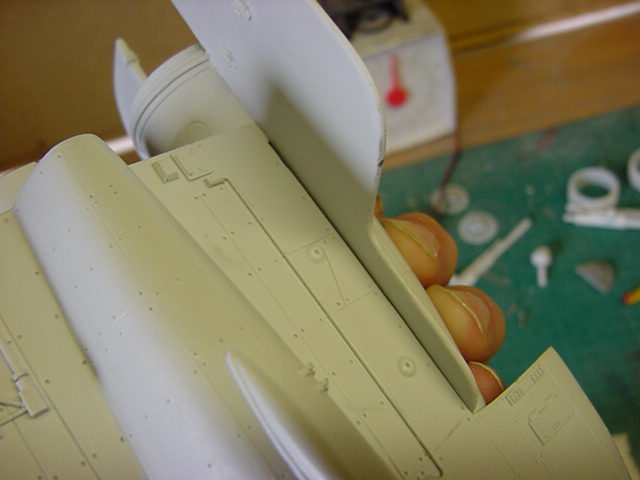
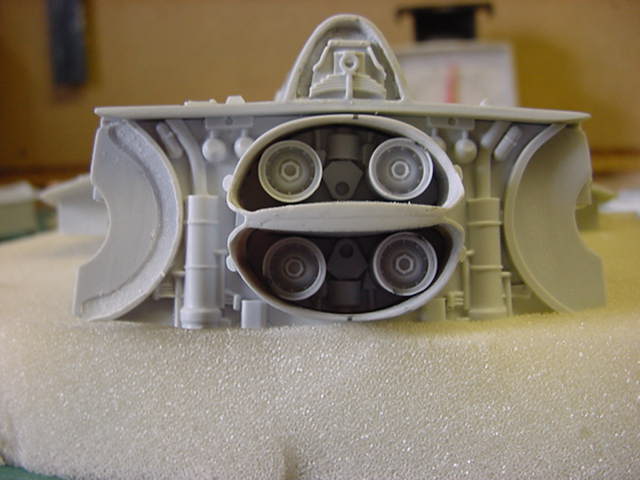
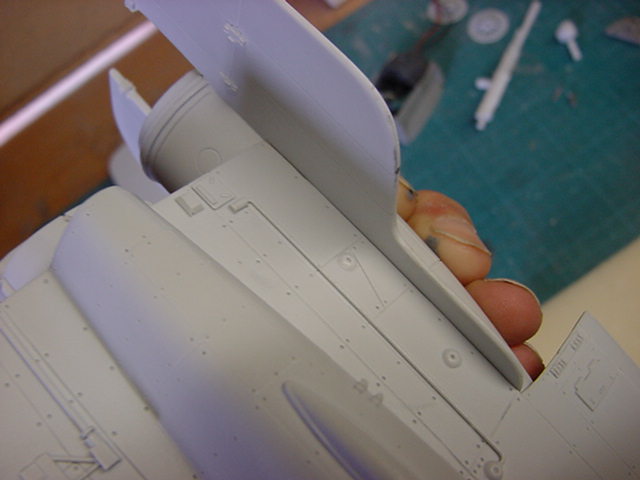
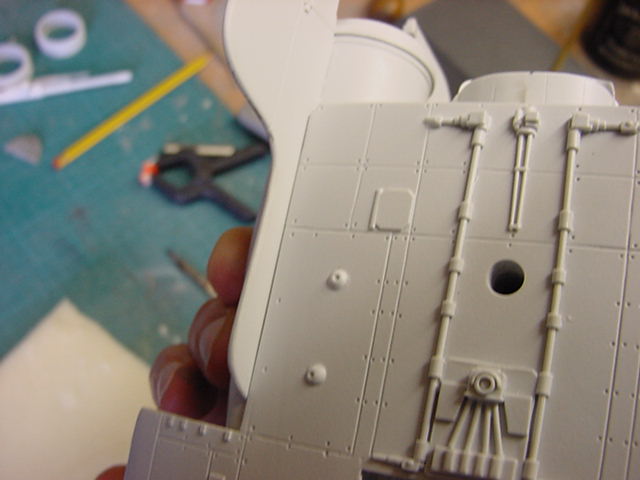
All nice and snug, the opposite engine had likewise fit problems but the
same procedure kicked that in to touch so sorted!.
Now then, attaching the engines.
A countersunk hole was drilled through the side wall of the fuselage
and into the engine on each side to take a small 1/4" screw.
Reason for this was not only added strength but
it held the part solidly as the glue cured.
The countersinking was to allow enough of the screw thread to stick out but
not enough to go right through the engine body.
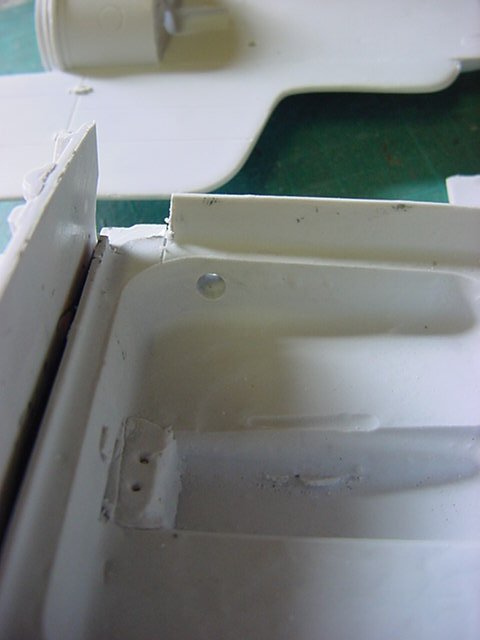
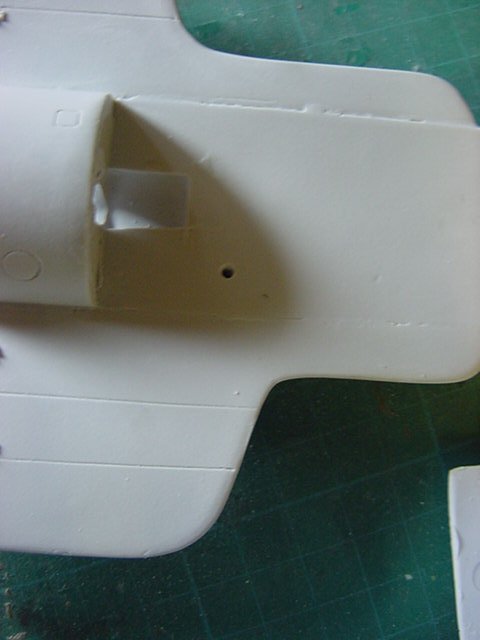
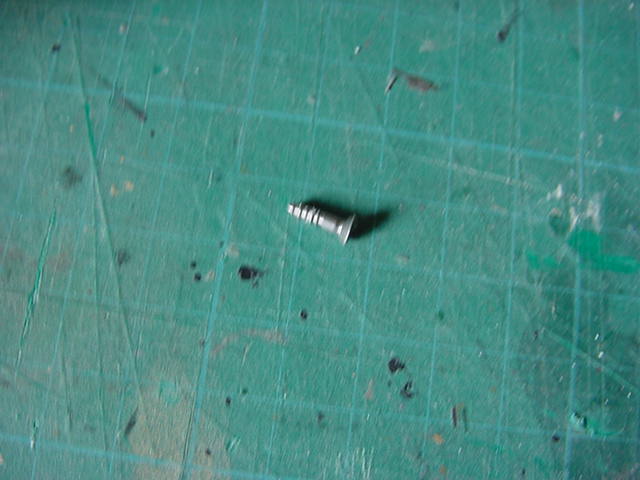
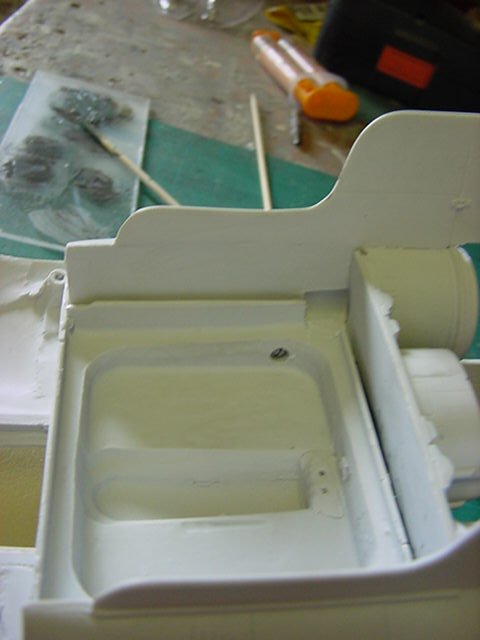
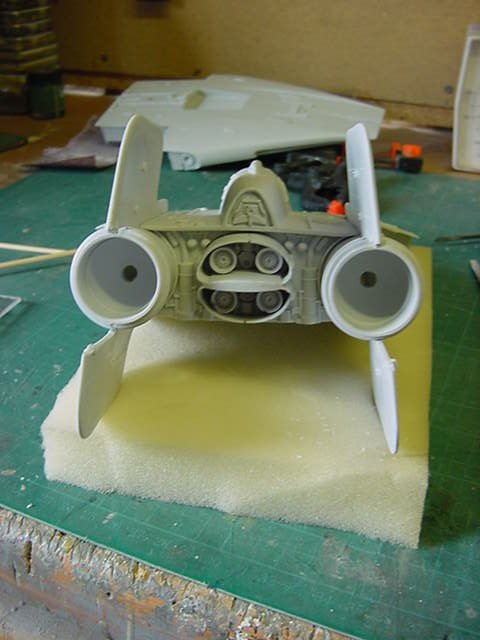
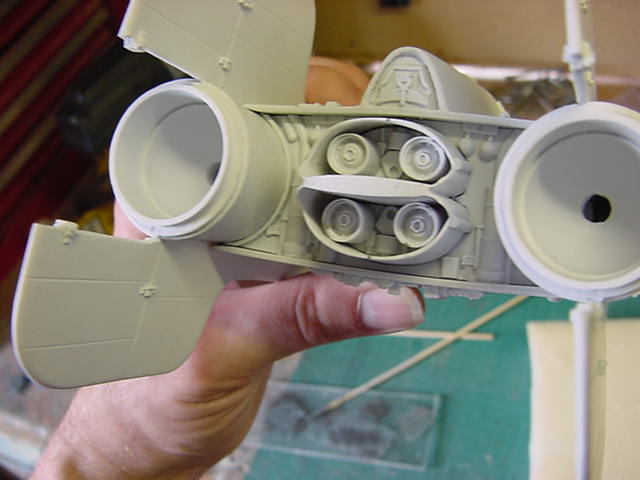
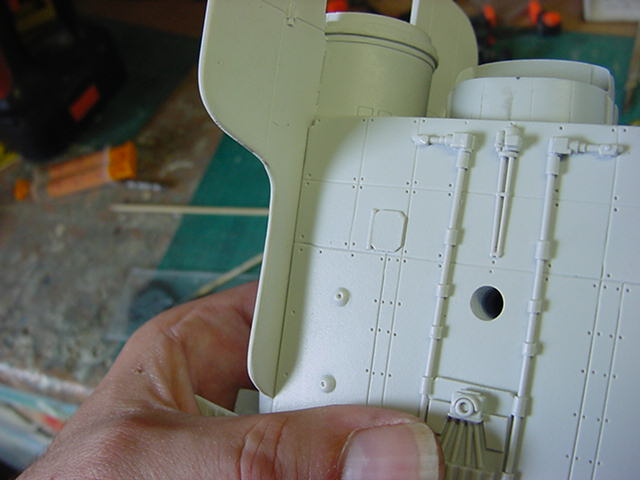
Still fits all nicely so onward and upward.
So the aforementioned lumps that were cut out left enough space to
jam a 5mm white led in place for the engine lights.
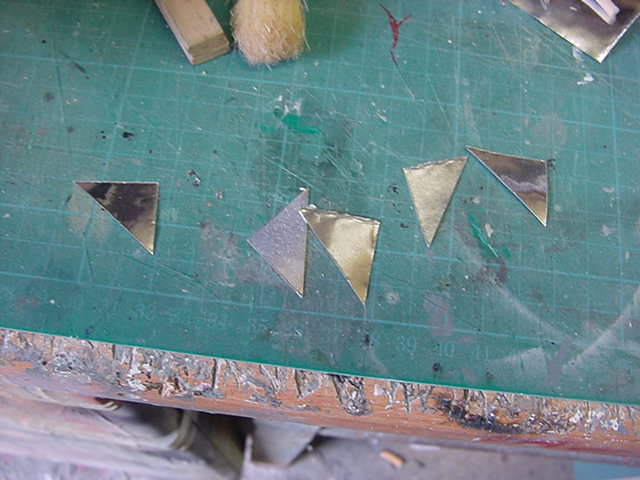
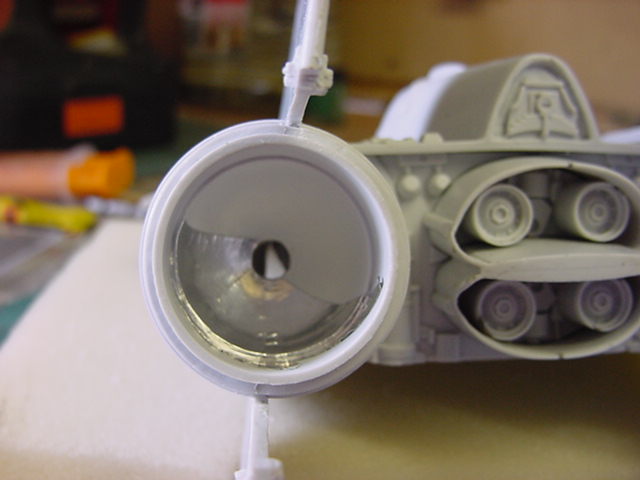
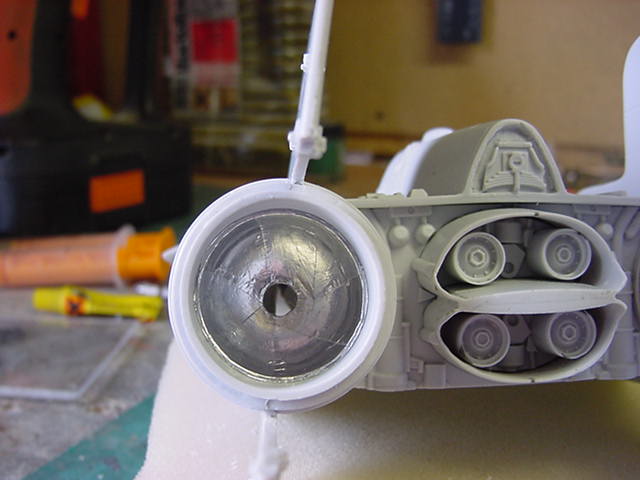
A bit of reflective stuff inside the engines would not go amiss so out mit der
sticky foil tape and there was much fiddling about done.
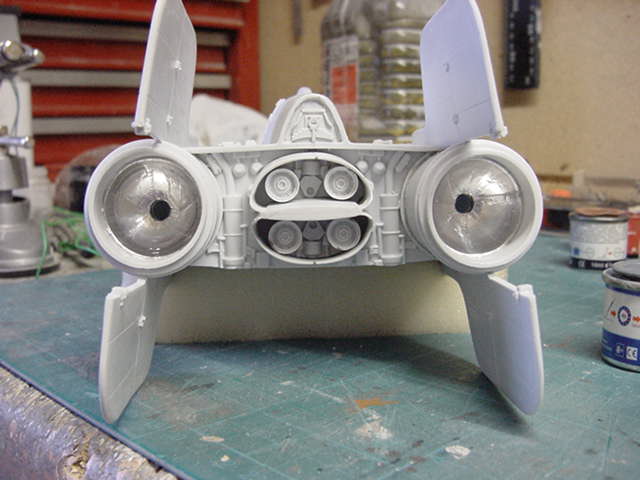
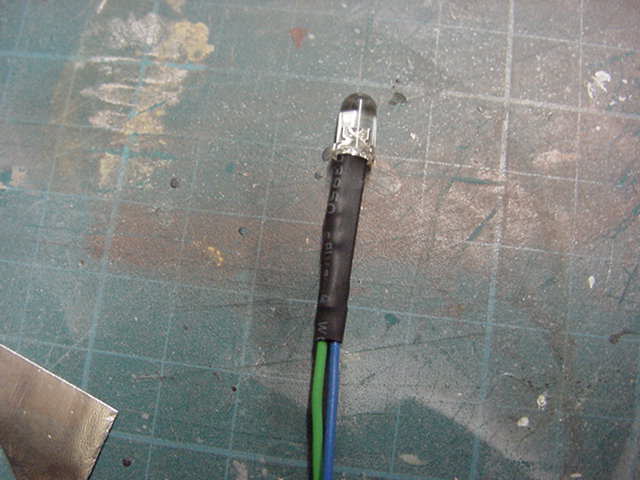
So to prep the LEDs.
Two 5mm whites, resistored and soldered up with heat shrink sleeve insulation to boot.
Both were then given a coat of Tamiya clear yellow and then a coat of
clear orange coming up to just below the top dome.
Reason for that later so bear with me here.
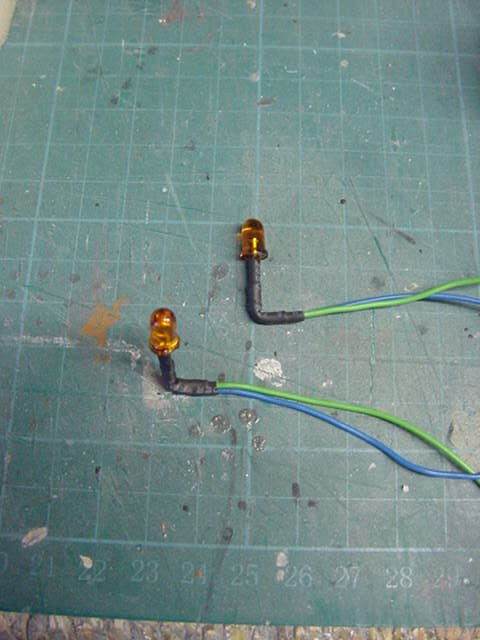
So these were placed where I wanted them an much
black epoxy to fix and light bleed stop.
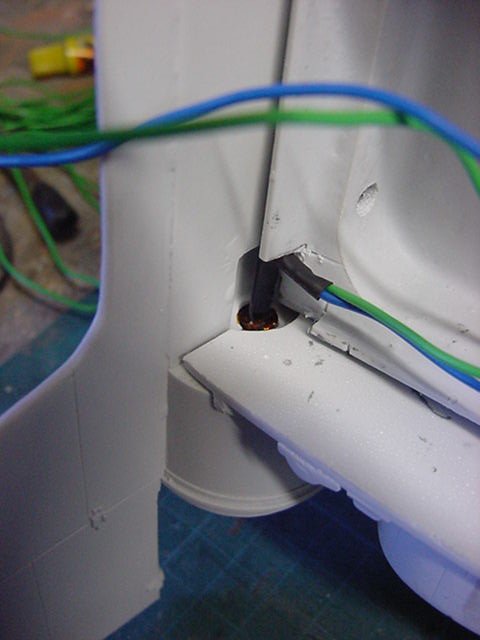
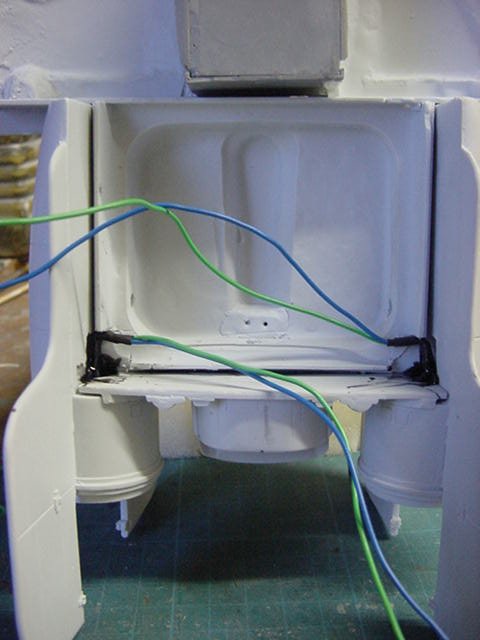
Not bad so far and it's away to the next page with thee
where the silliness continues.
Go easy all!


 Page Number


