
Monkey Works Star Wars A-Wing
1/24th Scale


 Page Number
You know it's an easy thing to do, this lark...
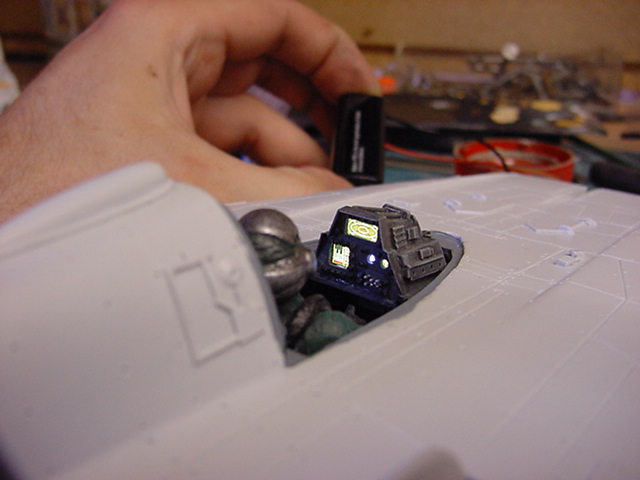
Pick Up A Battery
Attach Wires
Hope For The Best...
Well most of the time.
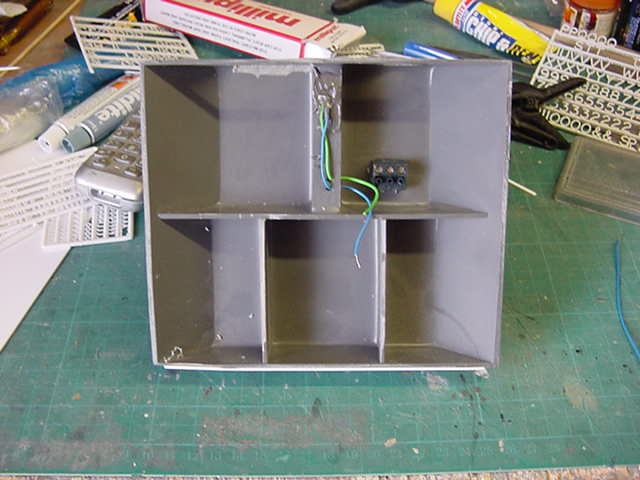
Let's talk wiring here for a sec.
Well to begin with the engines and cockpit instrument LED are all fed off one power supply.
Namely a 9v battery so no prob there.
So plumbing them all into one feed, okedoke.
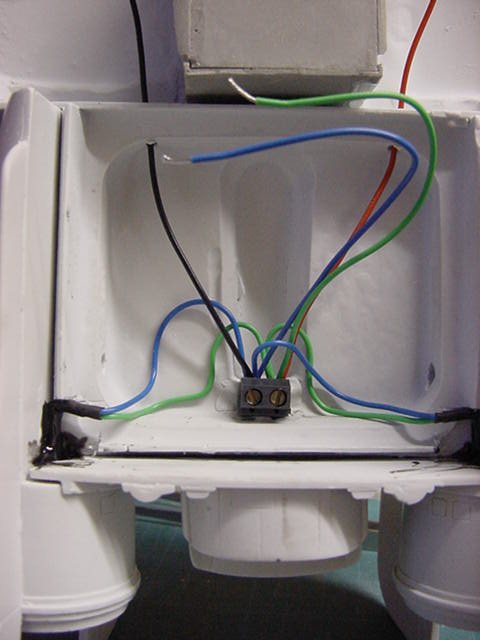
Now the thing is that not everyone can solder,
I can but we ain't talking about me here.
With that in mind for anyone who can't,
here's one thing I specifically put into the masters.
Anyone who's got one of these may have noticed and promptly ignored this
bit with the two holes on the inside of the top fuselage.
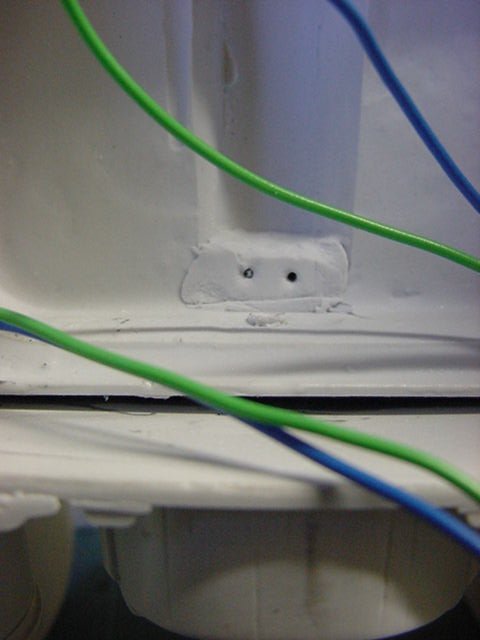
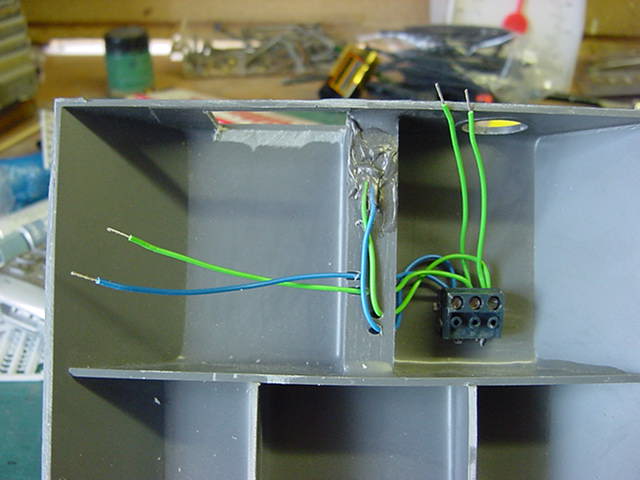
Now this is there specifically for a small two port screw down terminal block.
One of these...
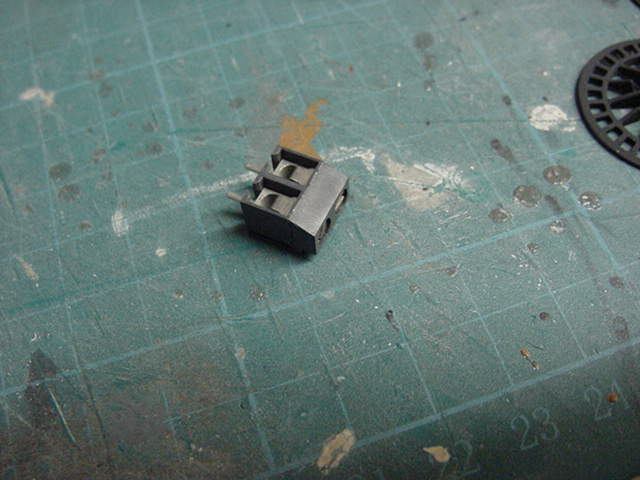
Easy enough to use, glued in place, wires fed in,
screws done up tight, connection is made.
What could be simpler?
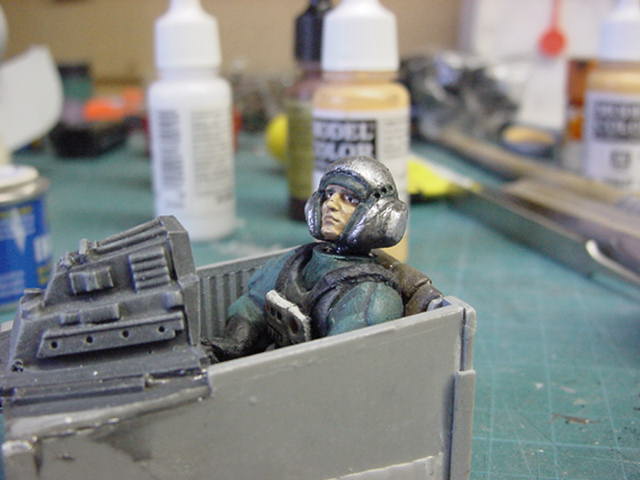
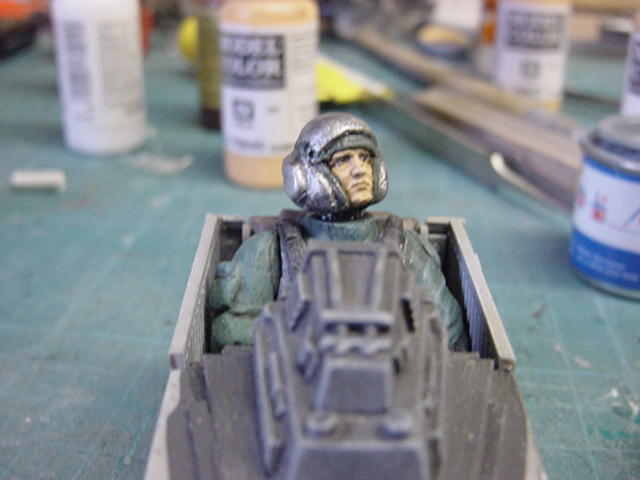
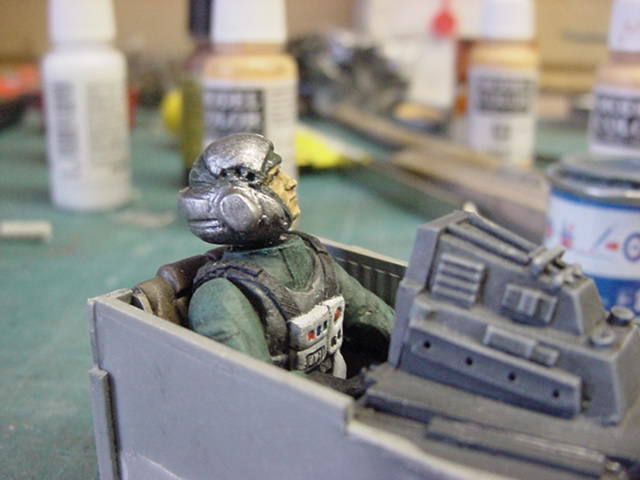
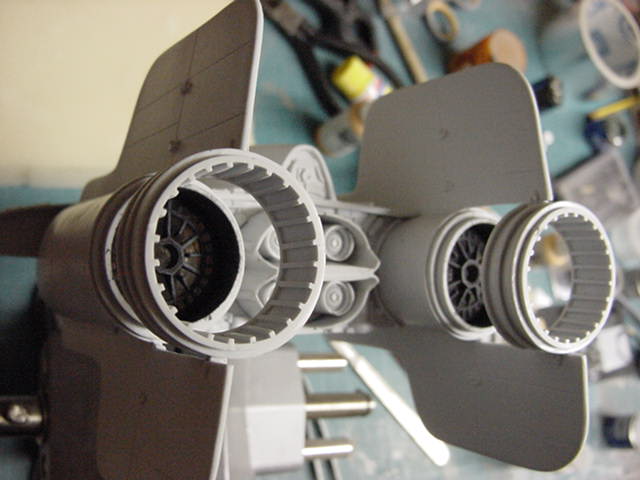
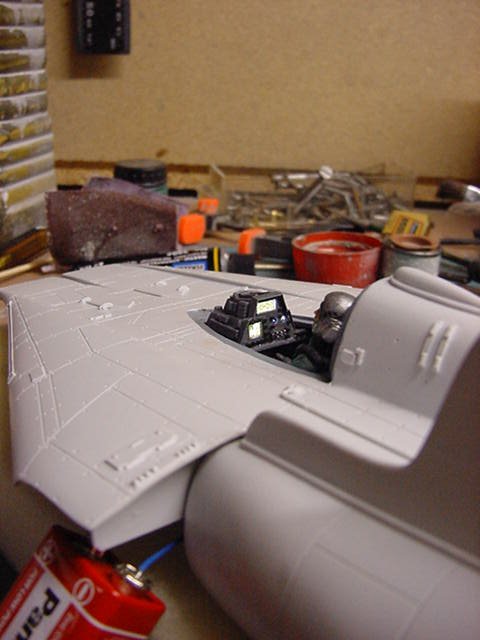
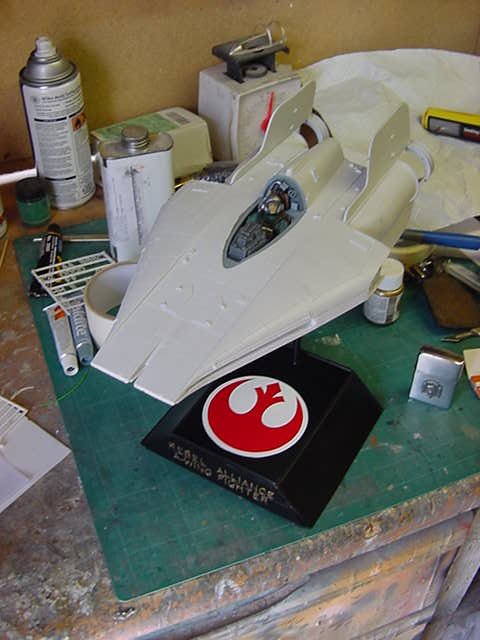
So the cockpit is installed, one built form the masters WiP nonsense
but with a new pilot head sculpted by someone who knows how to rather than me.
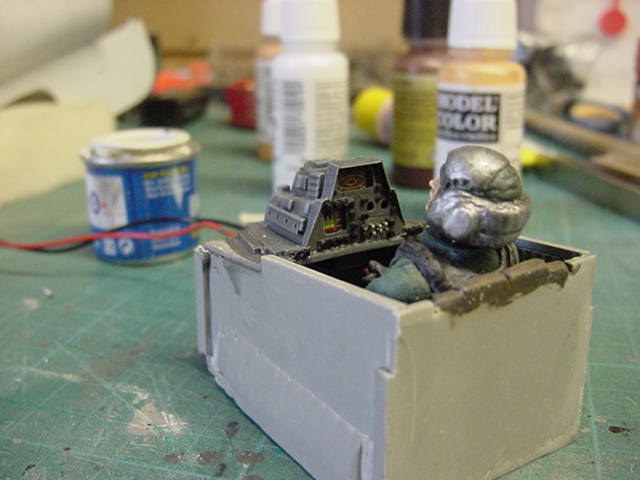
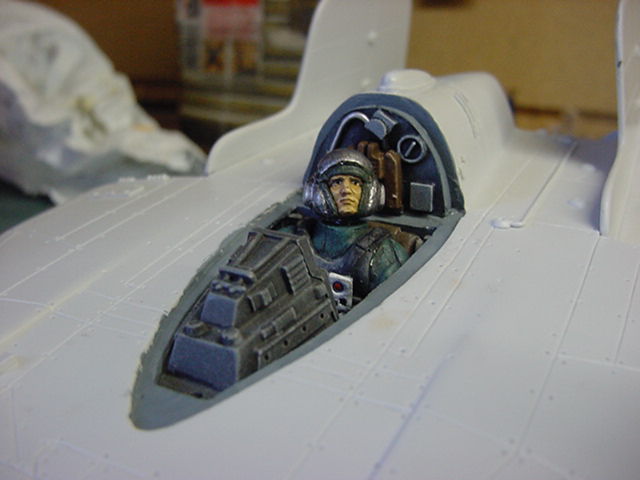
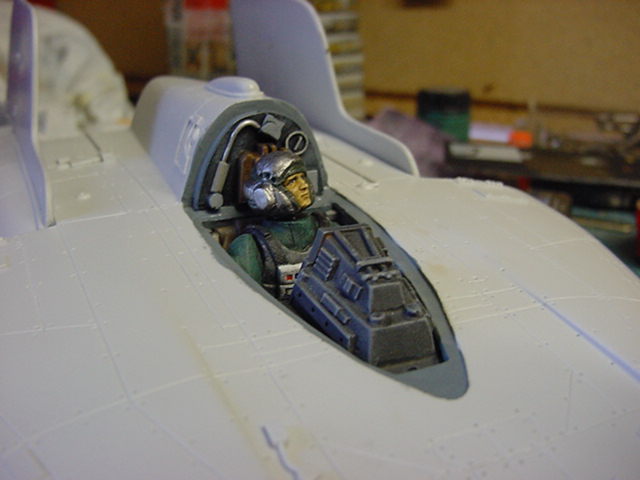
So sorted, all the wiring from the instrument panel and engines fed into
the block with two fly leads left to attach to the socket in the bottom fuselage.
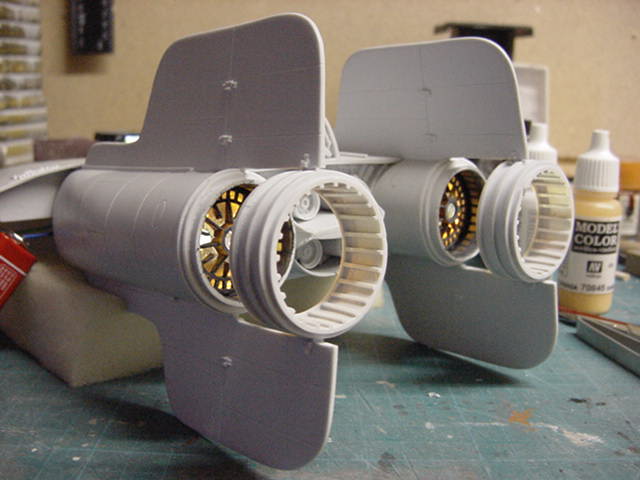
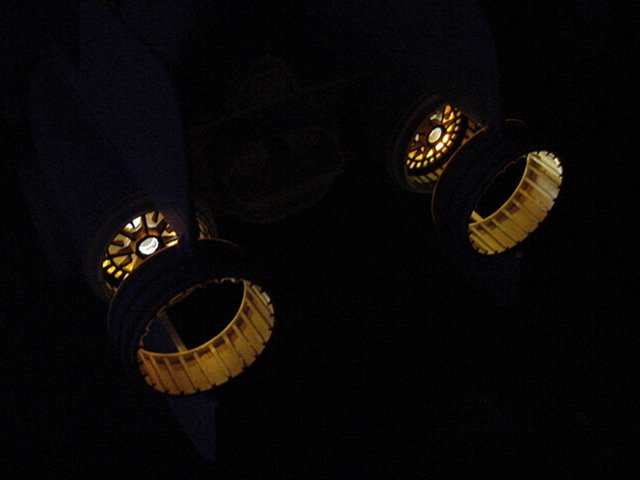
Once in then the engine rings were hit with matt black enamel spray,
fitted and the rear engine rings attached.
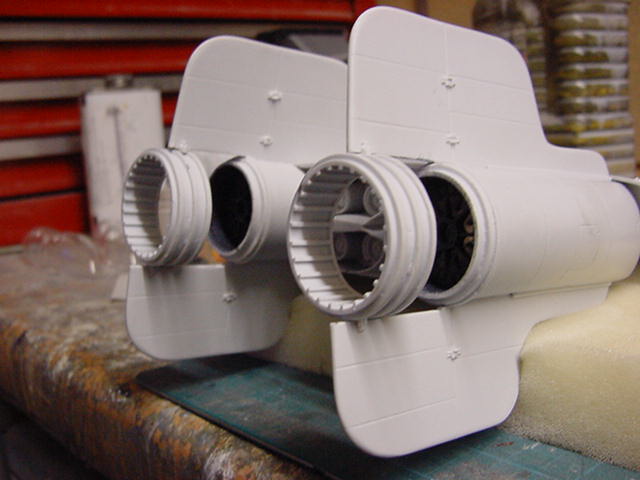
Nice enough but it's battery time!
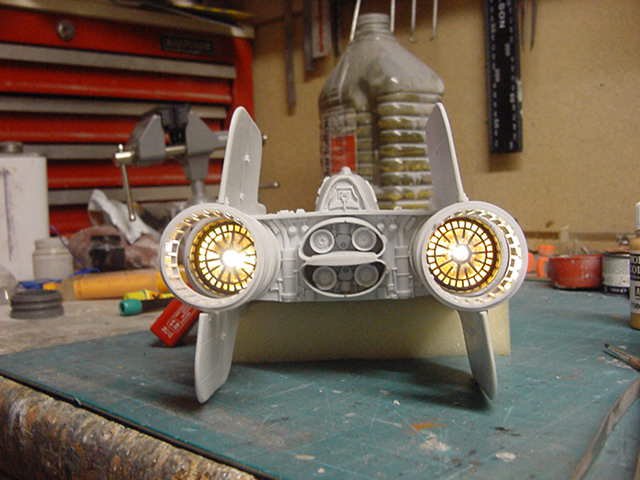
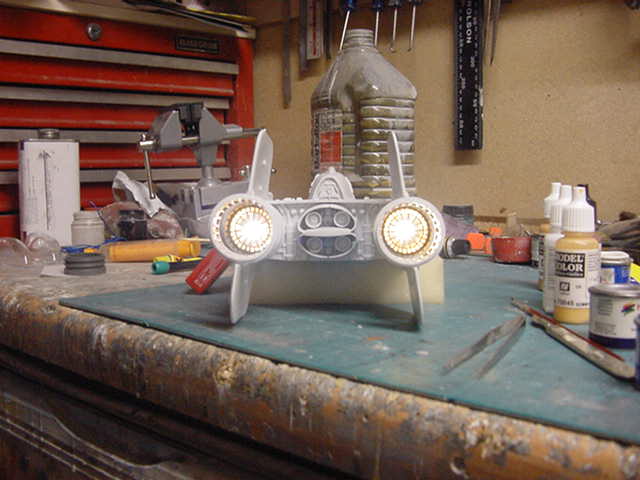

Sweet.
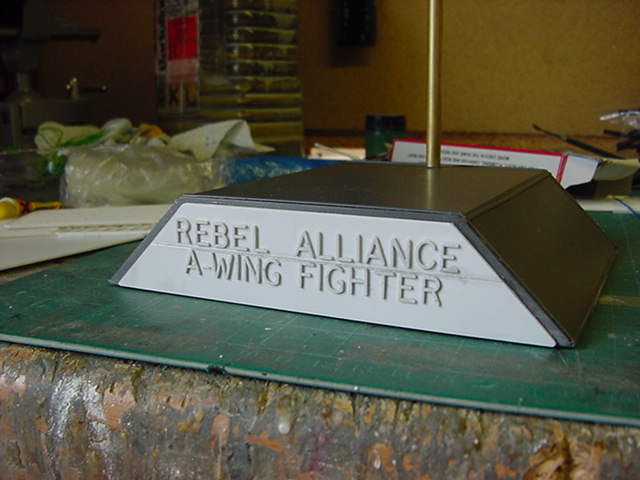
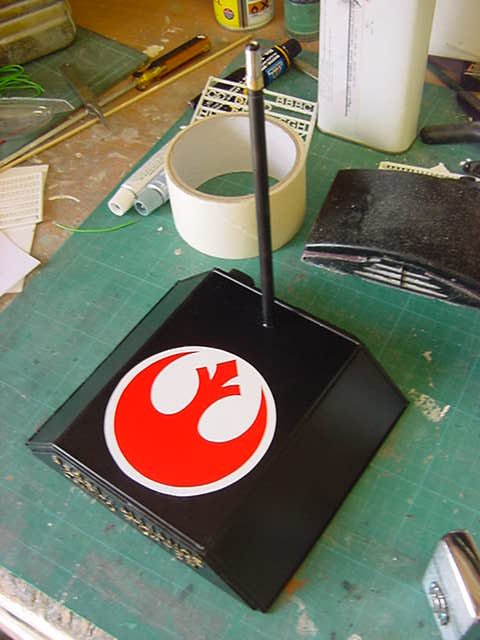
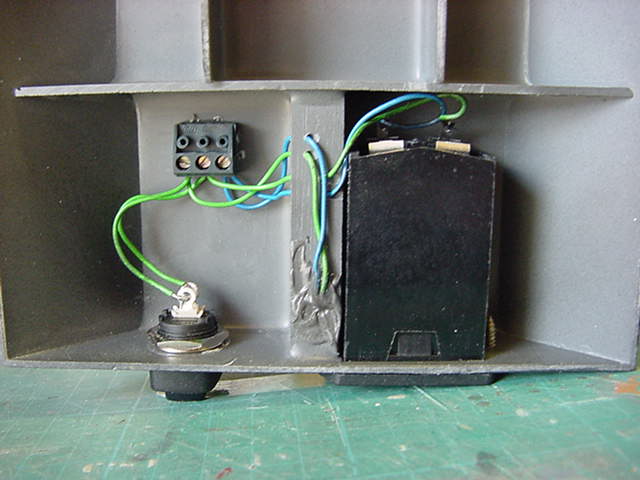
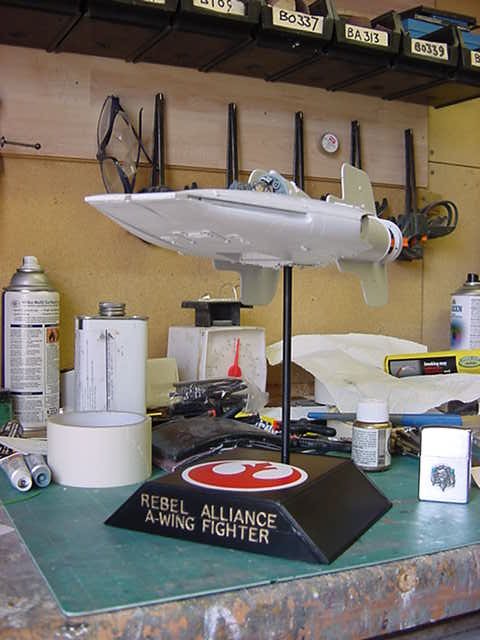
Okedoke then,Time to get summat on the stand base sorted so into the wiring nonsense.
Another terminal block but a three port one to take all the power doo-dads.
duly done with a couple of fly leads left for the battery box and switch hookup.

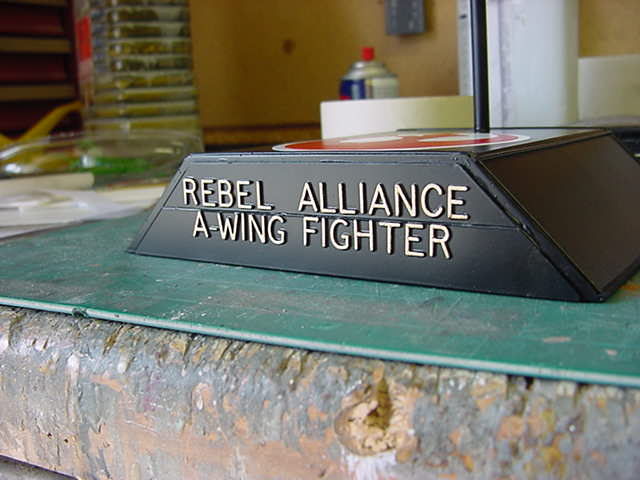
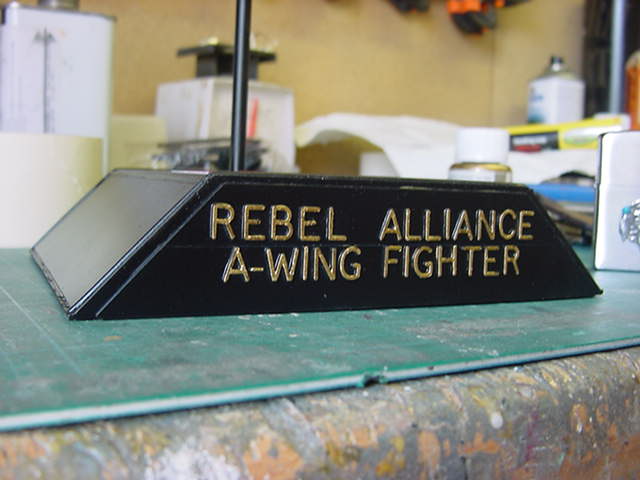
Then to pretty up the base a bit.
Some plastic lettering added along with a fair lick
of enamel semi-gloss black ala rattlecan.
Then some printing off on to white self adhesive labeling, cut out one circle and one alliance symbol.
Both were given a varnish coat to seal the paper then rattlecan's of white and red respectively were bought into play.
When all dry, just peel backing and stick down.
A dab or three of acrylic rich gold on the lettering and that's that sorted.
Last but by no means least, fit the battery box and switch proper and wire up.
Oh and a test fit of course.
Goes without saying really.
Well so far so good, final build bits and the inevitable paintwork next.
That's on the next page so off ya toddle me modeling muckas and go easy now.
Page Number