o

Monkey Works Star Wars A-Wing
1/24th Scale


 Page Number
Last of the bits and bobs..
So Scalpels At The Ready And Charge!
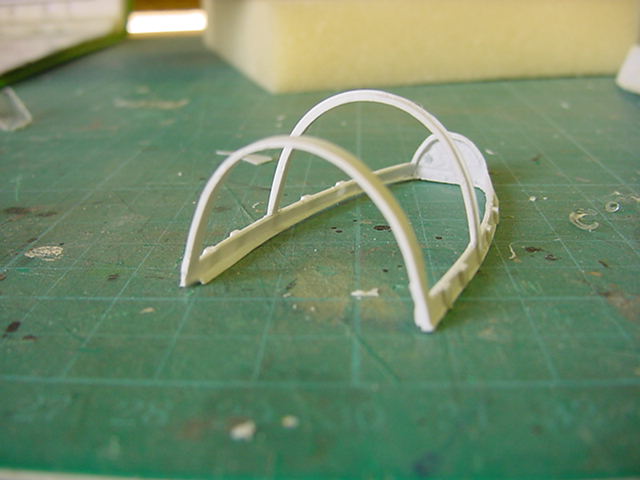
Canopy frame first.
A fair bit o' flash on the casting but nothing that some careful
cutting and scraping couldn't sort out in a jiffy.
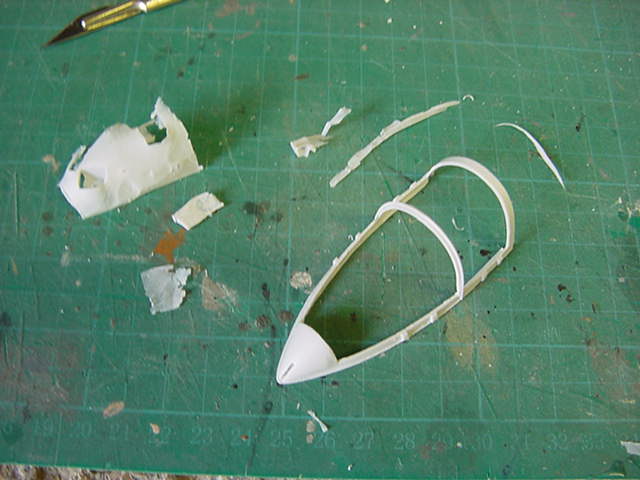
SSo that was brought around to my way of thinking without fuss,
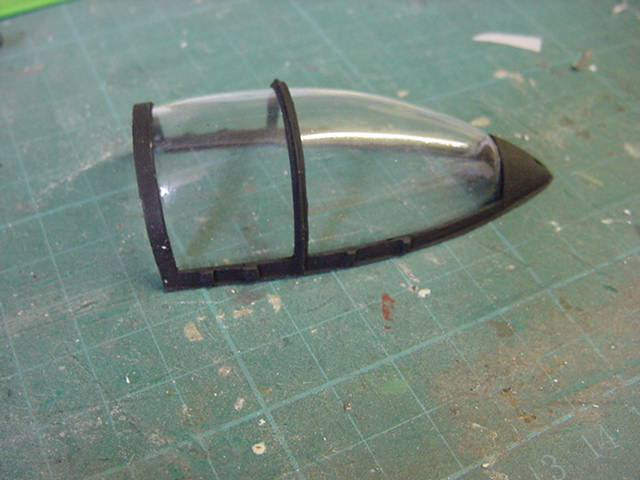
on to the clear canopy glass thing.
Now in the kit you should get a lump of vac plastic and a resin buck.
Simple enough deal, just place the buck in the vac part and scribe,
scratch and slice from the inside using the
buck as a guide and the thing be sorted.
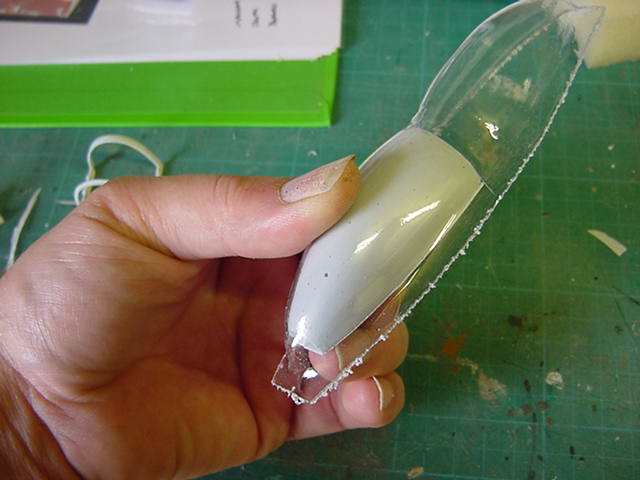
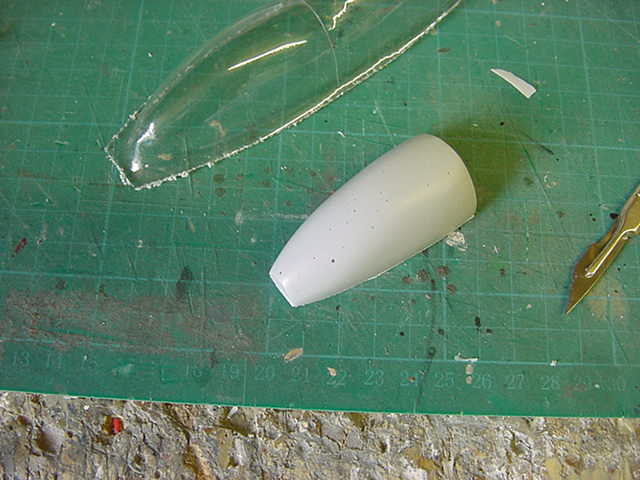
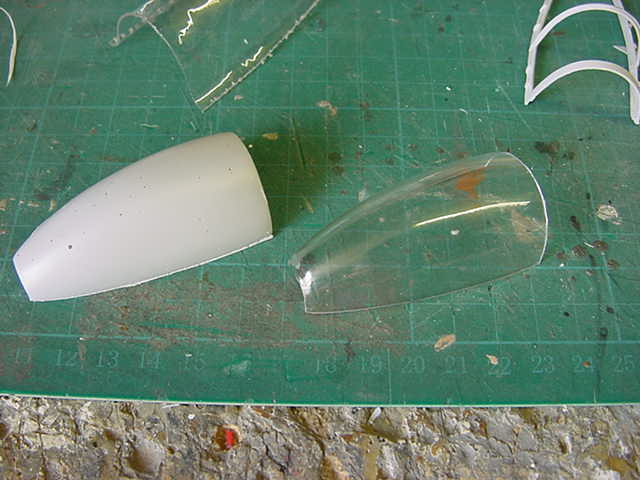
Now when I mastered the framework, seemed like a good idea to have a lip rim on the
inside for better clear canopy fitting to sorta click into like.
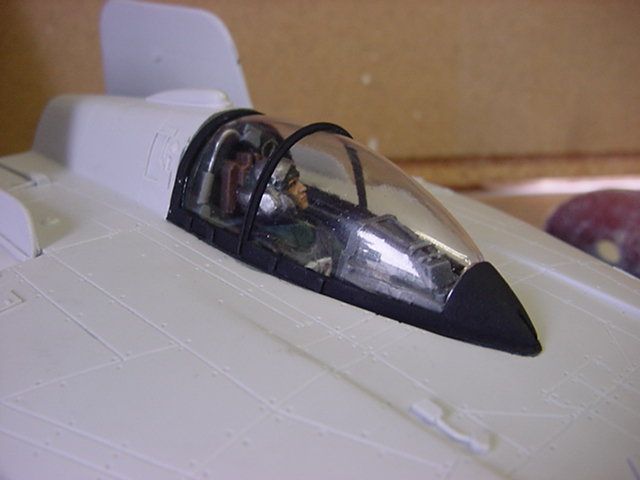
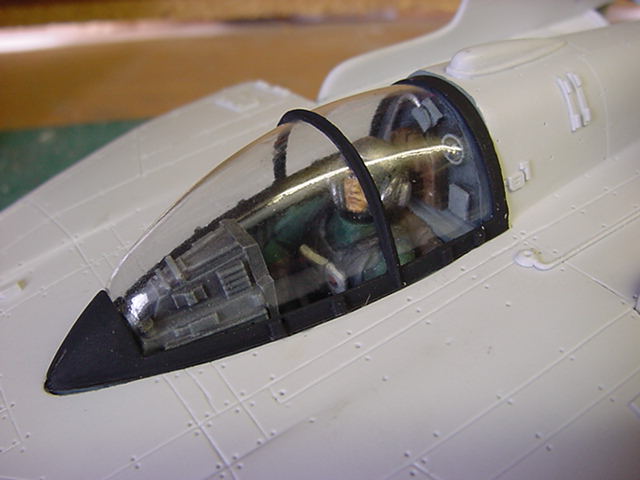
So after some repeated trim/check fit/trim/check fit/repeat as needed, we got a fairly decent fit.
So a lick over from a rattlecan of enamel flat black and a few sparingly applied dabs of
epoxy 'holdstillyabugger', the task was done and a test fit ensued.
So final wiring soldered up, that being the connections to the socket and fuselage
parts glued together and left overnight to sort themselves out.
And pretty much the last of the build parts, some detail plates
to cover over the last of the seams.
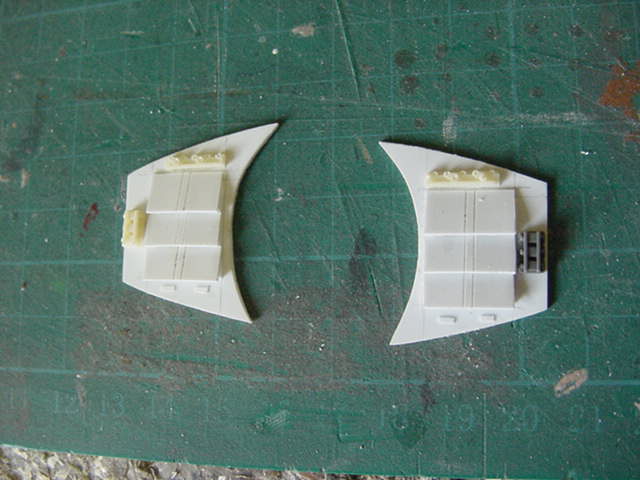
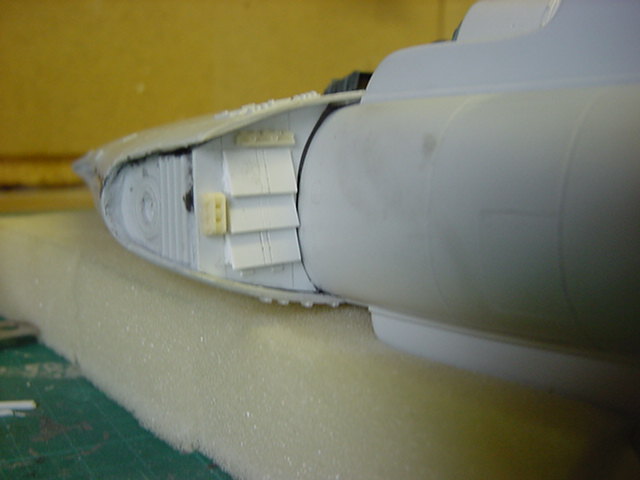
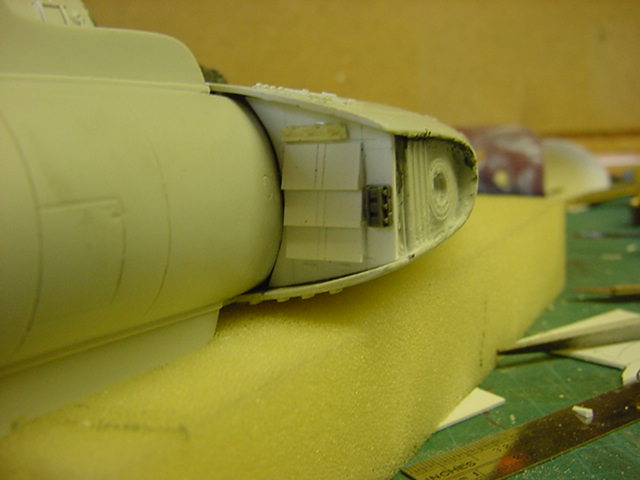
Done and dusted.
So to the paintwork side o' things.
Well first was some silver grey areas painted and latex mask applied
to make the first layer of paint chipping/scratch thing.
Then some aluminium self adhesive tape on the engines for just a wee bit of relief detail.
Then some masking off and there was muchly good laying on of the Tamiya white primer.
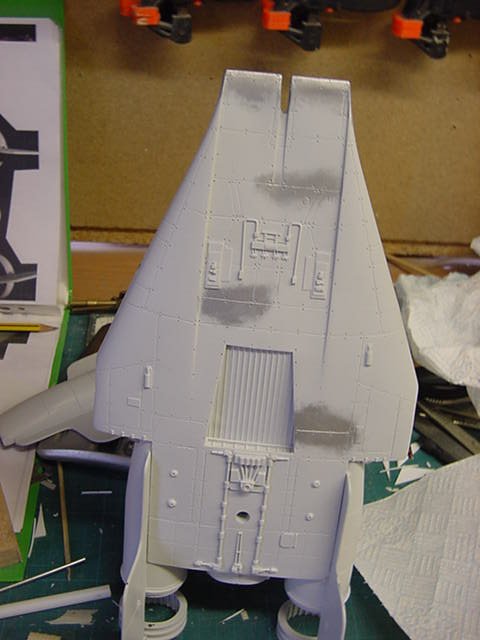
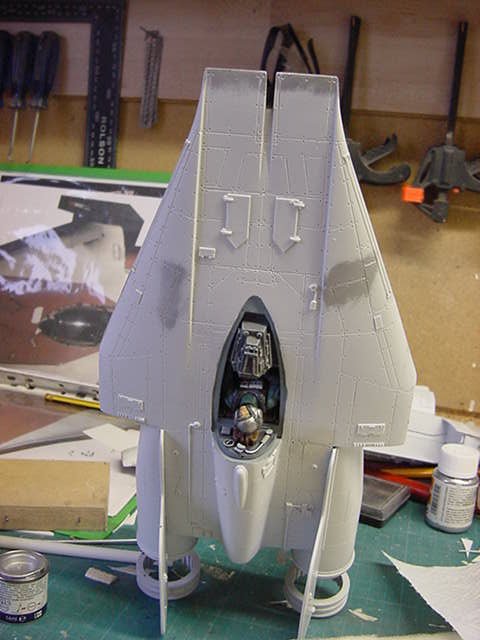
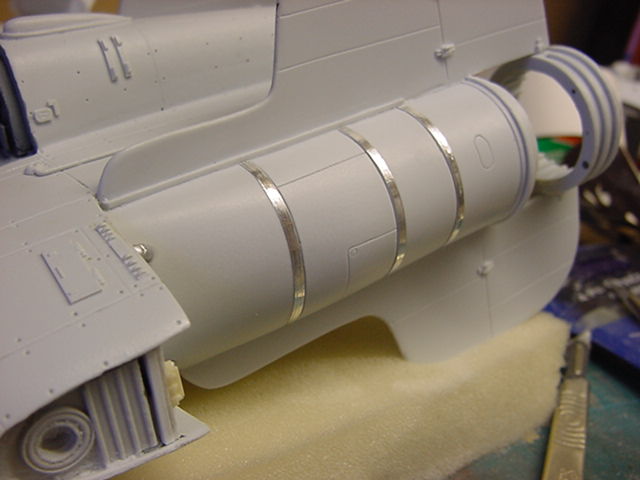
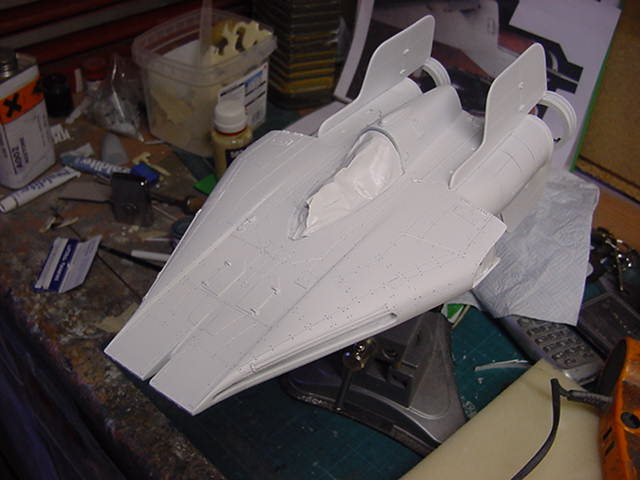
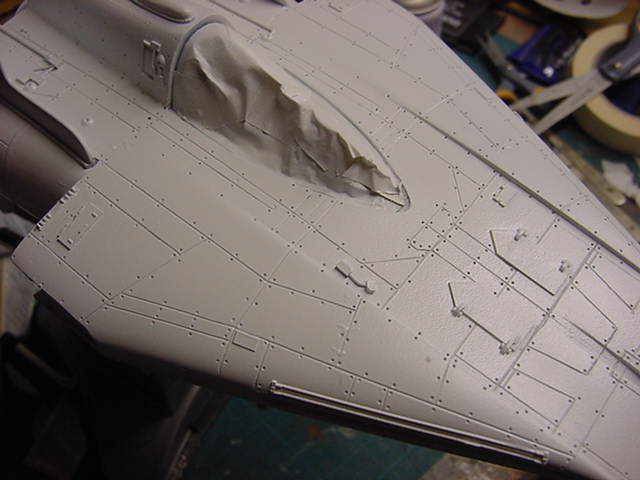
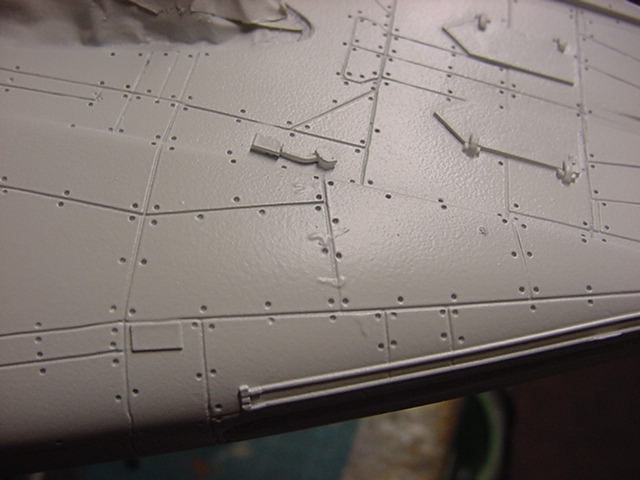
Then of course comes the inevitable enamel wash of
medium grey for all them lovely panel lines.
Not forgetting some varying shades of grey panels on the white areas.
After this was done and the wash fully dry, a thinner dampened rag was let loose all over the wash mishaps.
Good thing about the Tamiya primer is that enamel thinners don't seem to do anything to it.
Just another reason why when it comes to the wash thing, I try to us
dissimilar paints that don't normally disturb each other.
Just makes it a bit easier.
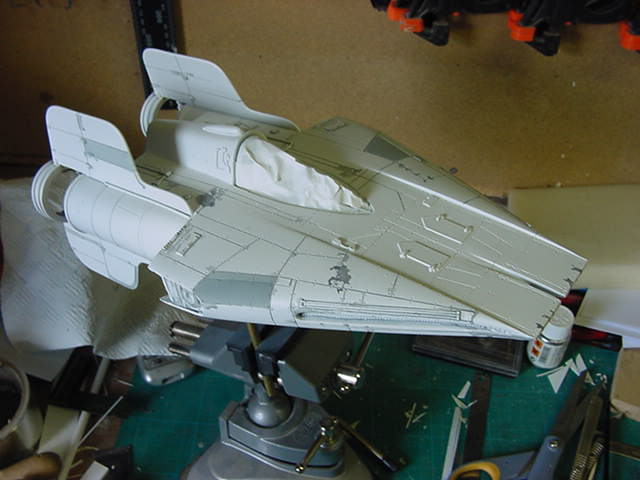
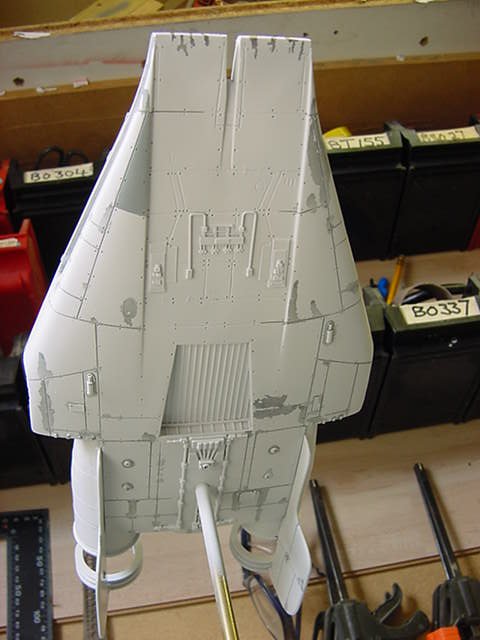
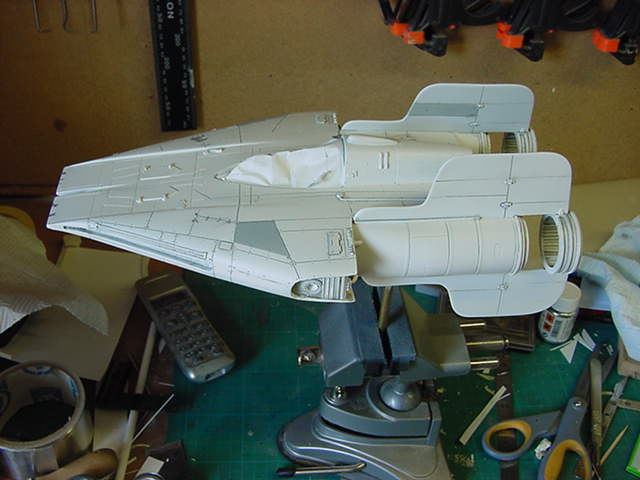
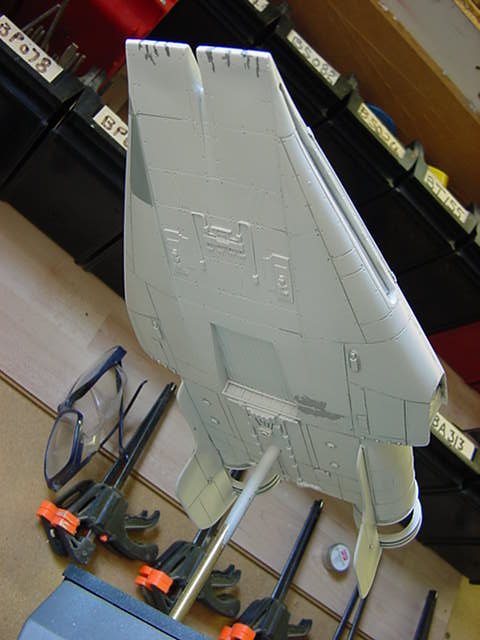
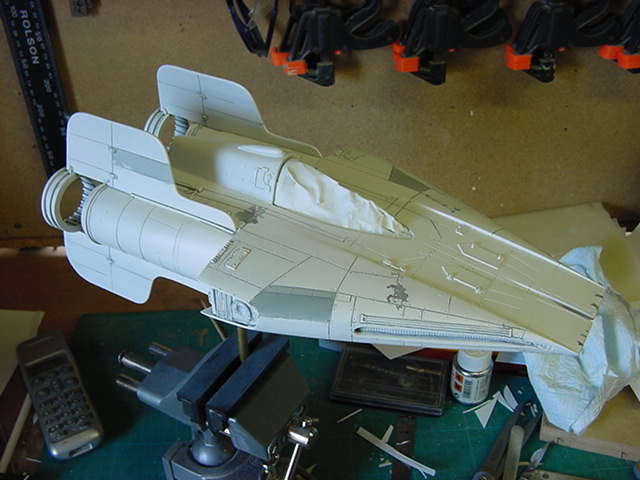
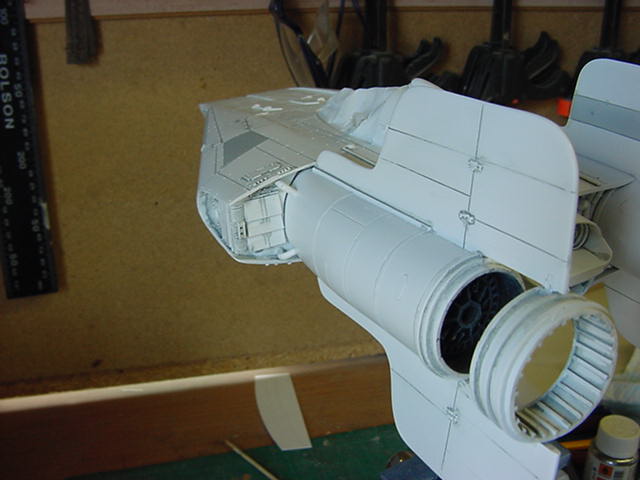
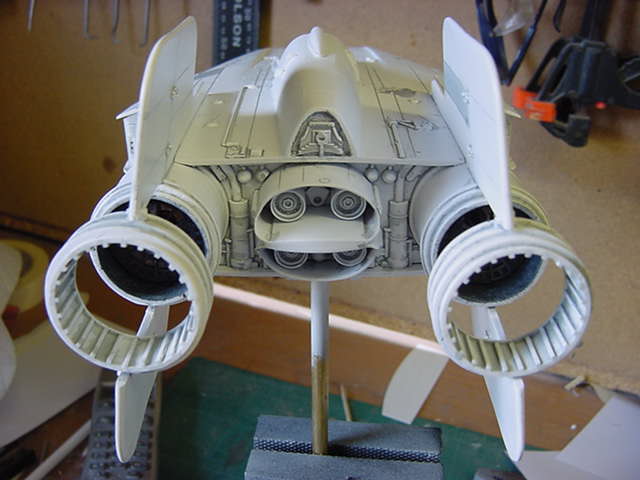
All sorted and dry, time for more masking.
Just never ends this lark.
Laid down some more latex masking for even more of the paint chipping thing
and set to with an airbrush loaded with ordinary acrylic Gunze Sangyo matt red.
When done and dry, all masking removed and a bit of picking here and there with a scalpel blade point.
Then the inevitable enamel dull red wash and cleanup in the same style as last time.
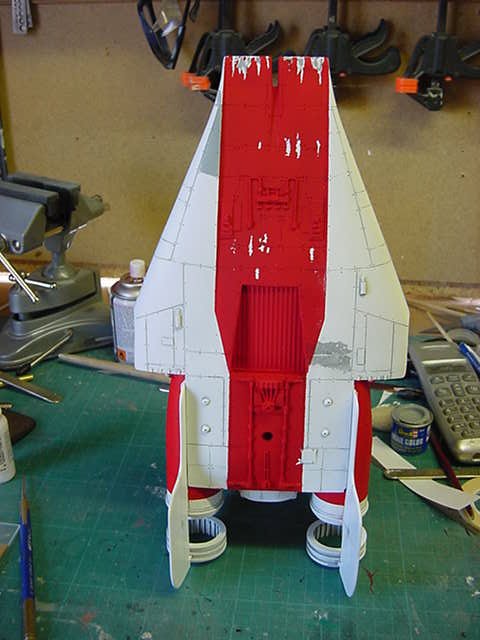
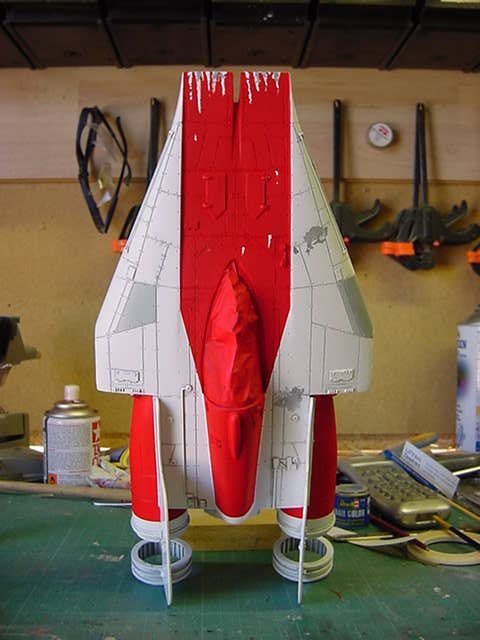
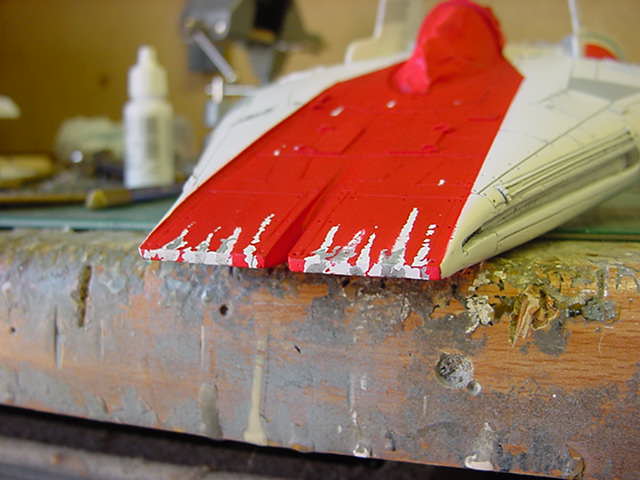
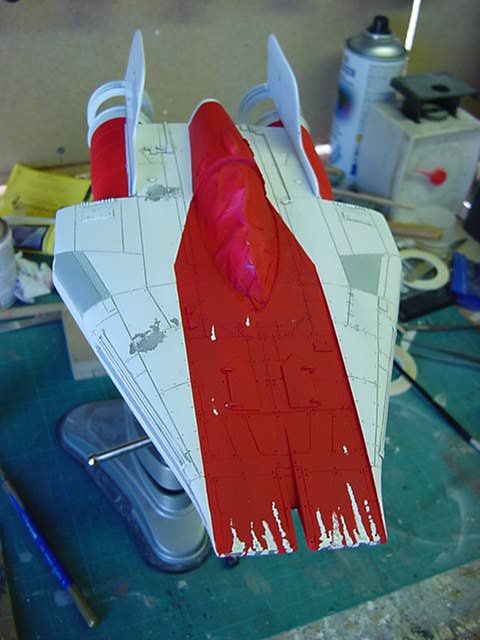
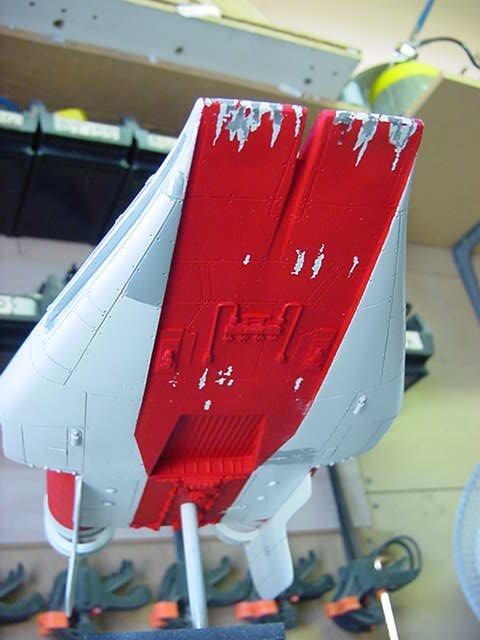
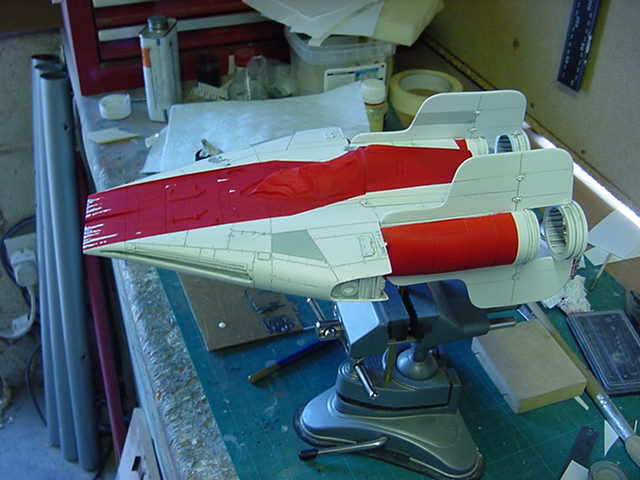
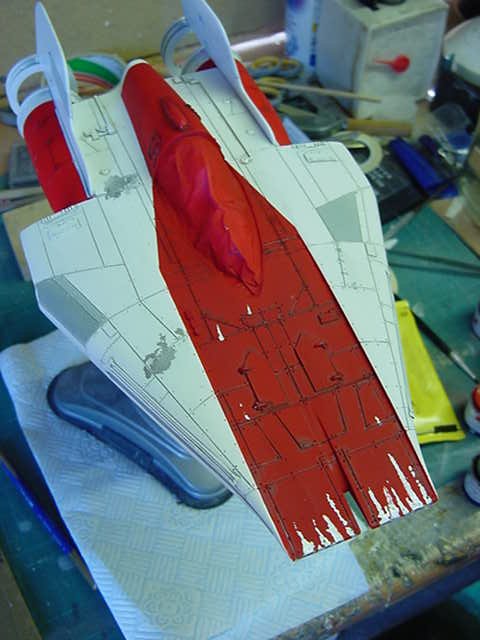
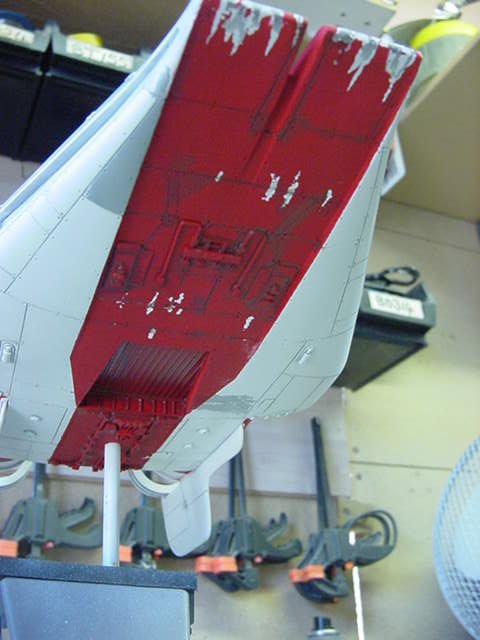
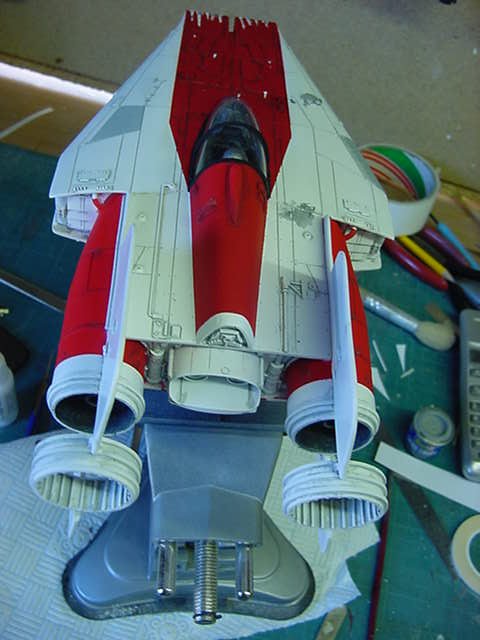
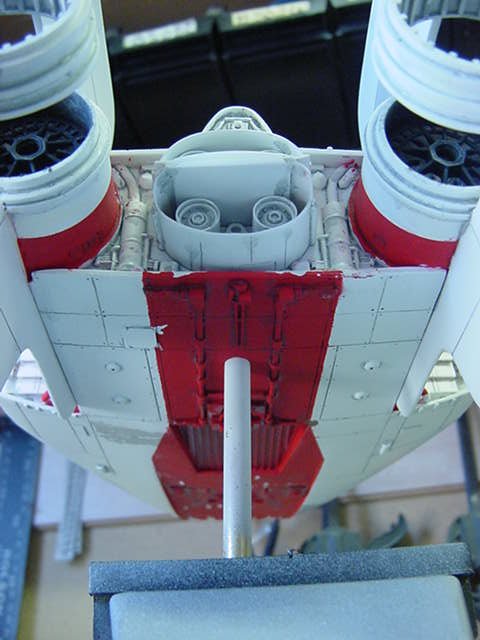
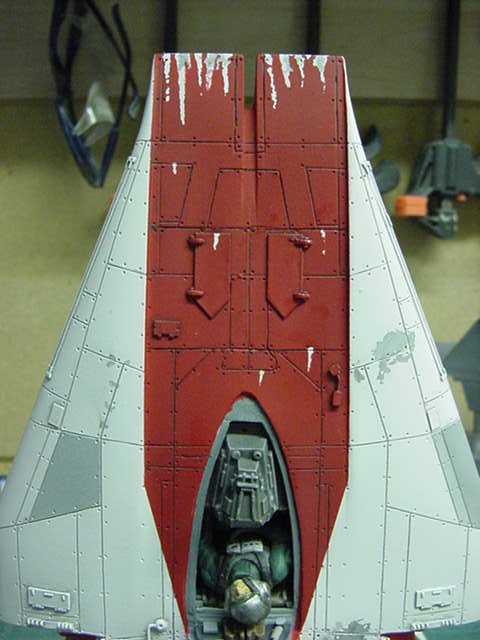
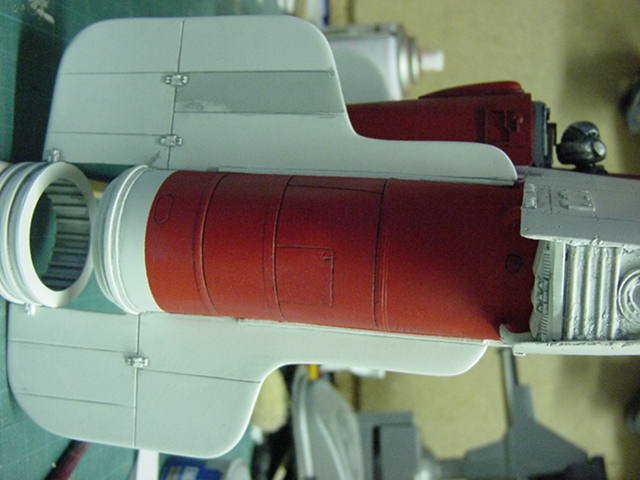
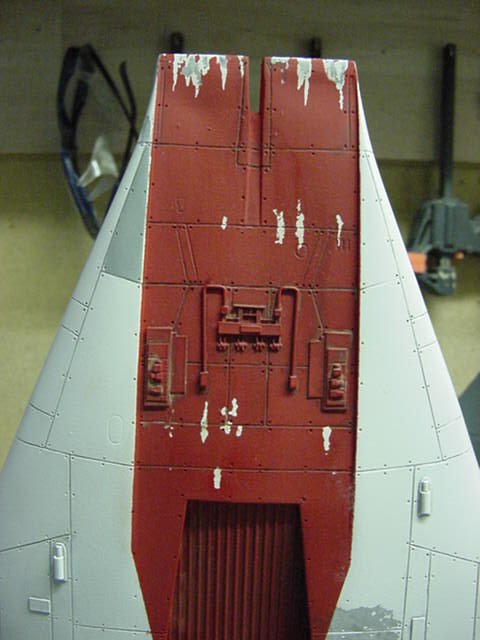
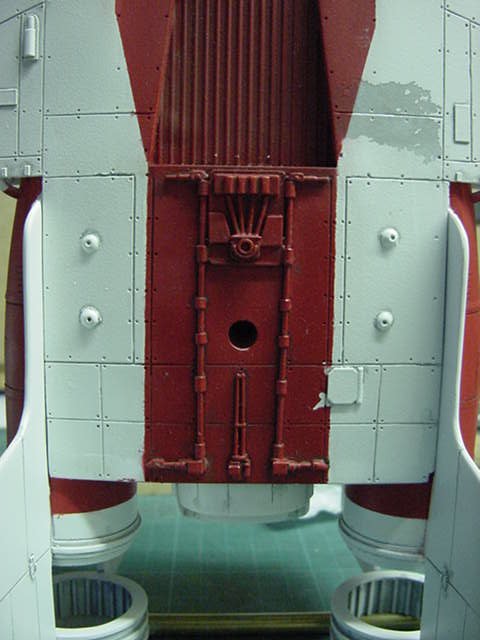
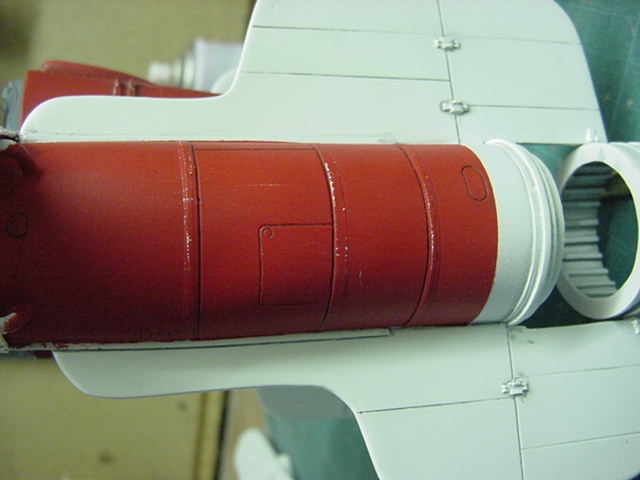
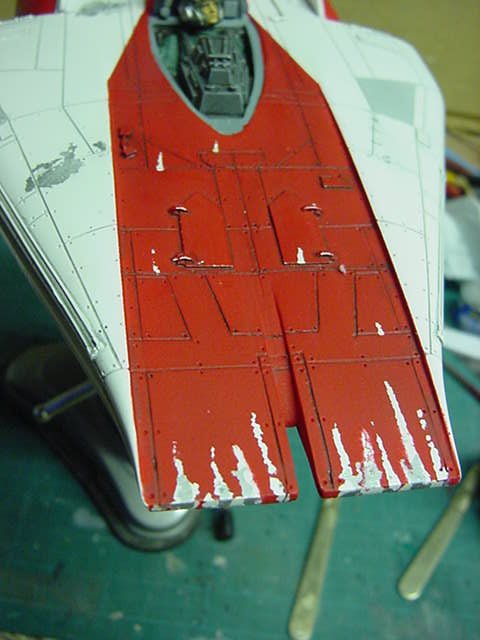
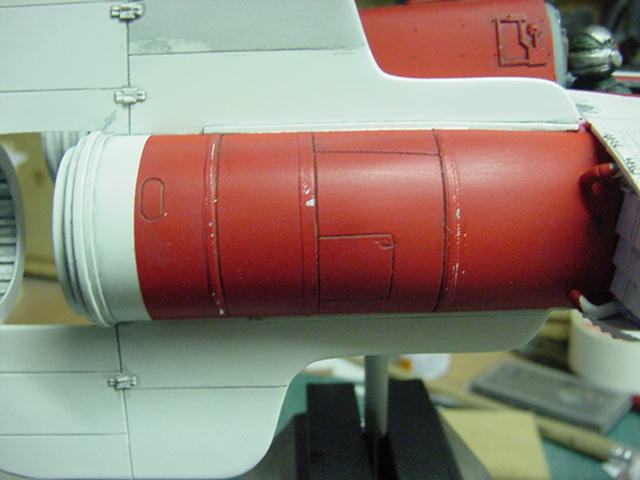
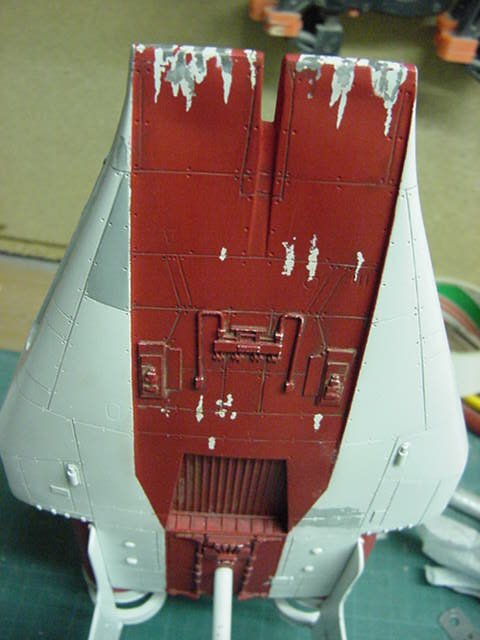
Well that be the bulk of the paintwork thing,
next up, decaling and weathering to the final finish...
On the next page I think you'll find so away thee go and go easy gang!


 Page Number


