
Lunatic Fringe Belles Of Gotham WiP Page 1
1/6th Scale
Limited Run Resin and White Metal Kit from Lunatic Fringe.
A Not Too Terribly in-Depth Or Technical Kit Review And Build
Part 1


 Page Number
The Subject Matter.
Well now, lets get this bit out of the way.
The sculpting was done by Joe Simon and a pretty good sculpt it is too.
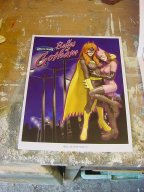
A very near direct copy of the Alex Horley artwork in subject and pose so I can only assume a
copy from said artwork or two minds that think very much alike.
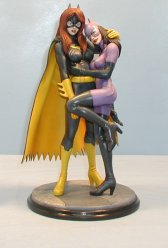
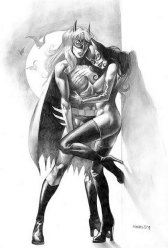
Click on the pic for the larger version.
Not that any of this really matters to any great degree of course but
just thought i'd mention it as both the kit and artwork are rather good and it's a a heck of
a long way better than I could do so onward.
Purely on the grounds of putting my personal view forward.
What the subject matter may or may not imply, can and has been the subject of some debate.
The presumed sexual orientation of the ladies in question may well be offensive to some,
some may question as to why this is interesting,
some may appreciate the whole package for what it is,
some may not even care or any one of the above plus a few more differing viewpoints.
For myself, I find the erotic suggestion has a certain appeal and it's another avenue
of model making that certainly fits well in to the 'something different' category.
That is pretty much my stock in trade, as I never could stick to just one subject/genre/scale etc.
in all the years i've been doing modelling.
So if I may respectfully suggest that if you find anything offensive or disturbing
about this then hit that back button right now.
Better to do so than be offended and I have to deal with several emails
from outrageddisturbedandoffended@snowflakesareus.com or suchlike.
That said and to those still present, on with the show…
Pay da money!…Open da box!
So what do you get in this here rather nice box?
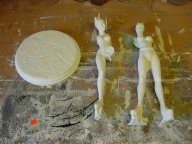
Well in total a 14 piece kit cast in resin and white metal plus a couple paper clips to use
as wire pinning is pretty much what you get,
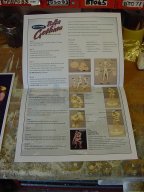
plus a bonus colour poster of a build-up and a sheet of colour, yes colour instructions.
None of your 129th generation well faded pencil B/W photocopy nonsense here I can tell you.
All that with a numbered and signed certificate of authenticity to boot.
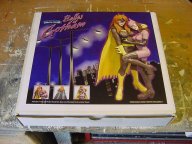
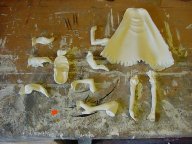
Depending on how you look at stuff like this,
what you have in basics is a kit of two figures in 1/6th scale all for just shy of $100,
or about £55 in real money at this time of typing.
I dunno about you but that is a damn good price in my experience.
Even after shipping from the USA to UK and taking into account them money grabbing buggers
and the customs and excise and Parcelforce slapping on a combined near £20 excess charge,
I still can't moan about it as all told it came to about £88.
Still pretty good for two 1/6th figures that are original and not any recast rubbish.
Quality.
The company name is 'Lunatic Fringe'.
I had to have a giggle at that name, fits well with my sense of humor.
Some of the text on the instructions backs up the appropriateness of the choice of company name.
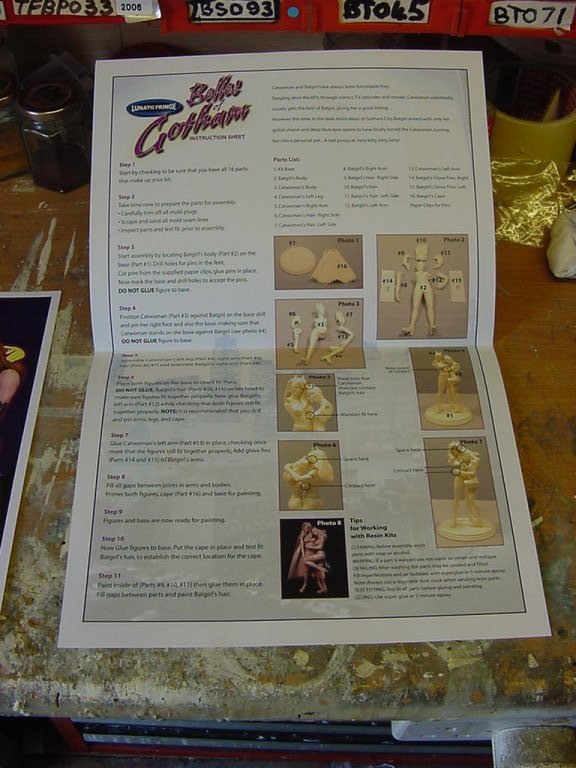
The instruction sheet is well laid out with text and colour photos so little chance
of going wrong with the which part goes where hoo-ha.
The quality of the castings are very good though this could be expected from a new kit/fresh moulds.
Saying that though, i've seen a lot worse from new kits so no complaints really.
Seam lines are nothing too obtrusive,
easily sorted with some file work and a brisk rub down with some wet and dry.
I personally used flat and rat tail needle file then 240 grit in the first run
working up to an 800 grit for the final polish.
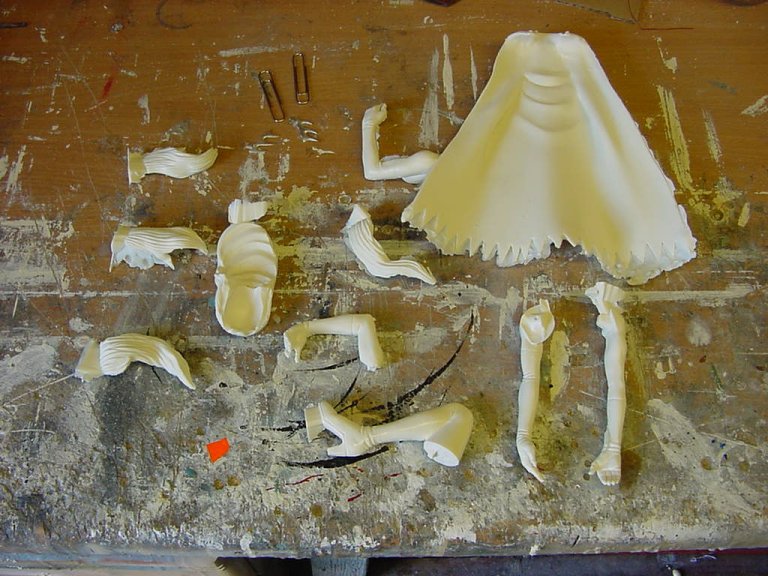
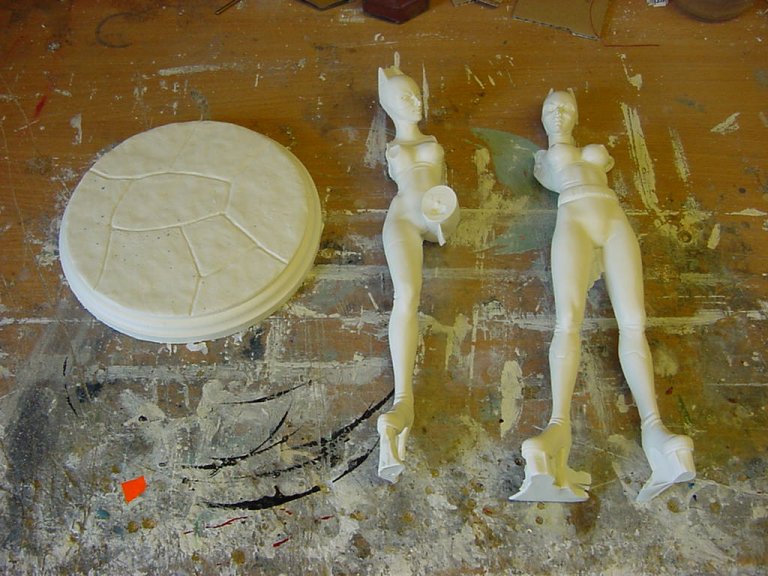
All parts were given a damn good bath and alcohol wipe to ensure any contaminants
like mould release were removed.
Removal of any moulding stubs was a fairly painless affair,
the only grinding bit work was on the arms or more specifically the shoulder joints where the stub
covered a small area of the joint face and the locating pin.
Only a minor amount of grinding, cutting and filing was needed to achieve a snug enough fit.
Air bubbles were only a minor problem, easily sorted with your favourite resin model filler.
I won't go into too much detail as to what was used
as products available differ from country to country.
The white metal castings, which constituted the spikes on Batgirl's gloves were a wee bit rough
on the surface but a touch over with some 600 grit wet sorted that problem in a jiffy.
Putting it All Together
Now assembly is pretty straightforward and with a bit of work and a good paint job,
a very decent model can be finished in a not too great space of time.
So I could save myself some time and trouble and just do a straight from the box build…
YEAH RiGHT!
Glutton for punishment is me so here we go.
First thing I noticed was that Catwoman in the Horley picture has rather high-heeled boots.
This came first in the change list.
Problem: the two figures are sculpted to fit together 'as is' so
any change of this type would have to be done to
(a) keep the placing constant or
(b) make further changes to maintain the pose as much as possible.
(b) won in this category.
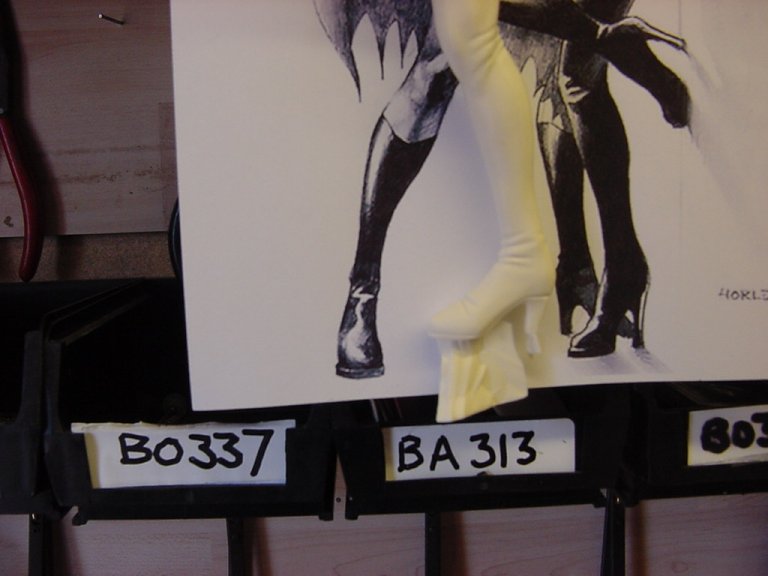
By using an electric heat gun, the type usually made for stripping paint,
the angle of the boots were altered and the heels extended courtesy of 2 part automotive putty.
This resulted in a gain of about 1/4 of an inch in height for the feline one but no real big problem really.
BE VERY CAREFUL iF YOU EVER DECiDE USE ONE OF THESE HEAT GUNS.
Apart from injuring yourself you can run the risk of damaging the piece beyond repair.
Slowly and carefully does it and a pair of oven/cooks gloves are not a bad
investment for this kind of lark believe me!
Onto matters of differing height, the Catwoman casting has indentations
in her right breast to fit snugly with the Batgirl figure.
This of course had to be altered to fit correctly.
This was done but my usual trick of rough pencil marking contact points,
lightly sanding said areas,
applying a water based mould release to the Batgirl figure,
painting it around the contact points,
putting two part auto putty on the Catwoman and pressing together in the position required.
Once putty has cured then use water to separate and sand putty to shape, job done.
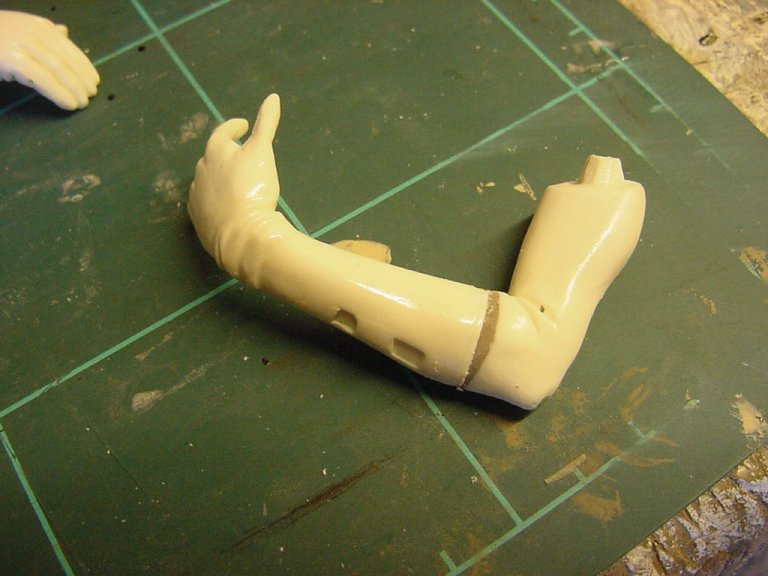
The arms were the next part to be addressed.
One arm on the Batgirl and one on the Catwoman are straight so using that as an excuse
possibly a poor one but there you have it)
they were re-worked so the straight right arm of Batgirl arm is now reaching across
and on Catwomans' left thigh and Catwomans' right arm is re-worked
so she has her hand on Batgirl's butt…
no other polite way of putting it really.
Now this arm/hand re-do presented another problem.
The figures could no longer be built and painted as separate then placed together.
So in simplistic fashion, I just cut the gloves off both figures at the moulded break line.
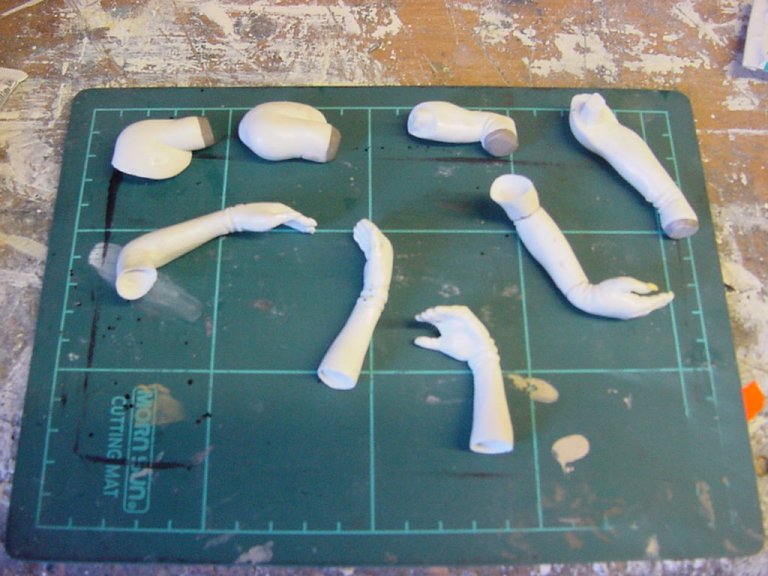
The gloves had a cavity ground into the tops and the arms had a
small stud built up from 2 part putty to take the gloves so they could be
painted and assembled once the main job of the figures was complete.
All that was left was to assemble the figures,
deal with the white metal spikes on Batgirl's gloves and sort out the cape.
This was done in fairly short order,
assembly by way of the two large paperclips supplied being cut up and used as pins
and the parts being glued by 90 second curing two-part epoxy.
The gloves were cleaned up and the metal spikes given
a wee polish and the trimmed and fitted with 2 part epoxy.
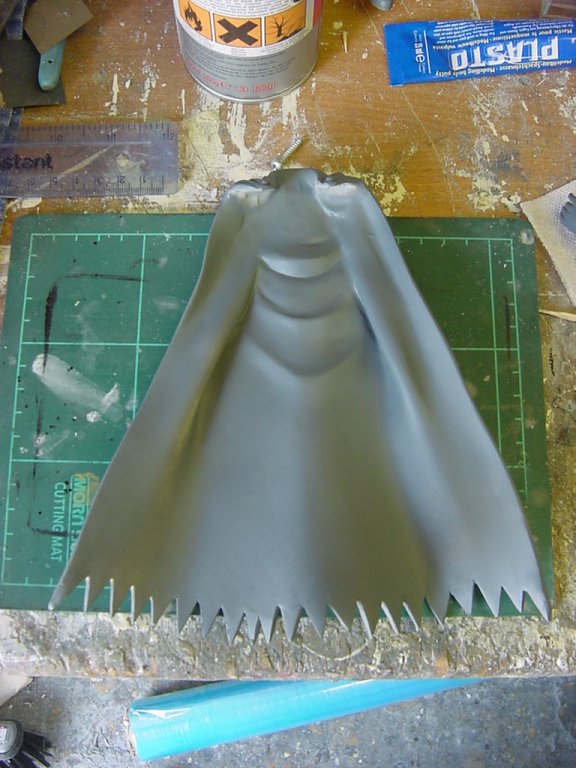
The cape was a simple number,
fill a few air bubbles,
file off and smooth the seam lines,
clean and prime.
The Catwoman figure had two rather bulky moulded seams where the arms joined,
there were removed as I just didn't like the look of them.
The rest of the figure was pretty much left as is,
ditto Batgirl.
After a good attack of the filing and sanding,
the first coat of primer was applied.
Bog standard auto grey primer.
Small faults were located and dealt with then a second coat of primer applied.
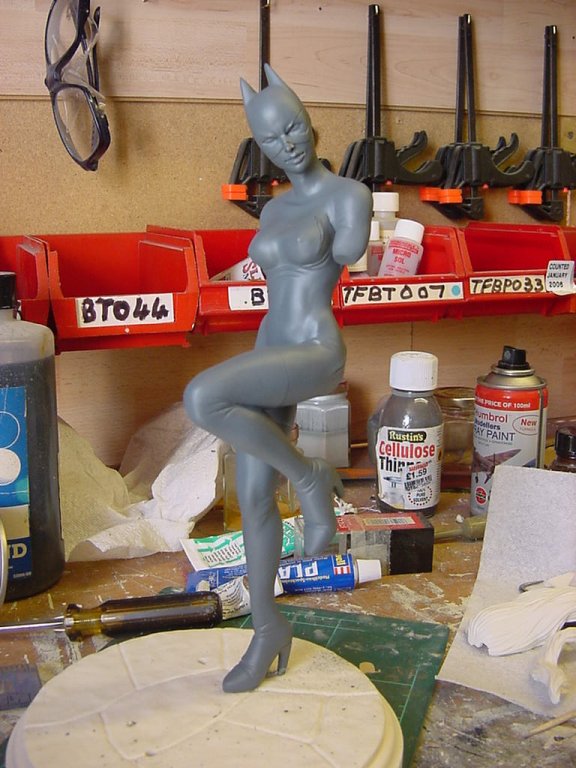
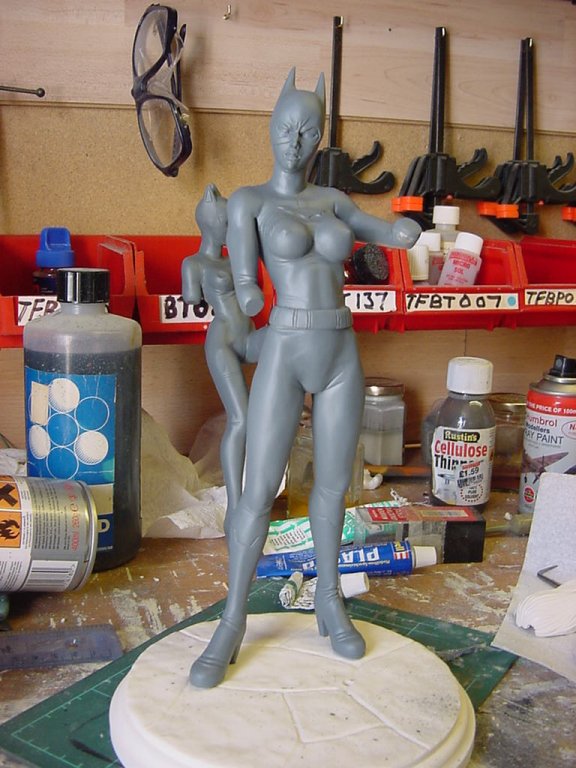
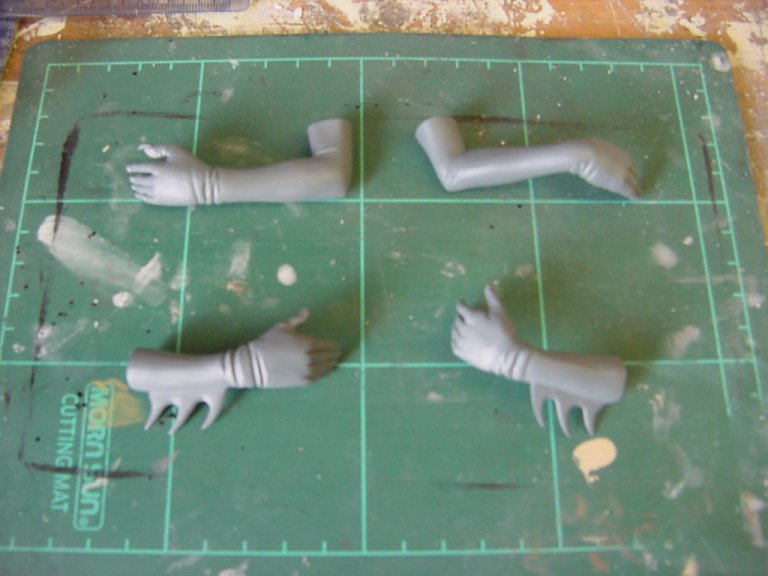
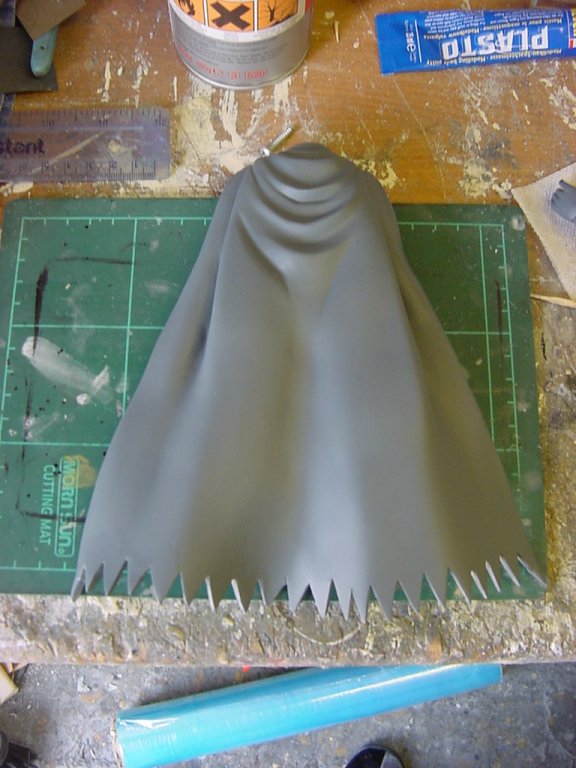
I intend to stick to the colours as laid out in the pics supplied with the kit
so that's about the level of that.
Paintwork will doubtless be the usual suspects,
namely that of acrylic and enamel.
Onward to page 2 with ya now!


 Page Number


