
Northstar/DeBoer Enterprise Refit
Repair/Rework/Rebuild
1/260th Scale
S


 Page Number
To lighten the mood...
Let's Get Some Lighting Prep Done!
Welcomes back all!
OK, the Planetary Sensor Array finally done and fits as well as it can
considering the out of kilter surface it's going on to.
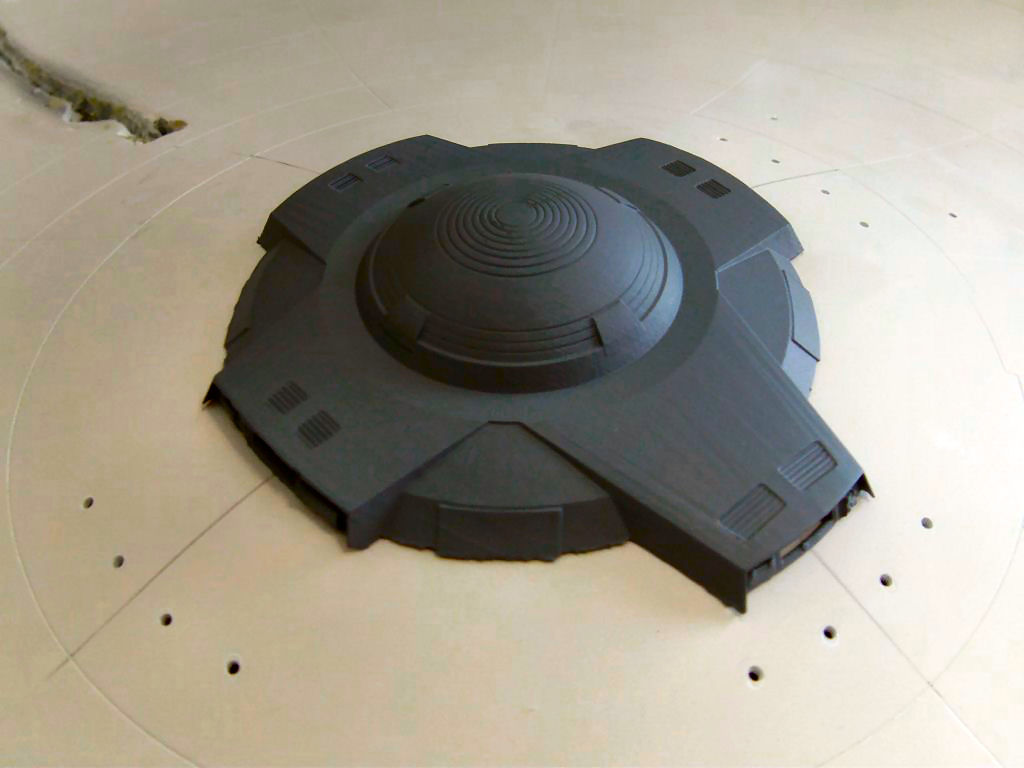
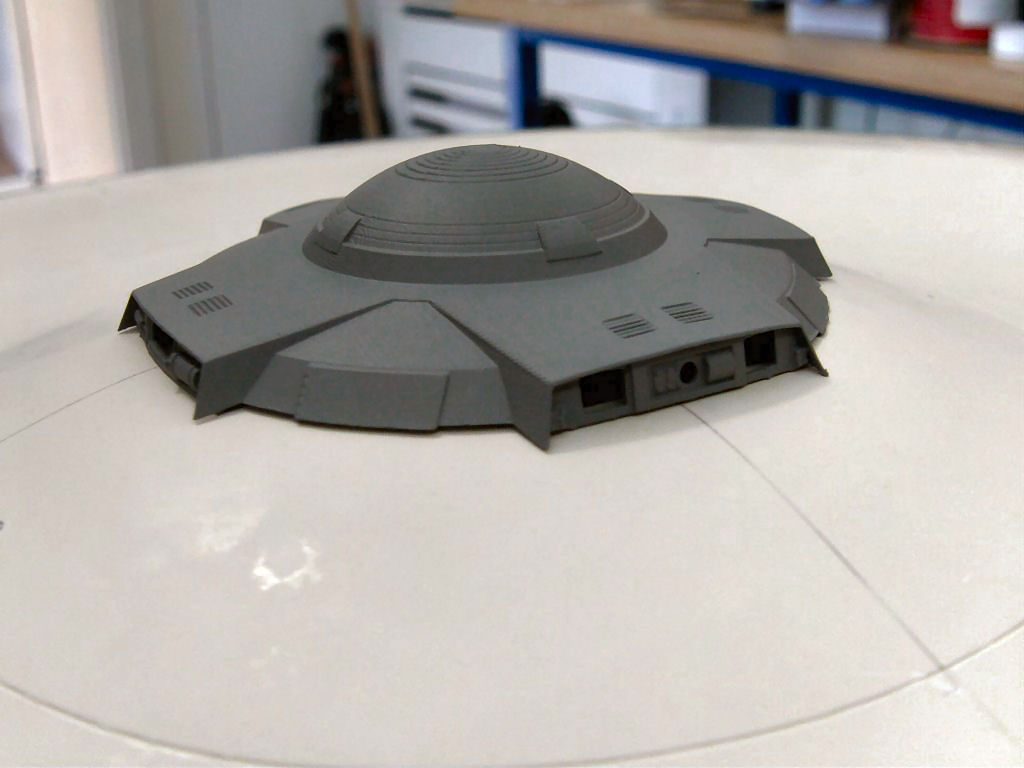
One problem sorta sorted so onward and upward.
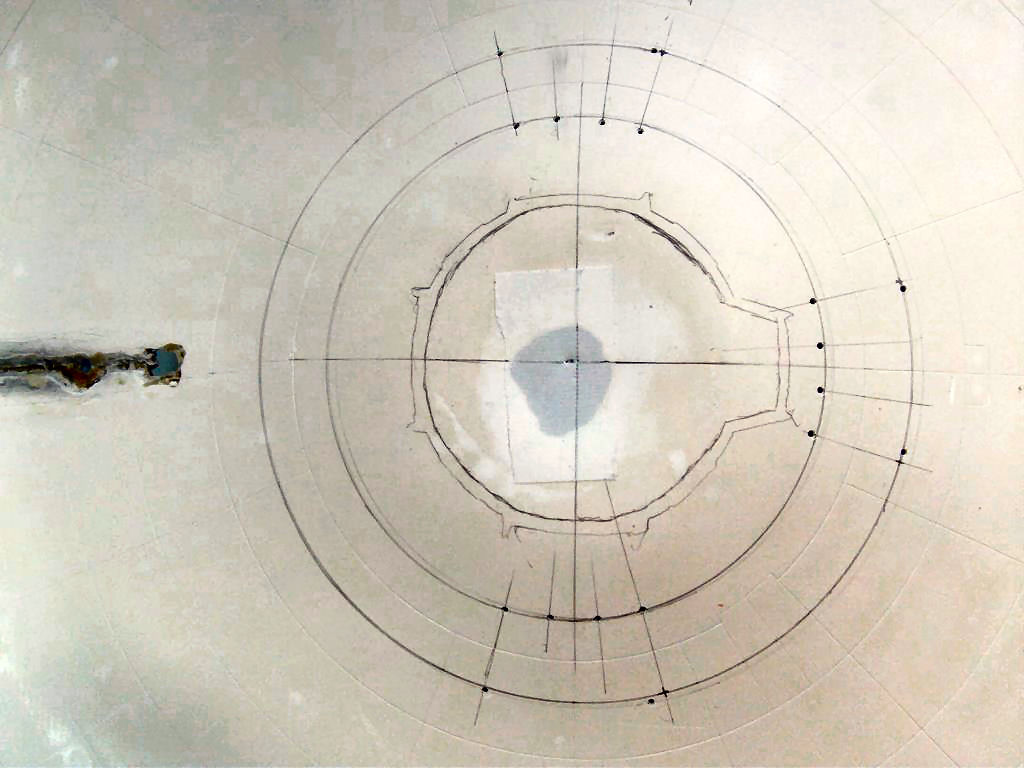
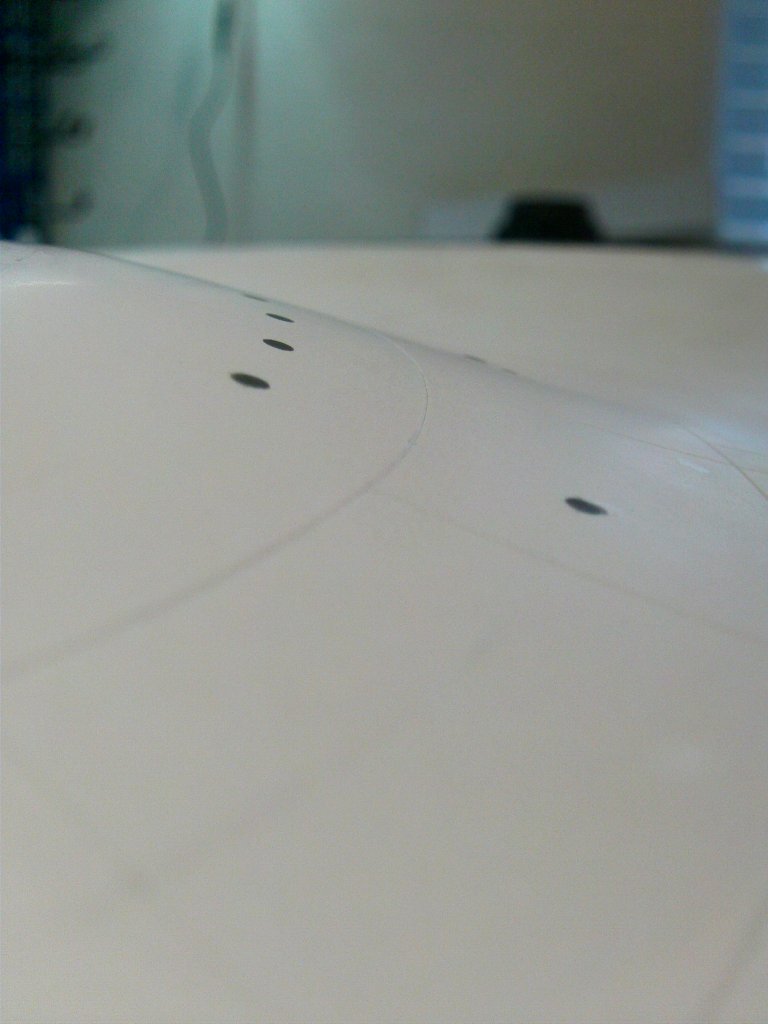
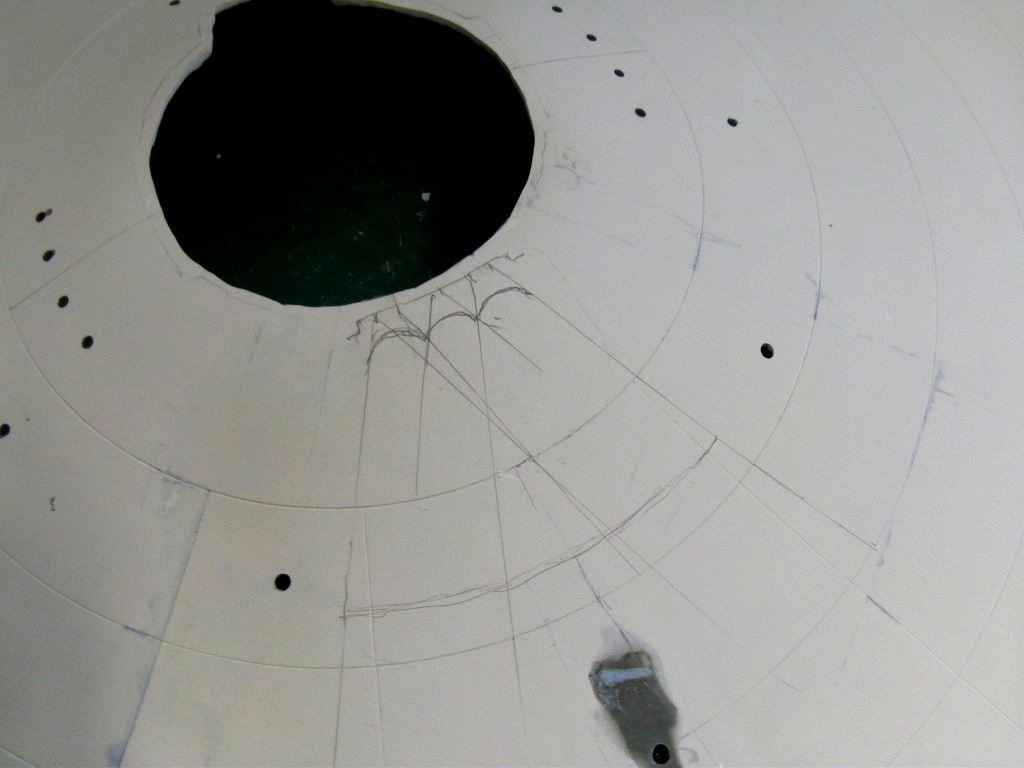
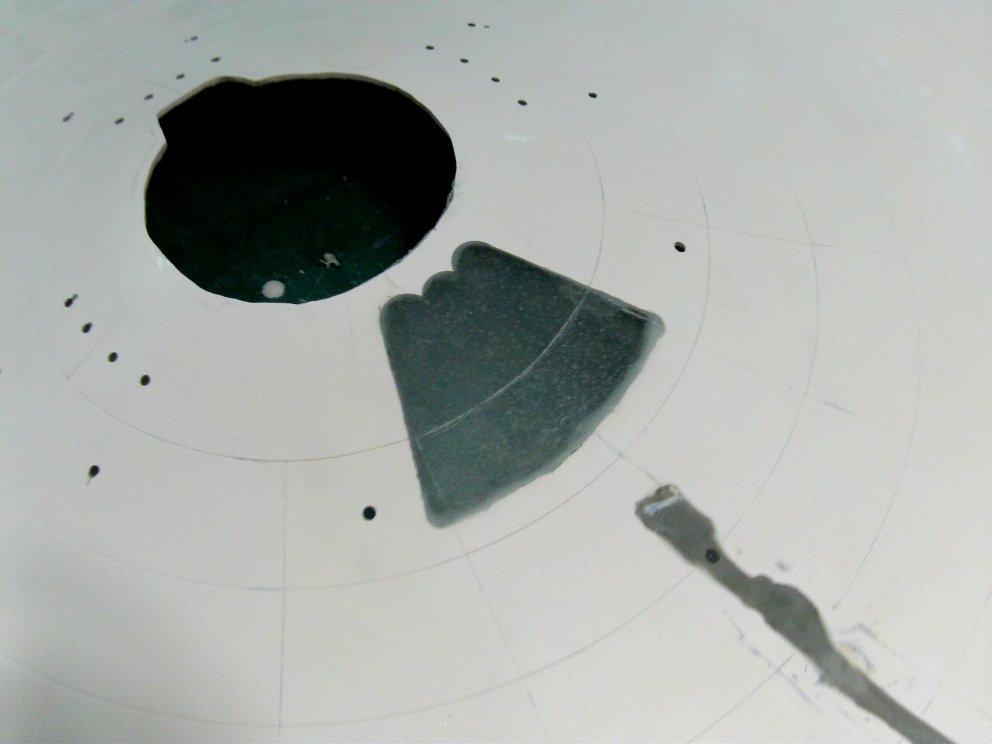
The portholes/windows on the saucer underside needed a bit of looking at.
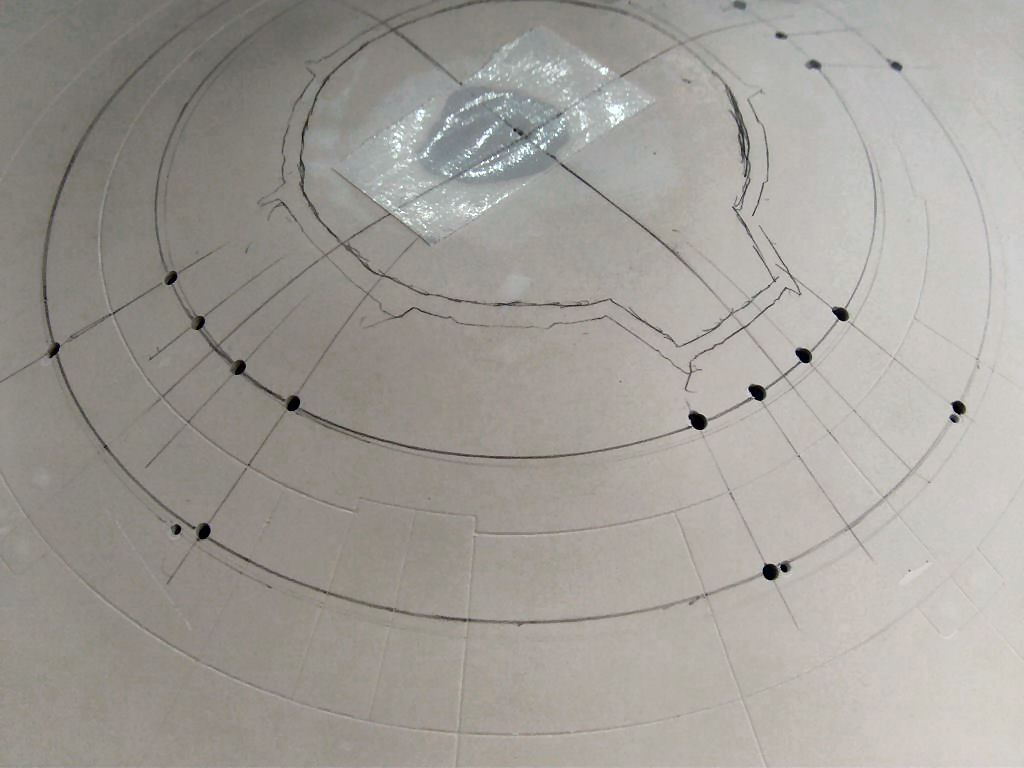
A bit of tape and a drawing compass later get's me some sort of lined up lines.
All credit still due to the fella who did the master patterns but being hand built,
there are going to be a few discrepancies here and there and I will not say
I could have done any better at the time they were made.
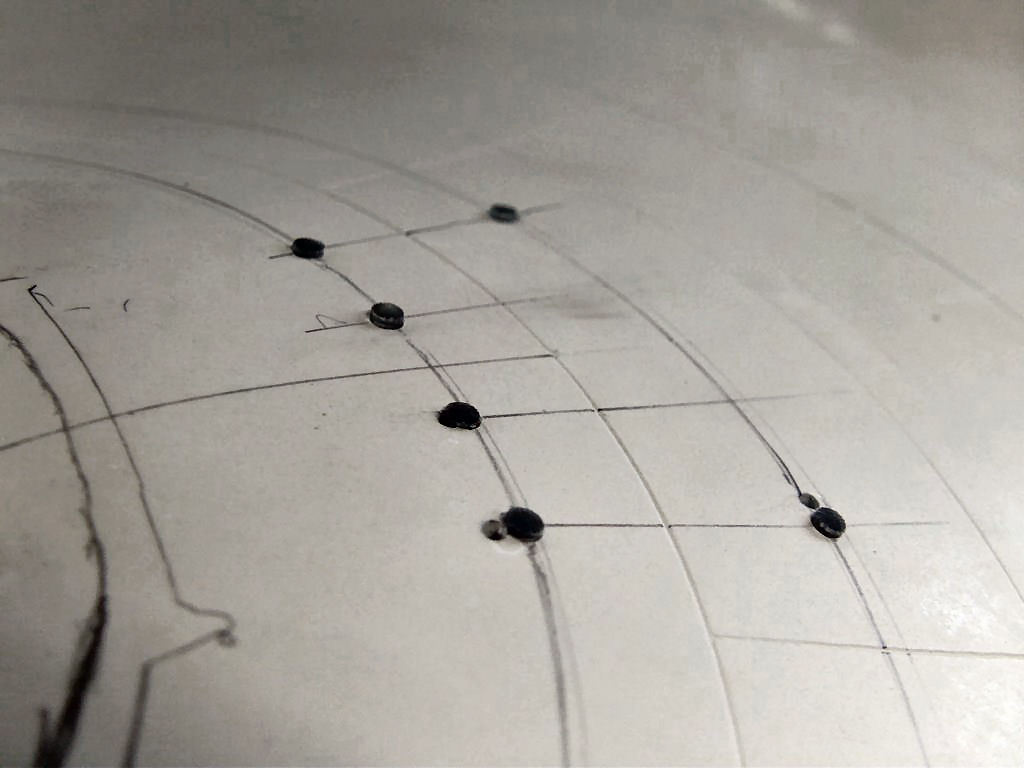
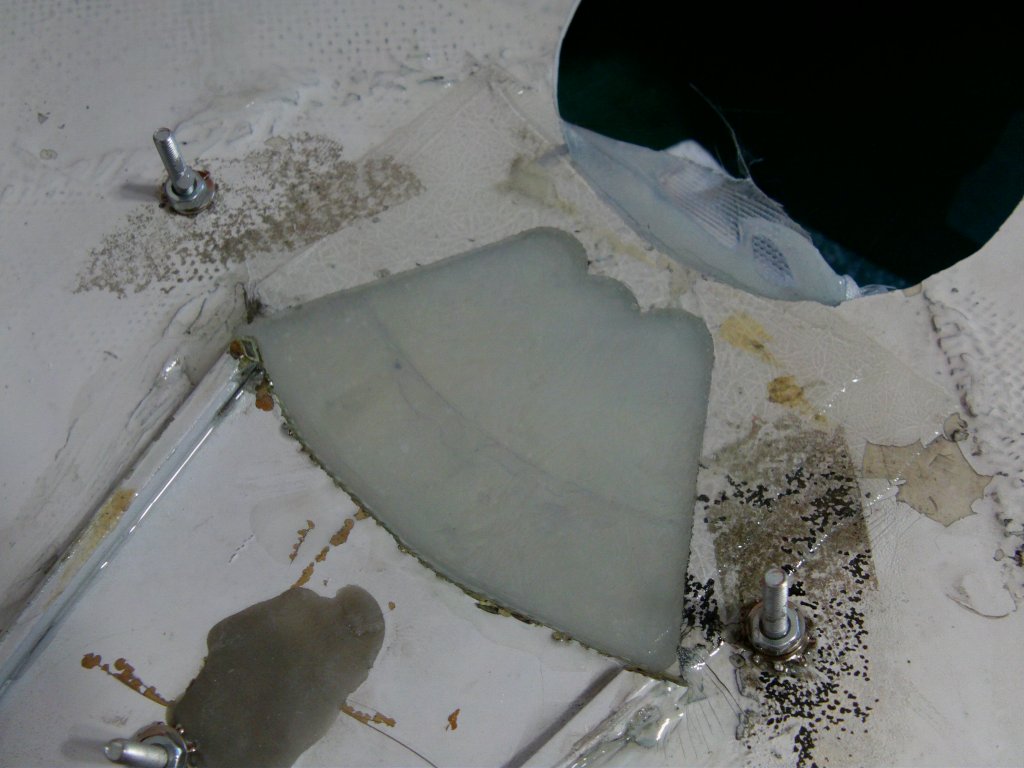
Holes drilled and ground to take the new clear parts i'd printed.
Said bits got fitted, nice and snug they were too which made me happy.
A drop of superduperglue for each one on the inside.
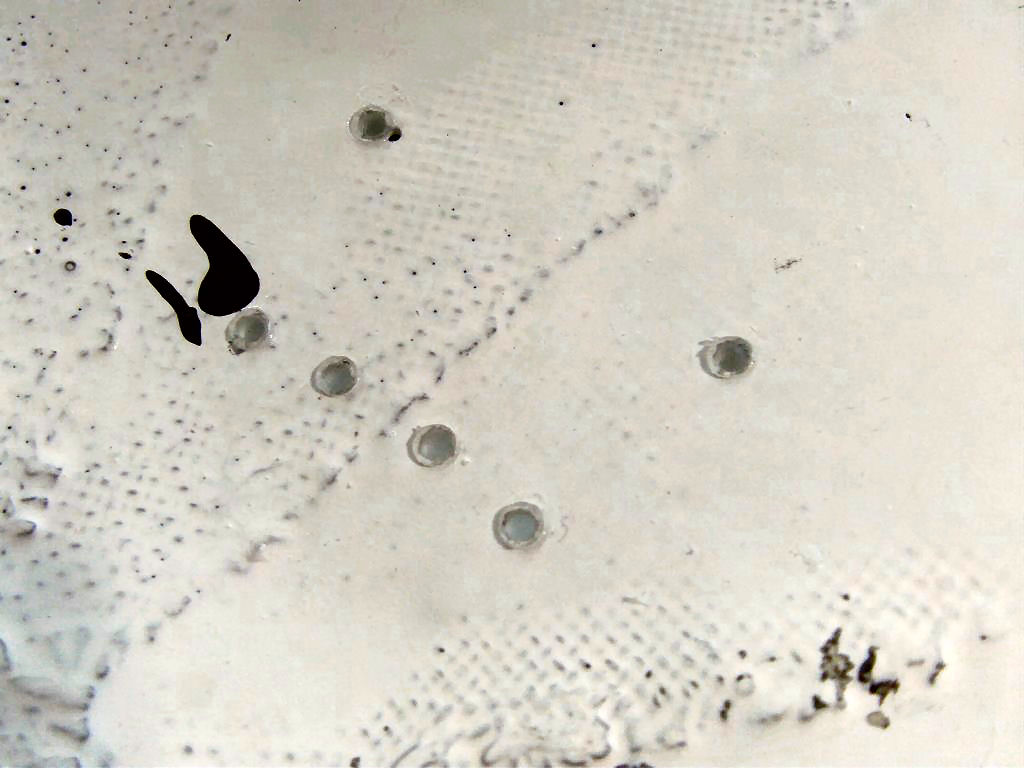
All standing slightly proud on the outside which is what I wanted.
Some Aves laid in where required and after curing, much wet sanding.
Smooth!
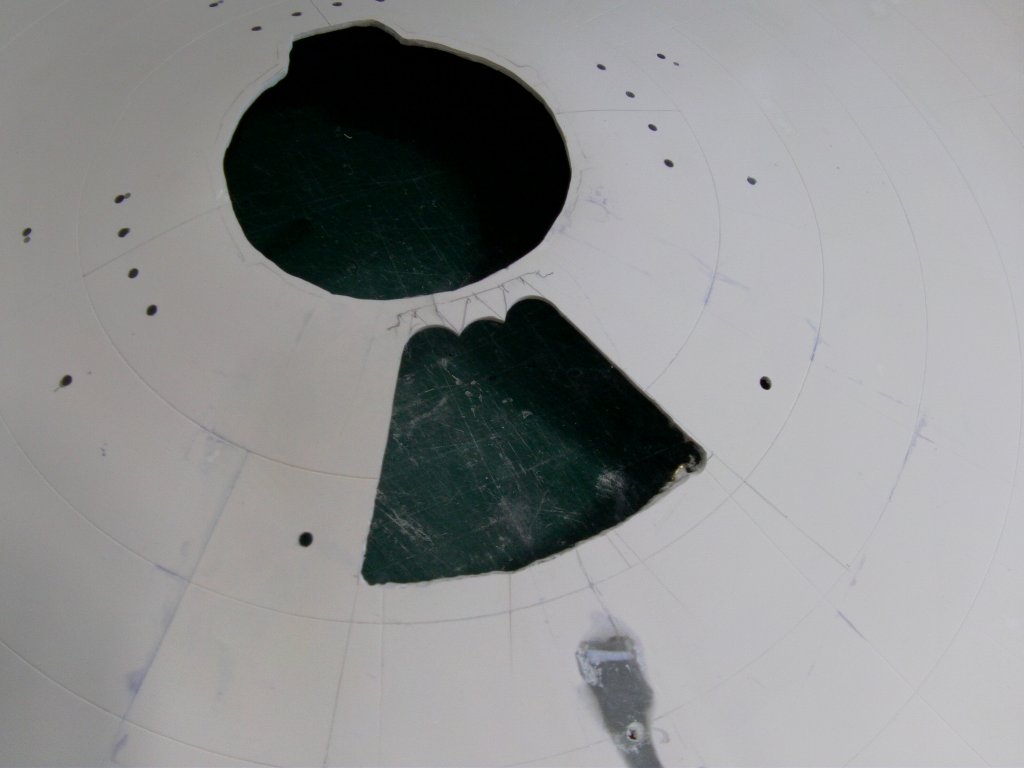
The middle was marked out for the sensor array and a lump sliced out
for when the inevitable lighting happens.
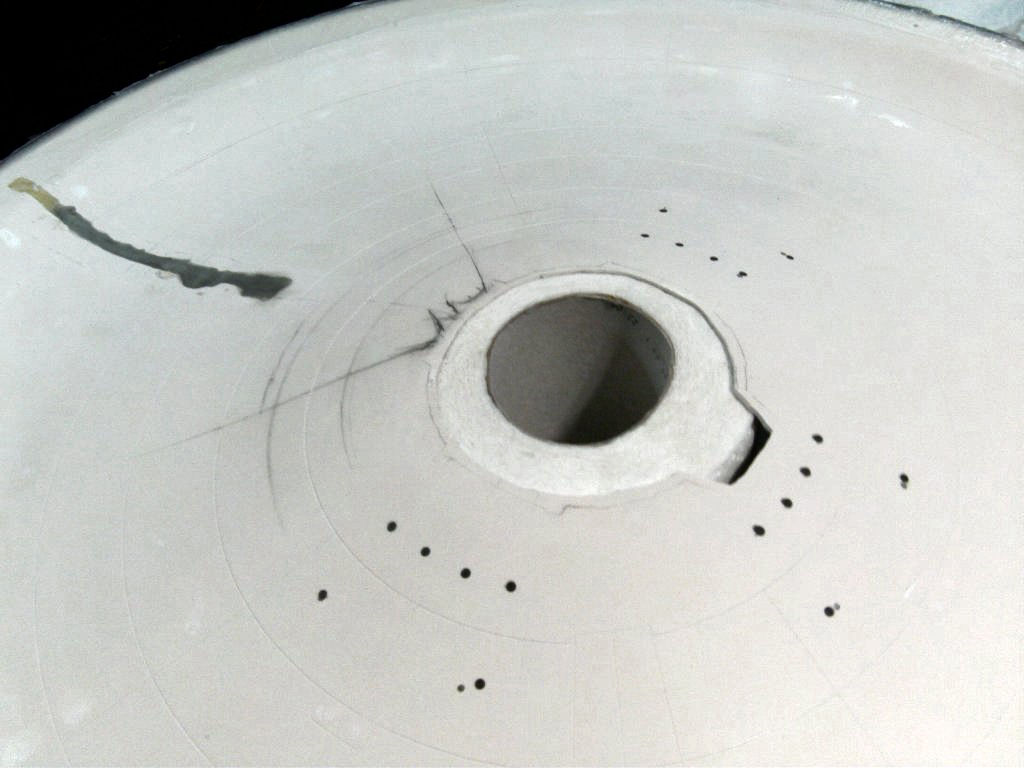
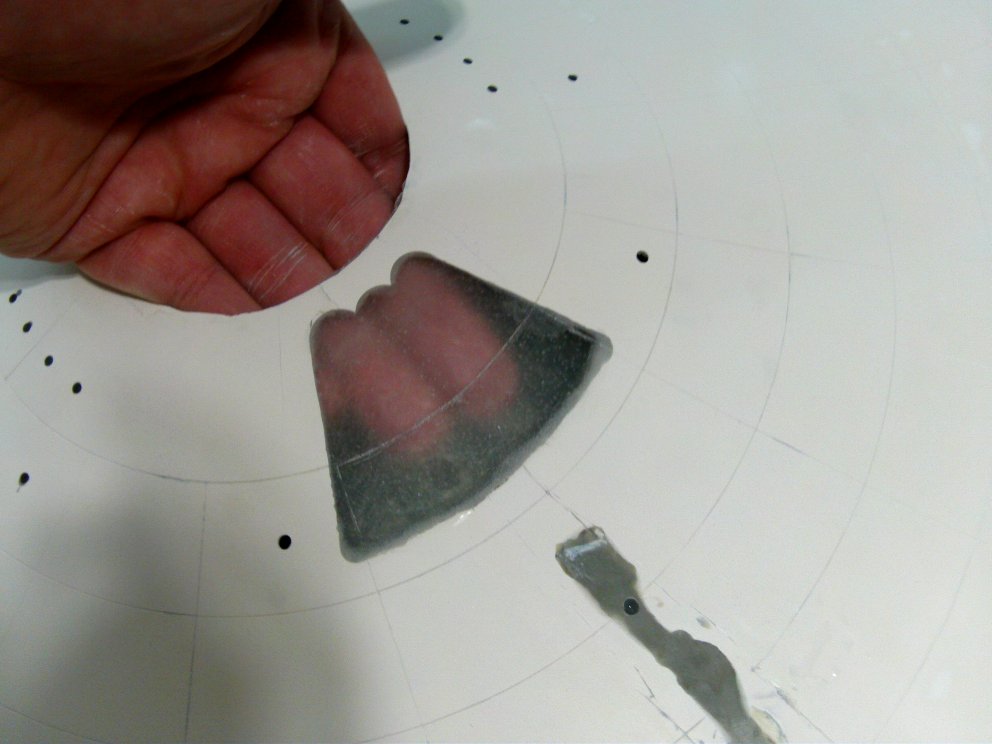
Light transmission is good.
It'll be better once they are polished both inside and out.
Now the fun stuff really gets going!
Now a lot of you will be familiar with the 'Raytheon Lighting' that I use.
Well on this it's a bit of a different matter because it's
not white styrene and light don't go through it easily.
So with that in mind, i'm just going to have to Raytheon the shit outta this!
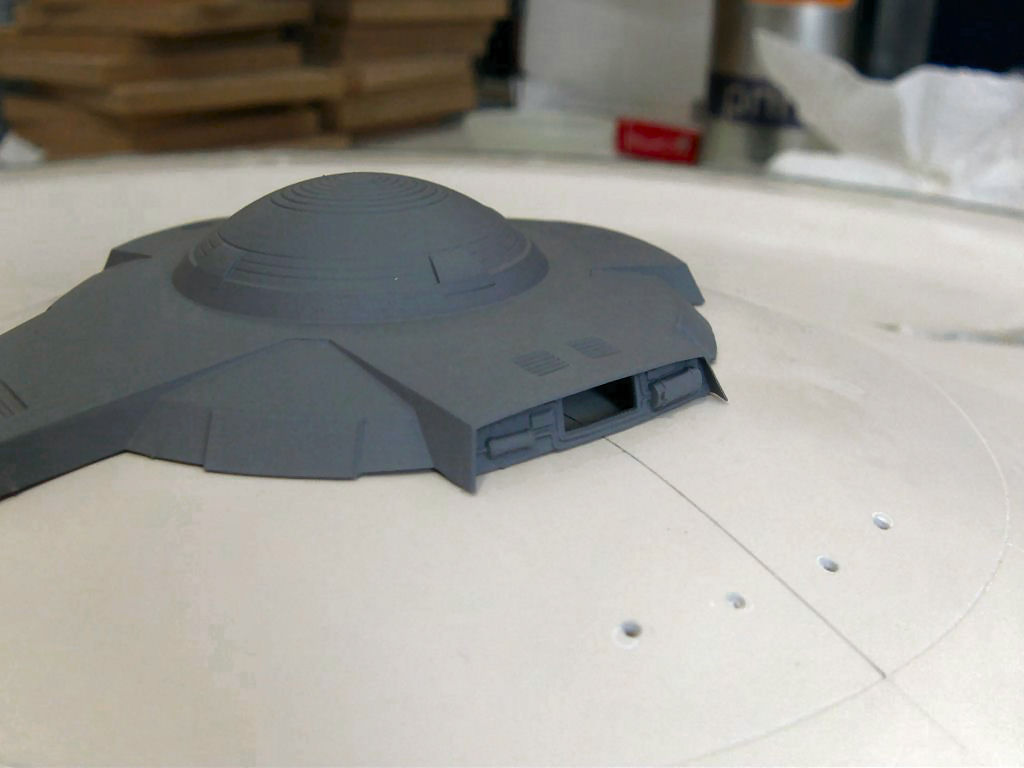
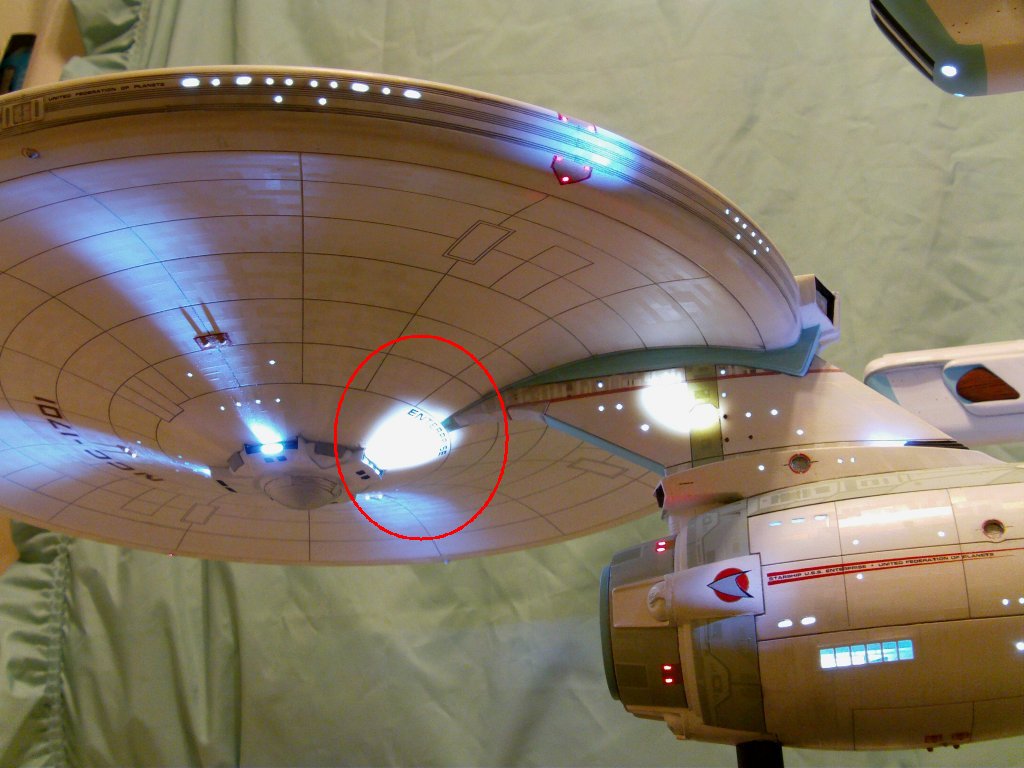
So the lighting to be first recreated is the one to the rear of the Planetary...
Oh to hell with the techno babble, I'll call it the PSA from now on!.
This is the area I mean on the last 1/350th refit I did,
the bit circled in red...
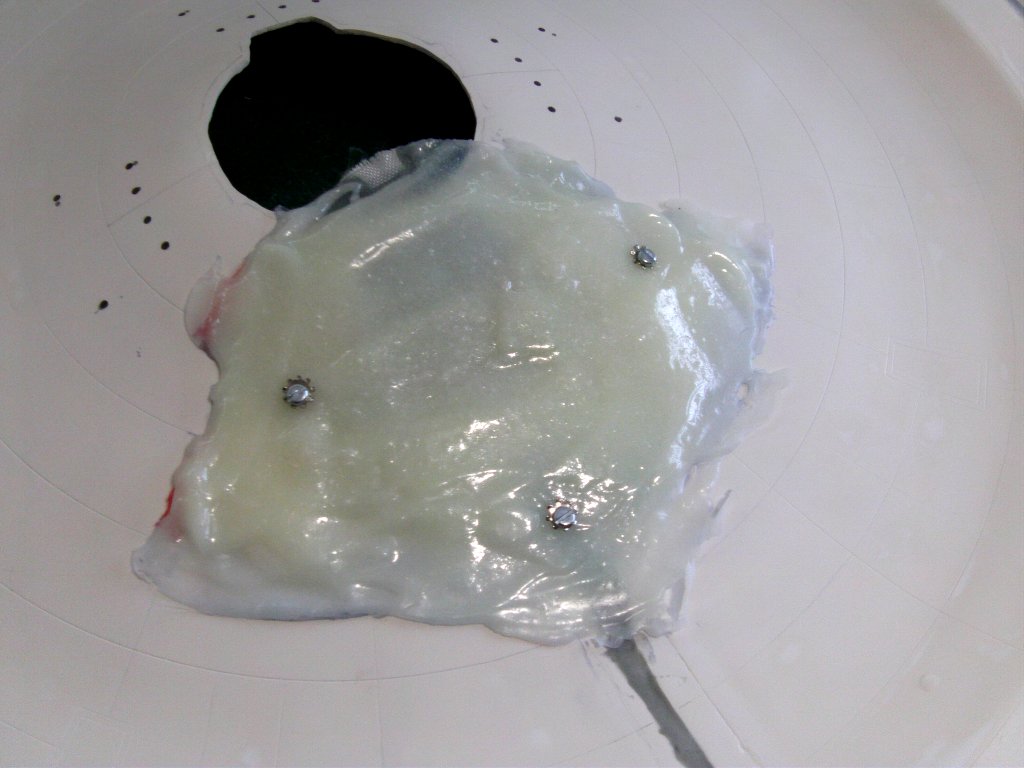
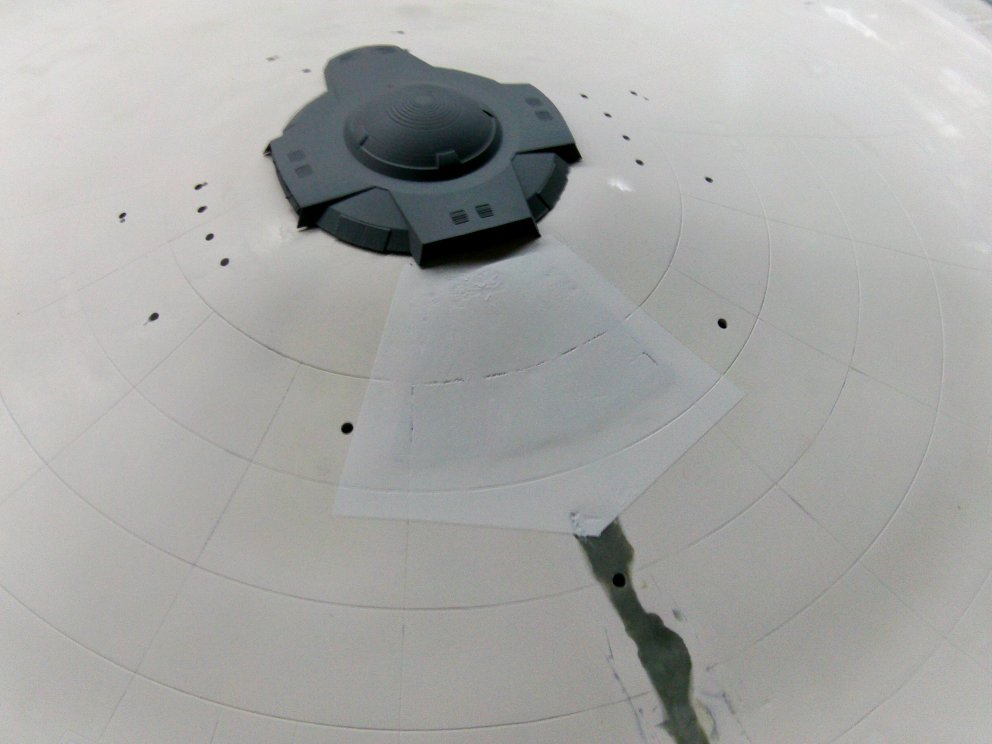
To begin, some PVA blue along with a couple of decent coats of Ambersil release agent was laid down,
then a single layer of epoxy fiberglass laid over the area to the rear of where the PSA will be.
Three holes drilled for purposes that will become clear.
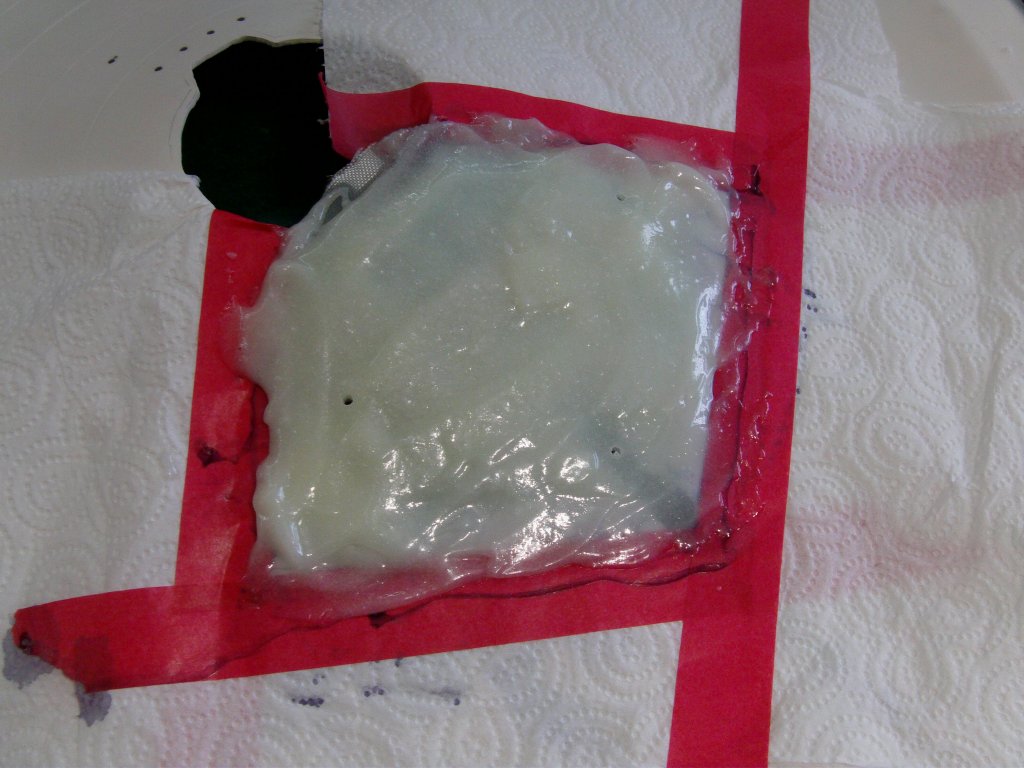
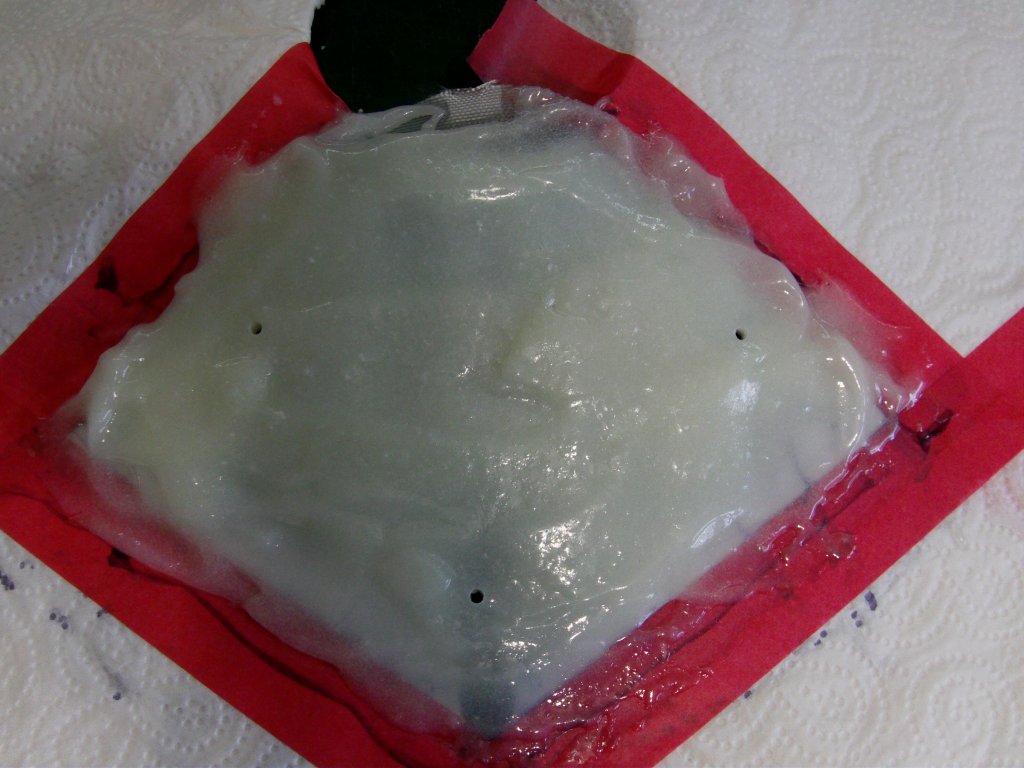
After curing, this was removed.
The surface is not perfect, it doesn't have to be.
The area that would be lit by the rear of the PSA was removed.
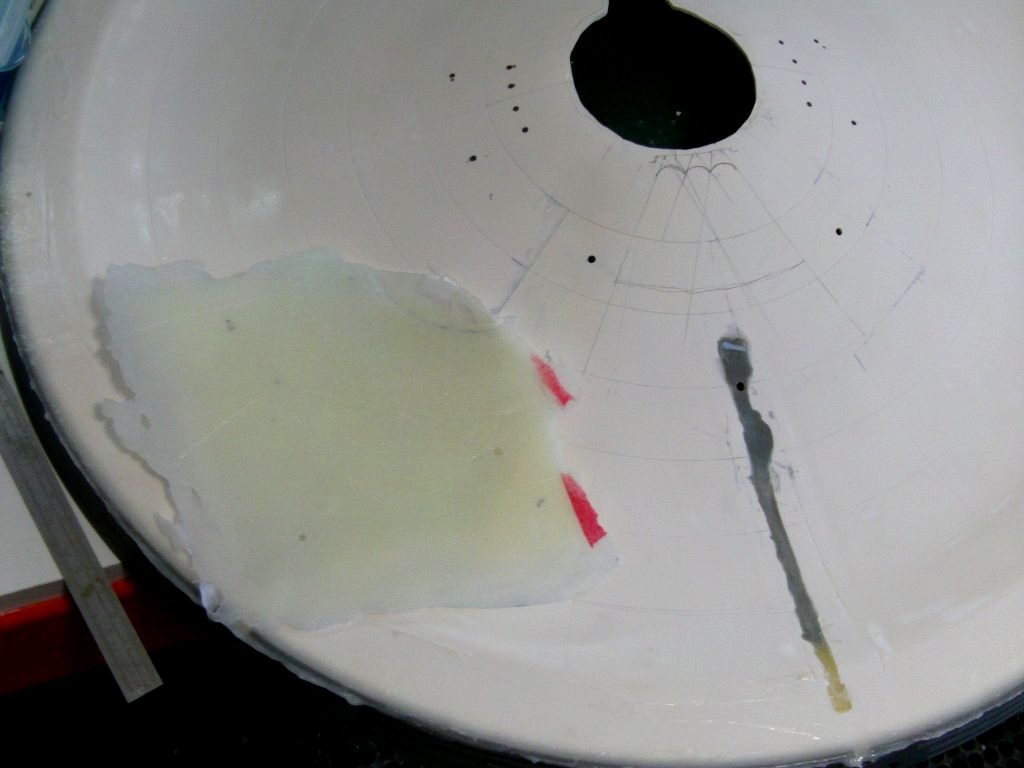
After cleaning and some release agent applied to the 'mould',
that was bolted back on to the saucer through them mystery holes.
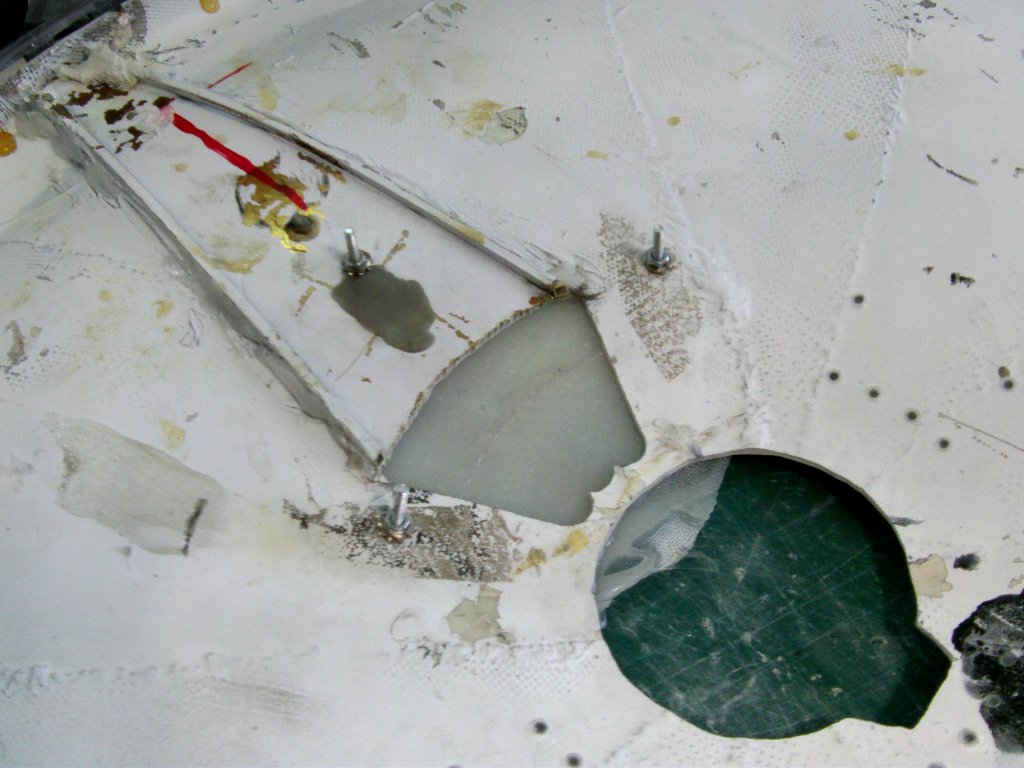
First a bead of thickened epoxy was laid in around the edge and left to gel.
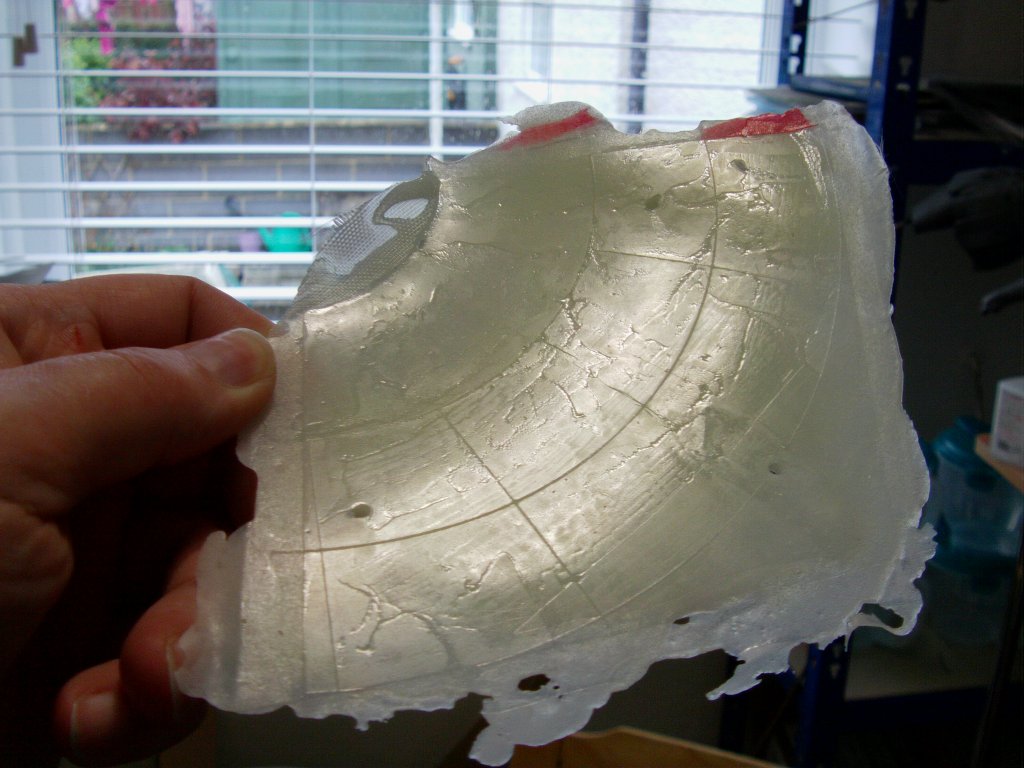
Once done, several layers of UV stabilised clear epoxy with
surface tissue was plastered in to the area.
Once cured, the mould was removed and some wet sanding work occurred.
Surface nice and smooth with grid lines all present and correct!
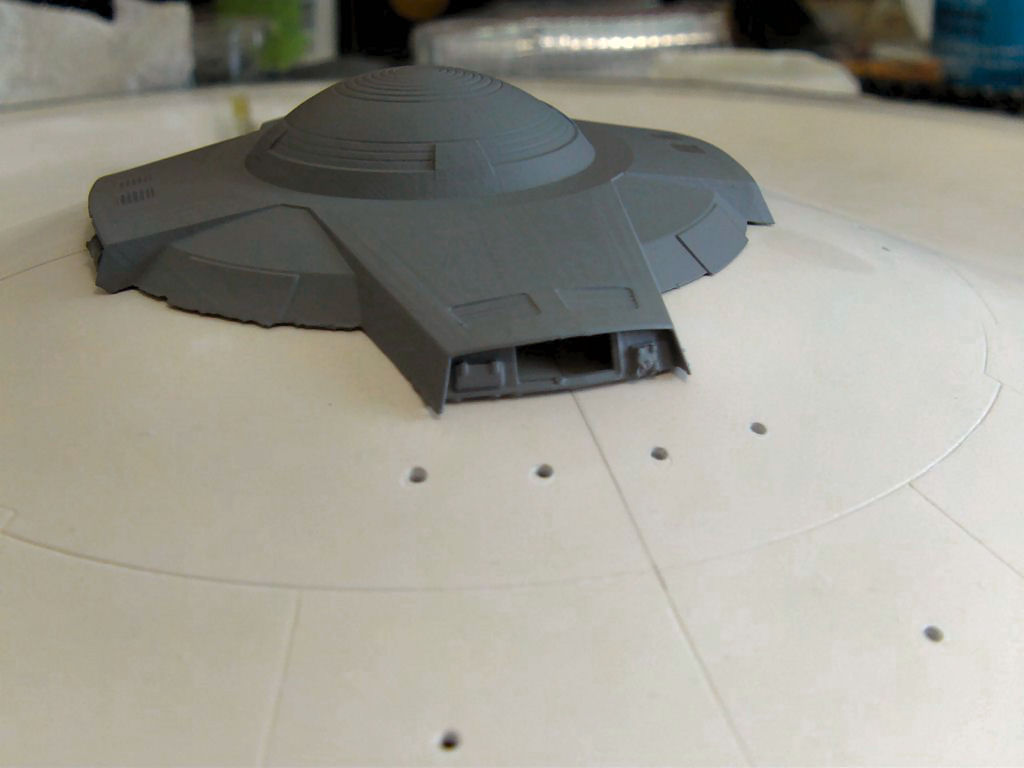
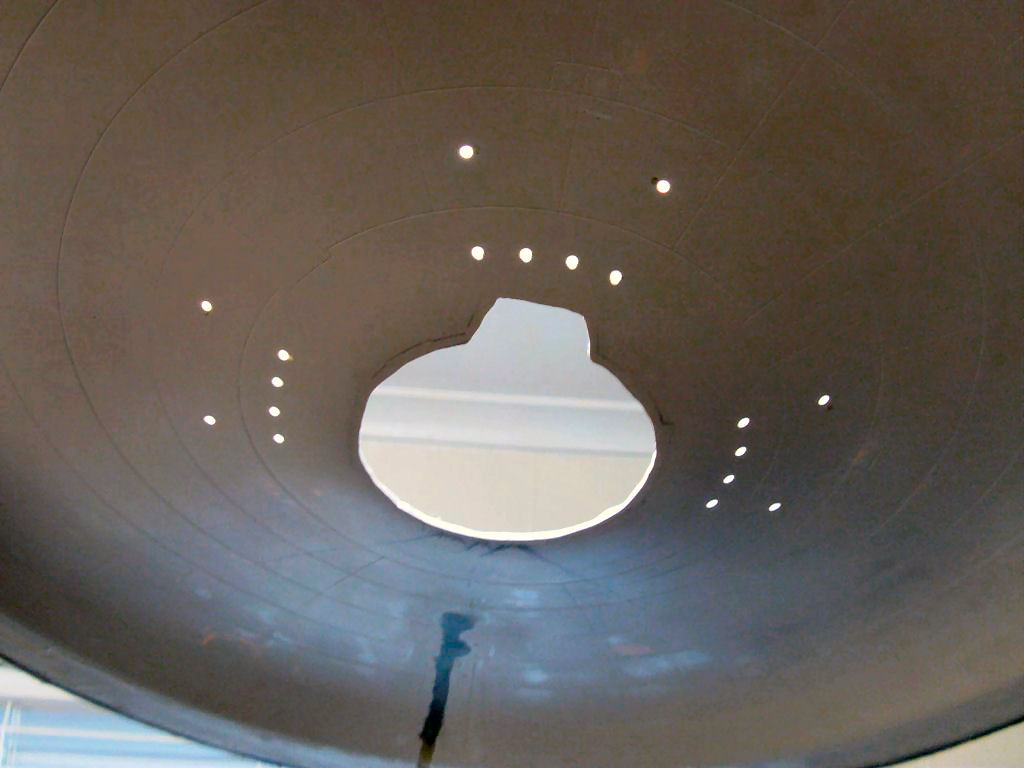
Quick and dirty test run with just white primer and an LED torch.
Looks the part and light transmission is rather good.
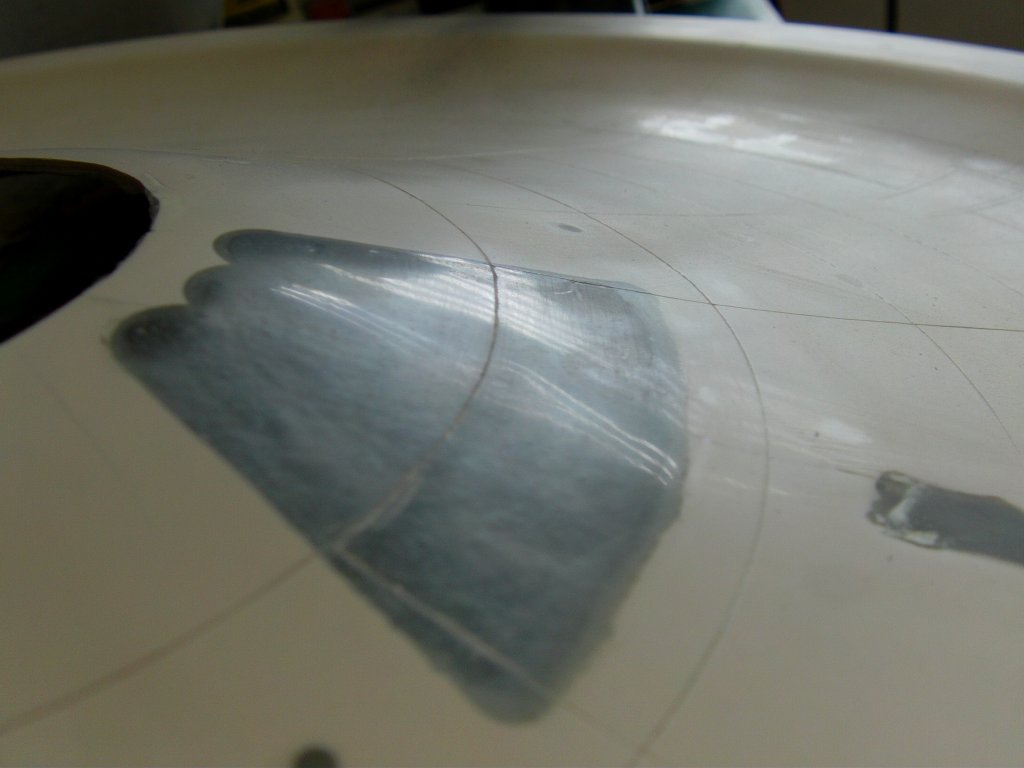
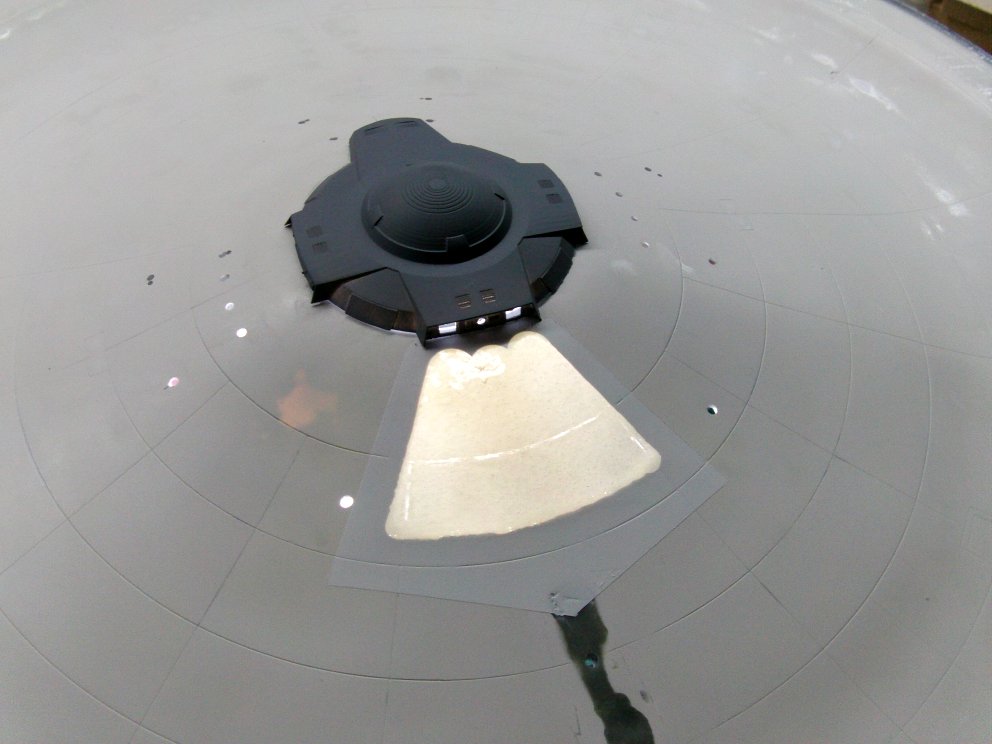
Certainly something I can work with.
And that's the lot for this page so onward to the next one with thee!
Page Number