
Moebius Models Flying Sub
1/32nd Scale


Page Number
While I wait in limbo for a bit...
Time For A Bit Of This.
While the ridiculous legal action brigade sort their lives out, thought I may as well post some old pics and carry on fiddling about.
Speaking of which and in somewhat Irwin Allen fashion...
"Last time as you will recall, our lack-luster layabout was re-thinking the power problem"
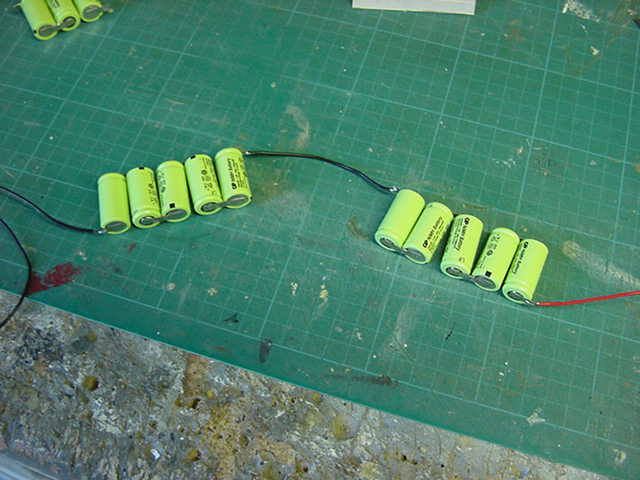
And so it was that after some faffing about the package did arrive with many batteries enclosed.
NIMH or Nickel-metal hydride cells to be exact.
2/3rd AA size packing out 1.2 volts a piece and 750 milliamps.
These be some of them.
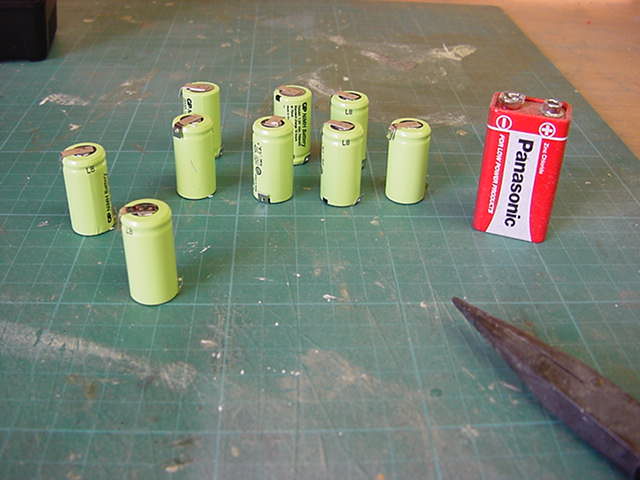
A total of 17 in all to make up a 12v and 8.4v pack.
Splitting the load between two packs.
The 12v will serve the EL sheet and big bundle of flashing bits, the 8.4 for everything else.
Lately i've found NIMH cells can take a wee bit more abuse than Ni-Cad cells so I think my weapon of choice from now on in the onboard power dept.
Got a very good charger for the packs as well...this one.
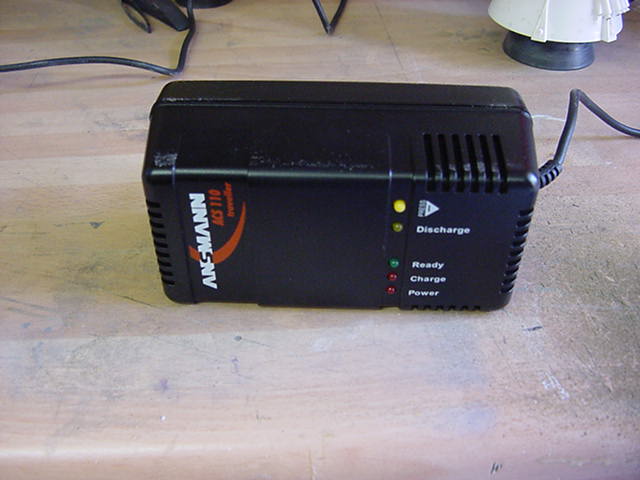
Ansmann ACS 110.
Microprocessor controlled, does (in order as soon as plugged in) tests the pack, fast charge then trickle charge.
Will let you know if the pack is shot before any charging happens so that's a bonus.
Also has a discharge thingy for full cycling of batteries.
Automatically sorts itself out depending on whether you are charging from 1 to 10 cells.
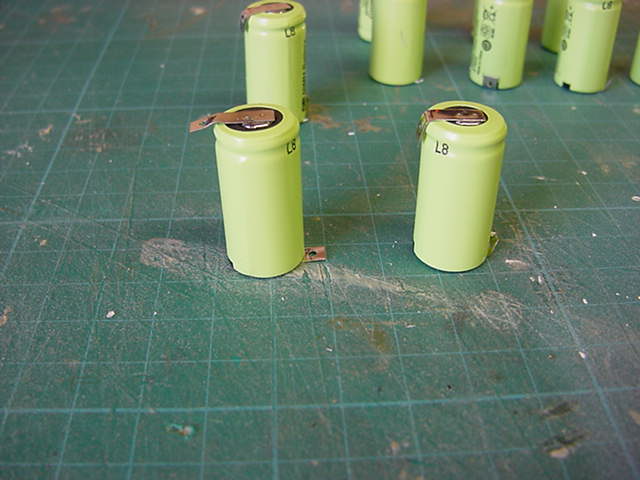
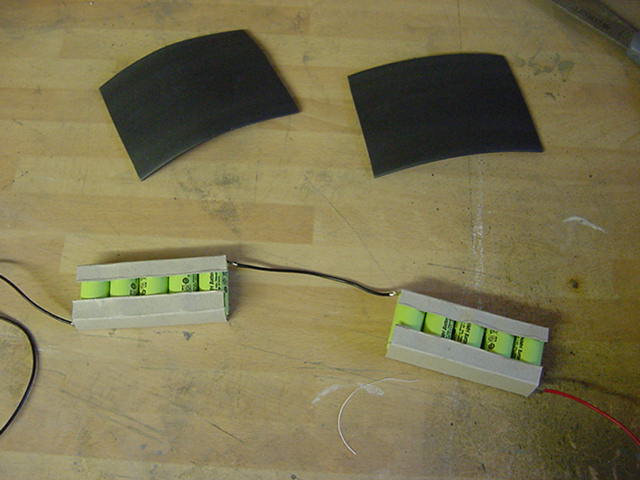
So then, all the cells have handy tags on 'em for putting together so after straightening them all out, time to assemble.
Simple job using a custom battery holder while solder device...
Or a lump of scrap MDF and a couple of elastic bands to be technically correct....
Some solder slingin' and much waving of iron later, the task was done.
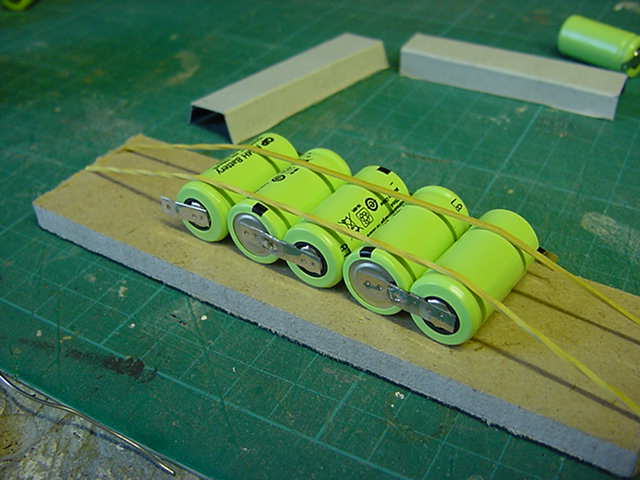
Nice.
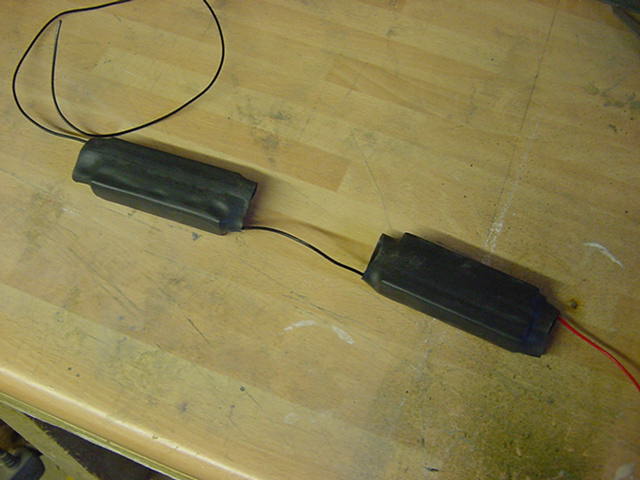
Right then, some thin scrap card hot glued to the top and bottom to make it all behave and some heat shrink tube
After a goodly going over mit der heat gun, it was done and the same sort of nonsense applied to the rest of the batteries.
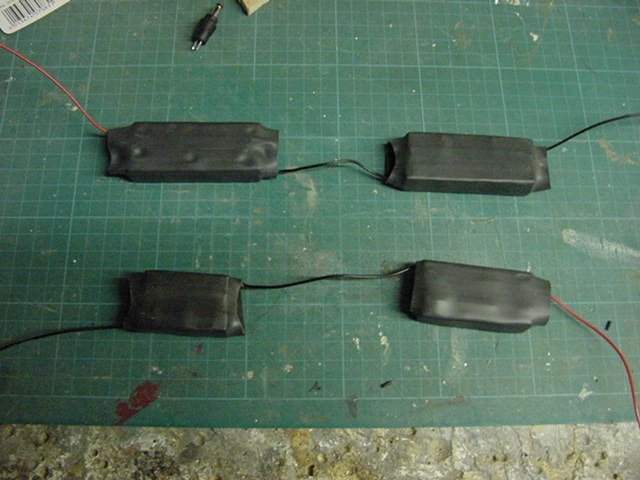
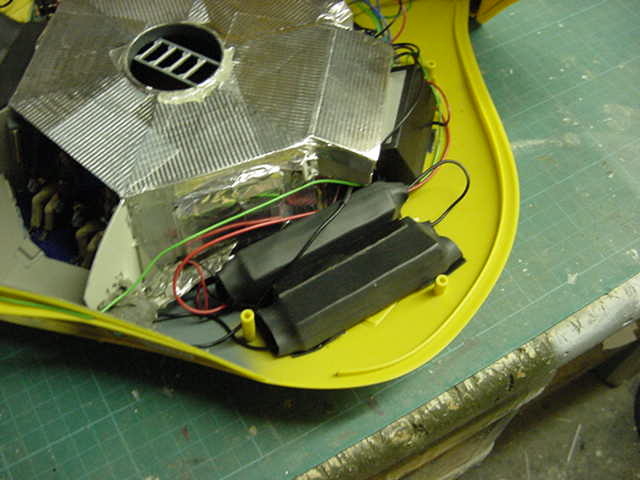
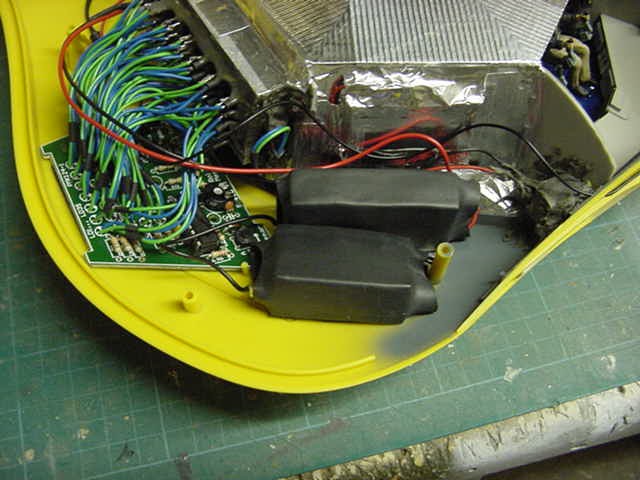
Reason for splitting the packs down was simply space, or lack thereof in the model to be honest.
So final bits to be sorted.
Fit the packs, charge, cycle and repeat for testing.
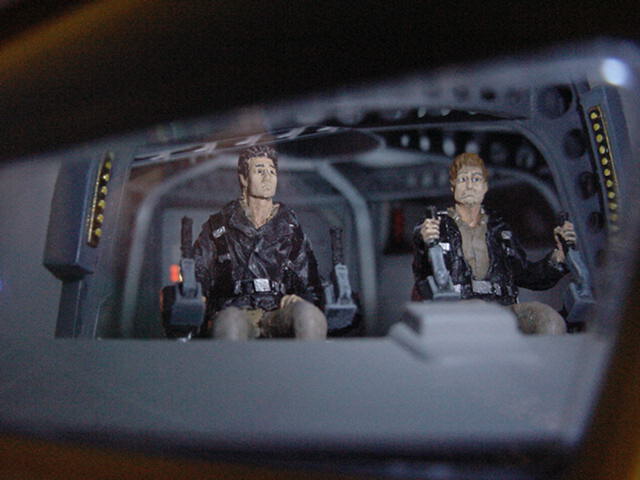
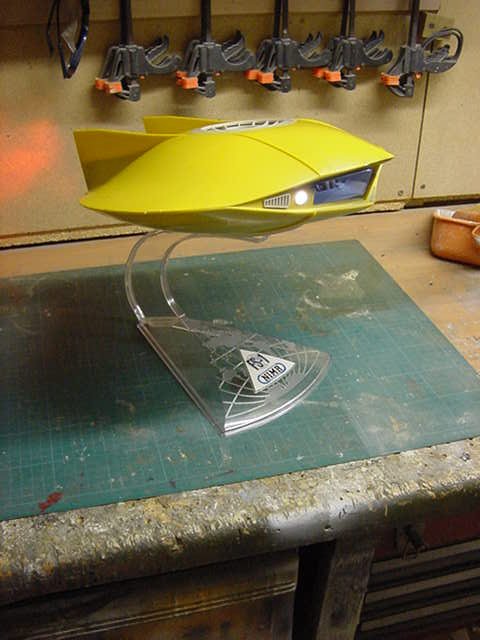
Now in and done and after a bit of testing, one thing did really stand out.
Namely once all closed up and taped together for testing, the lighting was lovely except for where the figures are.
It looked like this...
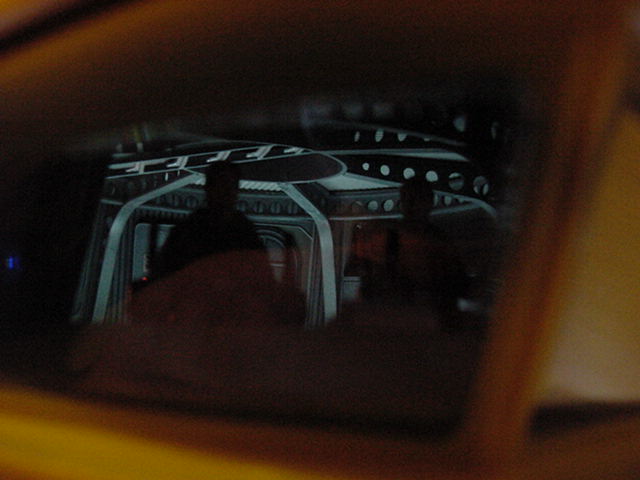
And that's pretty crap considering ya can't see diddly of the figures unless you turn the thing upside down.
Yet another problem to get sorted.
One of many...geezoh!
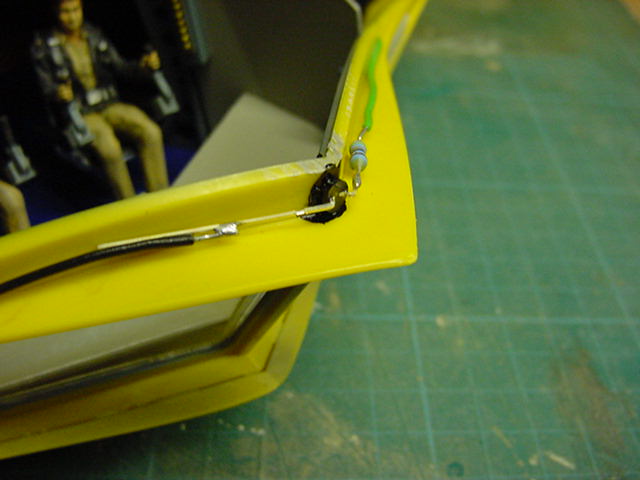
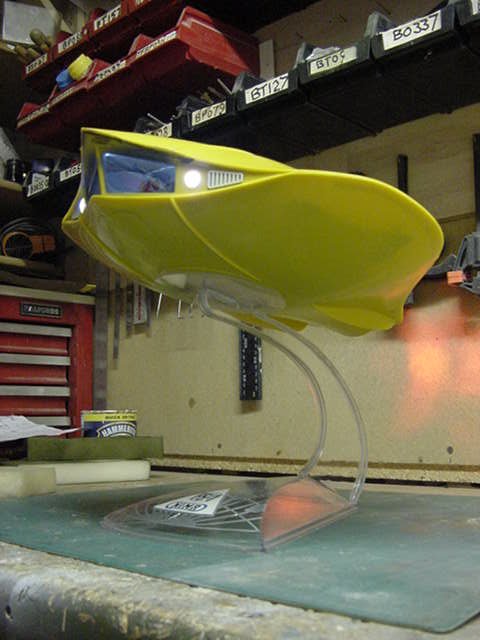
Anyway, the design of the kit does mean there's a fair amount of space at the top of the front bulkhead where the windows be.
Which is nice methinks.
Took all of 3 seconds to think 'better shove a LED in there then ya muppet!'
This was done in short order and a 3mm diffuse white was plumbed into the spaghetti like pile of wires.
The top then slapped back on for a look see.

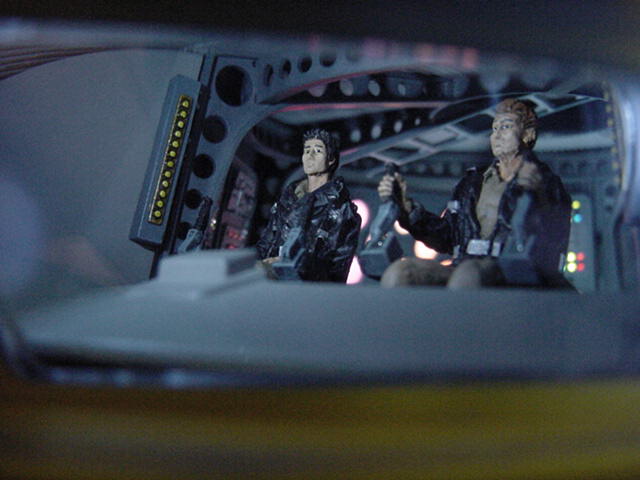
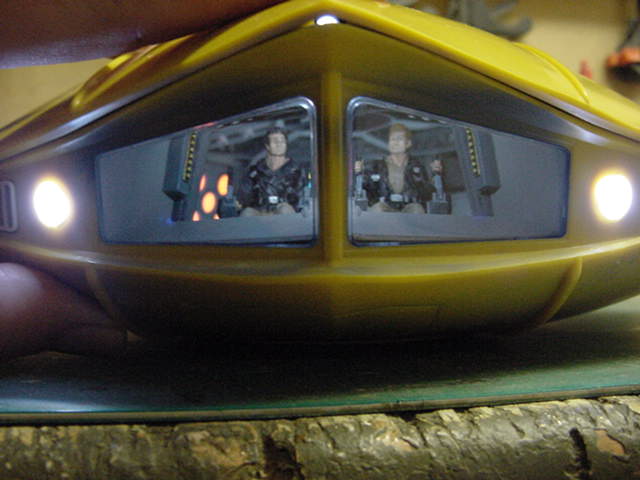
BETTER!
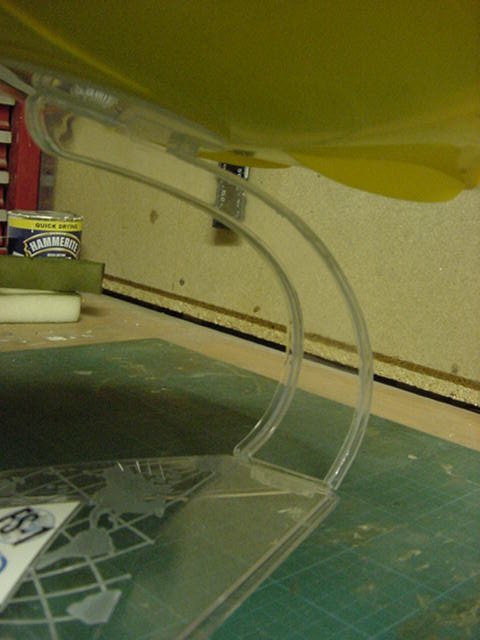
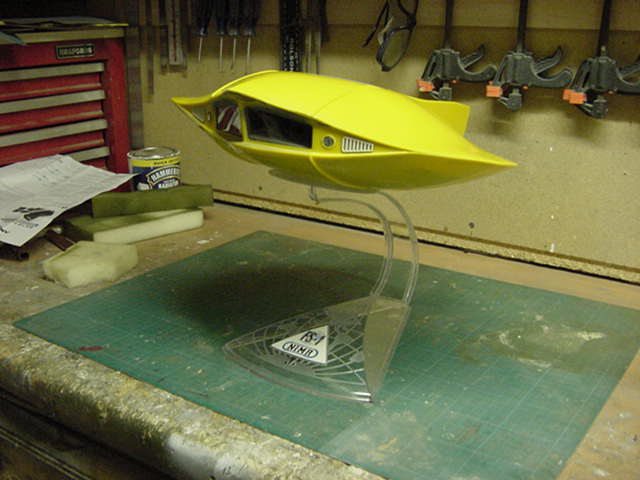
So then, the full charge and battery life test going on and during that, time to address a possible stand problem.
Now as i've said before, it's a cracking stand supplied.
But with all the extra odds and sods piled into this thing, she not be a lightweight anymore.
After some perching tests there was definitely a break waiting to happen there.
So a bit o' beef up buggering about required.
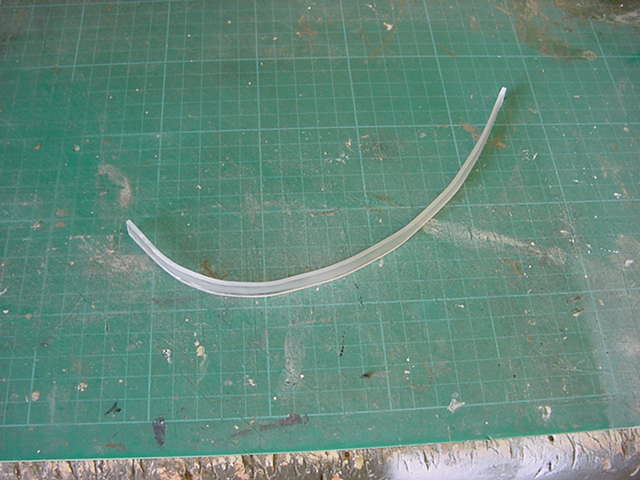
The back end of the stand upright was victimized for this bit along with some 2mm thick clear styrene.
A strip duly cut and a rough jig looking a bit like this...
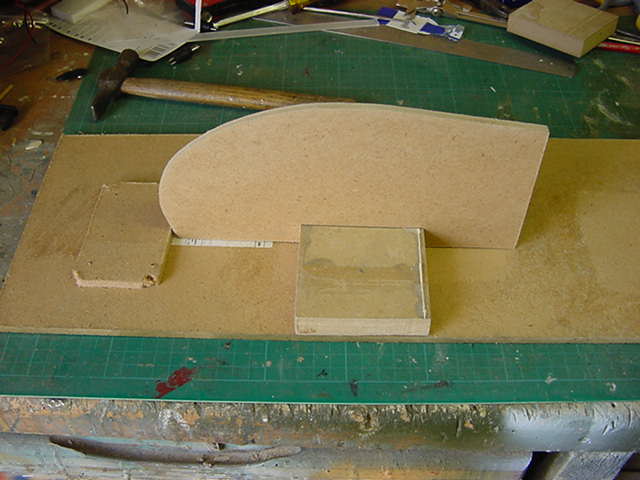
...was hammered together.
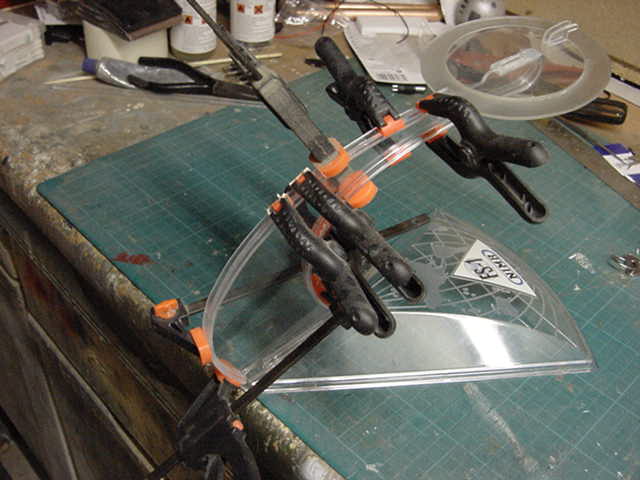
Said 2mm clear plastic strip was slapped in and set about with a heat gun.
After some bending and none too gentle prodding and pushing, the shape was achieved.
Then out with the polish, glue and a clamp or several.
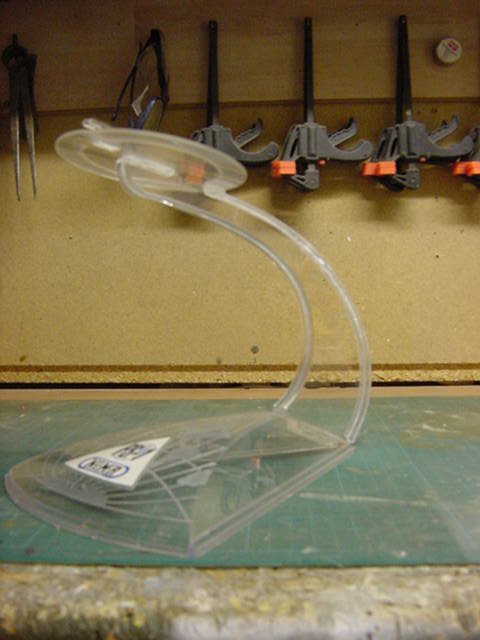
Ooookedoke then, this untidy lump was placed aside and will remain that way for at least 12 hours to fully cure.
Speaking of hours and the like...
The timing on charge and use nitty gritty.
Well both packs from depleted take around 90mins each to get to full power so that's none too shabby overall.
As for the pack use, well just flipped the switches, set my timer to 90 mins and left it to it own devices.
90mins later a bleeping was heard from said timer so took a break from saving the virtual world...
again
and wandered out to the hellhole.
Mine peepers could detect no depreciation in light levels.
Reset to 60 mins and leave to cook.
Hand a good round of virtual golf.
12 under at Pebble Beach
Bleeping again.
A bit less light than last time so i'll put the single run thing at about 2 to 2 & 1/2 hrs or there about's before light fade starts to happen noticeably.
Which is certainly an improvement.
At least the benefit of rechargeable batteries like this is that they appear to keep on shoving the power out until they are on their last elbows before quitting.
On that score, i'd say that the odd turn on and look at thing will result in a hell of a long time in battery life.
That's sorta what I was after so all's well at this point.
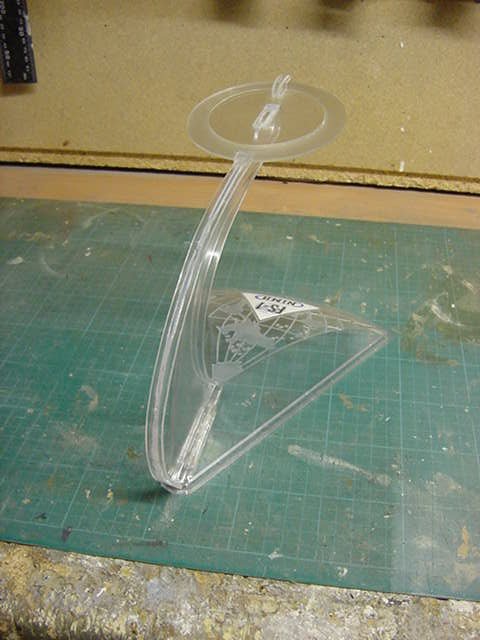
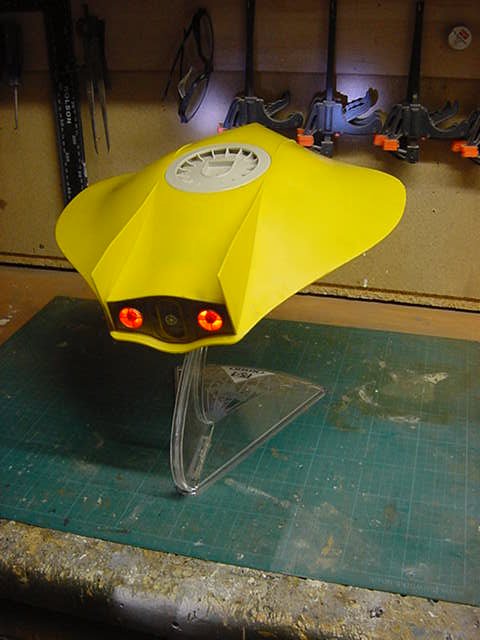
So much glue applied and taped up again.
Then once settled, all clamps/tape removed and a looksee was in order methinks.
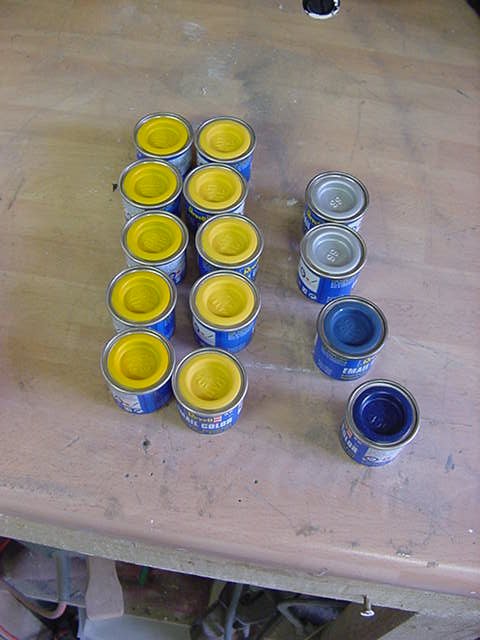
Then onto the final bit of hoo-ha with the able assistance of this mob...
...The messing about with which will be for the next update.
Have to see how that goes but in the meantime, you goodly lot take care of yaselves and go easy out there.
Page Number