
Moebius Models Moonbus From
2001 A Space Odyssey
1/55th Scale


 Page Number
Bits, bobs, batteries...
And A Bit Of Wiring And Paintwork As It Were
Welcome back to the Hellhole you goodly mob!
Right then, some prep work and battery installation goings on...
going on.
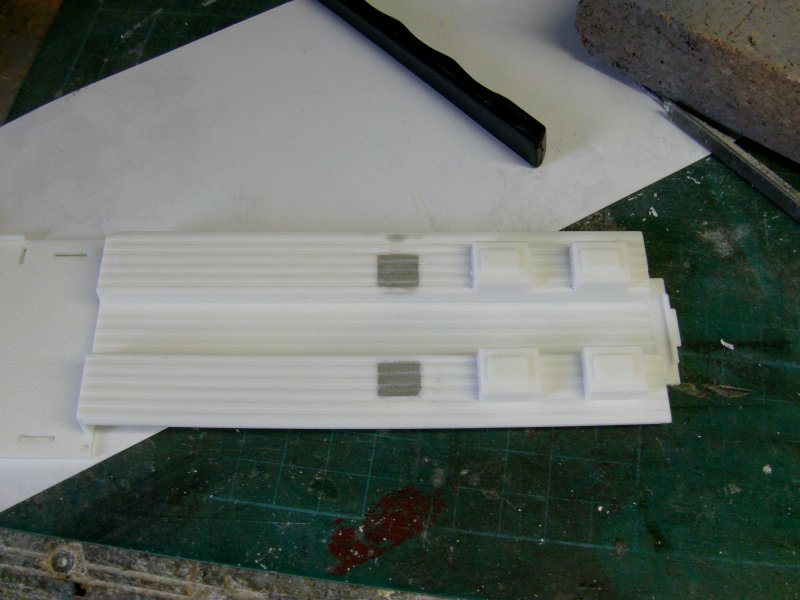
Underside part with stock supports duly glued in a good 'un!
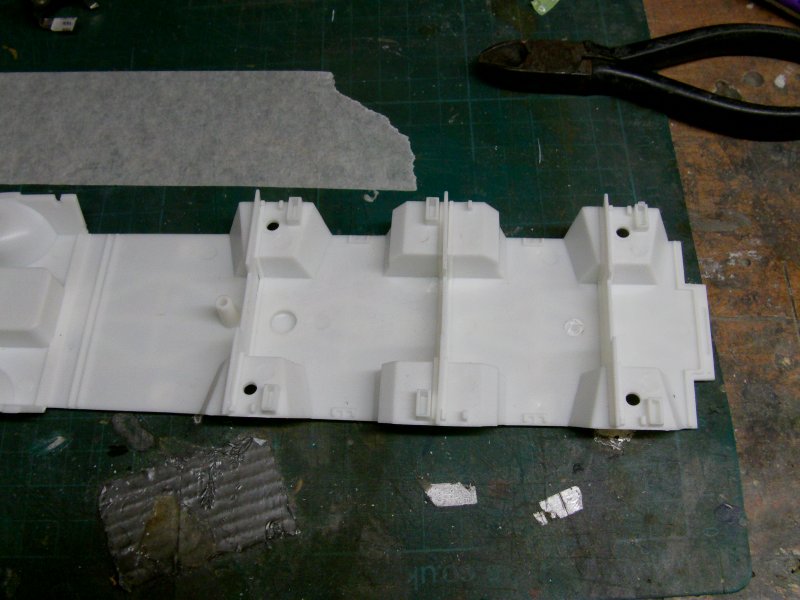
Which will do nicely for a start.
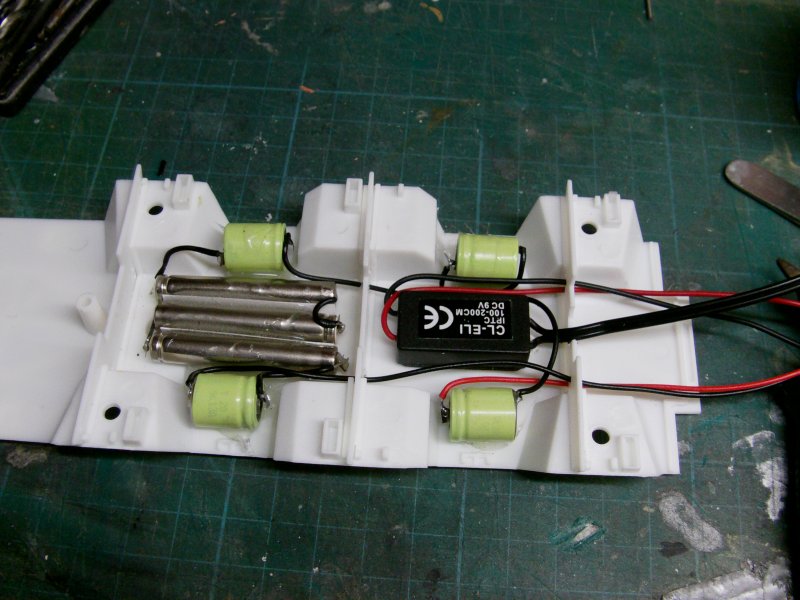
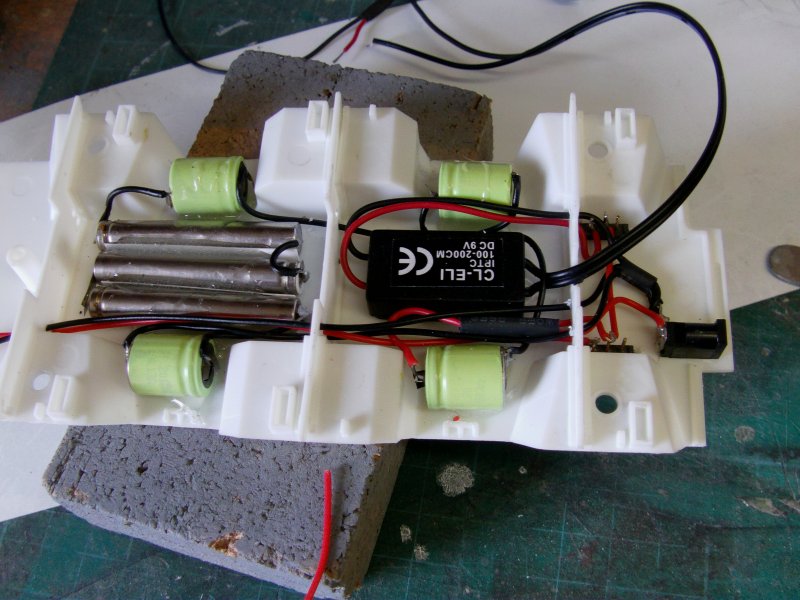
So then to the battery thing.
Space is at a smidgen of a premium under the floor of this thing
and a self contained model with no external wires was the request.
Two NiMH 9v rechargeable batteries got taken apart, cells selected
which got glued in and all wired up like.
The cells are different between the two batteries but it all adds up to the
same voltage and leaves enough space for the EL inverter.
Which all told looks a bit like this...
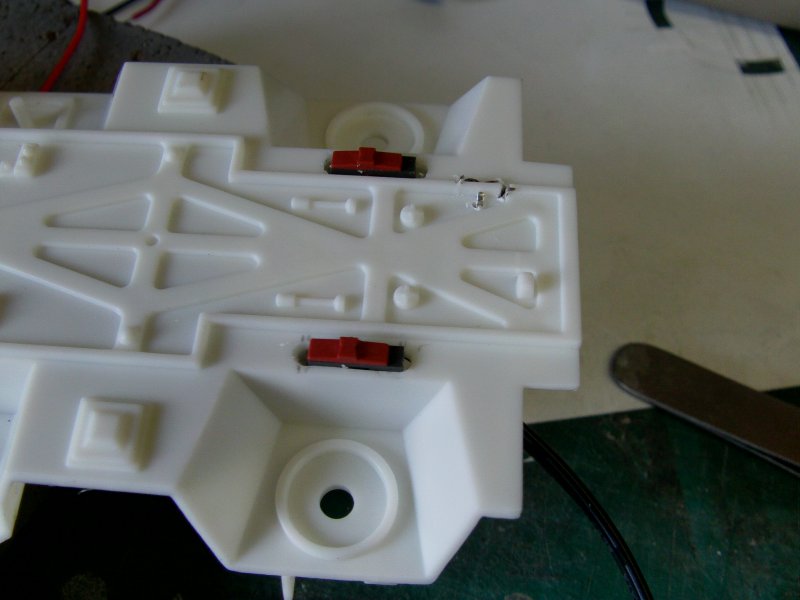
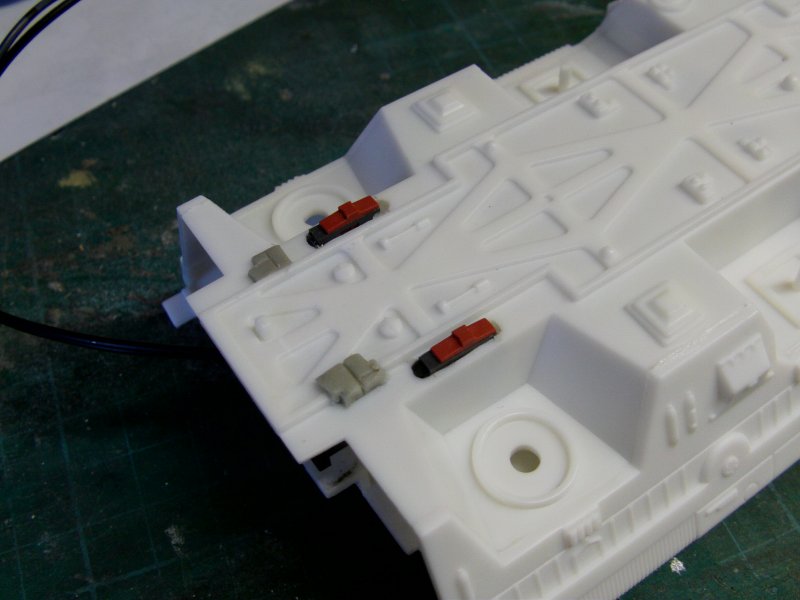
A recharge socket was fitted to the rear along with two
miniature slide witches, one for the EL lighting
and one for the two lights at the very front of the Moonbus.
The rear bulkhead will require an approx 3mm hole drilled
in it to allow the recharge plug to be used.
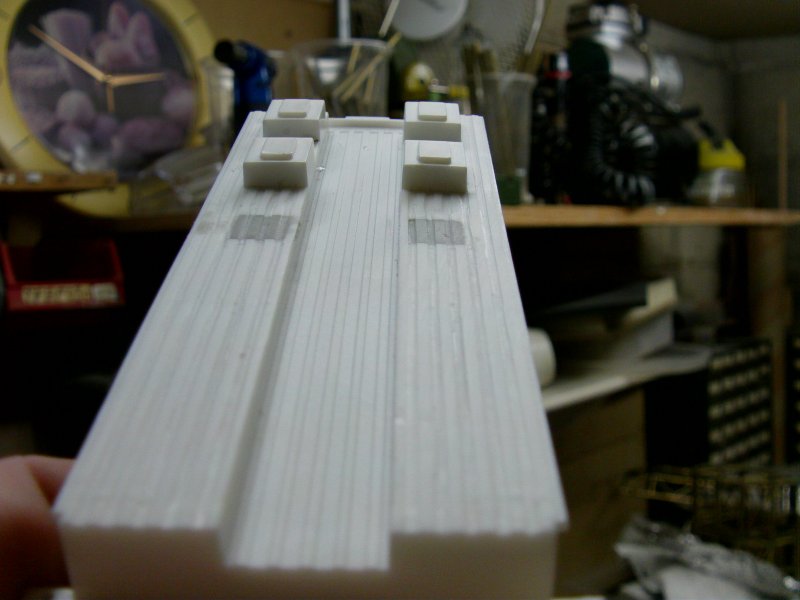
The switches stick out just a little bit from the rear underside.
So the lot got wired up and tested proper.
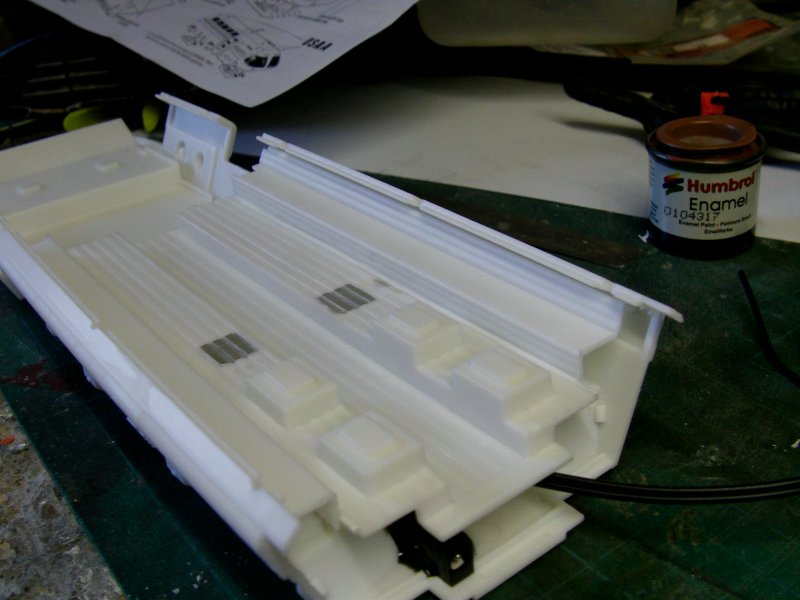
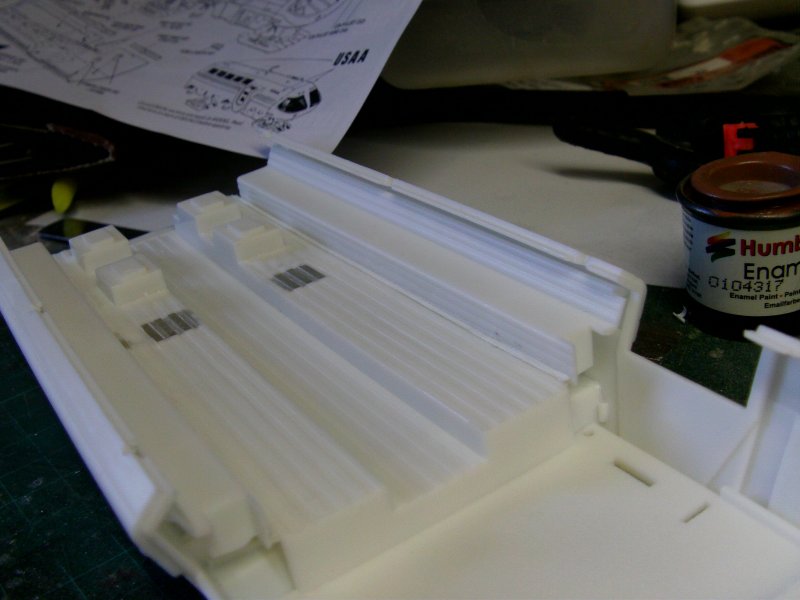
So then, on to the interior deck plate.
Now going by screen grabs from the film...
Sorry but i'm no fan of this movie apart from the
special effects and craft design but that's all...
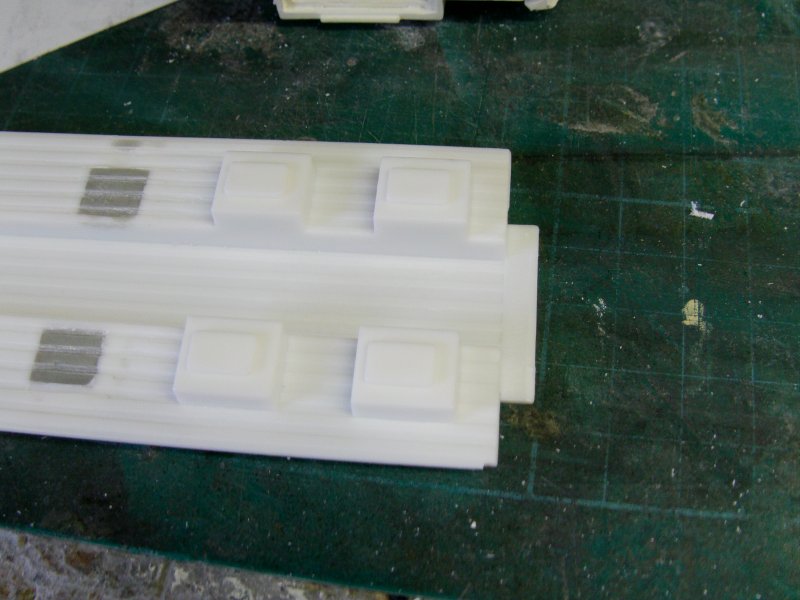
It seems that instead of the stock three seats aside as per the kit,
The film interior only seems to have had three or four
not counting the pilot seats in the front.
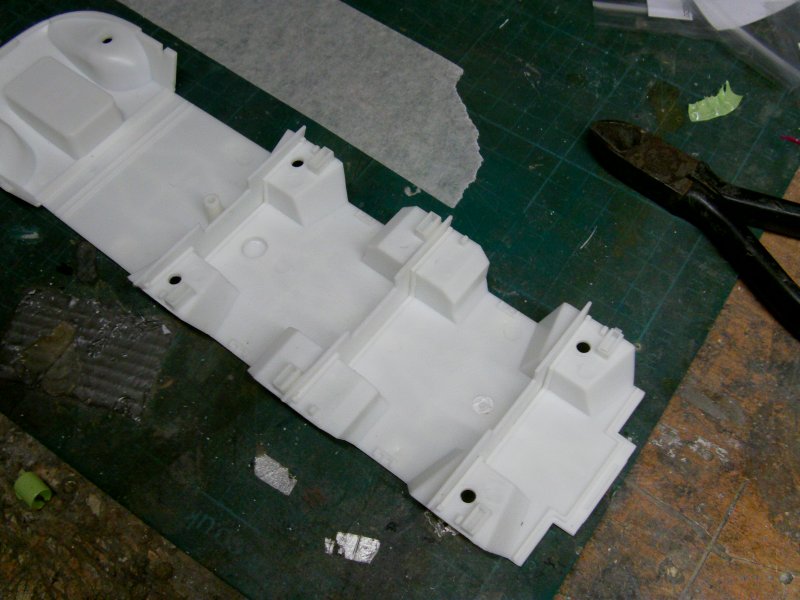
So the first pair of seat bases got removed, filled and the surface cleared up.
Also the locating bits for the stock kit parts of the
cargo got removed as this will be replaced with scratch built detail.
Anyway, the finished article...
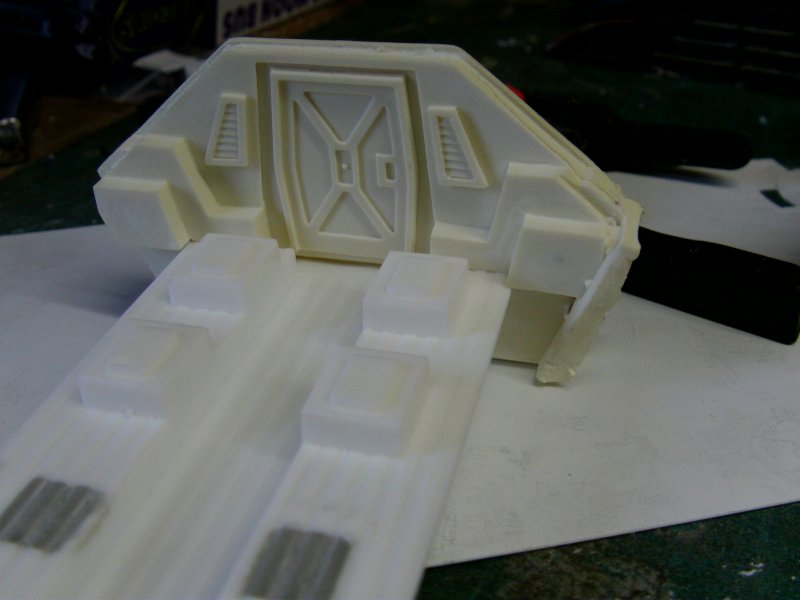
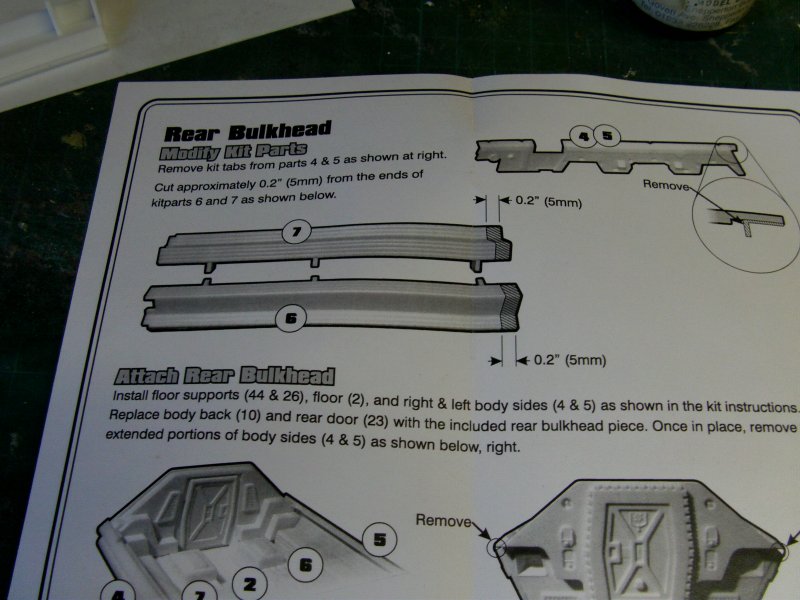
The Paragrafix upgrade resin parts destructions don't mention it,
but the interior floor part doesn't seem to fit in to the slot on the resin
replacement rear bulkhead without removing the the
rear tab on the interior floor part.
No big deal, just a slicey dicey oncey twicey and it fits a treat.
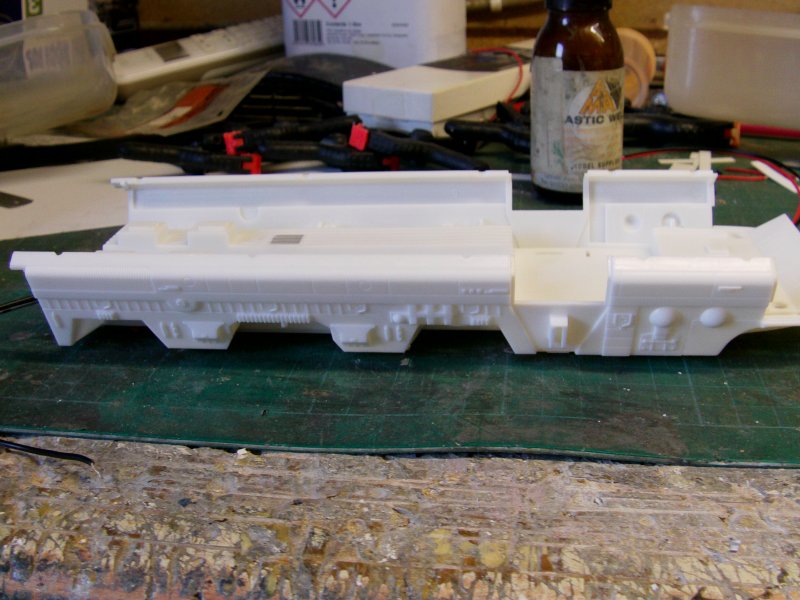
So that sorted, on to gluing in the interior floor bit.
Then the exterior sides got attached and a bit of cleaning up
to the rear underside around the switches and
where the socket got fitted, Aves took care of that nicely.
Going by the destructions for the resin upgrade stuff,
a couple of small lumps had to be removed from the interior side parts,
Sorted in short order then installed where they should be.
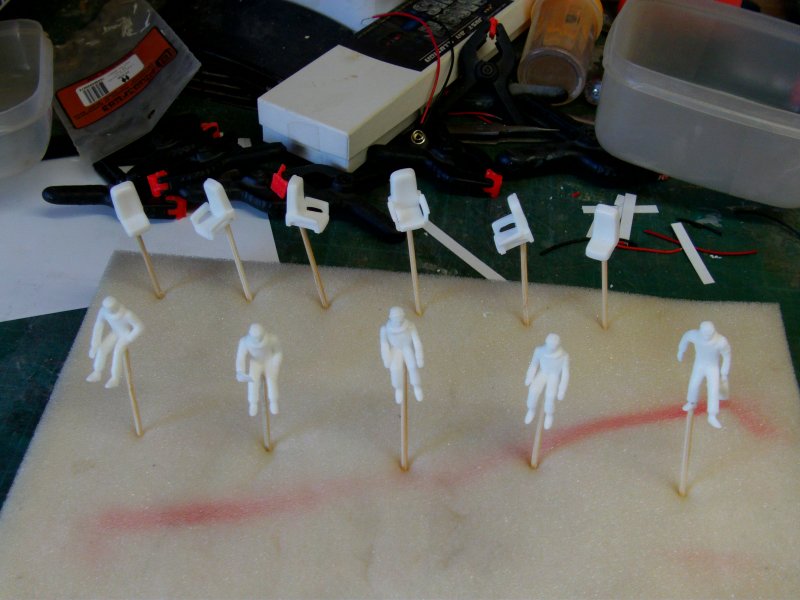
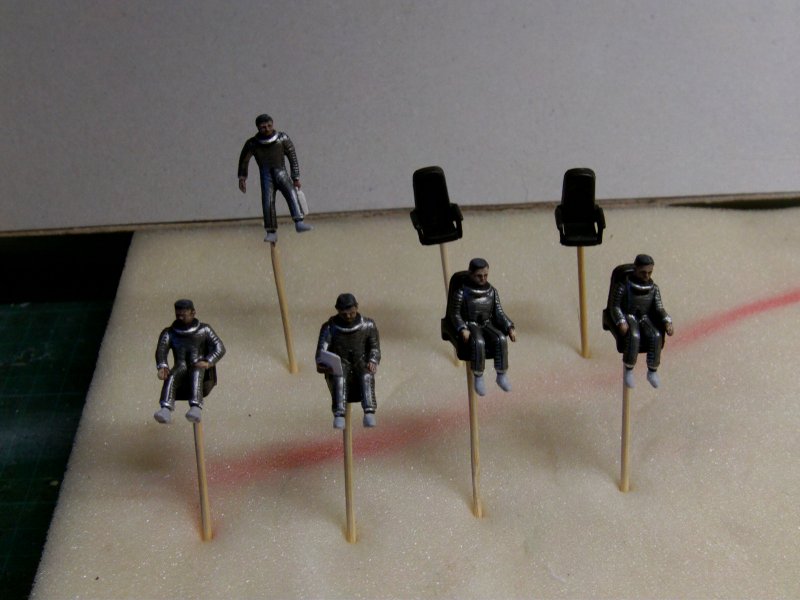
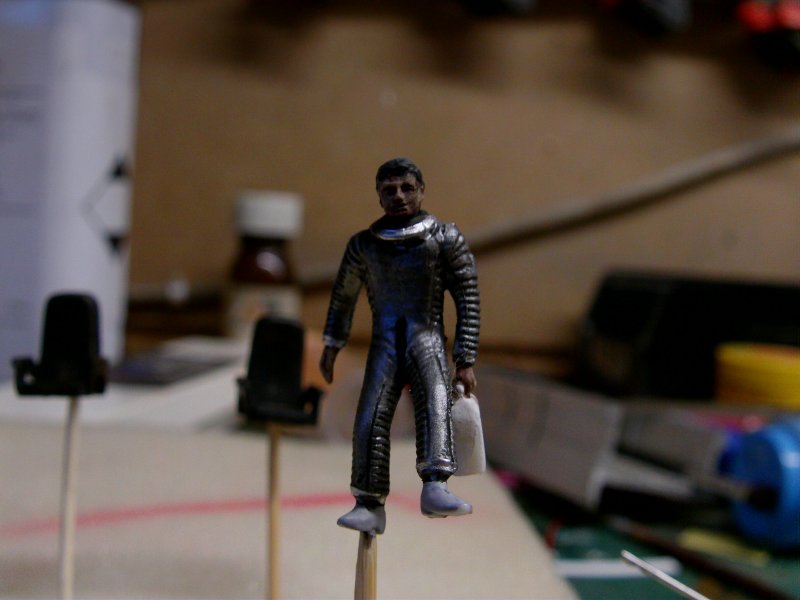
Last bits for this update now.
The interior seats and figures.
All removed from the sprues and cleaned up, went with the two pilots
and three figures as this was more in keeping with the movie setup.
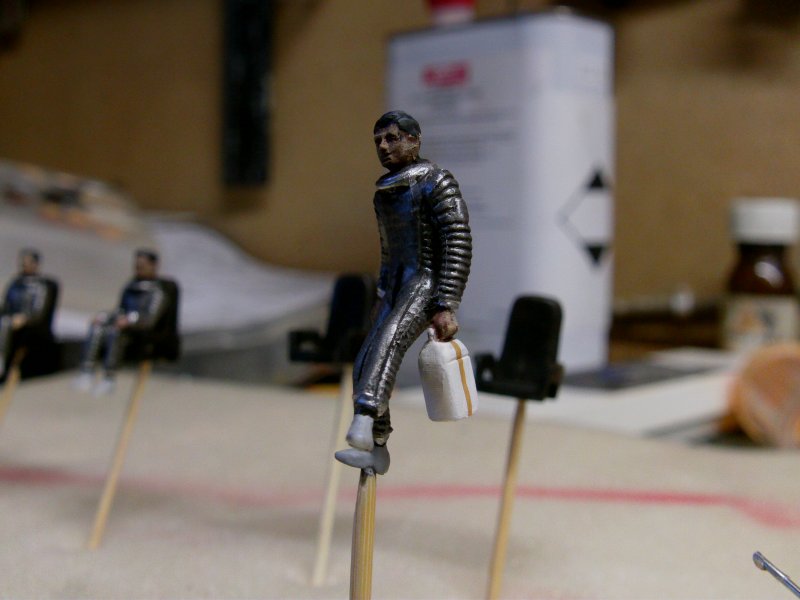
All set on toothpicks and stabbed in to a lump of foam kept
for this very purpose.
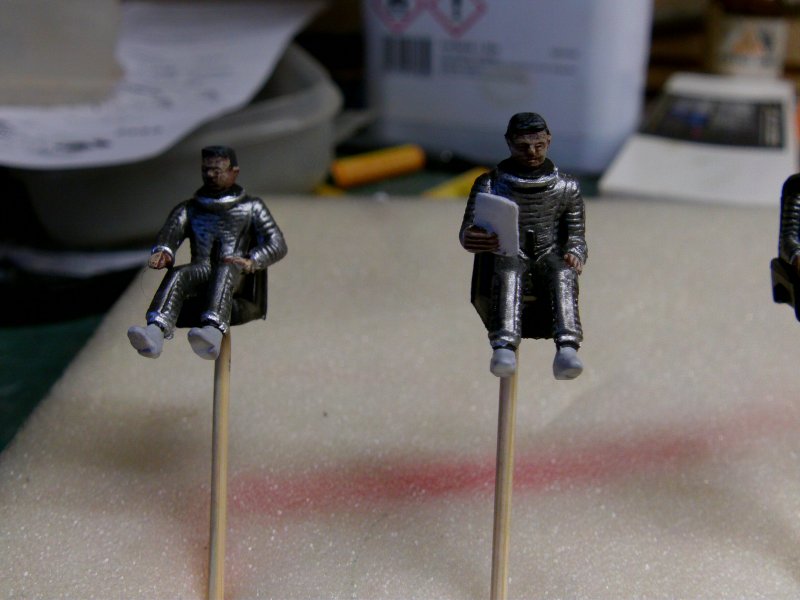
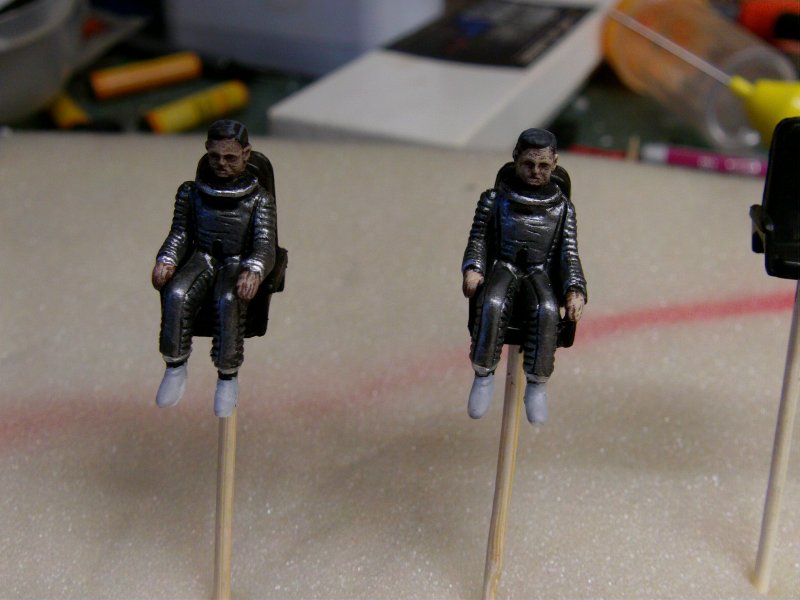
Now the figures don't appear to be that well detailed...
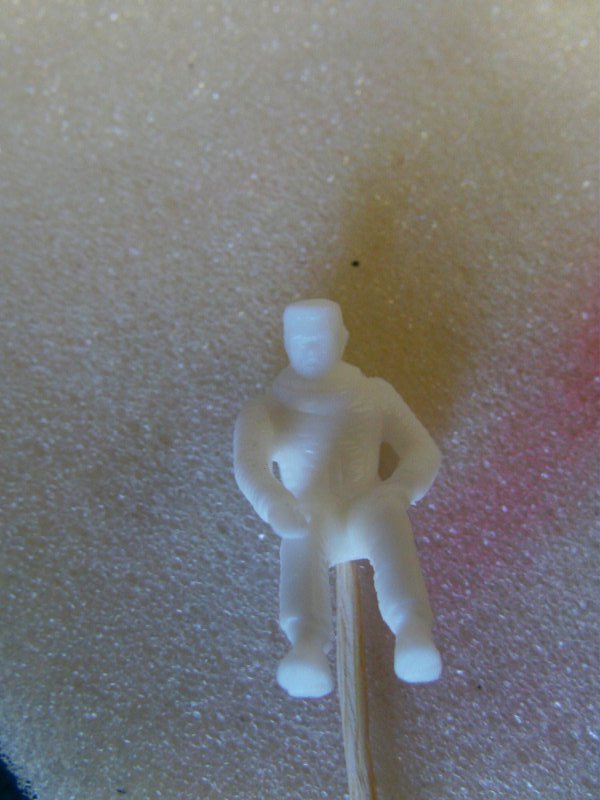
Never the less, a some paint sorta sorted that.
In order, enamel aluminium for the main suit colour,
then a lick of dark dirt wash and cleaned up.
This got followed by some Vallejo silver around the suit seals,
matt sky grey for the boots,
shades of Vallejo flesh for the face and hands dept.
and required hair colouring.
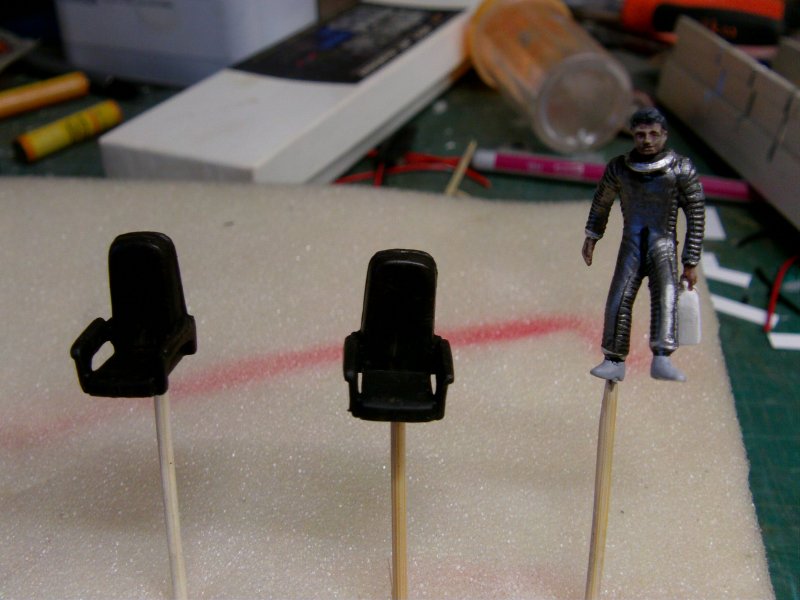
Just a basic paint job and it'll pass muster for this job as
I believe some of the shots that the client is going to make will be
green screened with some other stuff placed in it...
or something like that i'm told.
So that's that for now.
Interior work for the next update which should be different,
loves me some interior work but we'll see what occurs
as we go along like.
You merry lot go easy out there now and see thee all later gang!
Page Number