
Solarwind/Foxfire Studios Two Figure Build
1/7th Scale


 Page Number
In the midst of getting my act together...
Time To Get These Girls Together.
Along With Other Stuff.
Welcome back to another round of hellhole hoo-ha people!
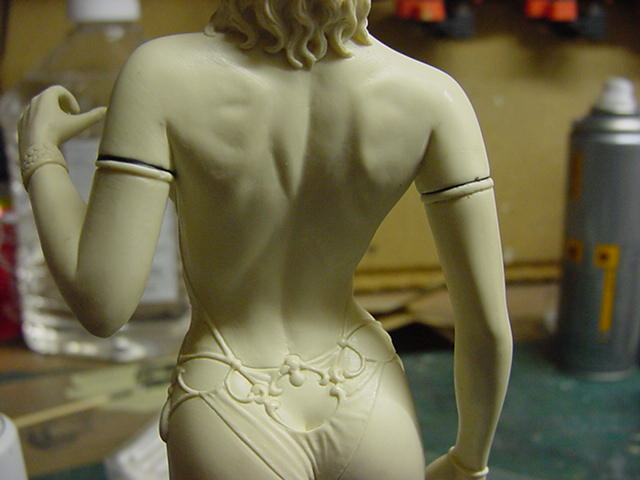
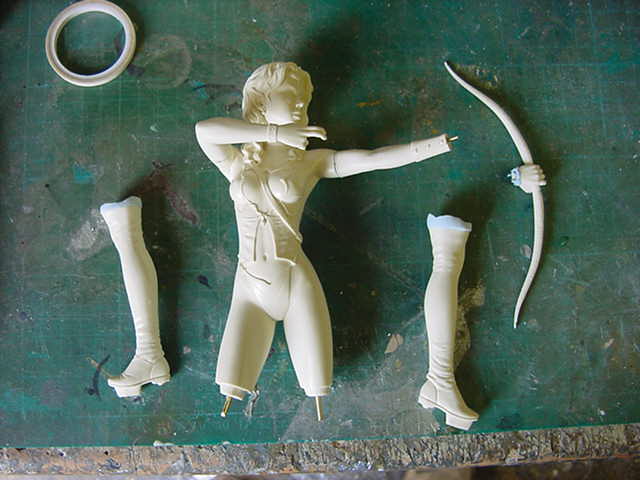
Right, after much file and sanding sodding about we get to putting some bits together.
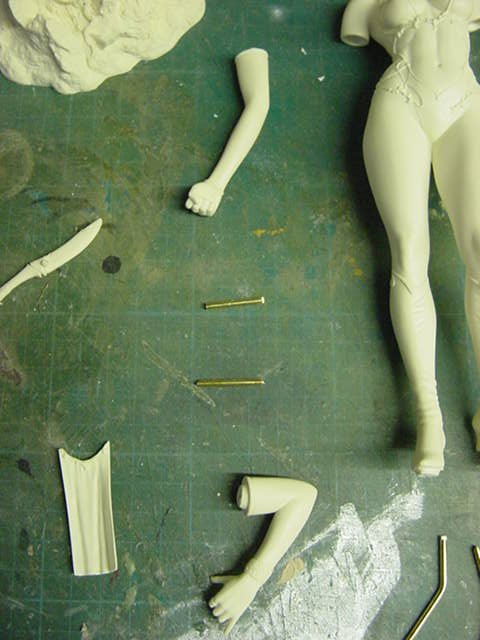
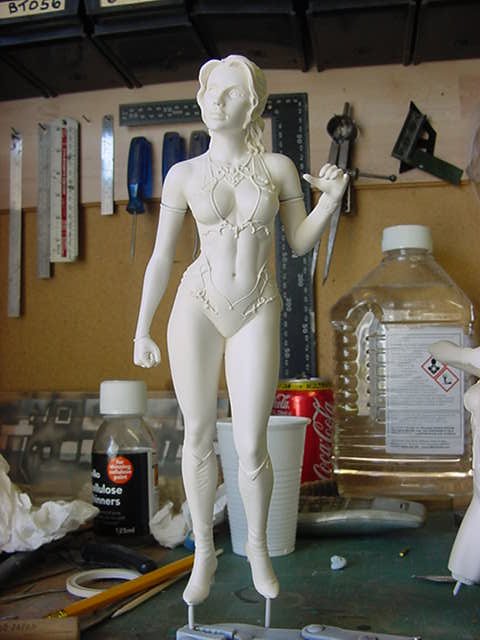
The basic workup was the same for both figures but to save more pics than required, here's how it went with Lisette.
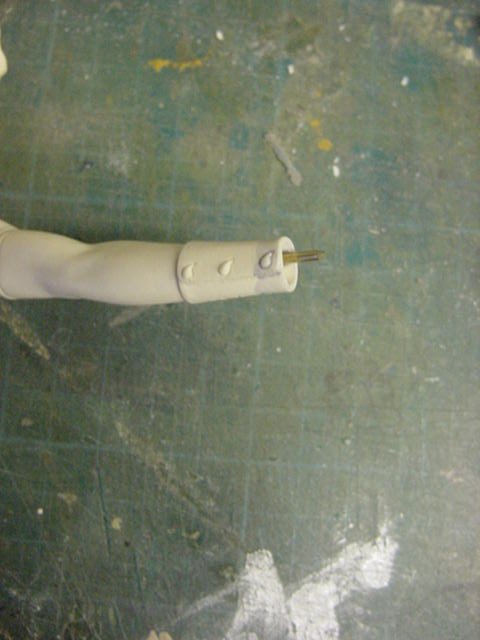
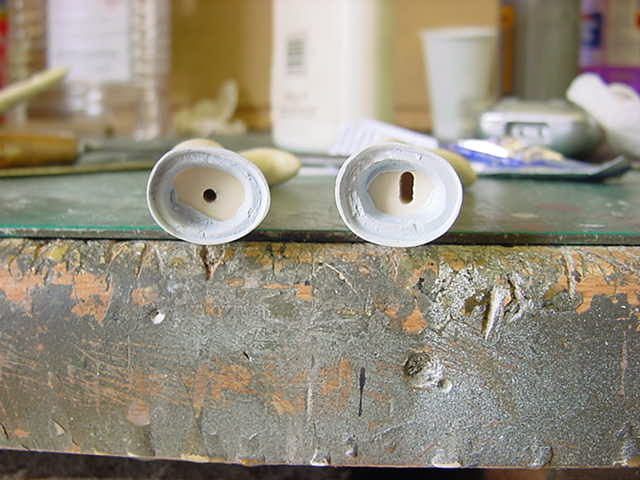
Some 2.5mm brass rod hacked up and holes drilled more or less where they should be.
in this case, the brass rod was to be used as pin reinforcement for the arms and where the feet would join the base.
Reason for this is that both these girls have a bit of a journey to the client after completion.
A bit of joint anti-splitting insurance does no harm at all.
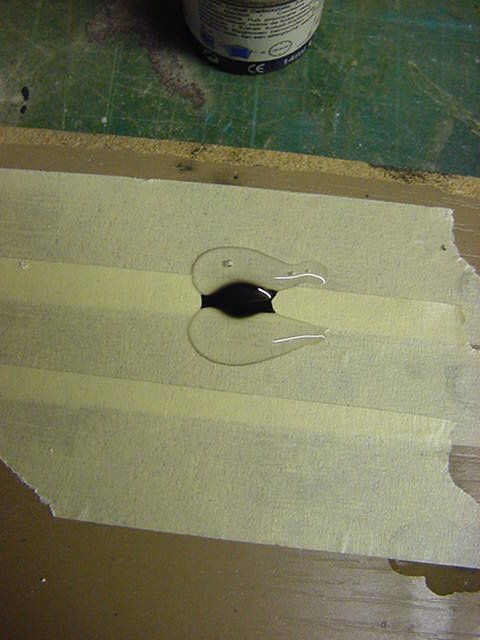
Usual weapon of choice being the two part epoxy glue.
My preference in most cases is to put in a drop of enamel matt black.
Doesn't seem to affect curing properties at all and certainly helps you see where the glue is.
A bit difficult with the clear stuff as is, especially if it ends up on finger tips and going where it shouldn't.
An occasion usually noticed only when you start painting...dammit!
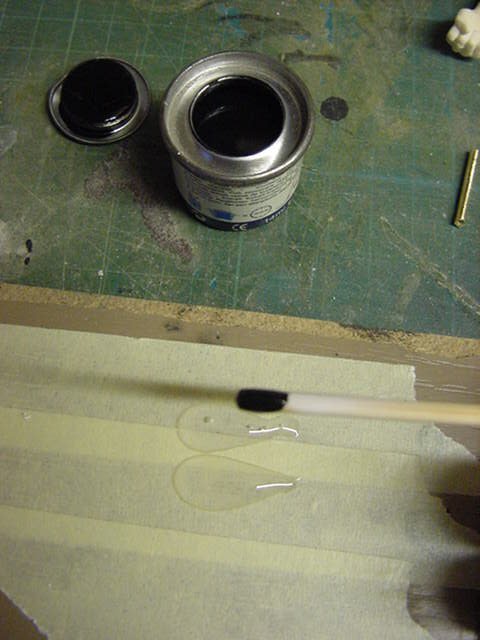
Any residue is easily cleaned up with a q-tip and some cellulose thinners.
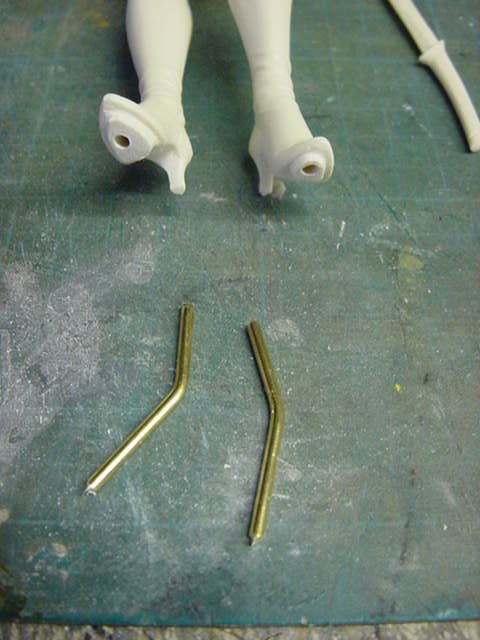
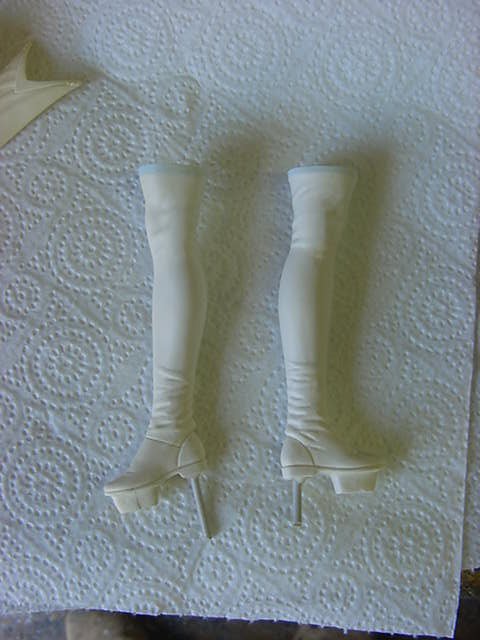
Alayne had the same kind of treatment to the arms along with pins for the boots to fit to the legs.
Also pins on the boot bottoms to fit into the base.
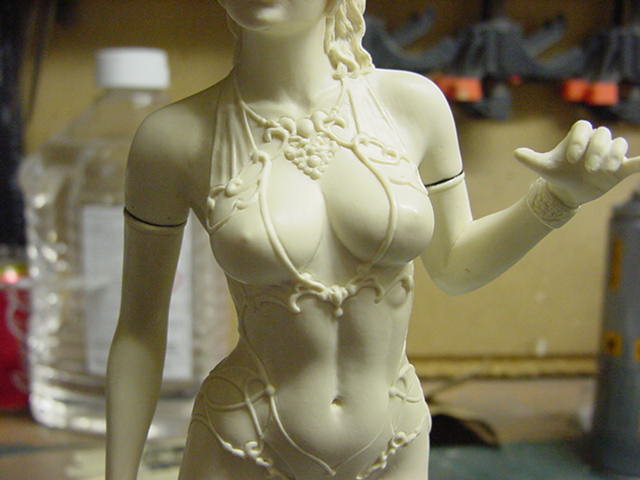
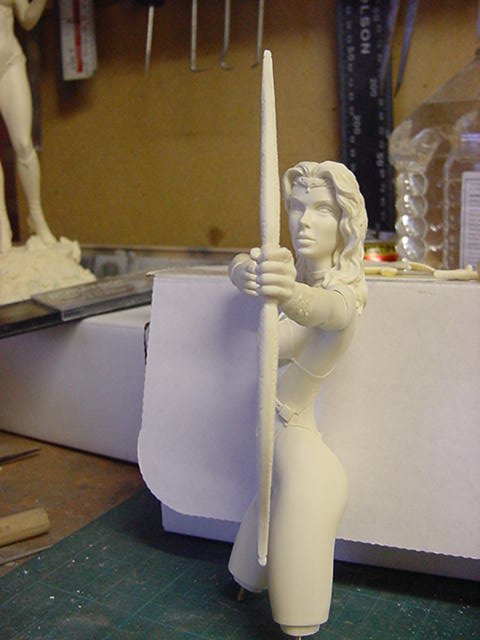
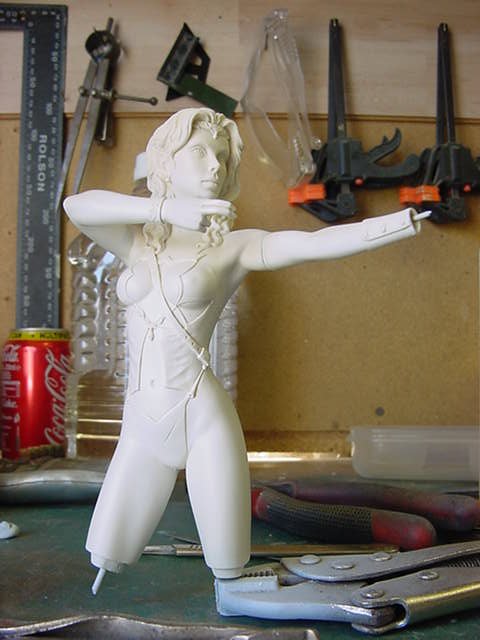
Now then, A couple of last bits of cleaning up and making good on Alayne.
The hand holding the bow needed some clean up and sharpening up.
Also filed in the nocking points to the ends of the bow arms for the sooner or later to be sorted bow string.
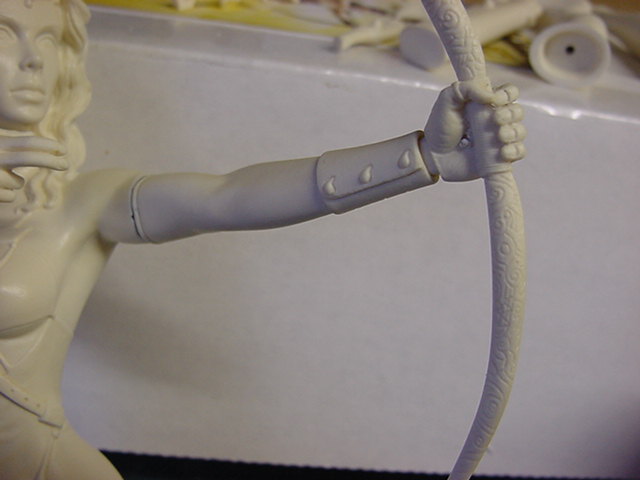
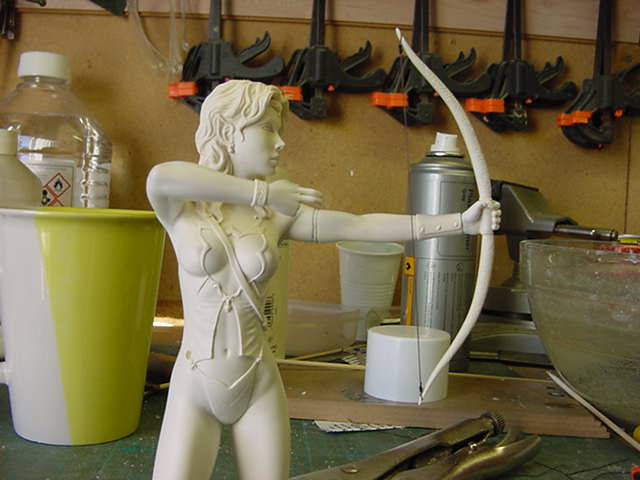
And then a quick dry fit of the bow...
Here's where I ran into a problem.
Sadly I didn't take a pic but to explain it,
When the bow was in place, the bow arms where in line with the arm holding it.
But the hand supposed to be holding the string back was about 1/4" too far out.
This meant when viewed from the arrow point on angle, the string would appear as though it was being pulled back and to the side.
Now I used to shoot a bow in the way back when and that's just wrong.
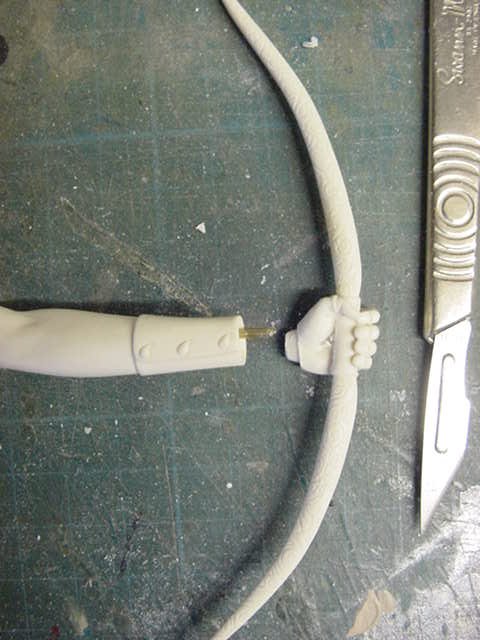
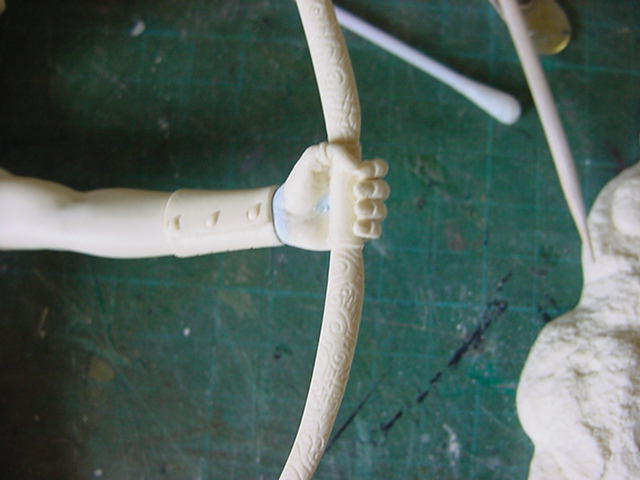
So a bit of faffing about in the wrist joint dept. was required.
The pin to join the bow hand to the arm was fitted then the hole in the hand was drilled off angle.
This was the easier option rather than cutting the arms of the bow off and refitting...
Not what I wanted for reasons i'll get to in a tick.
Or just heating and twisting the bow.
Again, not what I had in mind.
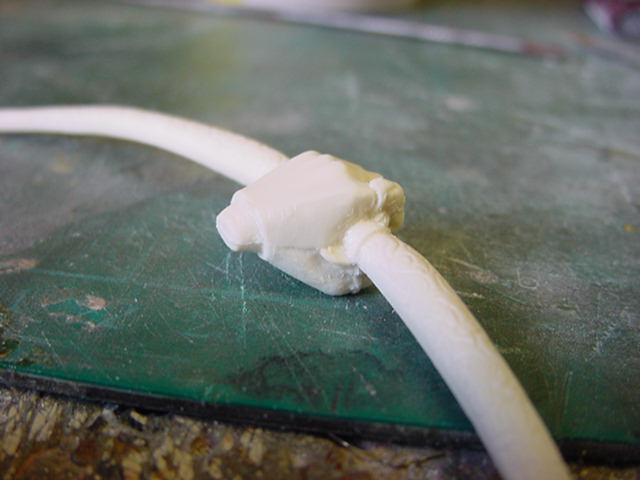
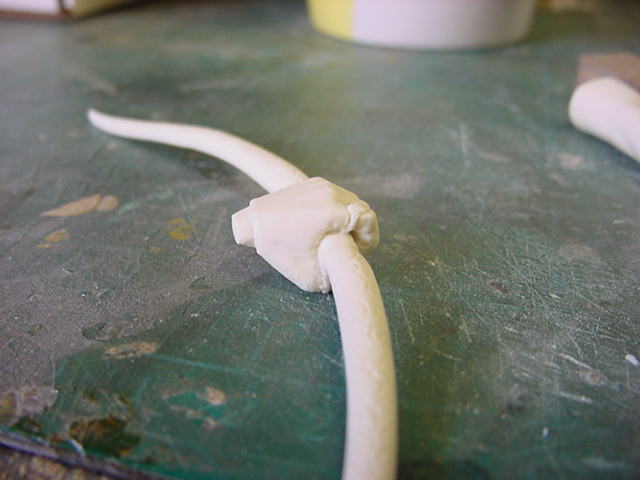
So angle set, blue PVA stuff applied and hand positioned with some putty squeezed in.
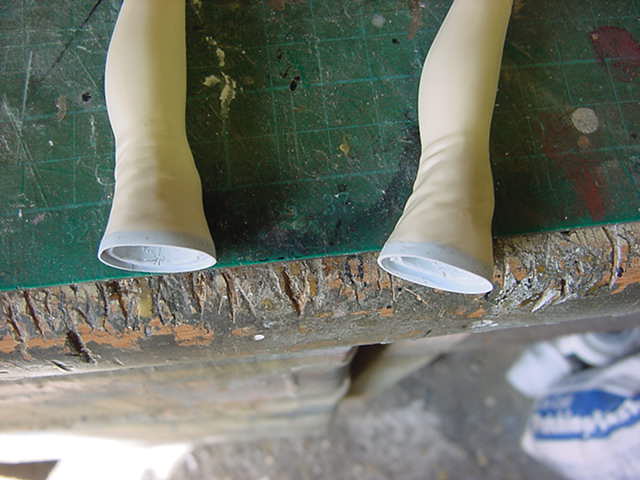
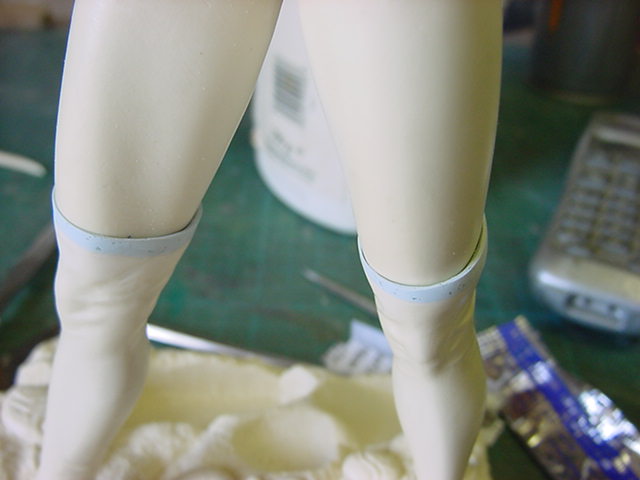
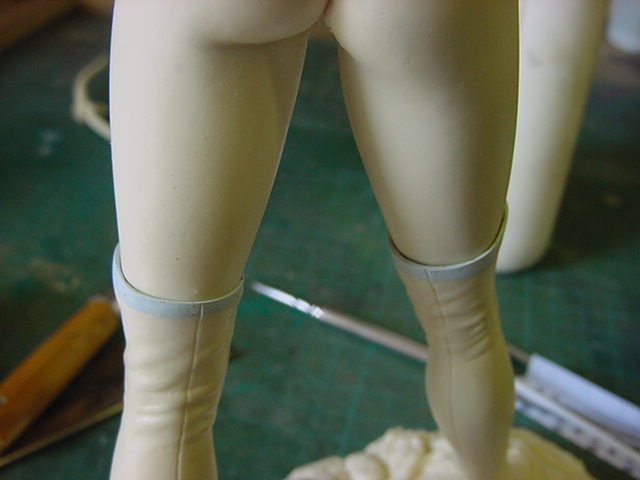
The same putty thing was done to the boot tops to make a lip which looks better than simply going for the stock flat to flat join.
Also will make painting the boots much easier then assembling after painting is complete.

The putty was the quick cure epoxy two part type.
Just take what's needed, knead together until uniform colour, apply and leave the hell alone for 30 mins.
When cured, the bow hand and boots joints were held under warm water.
The blue PVA dissolves and with a bit of gentle working, the joints parted cleanly.
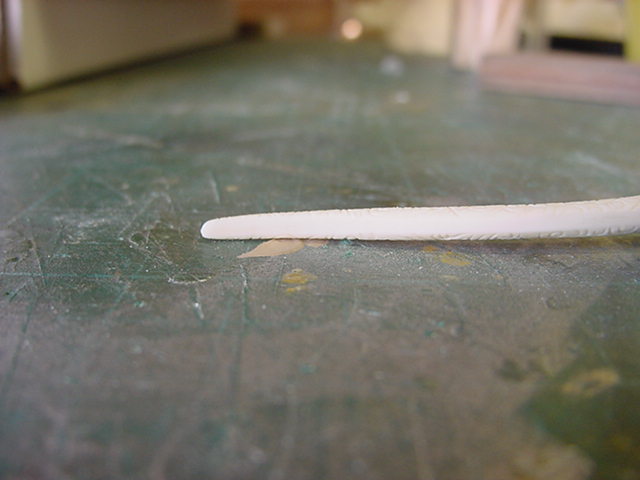
The boot tops were cleaned down on the outer surface and made good to the resin surface.
The top lip was then sanded with some 400 grit wet & dry on a hard rubber block.
This left a slight raised lip to the boot top.
The top edge was given a little bit of a thinning down to keep the apparent thickness even.
Overall reason for this amount of messing about is to make it a lot easier to join the painted boot to the leg.
Also does away with trying to get shot of any gaps that may occur in the join and/or glue overspill.
And also just looks better to me.
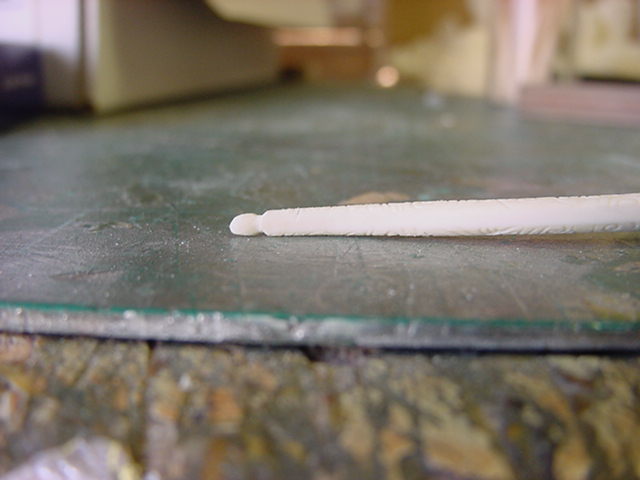
The putty around the bow hand wrist was likewise cleaned down.
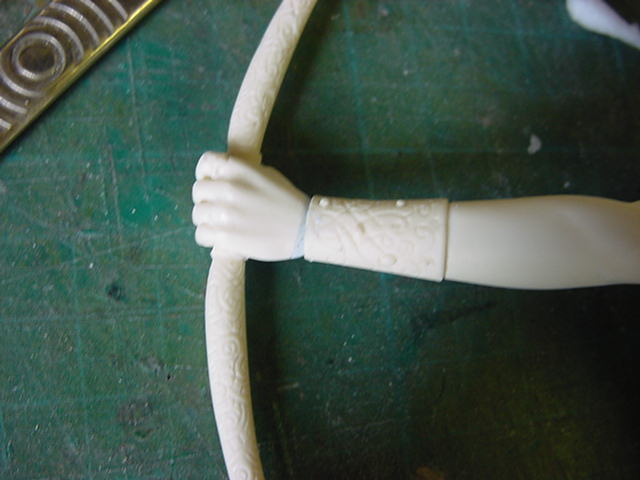
Yep, about what I had in mind.
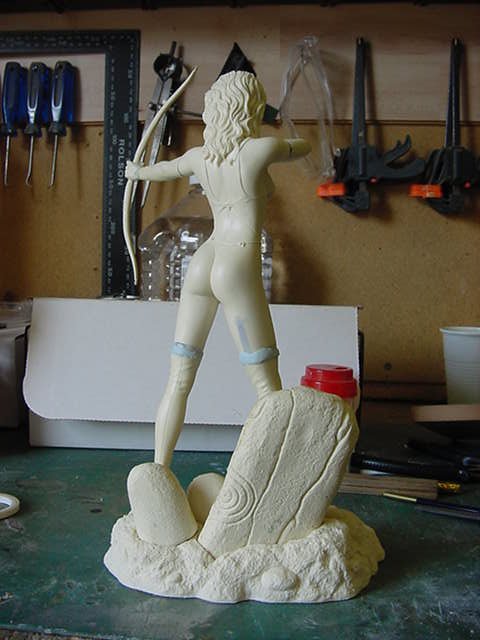
So then, last of the problematic moulding seam line removal.
And a detour into the odd world of 'sledge hammer to crack a nut' school of model making.
As it were.
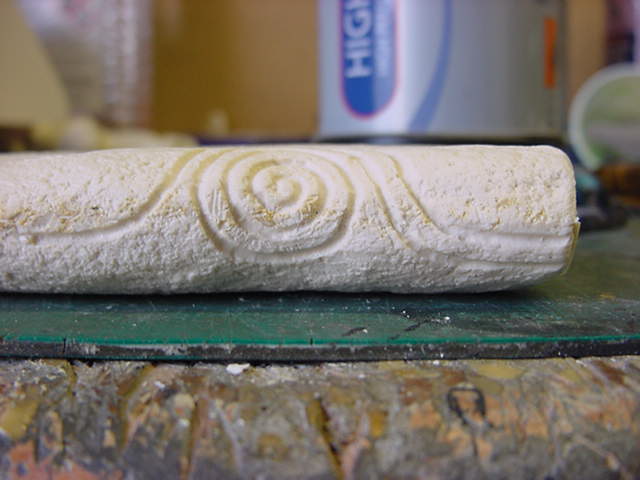
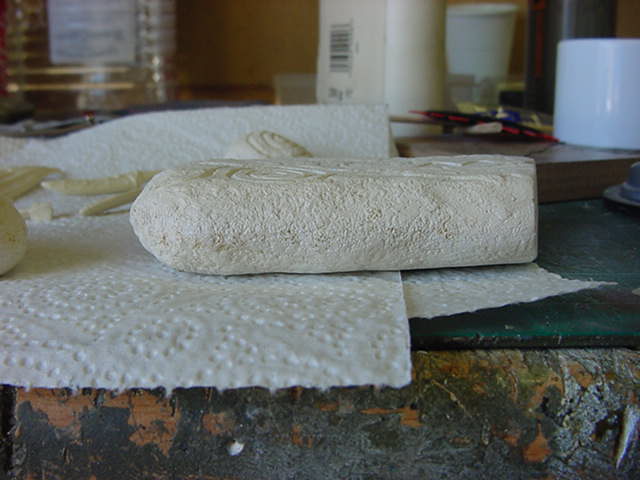
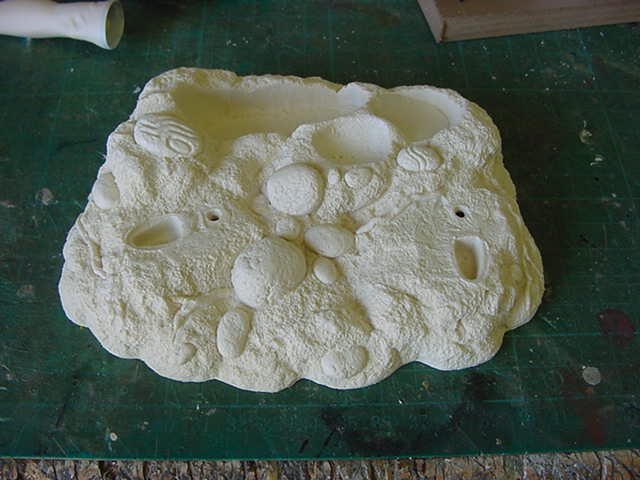
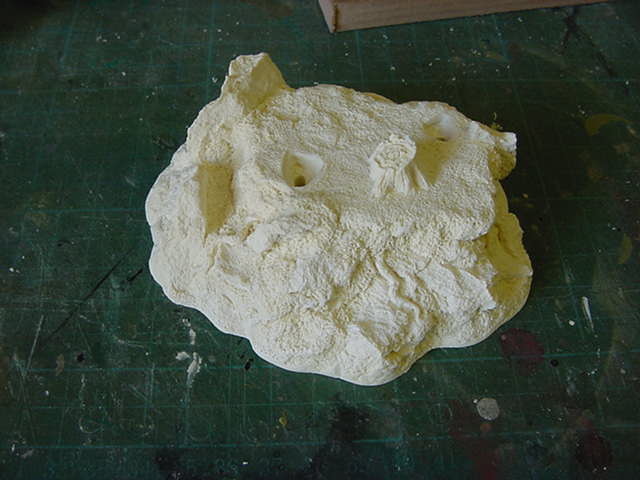
Now the rather nicely textured standing stone parts of the base are the thing here.
All nice but have a seam problem.
Like so.
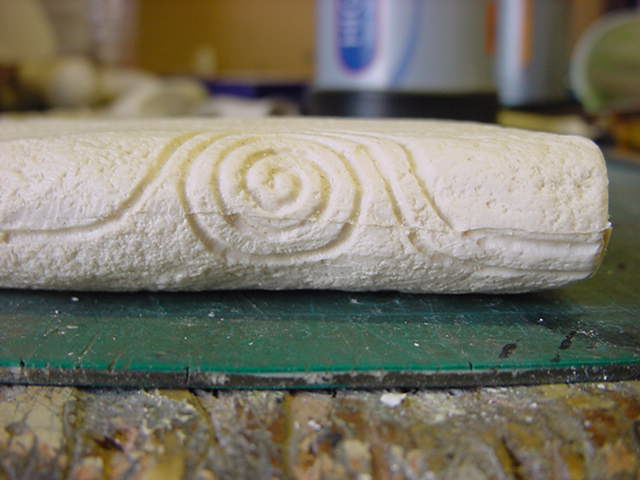
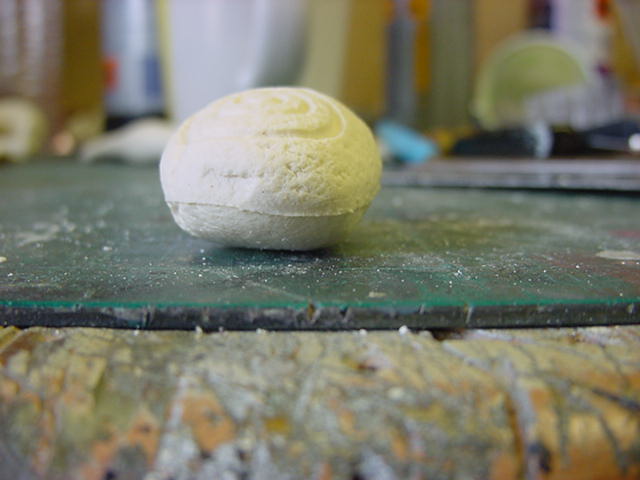
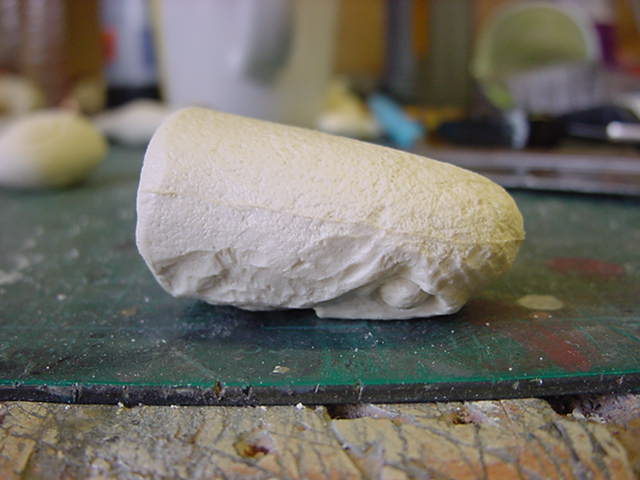
So as not to make the area smooth, which would look crap in my humble opinion,
This following happened...
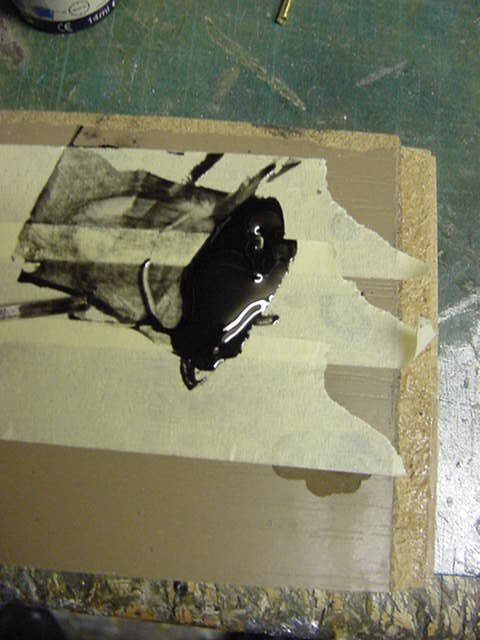
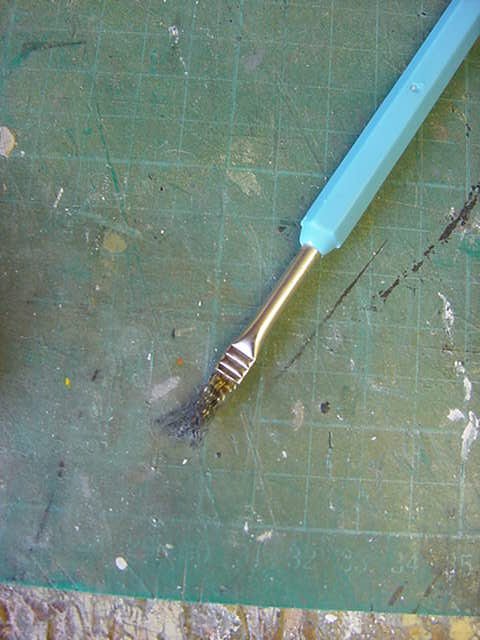
The areas got a rough scrape down with a old scalpel blade, then a long bristled steel wire brush was called upon.
Along with a blowtorch.
Bear with me here gang.
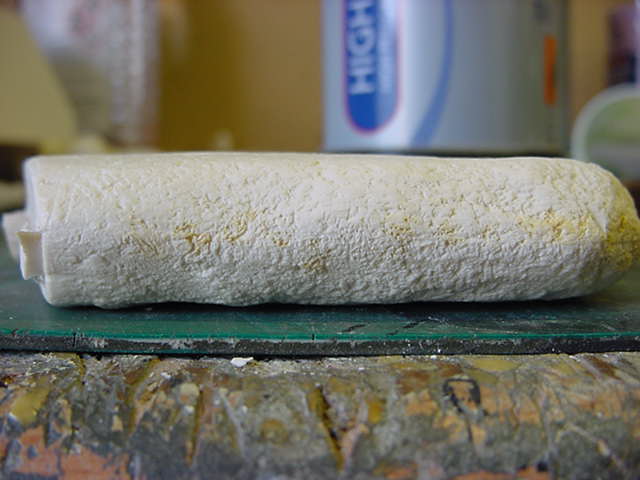
The said brush was held in the flame for a second or two then the heated bristle points were stippled into the resin.
Pretty much putting the rough texture back as it should be.
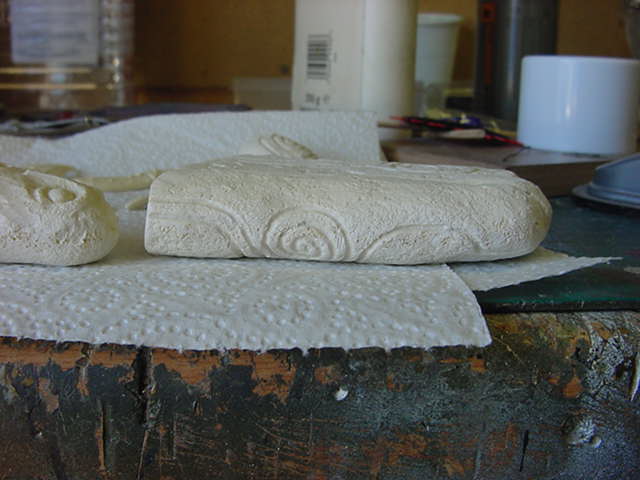
Pics in order as follows:
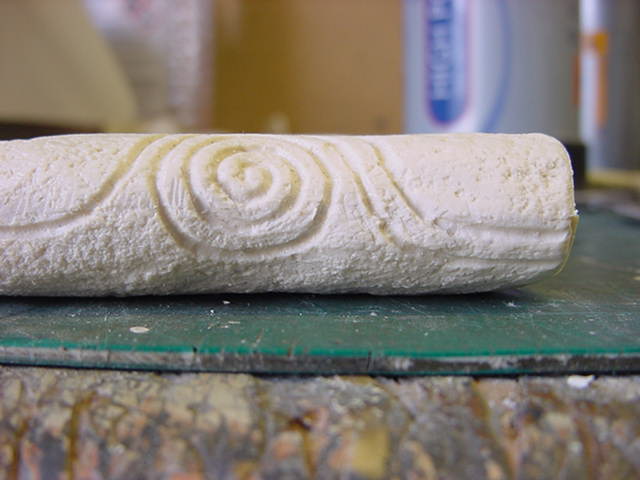
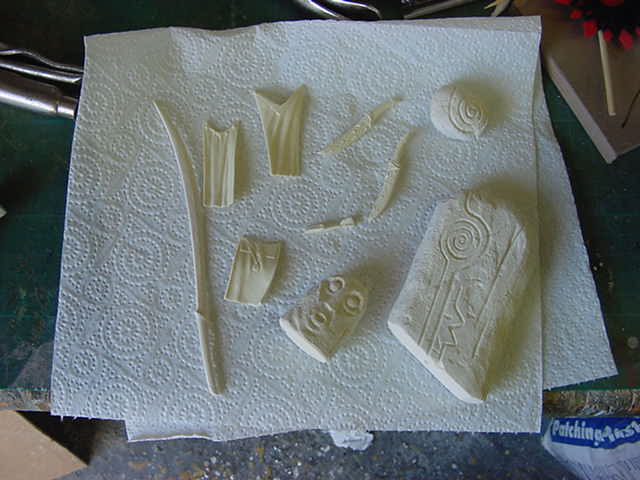
And after a good wash and a dash of Tamiya fine white surface primer...
Now A note of the safety variety here.
Always take care with this kind of lark.
Respirators are a top idea as the resin has a tendency to smoke a bit from having red not metal shoved in it.
This smoke is not good stuff so best not to go breathing it in if ya don't have to...and ya don't have to.
A well ventilated workshop is never a bad thing as well so always take care of yaselves with this lark people.
Onward!
So done with the cleanup, scrub and primer coat then likewise action on the rest of the small and not so small parts.
Now we get to the bow string thing.
As noted before, I wanted the bow to remain in one cast piece.
And not cut it about or twist it as some bending will be required for this bit.
Joints under stress are not going to fit the bill.
Well the thoughtfully provided fine string helps so out with my handy dandy scale bow string loop tying assist gear.
Otherwise known as a nail hammered into the bench top.
And a couple of sort of served loops on each end of a small length of string.
Then placed on the bow.
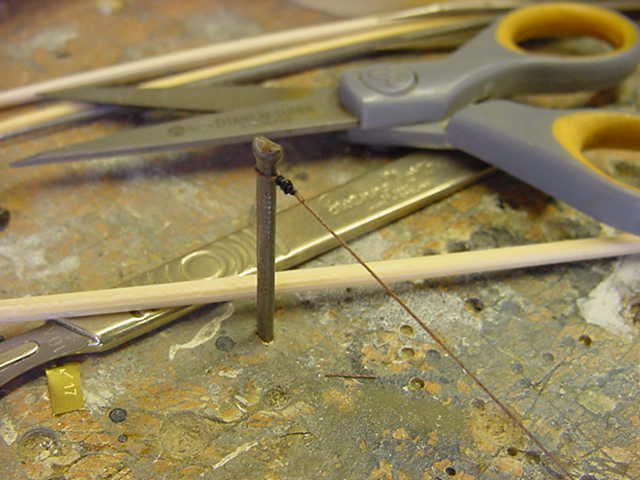
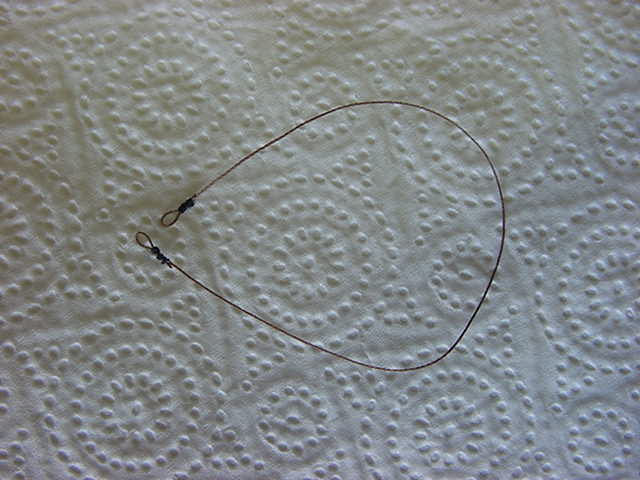
Made up three of these, one for the bow and two for another use.
Later on that.
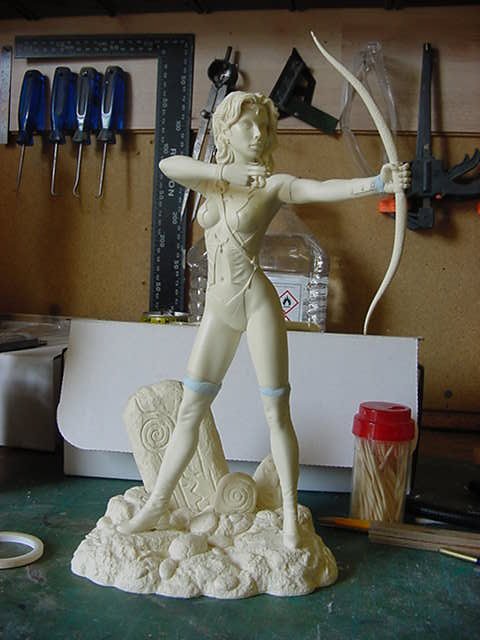
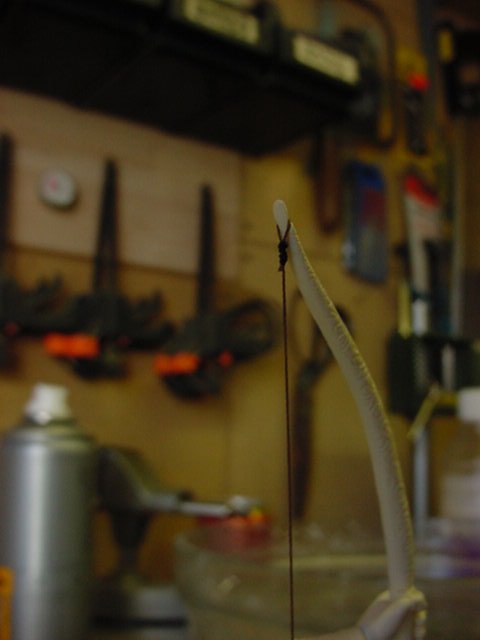
So bow string in place and then out with the hair dryer and set to 'resin softening' level.
A bit of nudge and bend buggering about and sorted with a very small amount of tension on the bow string.

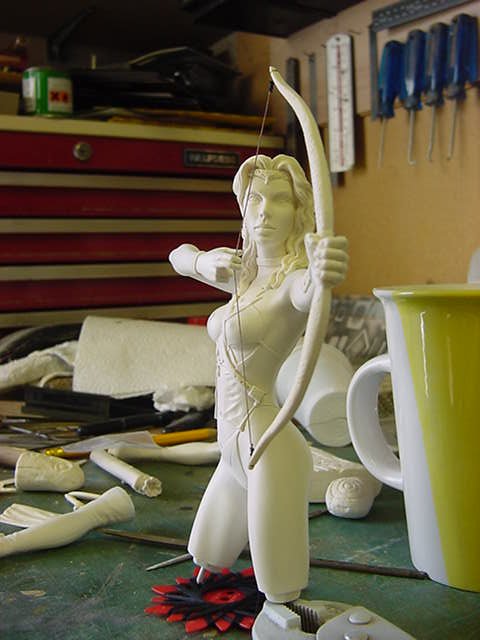
About what me was after methinks so all good.
Well now, just about to start the main paintwork thing, the results of the ongoing airbrushing about the hellhole, next update gang!
See you lot at that time, go easy until then troops and troopettes.
Page Number