
Solarwind/Foxfire Studios Four Figure Build
1/7th Scale


 Page Number
Yeah well...
It's An Airbrush And Pastel Chalks Deal Guv.
Howdo troops and troopettes!
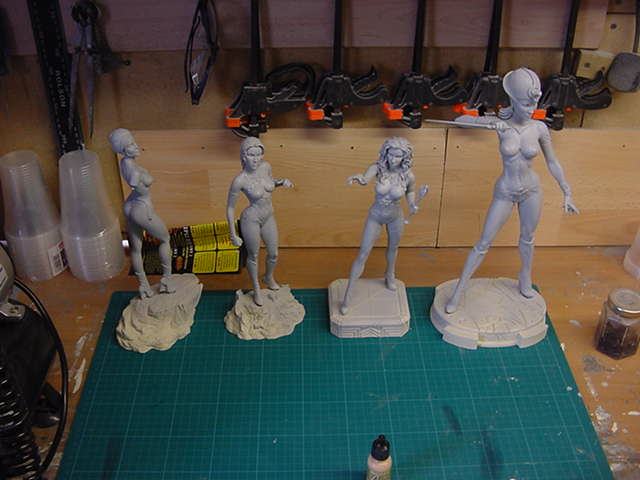
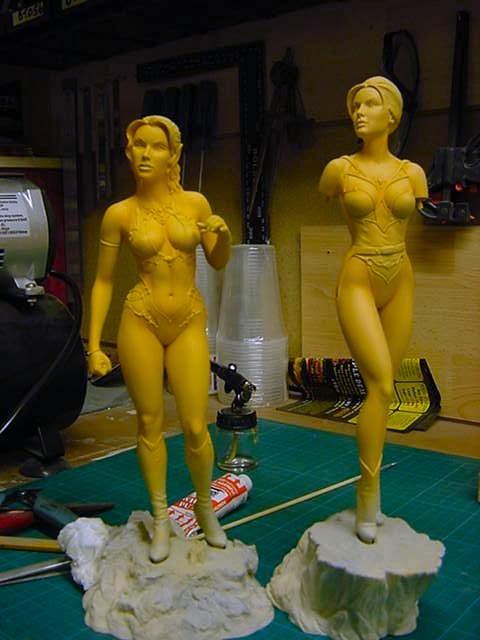
Right then, last time we left these goodly gals it was a done deal on the
main assemblies and we were into putty and cleanup territory.
As luck would have it, this was a fairly quick and painless deal.
A quick burst or two with Gunze Sangyo Mr Resin primer surfacer,
find all the offending micro holes in the resin...
6 in all to be precise...
Another burst and leave to cure fully.
Lovely!
Ok so now, paintwork time!!
Usually this would be the standard Tamiya acrylic hoo-ha but a change for once.
Decided on giving some different acrylics a try, namely these...
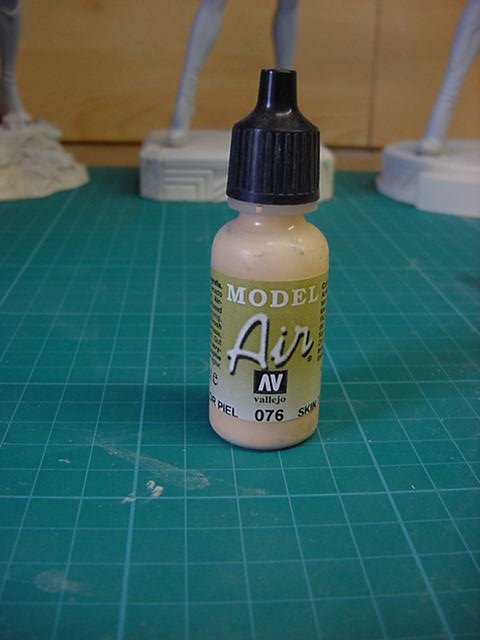
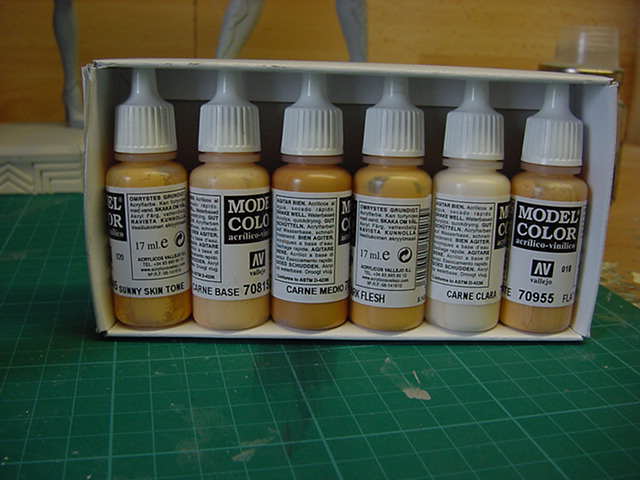

Made by Vallejo, Spanish I think, more colour's than you can shake a colour chip chart at.
Decided for this outing to go with them as a neat cheat I can deal with since they do multiple flesh tones.
Like I said before, i'll chicken out with the best of 'em!
So then, they do two ranges, one 'as is' acrylic and on ready mixed specially for airbrushing.
Just load into weapon of choice and go spray.
Basic flesh tone was selected and the appropriate kit plugged in.
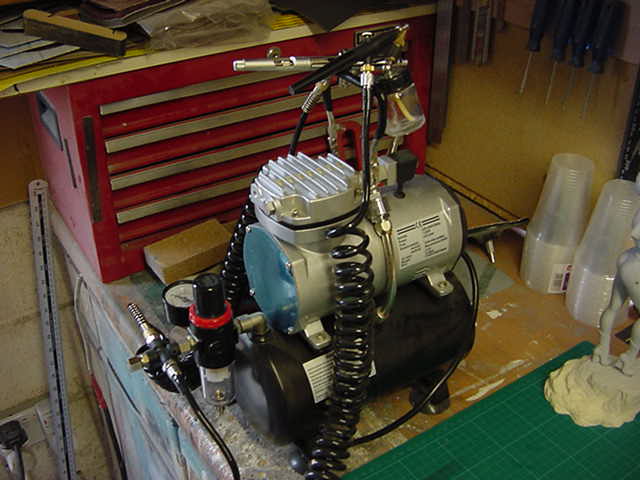
Fine tip double action neato type, large bore bazooka like paint spitter and hiding out of sight,
a venerable but still very functional Badger 200 single action.
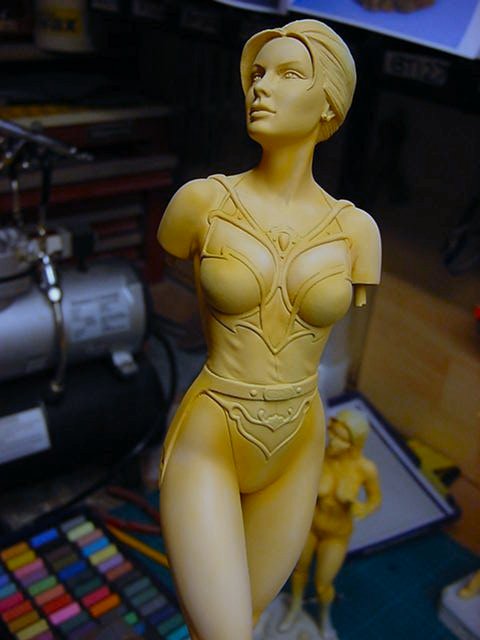
So to business and the basic flesh duly applied.
Well have to be honest here and can't say I was too impressed with the ready mixed paint.
Way too thin but it was done anyways.
Most likely these would be better for shading than overall paint coverage.
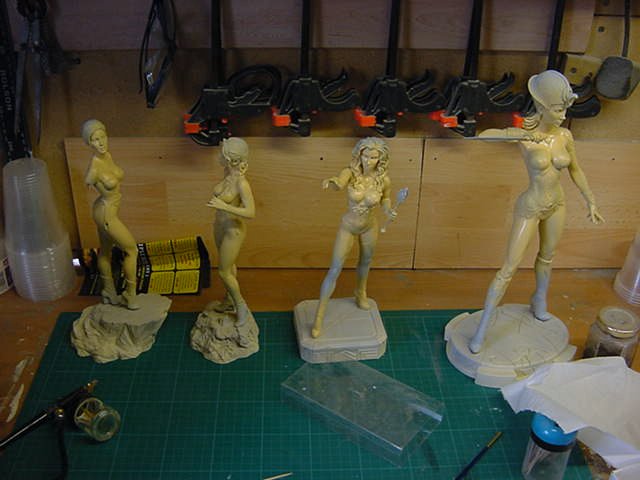
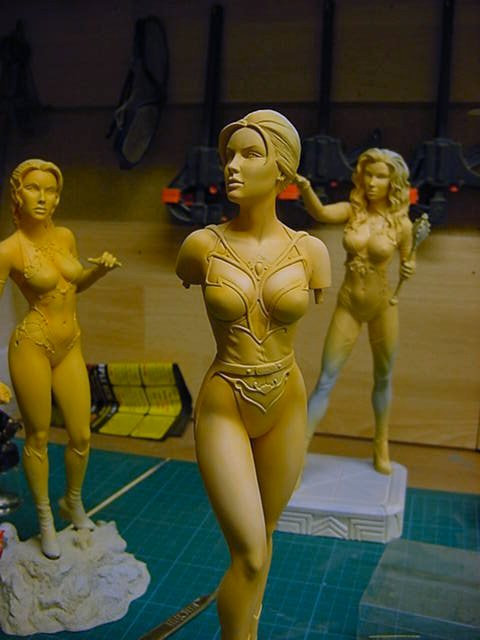
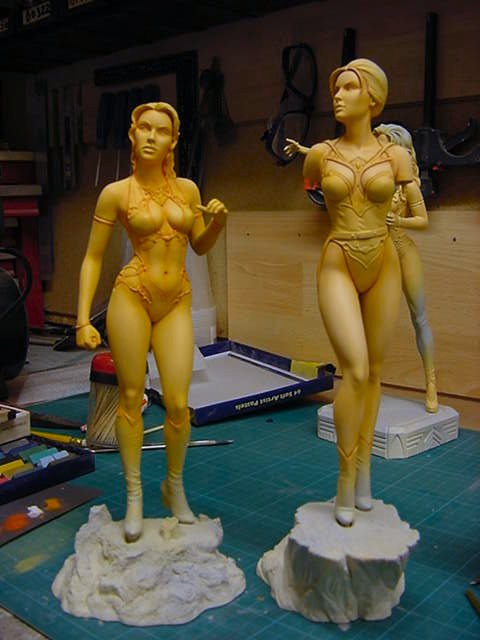
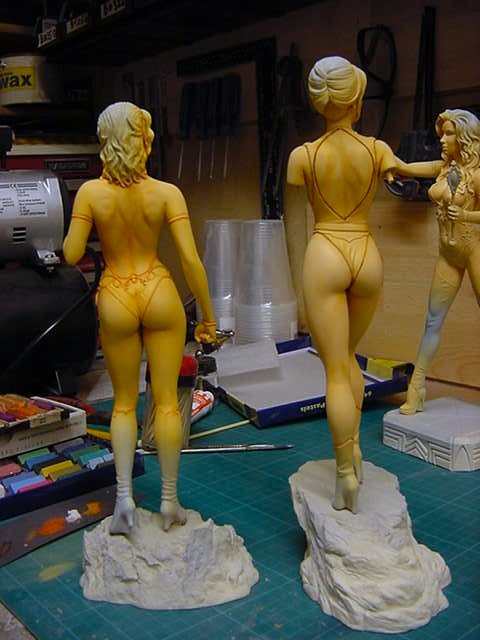
Gave that a hour to dry, which it did then it was into the flesh tone box o' acrylics to see what we had.
For Adina, it was basic skin tone and Lisette got the sunny skin tone.
Sorceress got the flat flesh and Tannis ended up with dark flesh.
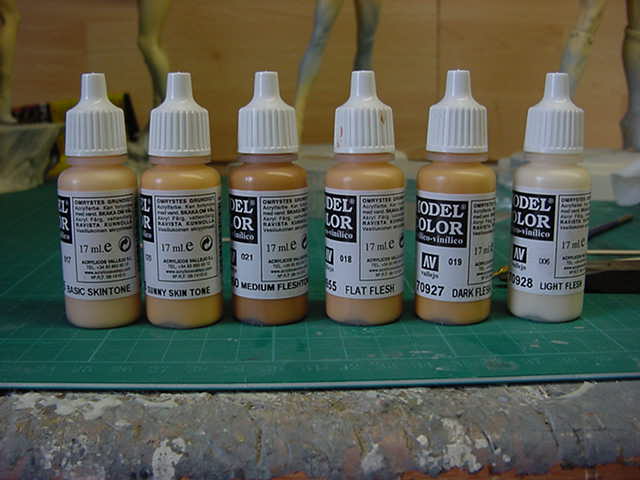
All the colour's were the standard ones, that is to say not pre-mixed for airbrush,
they were mixed with the Vallejo thinner in small amounts by yours truly and duly applied in an airbrush fashion.

Oh now this is more like it!!
Good coverage, excellent pigmentation and smooth as silk when dry.
Oh yes!
So then, once the ole badger had done it's bit and a clean up dealt with, onto basic shading.
Now I didn't do any accurate paint mixing, as usual it was on the fly and
simply by 'a drop of this and a drop or two of that' method.
Using the same skin tone paint for each figure as a base the slinging in either light,
medium or dark flesh depending on what I was doing.
So each wee amount loaded into the double action and off we go.
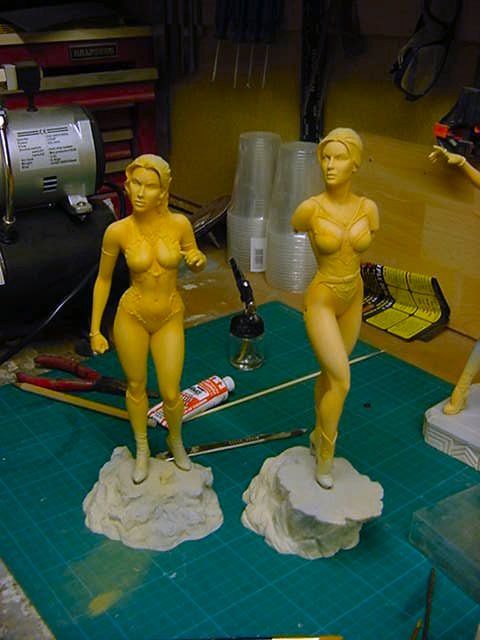
To cut down on piccie taking, i'll just be showing Adina and Lisette.
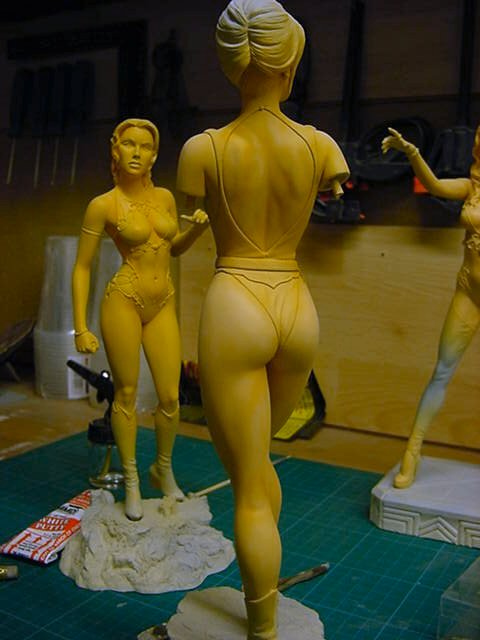
So first up the dry base skintone...And she really do got great legs!
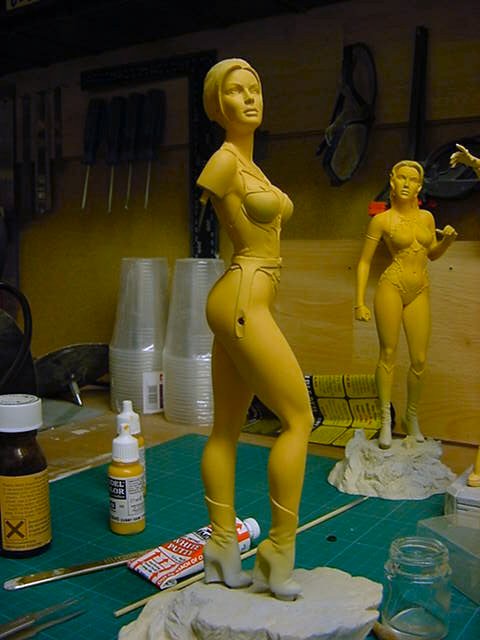
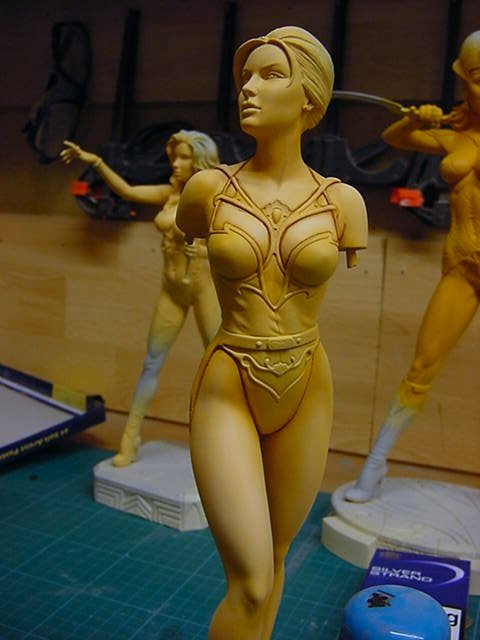
Then quite simply airbrushing lighter and darker shades to get subtle shading sorted.
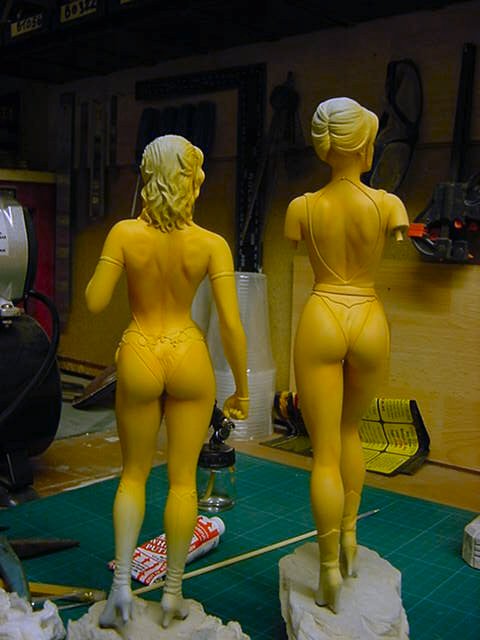
So that's half the fun done, now to the rest of the shading.
The paintwork was sealed with a spray of matt acrylic varnish and left to cure fully.
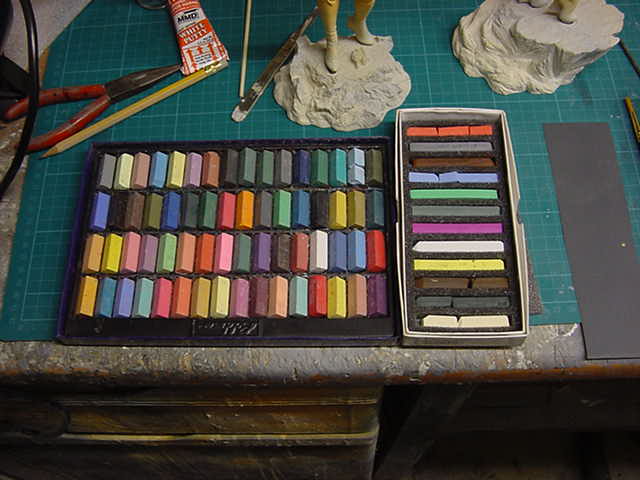
As is my usual way, go just so far with airbrush then it be pastel chalk time.
A simple enough deal.
First you need the artists pastel chalks and a small strip of
fine grade wet and dry or ordinary sandpaper if you so choose...
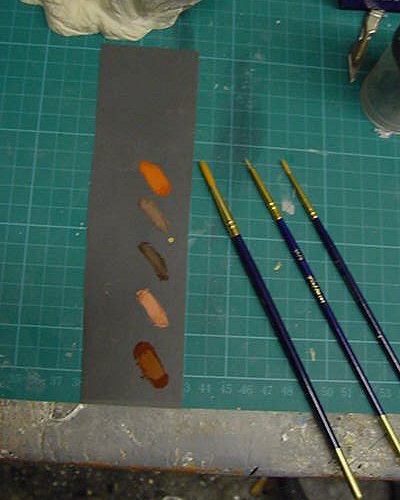
Taking a stick of whatever colour you require, simply rub on the grit paper to get a small amount of powder.
A little goes a long way so no need to go berserk here.
the other bits are some fine point paintbrushes, my personal choice being a #3, #5, #10/0 and a #3/0.
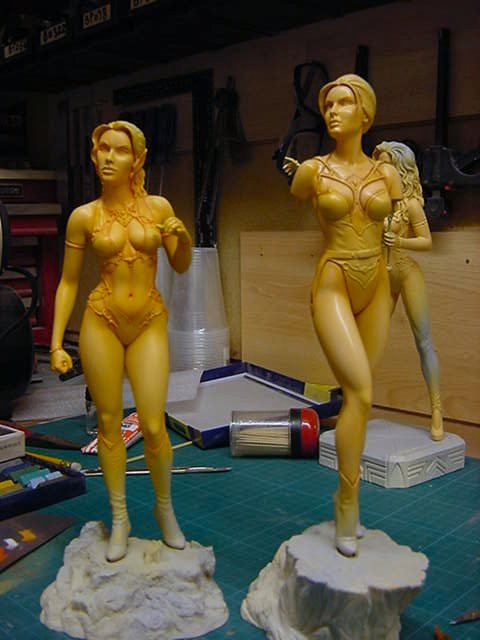
So, taking the smaller brush and just dipping it in the pastel chalk, dark brown for Adina
and apply gently brushing it all around the edges of the clothing.
Working carefully and blowing away any excess powder,
then going over the lot with the largest brush to blend it in and smooth out the lines.
That done, time to work on Lisette who got the dark red brown treatment.
Both done on that score, then working with medium brown,
light brown and some medium brown and white in the same fashion
to work up the shading on the flesh body areas.
That done, the girls were given another coat of flat varnish to seal the pastels in.
Also has the added effect of punching up the colour contrast slightly while still keeping it subtle.
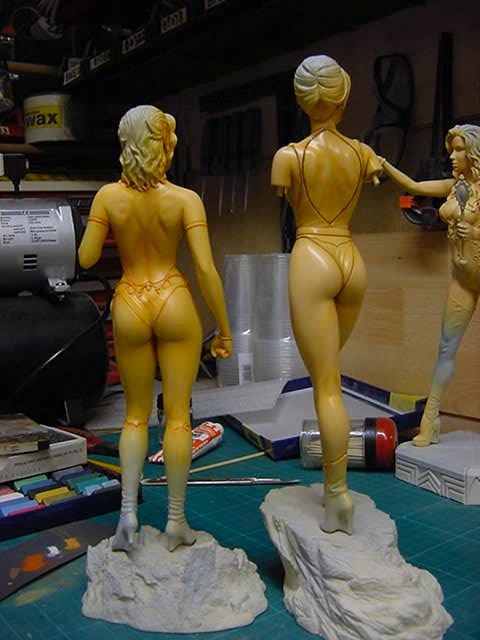
So time to leave them alone for the flat coating to cure fully 'fore we get onto the next bit, namely clothing painting.
Right then, enough for one day methinks, you lot take good care of yasleves and i'll see thee next update time.
As always, go easy gang!
Page Number