
Renwal/Revell Atomic Cannon
1/32nd Scale


 Page Number
A bit of paint work, sort the steering
And Some Plumbing To Do!
Hiya gang!
OK then, at the end of the last update the cab seating thing was done so time to get some colours on.
And with the usual blackwash and dry brush dance, sorted.
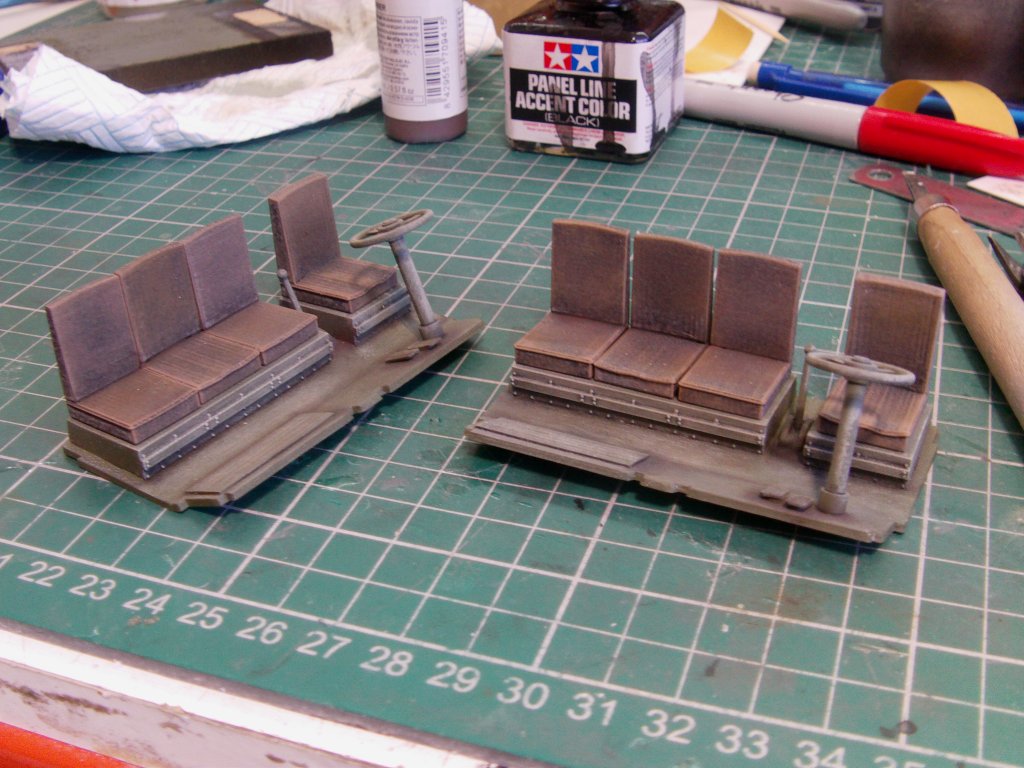
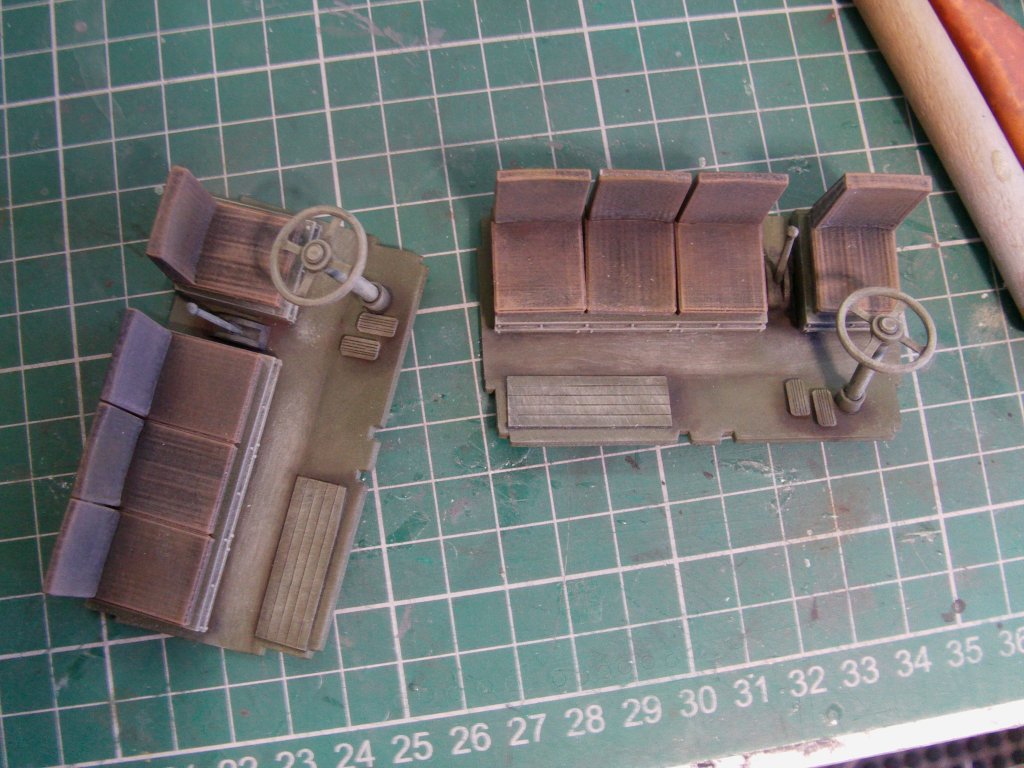
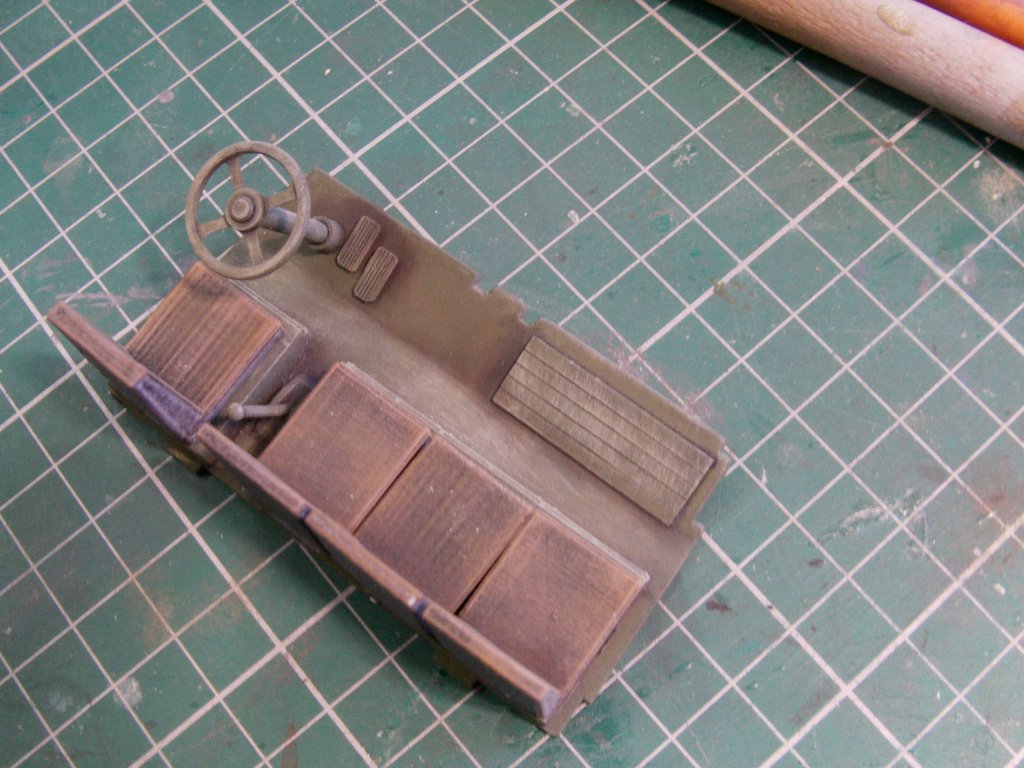
That'll do for me so onward!
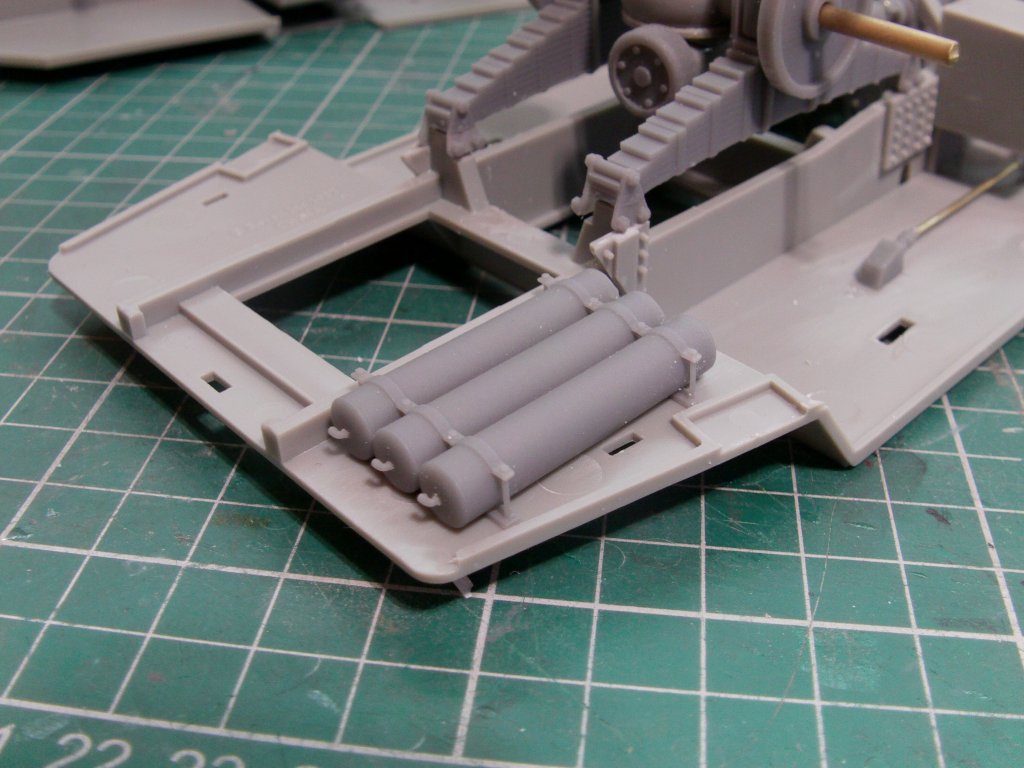
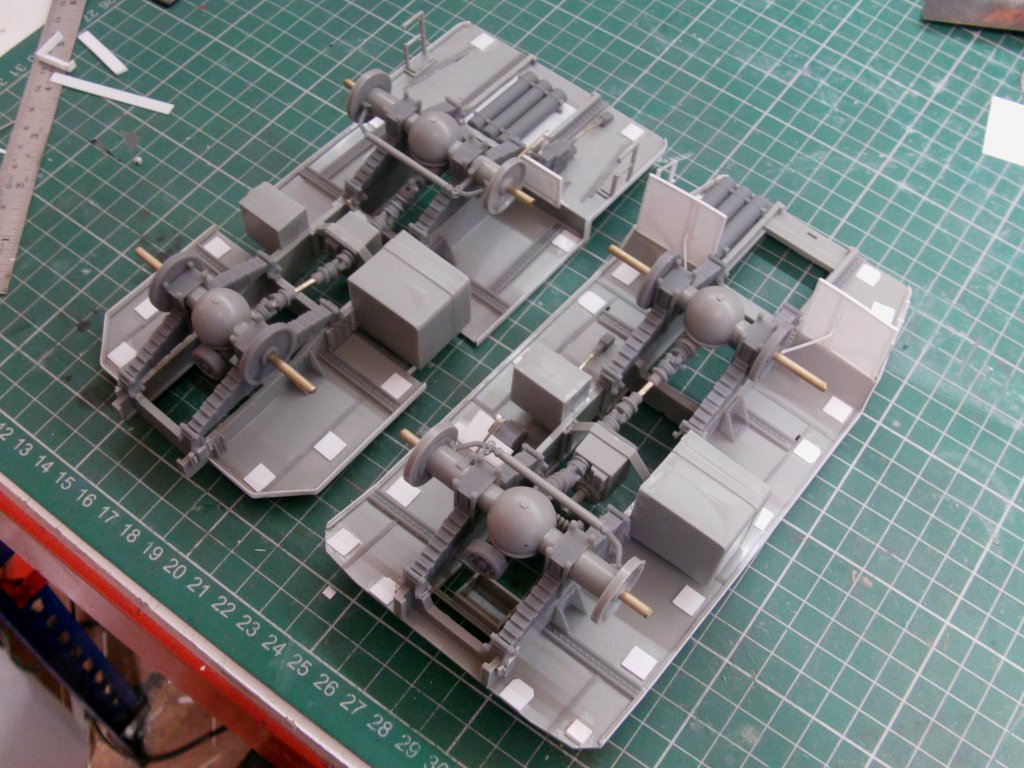
Tanks for the air reservoir meshed up and printed, steering gear likewise with some brass wire attached.
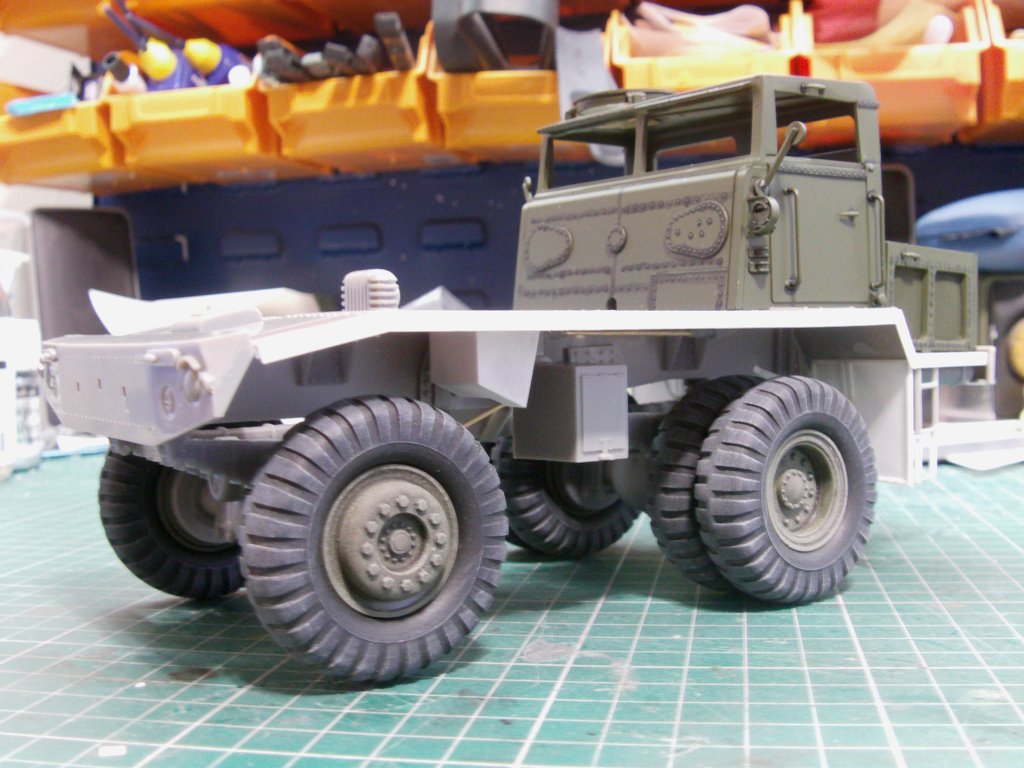
Installation on the rear truck did happen and the result of that fun as follows...
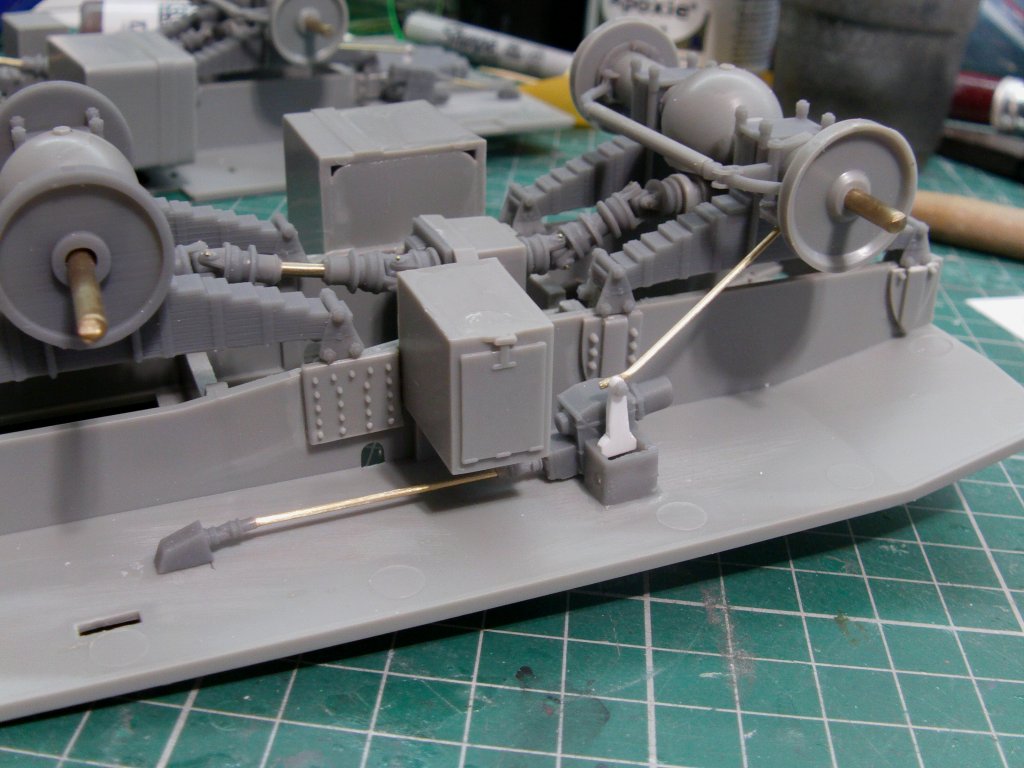
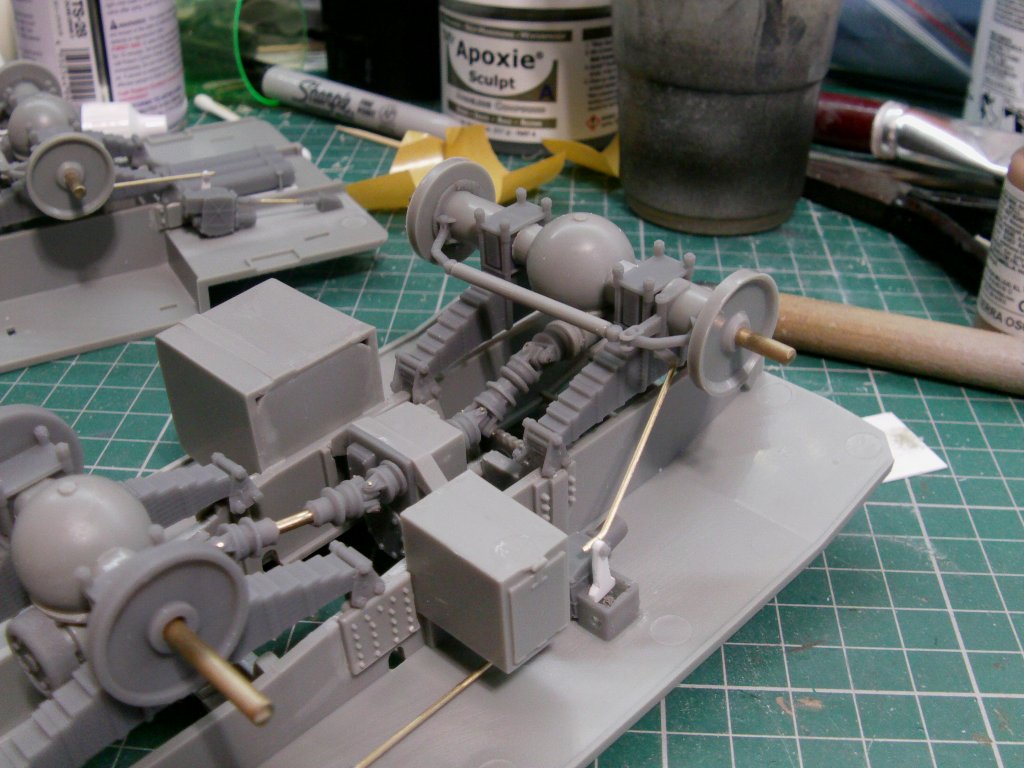
Front truck taken care of.
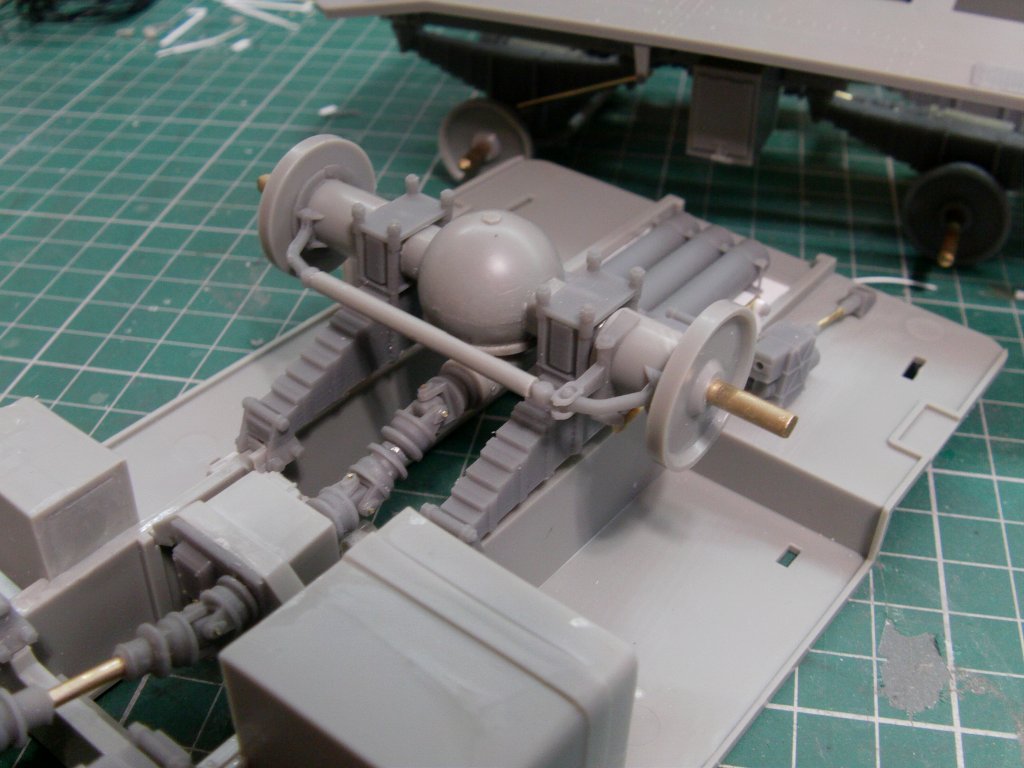
All god so in with all the last detailing doo-dads for the underside of the trucks.
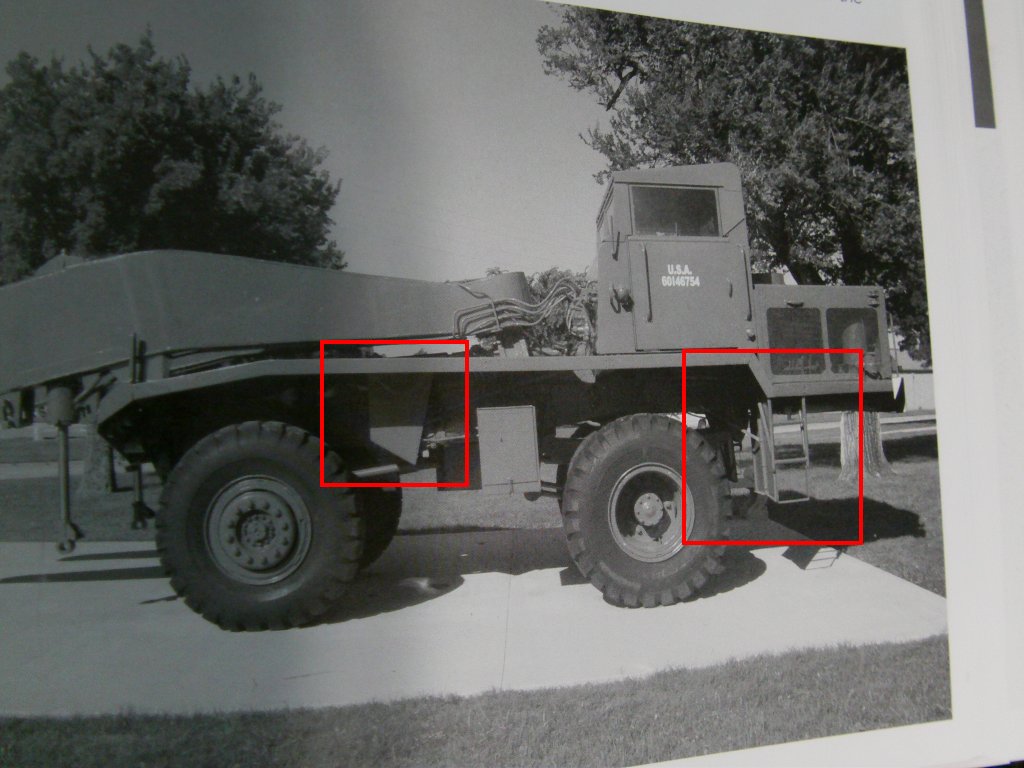
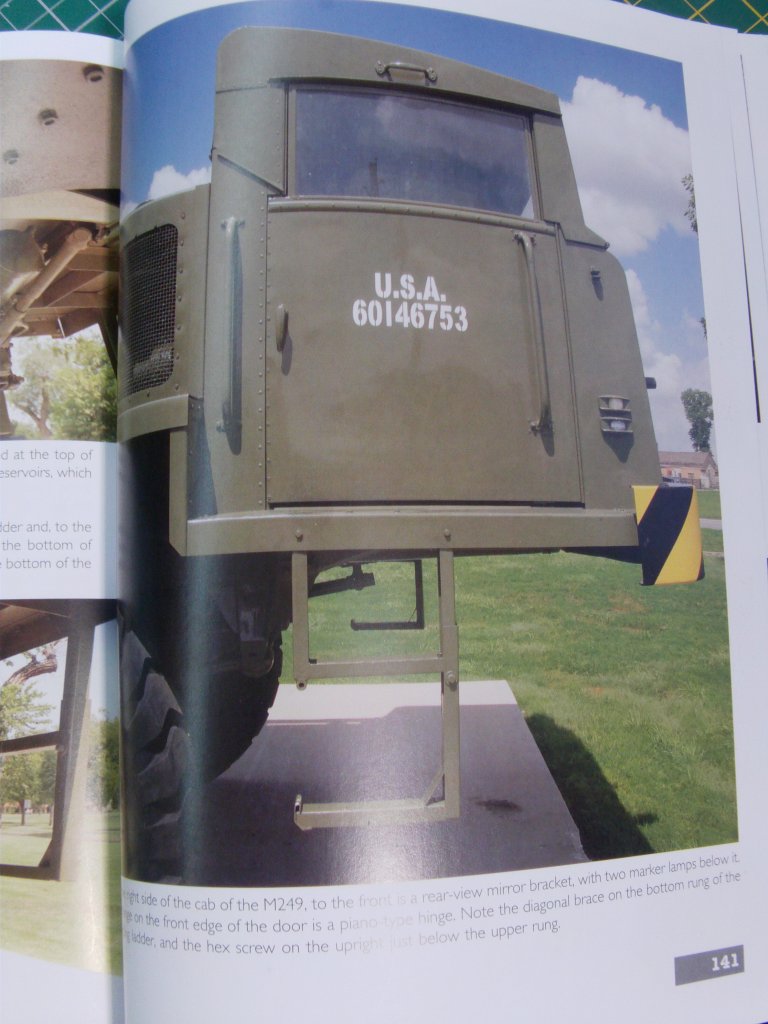
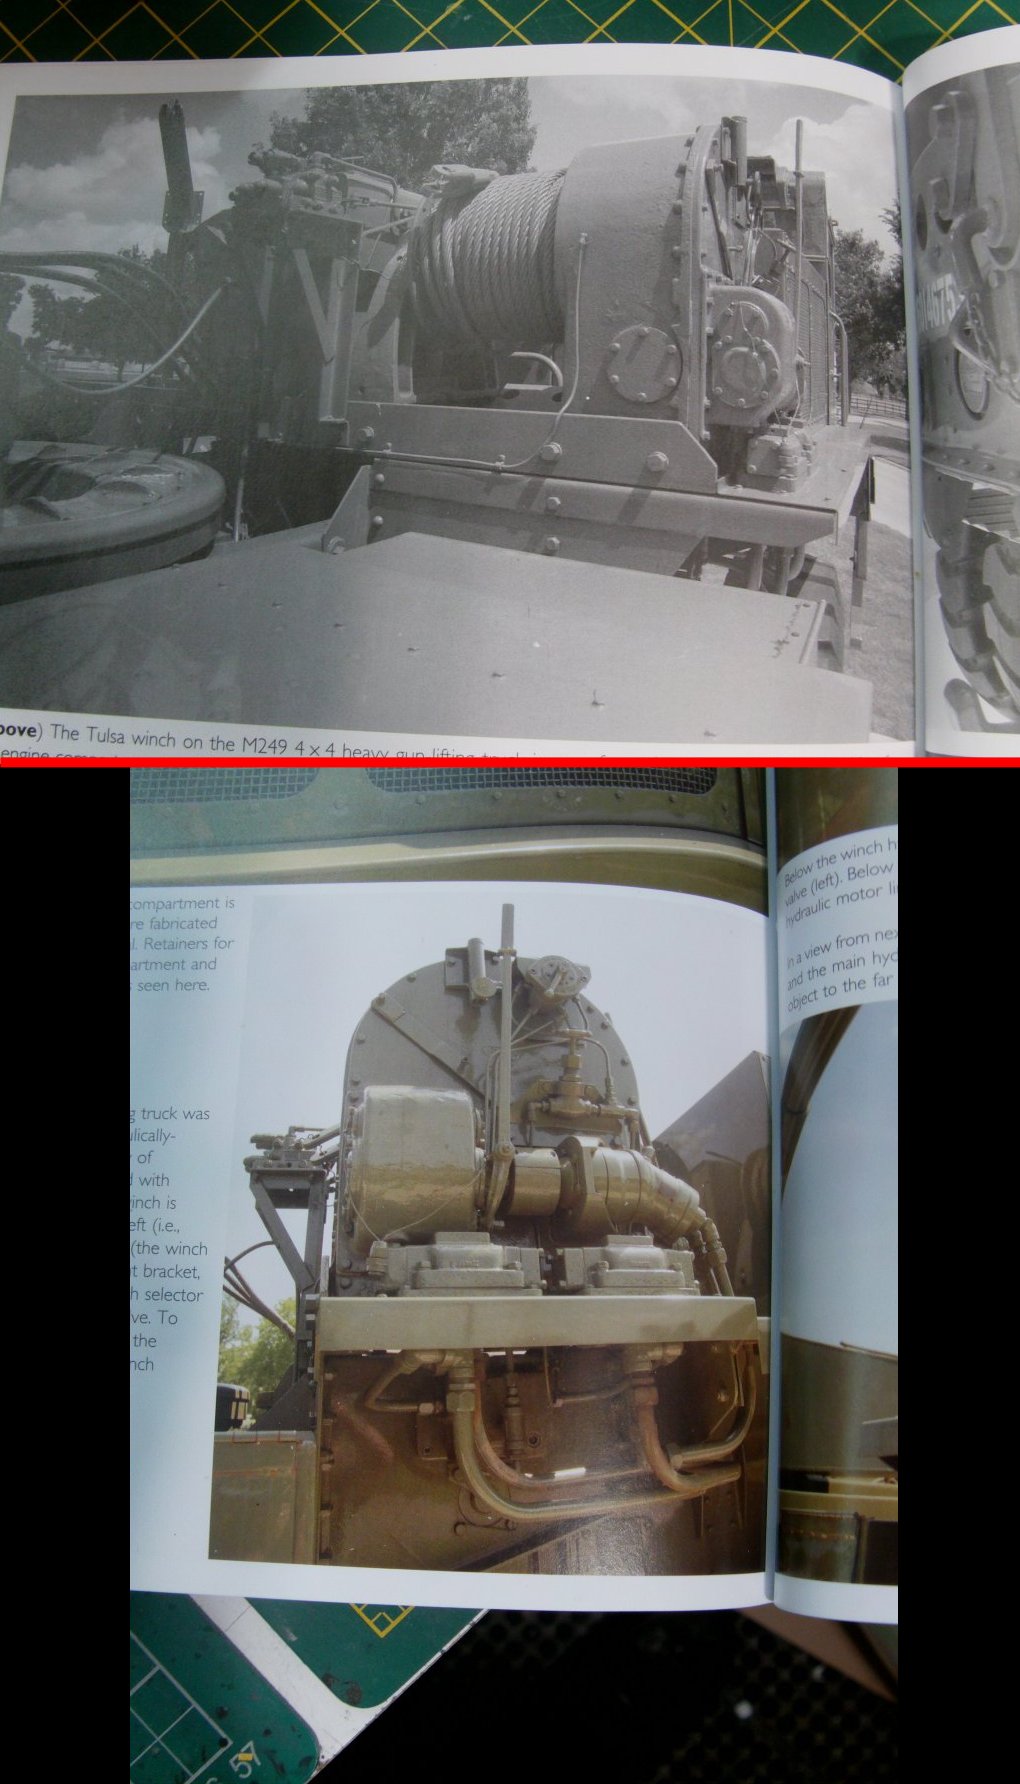
Ref pic time!
The areas of interest are the red outlined bits, namely the mud guards and ladders.
A closer look at the mudguard and crew ladder
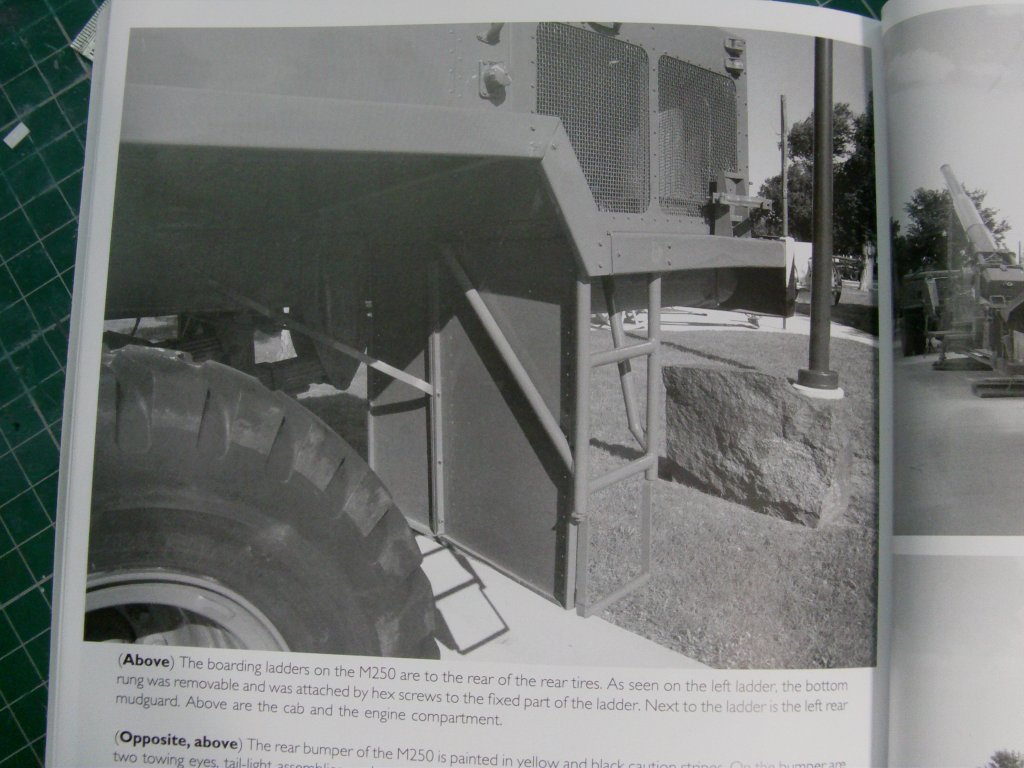
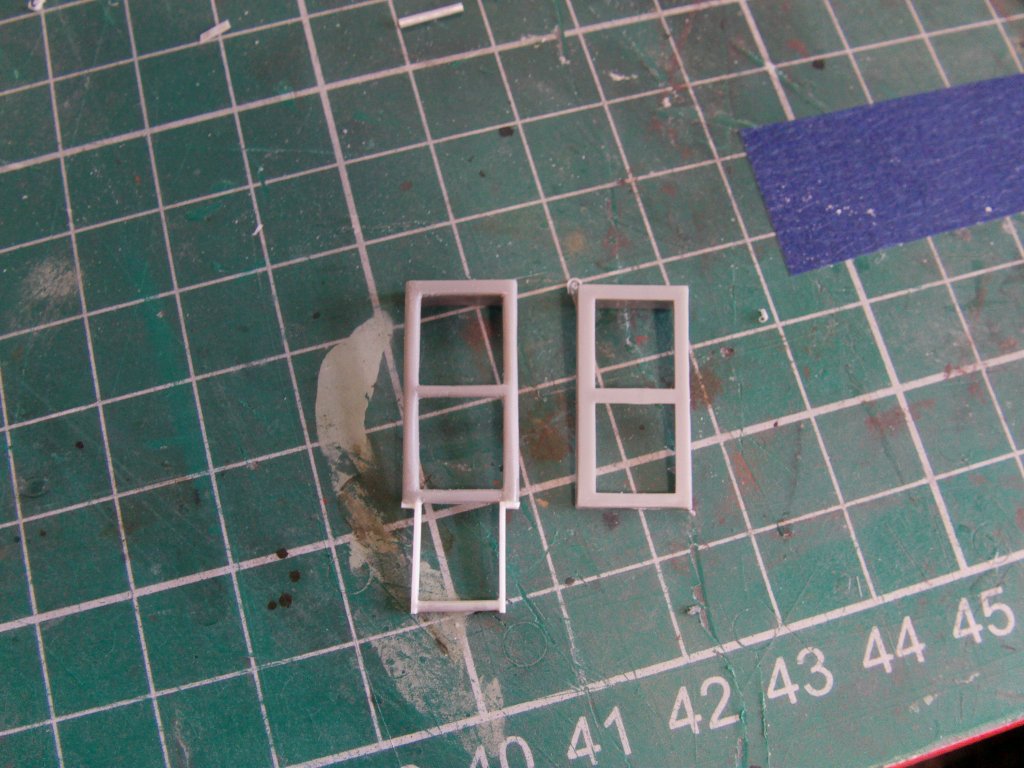
The ladders on the rear truck are a tubular thing in the main with a plate and tube bottom step.
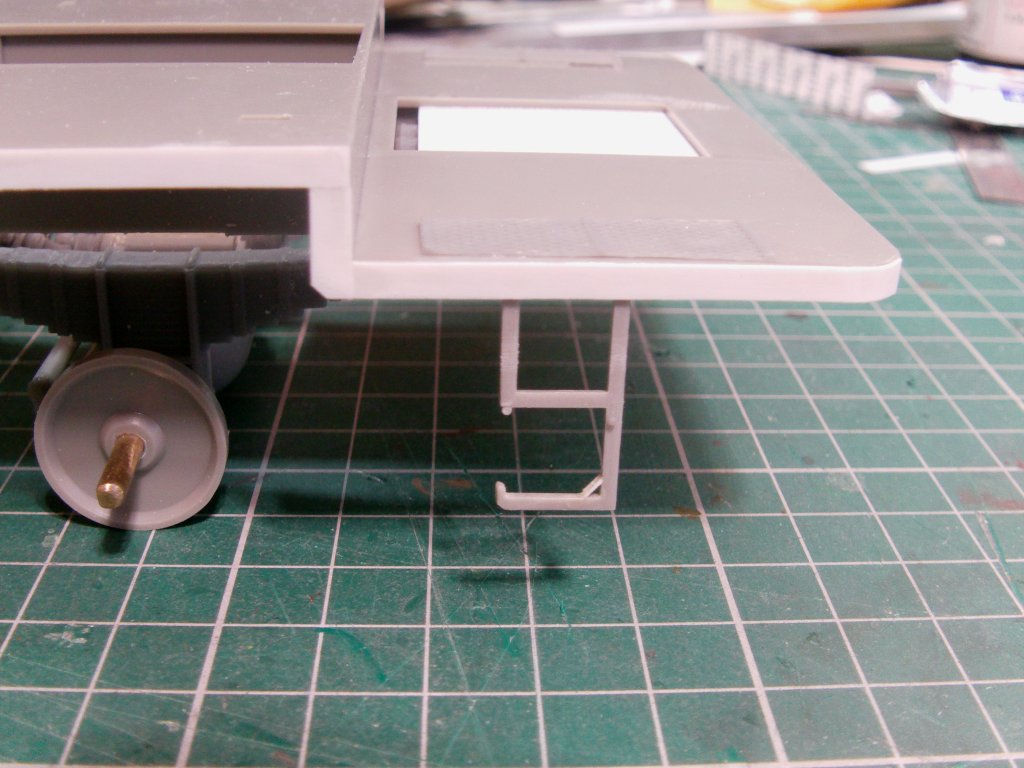
The stick ones are pretty square in the moulding and that's fine for the front truck,
less so for the rear so some filing down and styrene additions on the list.
Modified one to the left, stock one to the right.
Ladder installed and mudguards made up from 10thou"/.25mm thick styrene cut from a sheet.
Also laid on some 3mm width strip around the edge of the truck bed to make it look more like the real thing...
Well a bit more anyway.
Also many a printed bracer/strengthener of the bolt and rivet type in position.
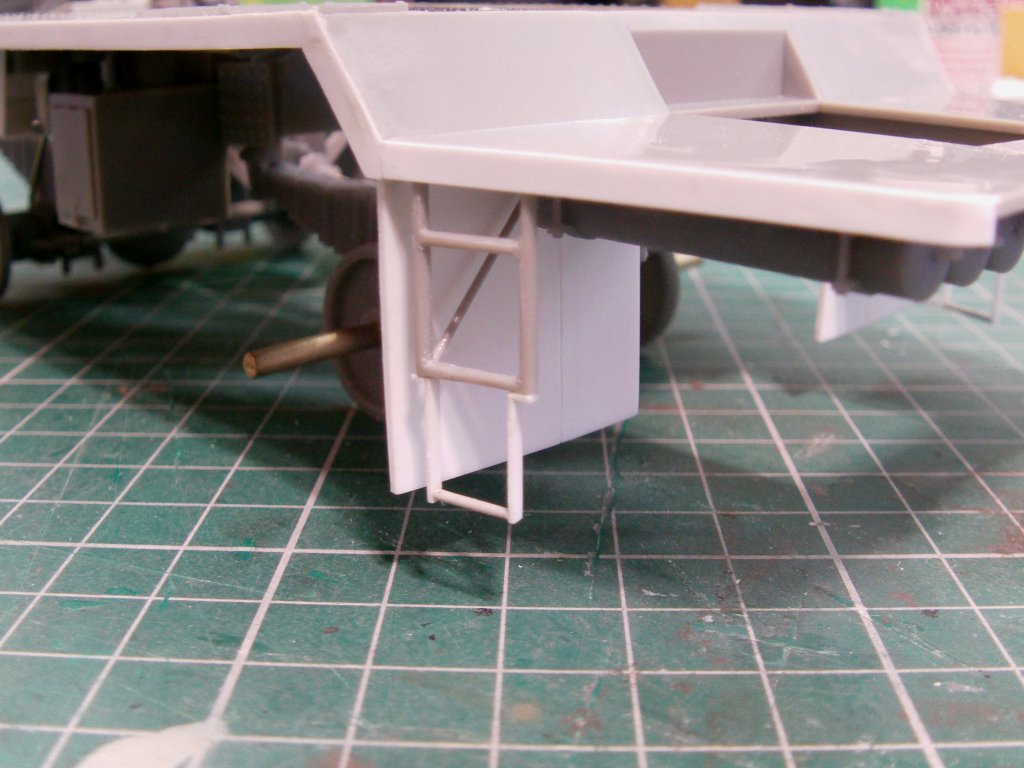

Looks the part so that'll do.
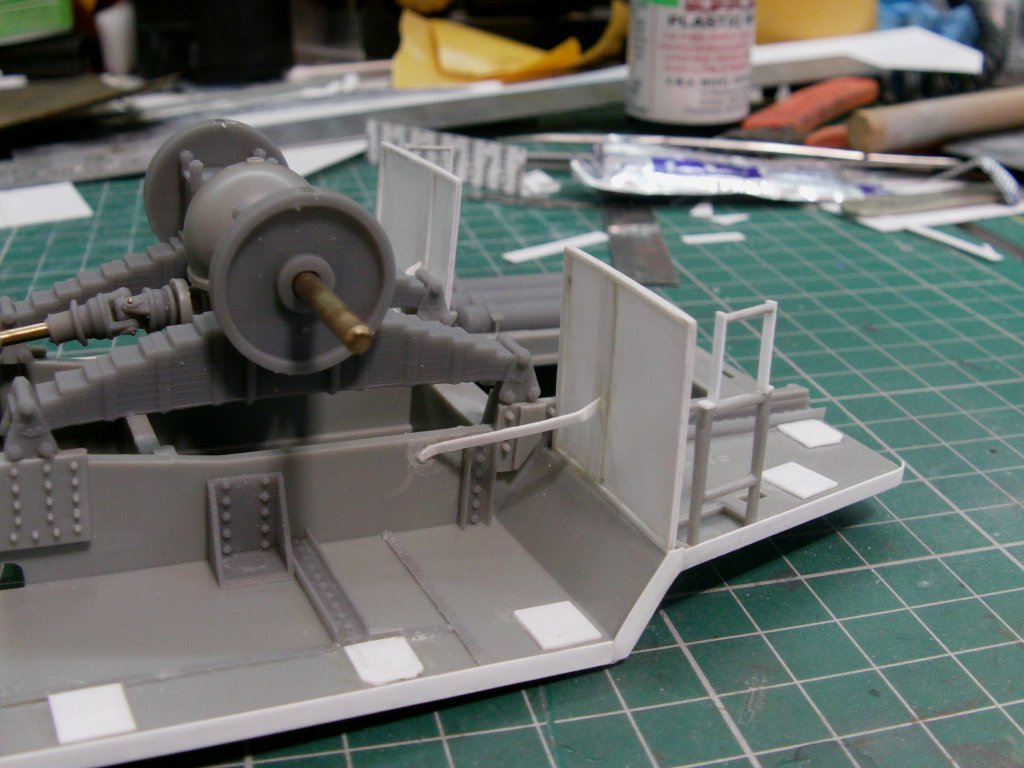
Steering gear mudguard made up and in place.
Front ladder ref pic.
Stock part modded and installed along with the mudguard for the steering box.
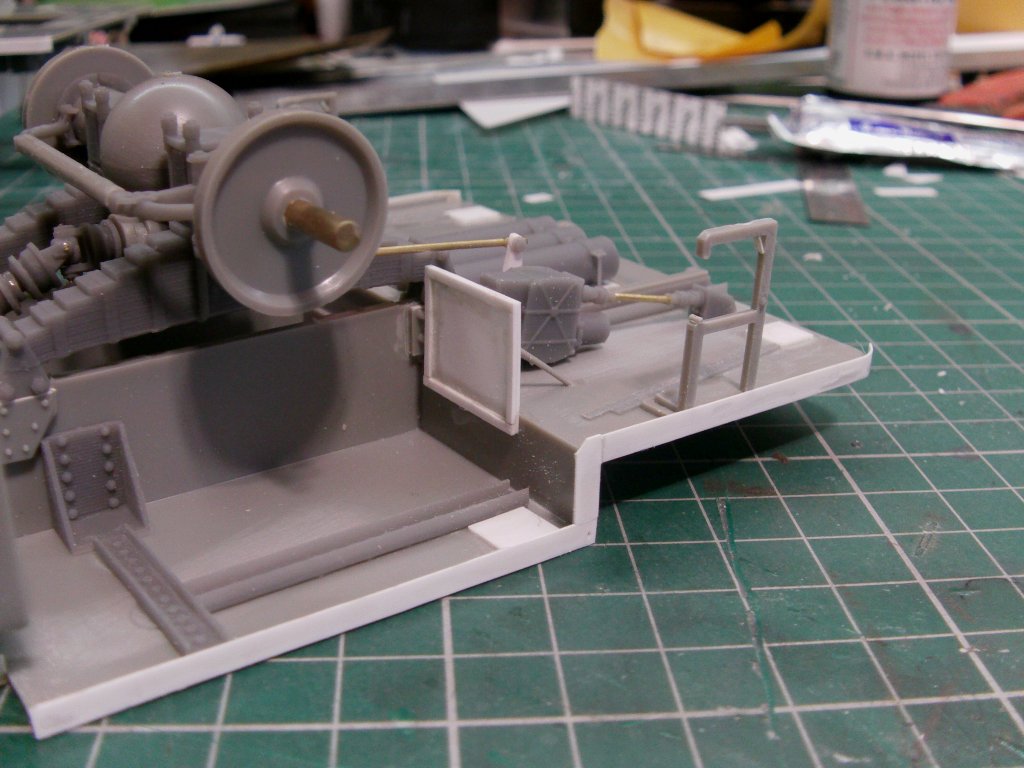
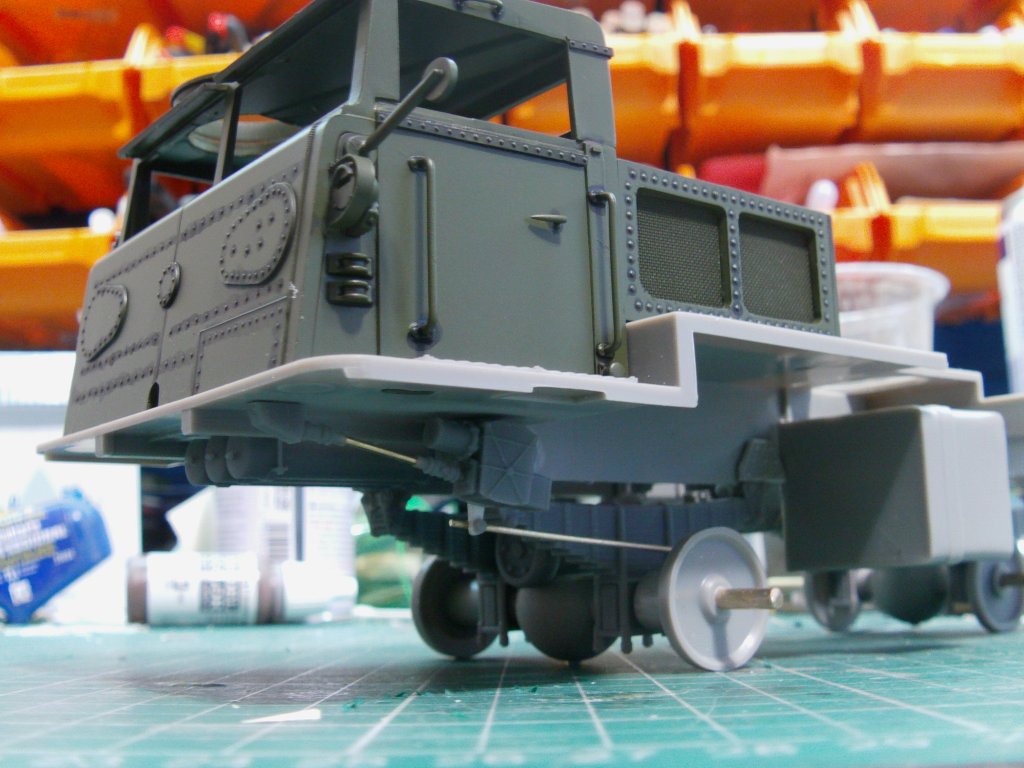
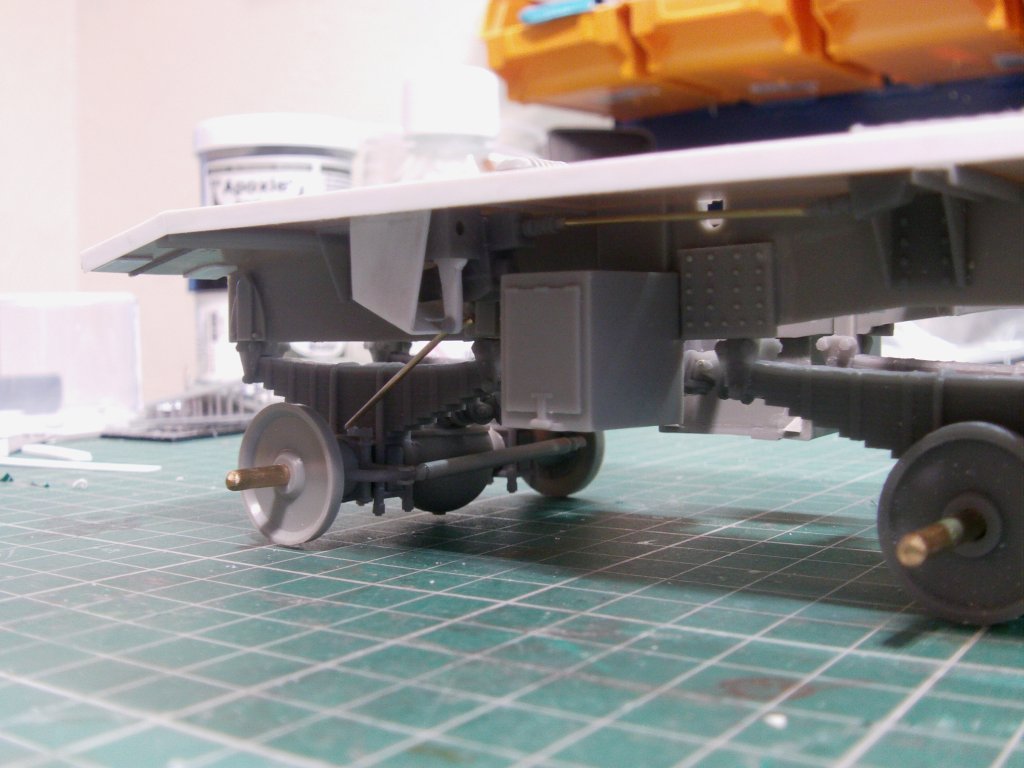
And that's pretty much as far as I think I want to go with the underside detailing.
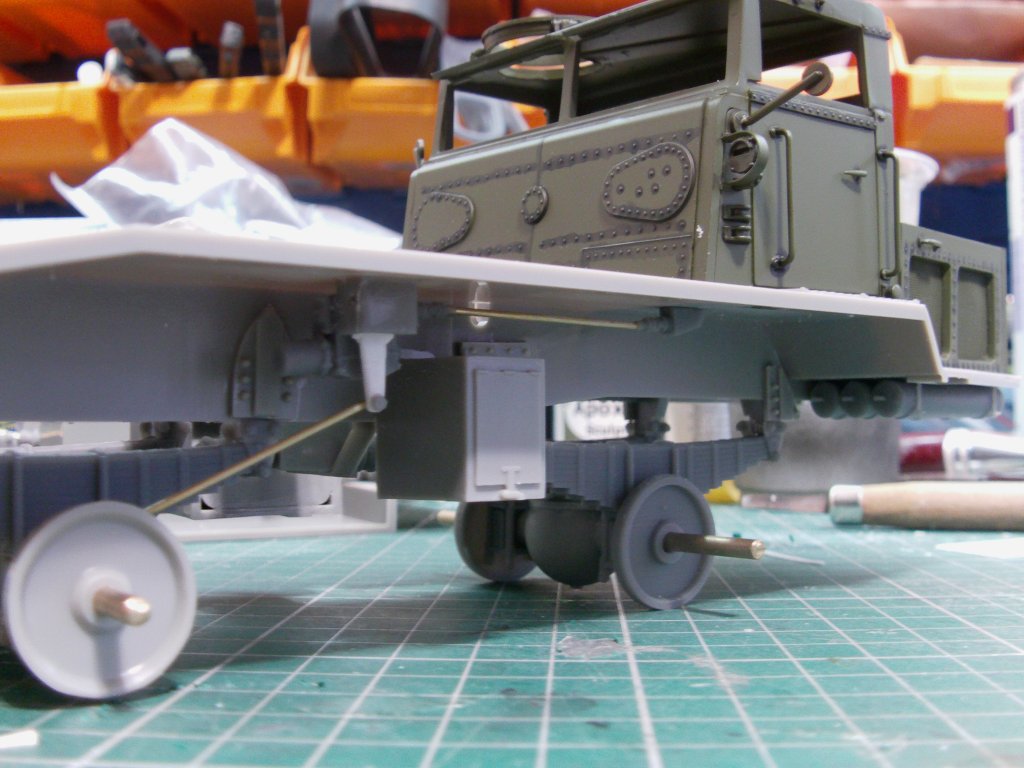
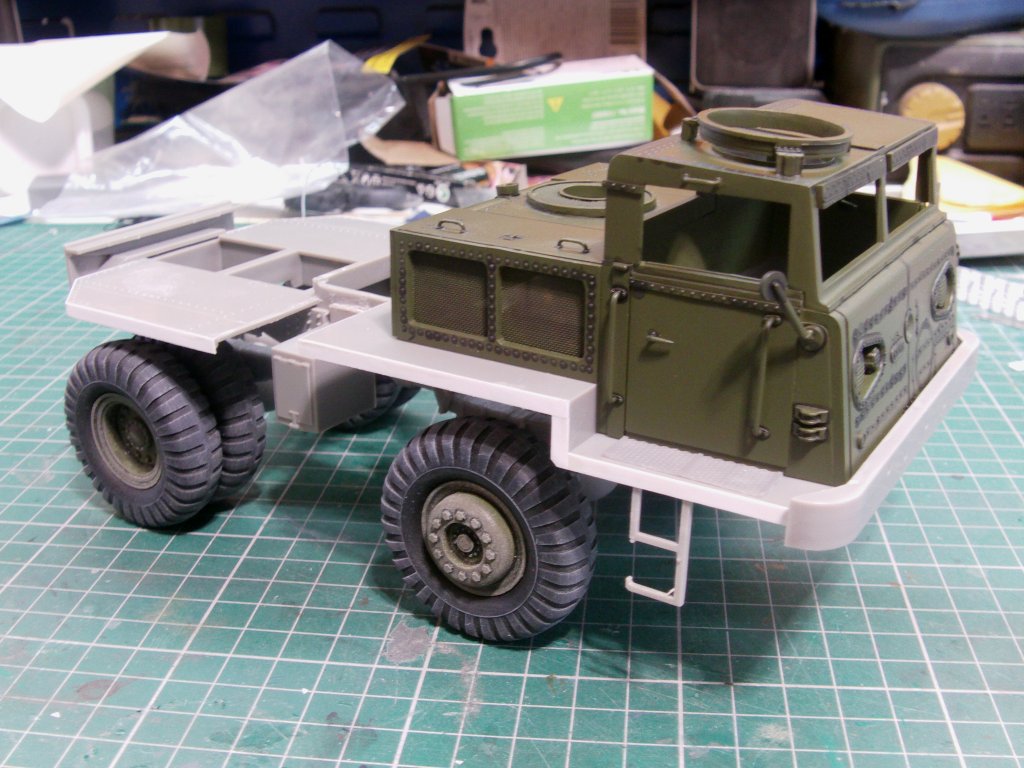
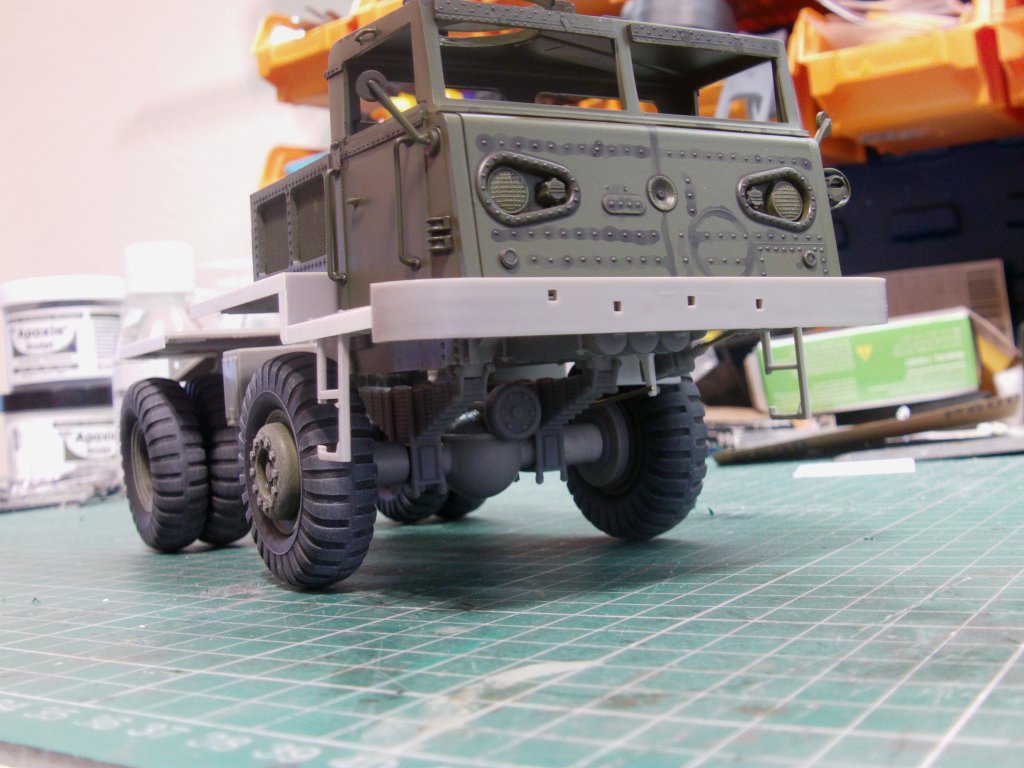
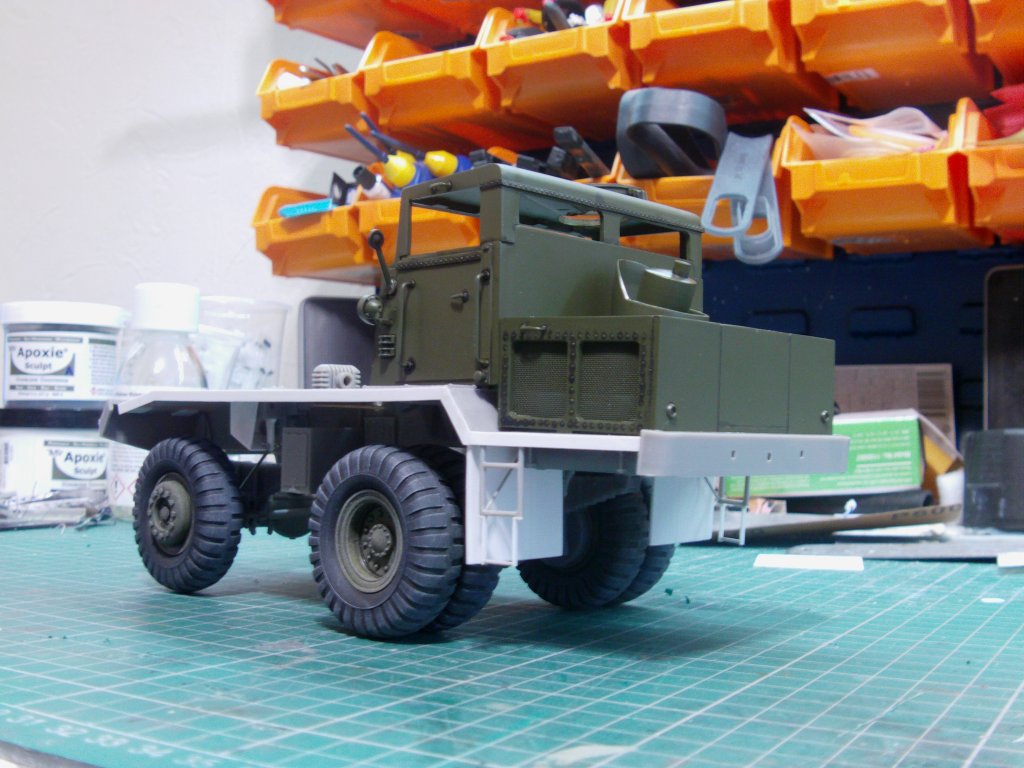
Dare we have a little dry fit look see?
I do believe we dare do just that!
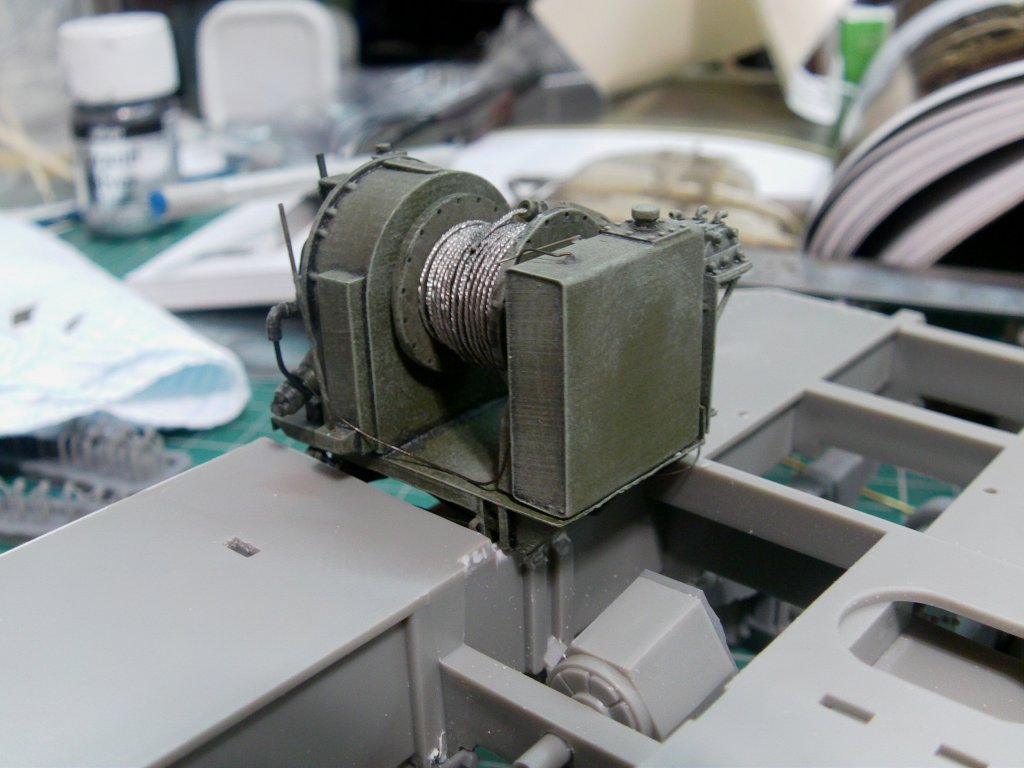
Time for the hydraulic piping pandemonium to commence.
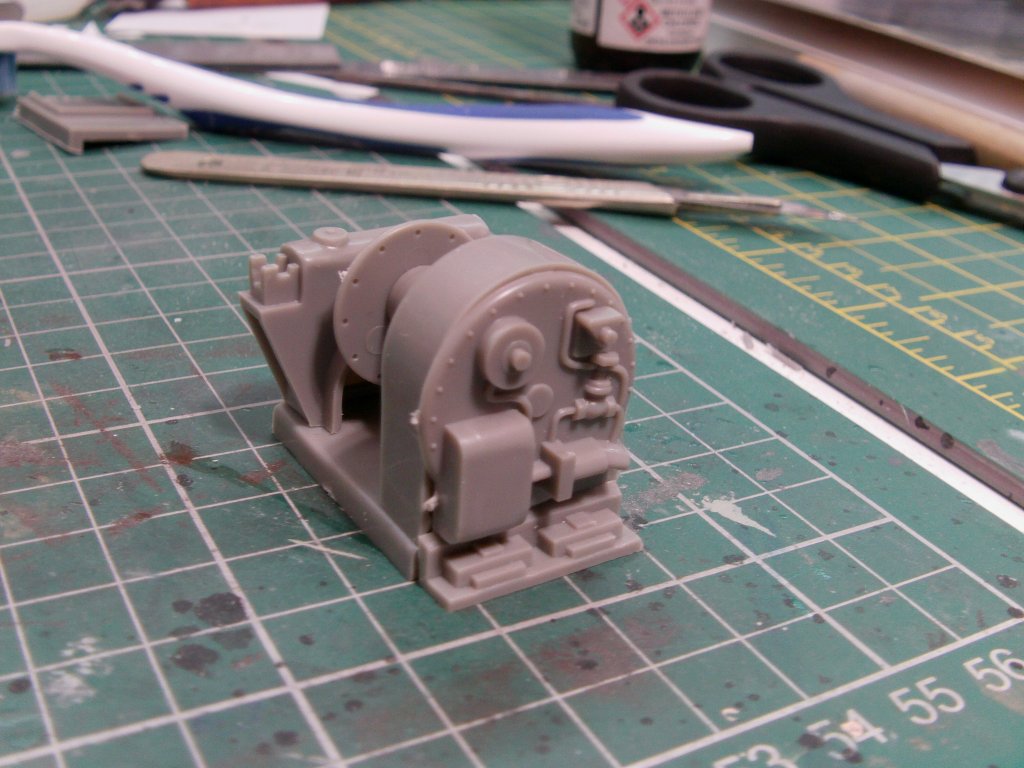
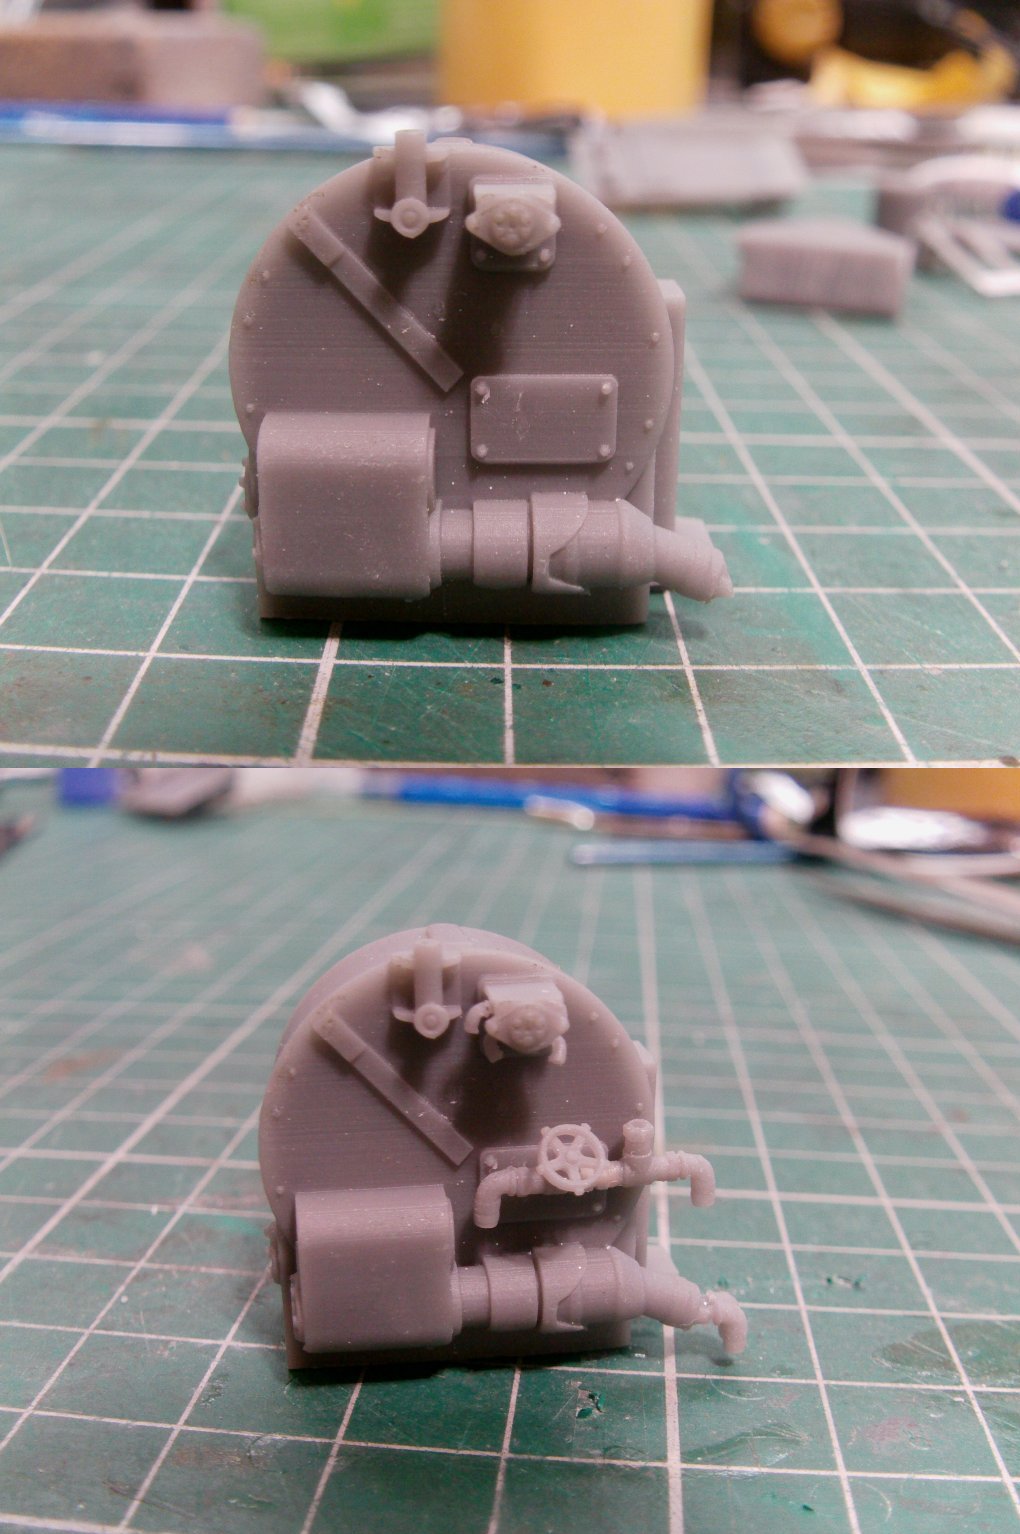
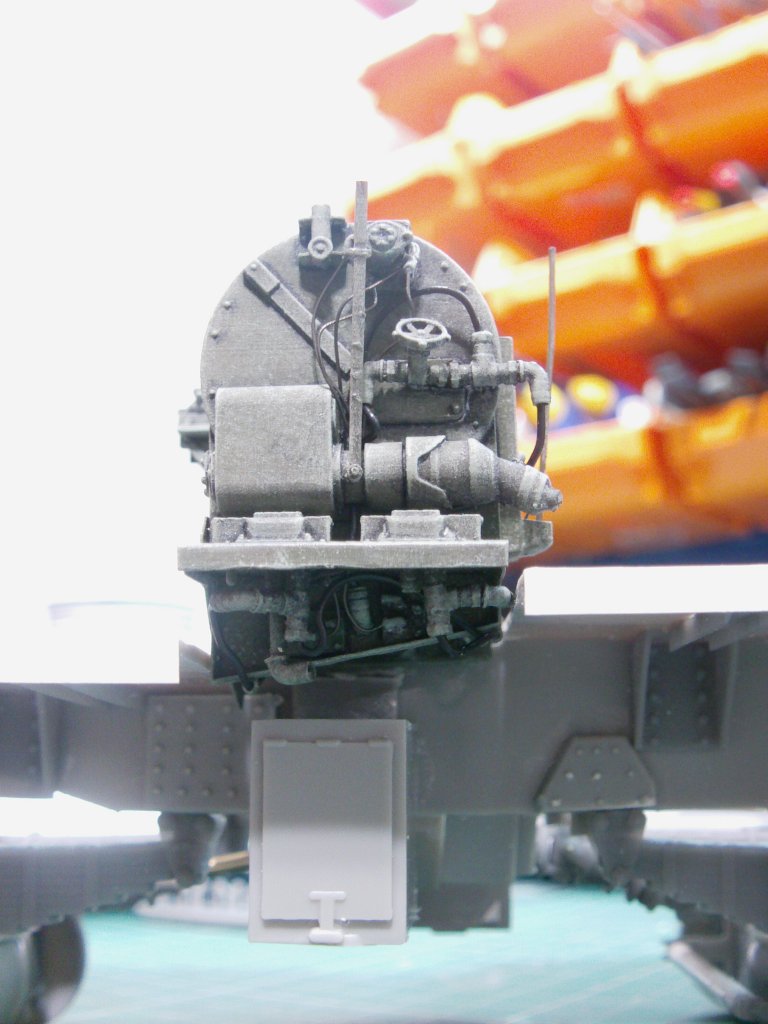
First up is the winch and this be the real thingy.
The stock parts.
As noted before, i'm not going to knock 1950's tooling and they did a good job for what could be achieved
with injection moulding tech back then so normally all good.
But this is me here so replacement time.
Render as follows.
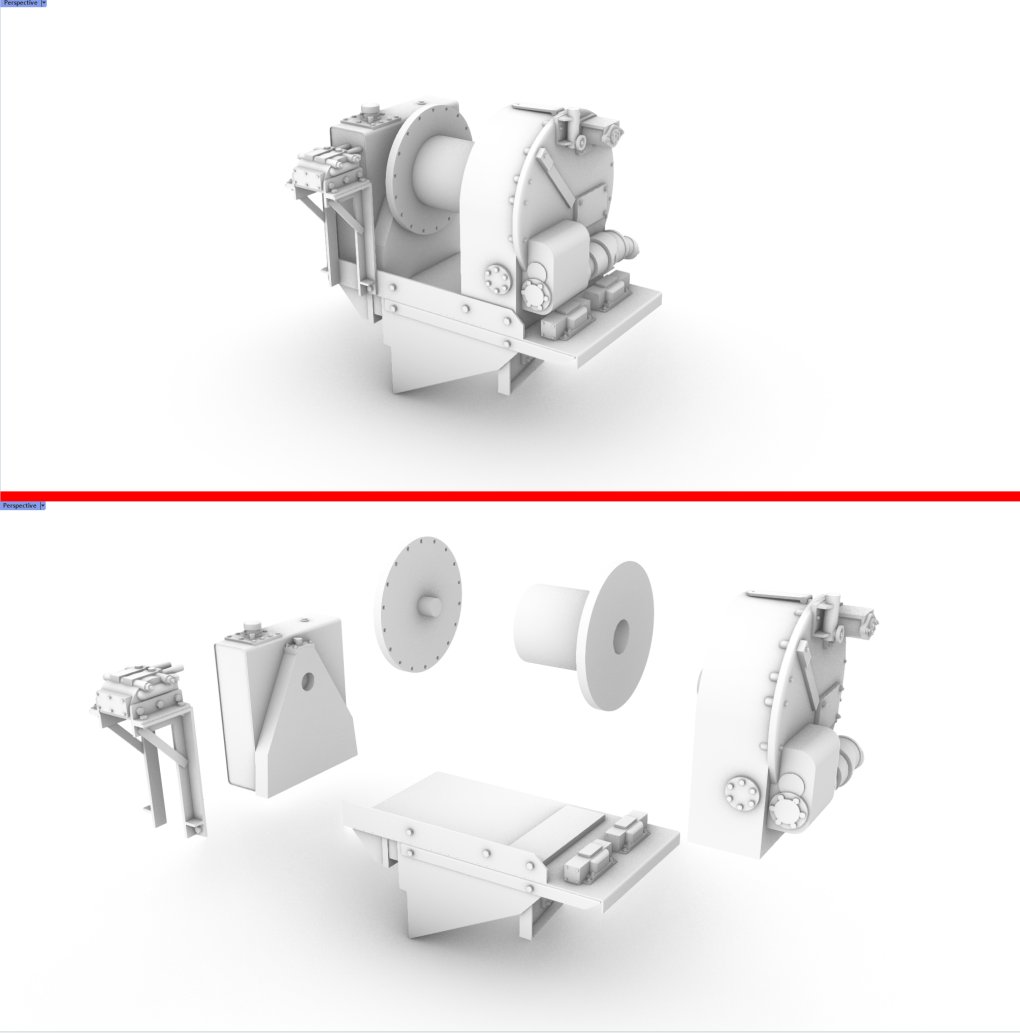
Now the stock one sits pretty much level with the truck bed and the real deal is raised slightly.
A lump got hacked out of the bed and printed parts dry fitted.
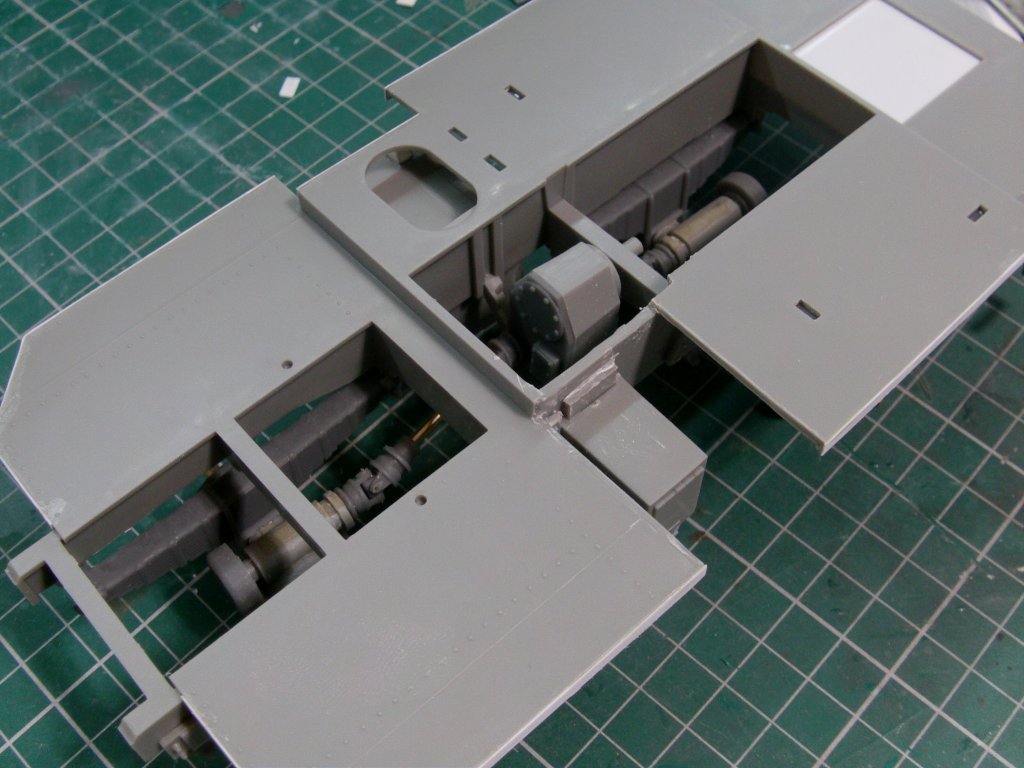
Has the look i'm after so on to the extra stuff.
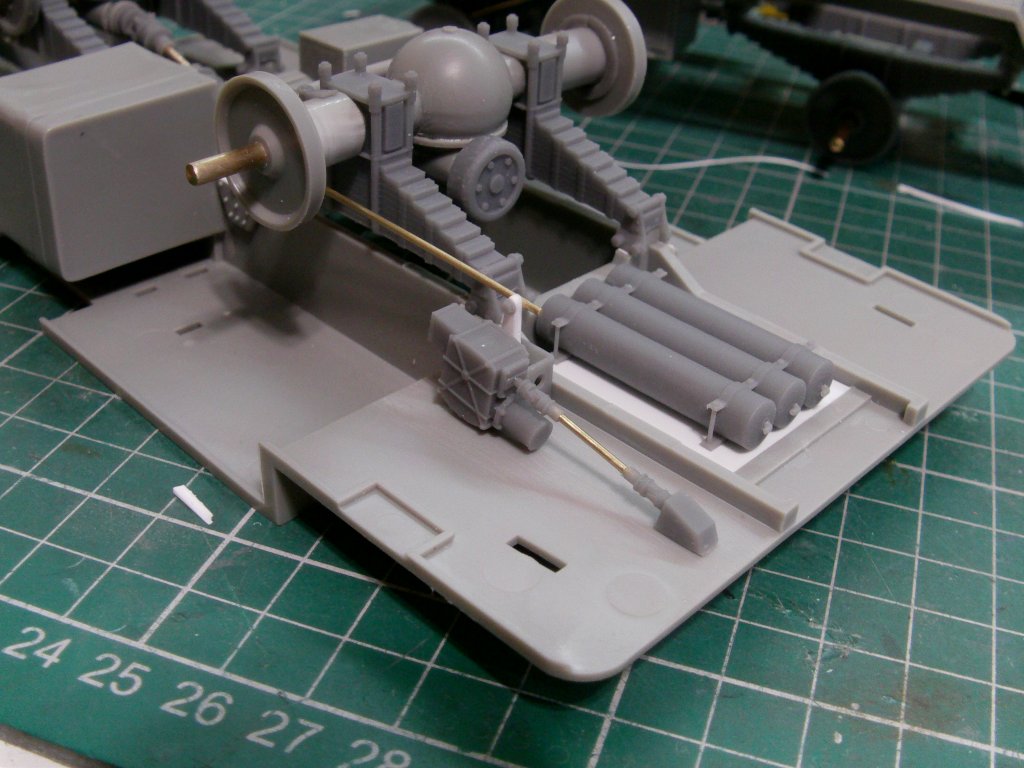
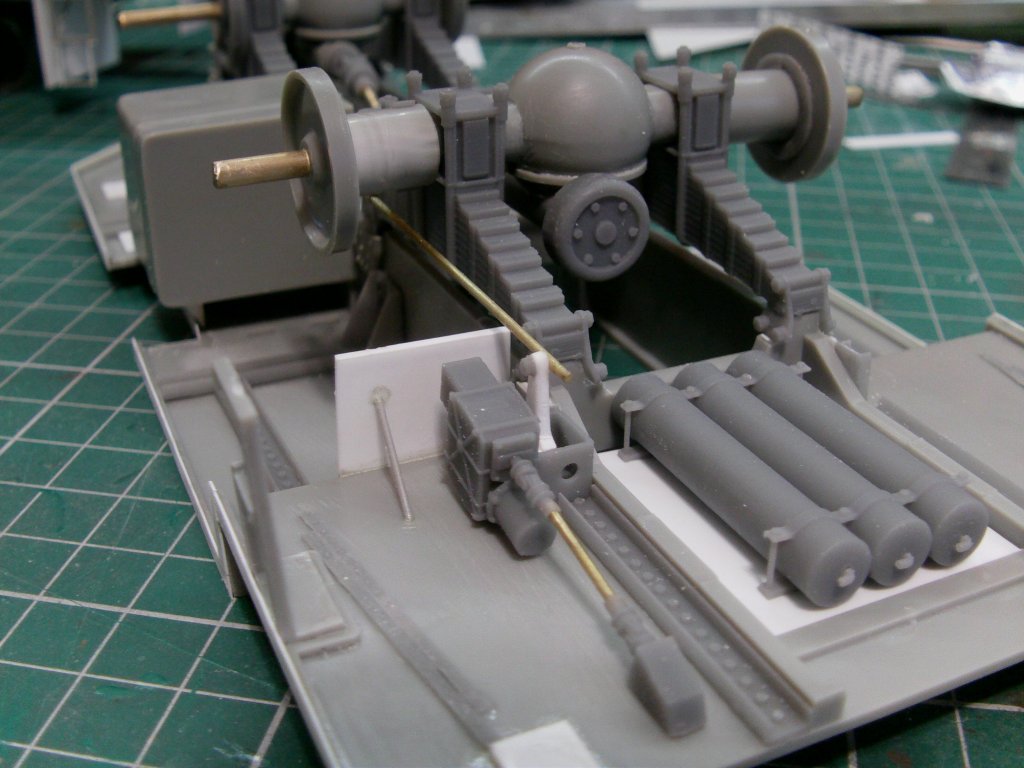
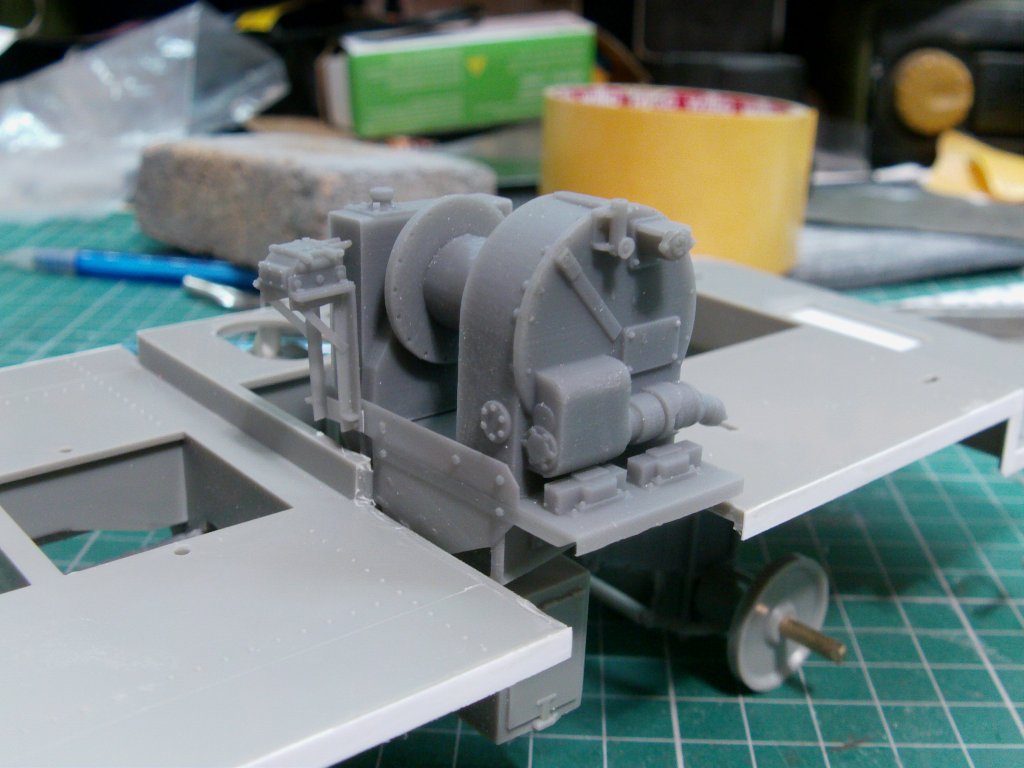
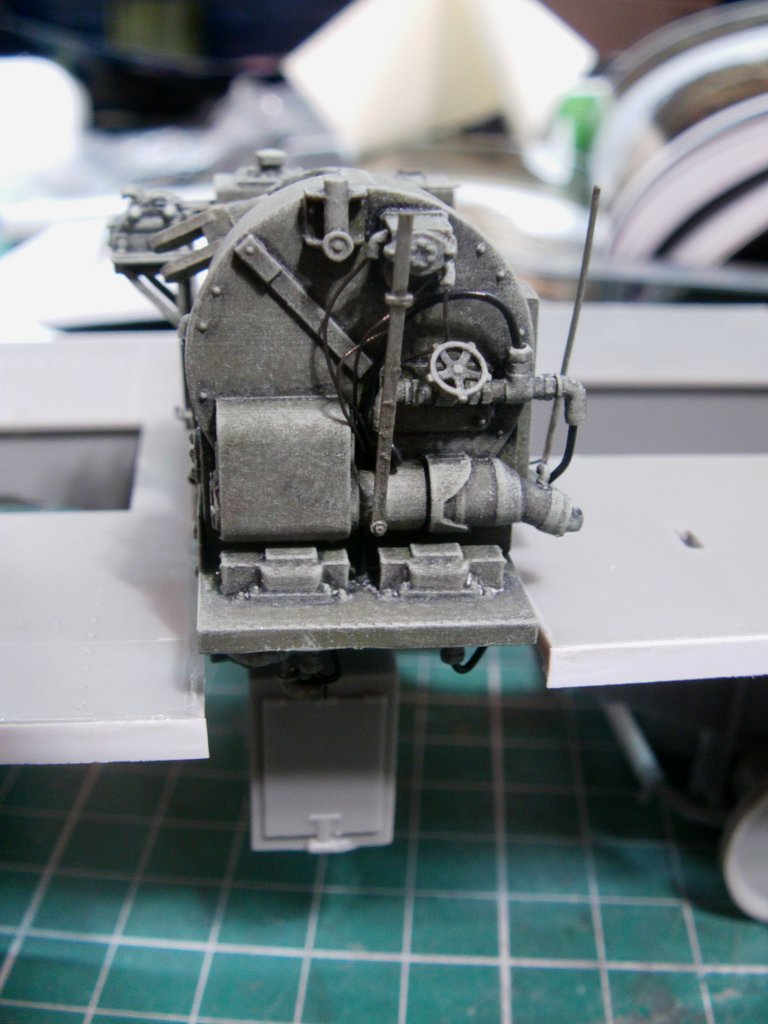
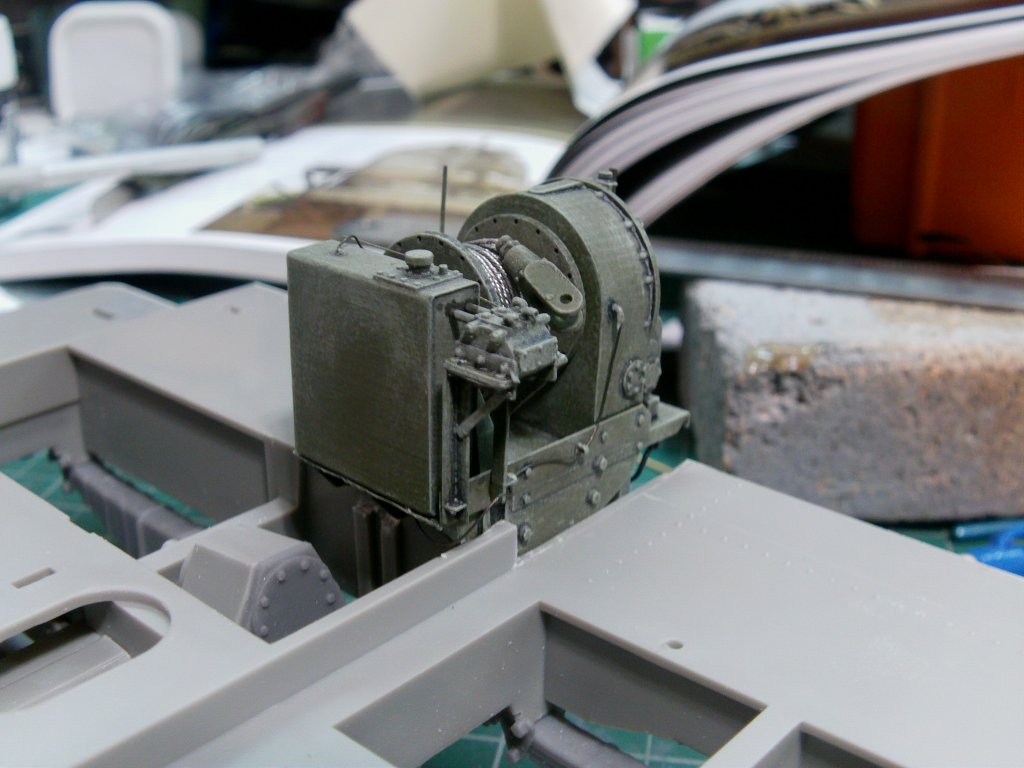
And by extra stuff, I mean the bucket load of printed piping bits I made up for just this occasion.
This went on and many a hole drilled and fiddle bit glued on.
Then the inevitable paintwork plastering on happened.
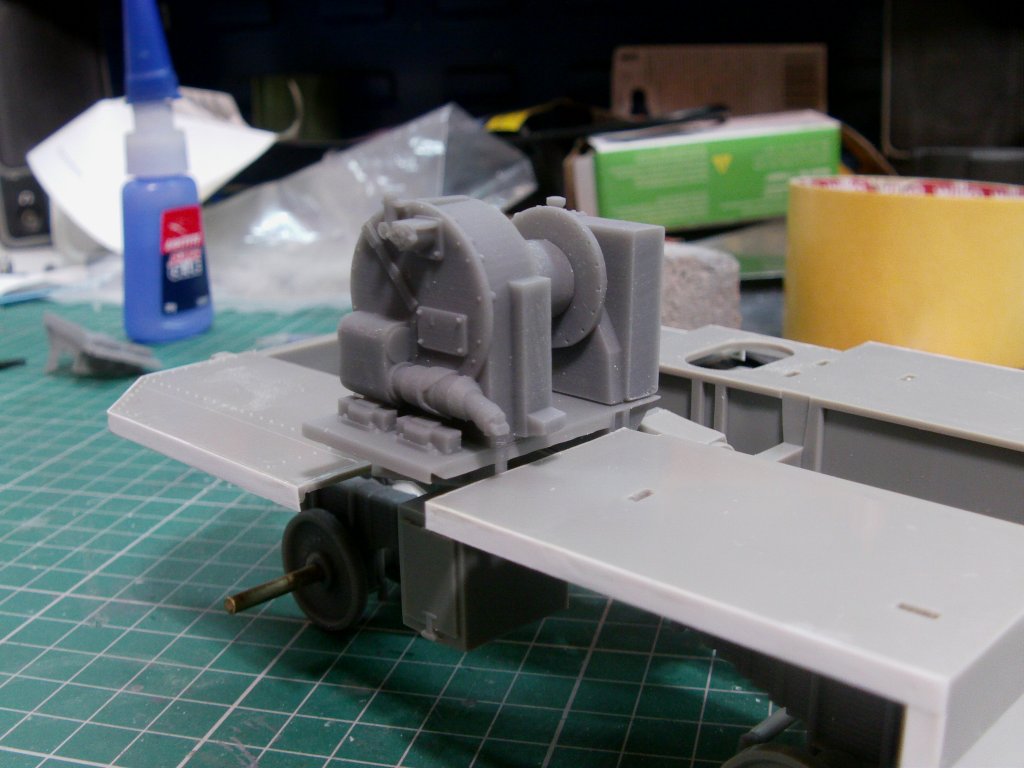
Many a short bit of .80mm and .20mm wire got placed with much squinting and gritting of teeth.
The cable was a roughly four foot bit of 7/0.2 wire.
Stripped and four strands twisted up with a cordless drill, wound around the reel,
glued and with a dab of black wash to punch it up a bit.
Printed shackle painted and placed.
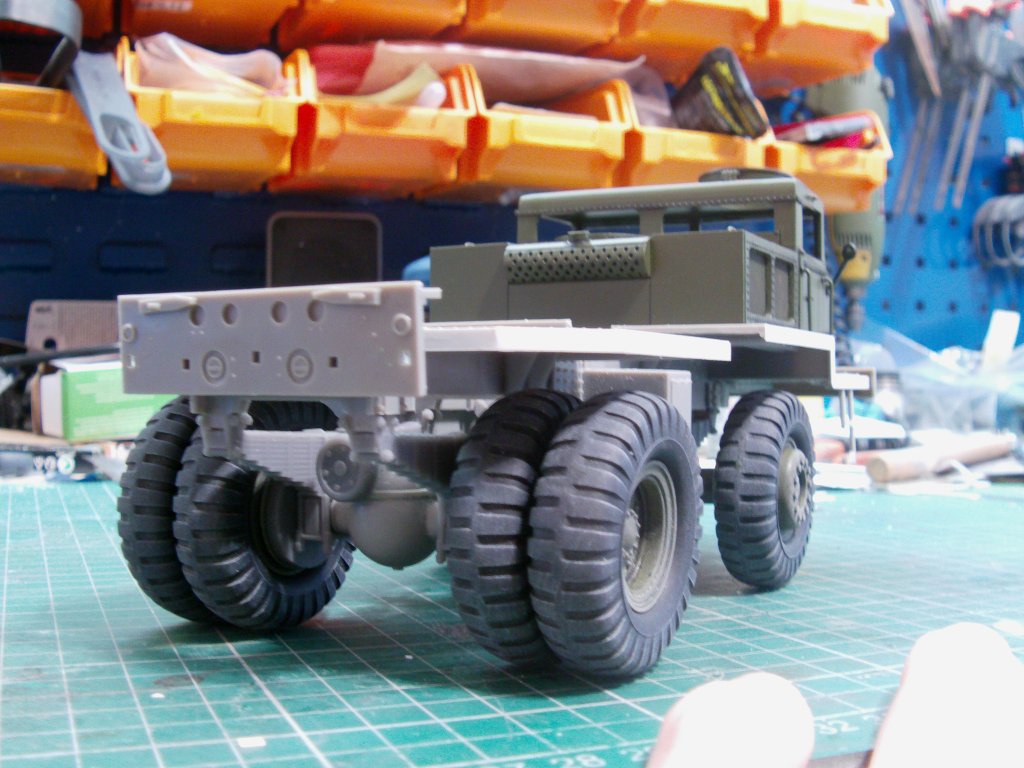
Dry fit of all that lot look see.
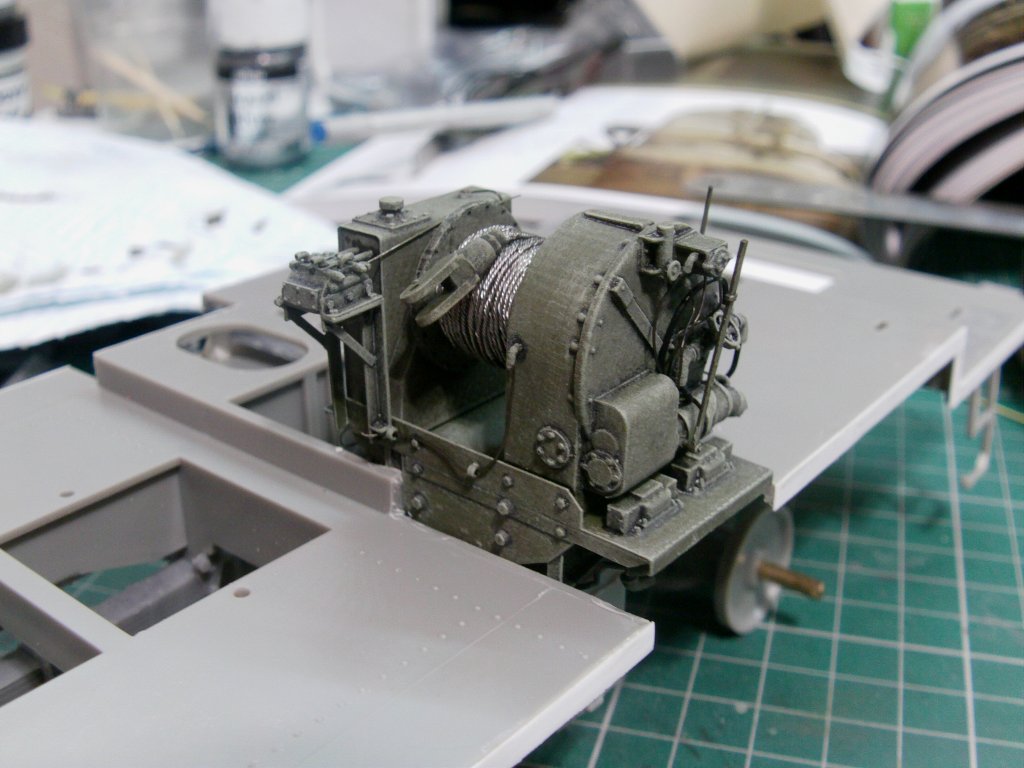
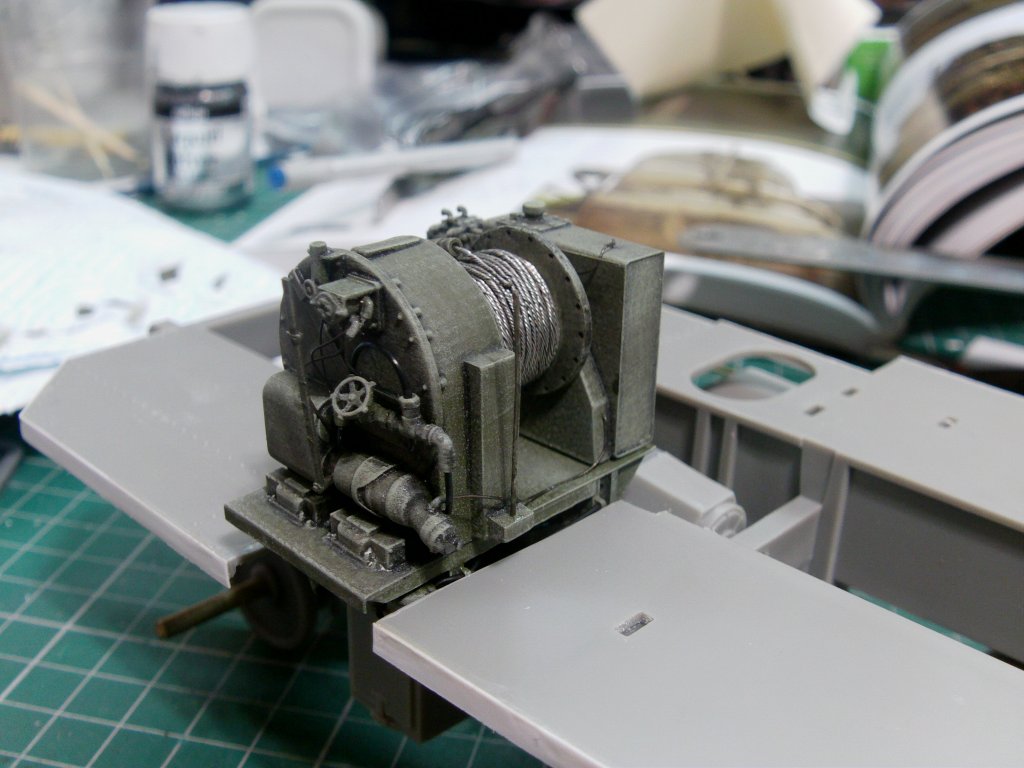
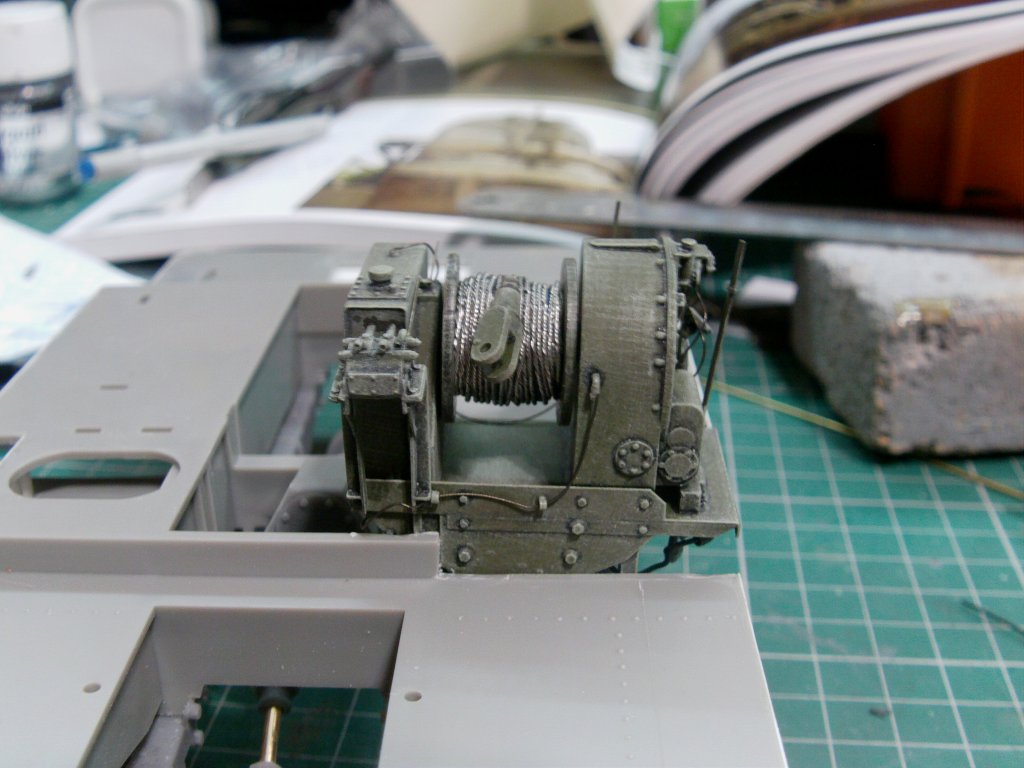
More to be done and a few holes to be drilled in the truck beds to run the piping but it's a start!
That's ya lot for this update people so i'll see ya next time, take care of yaselves out there now.
Page Number