
Star Wars X-Wing Fighter
Studio Scale


 Page Number
And now...time for the weather report...
It Will Be Powdery Black, Medium Grey And Rusty Brown,
With the Occasional Shower Of Matt Varnish.
Whatcha folks and folkettes!
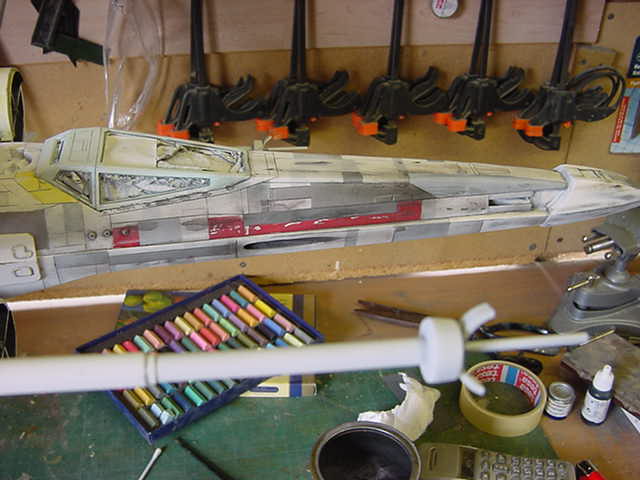
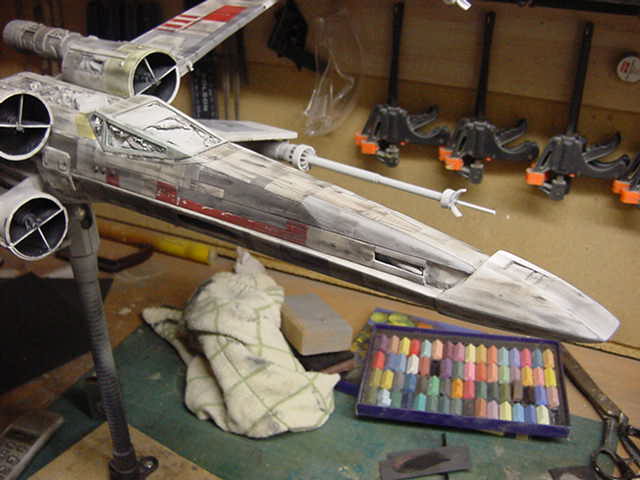
Well now we gonna get down and dirty...dirty of the pastel chalk variety.
So then, painting pretty much sorted so weathering to get done.
Ground pastel chalks being the usual weapon of choice here.
Now I know that some companies are starting to produce
some ready ground stuff but i'm sorts of the old school.
That is I grind me own so out with some 800 grit wet & dry (used dry)
and some small piles of powder duly readied up.
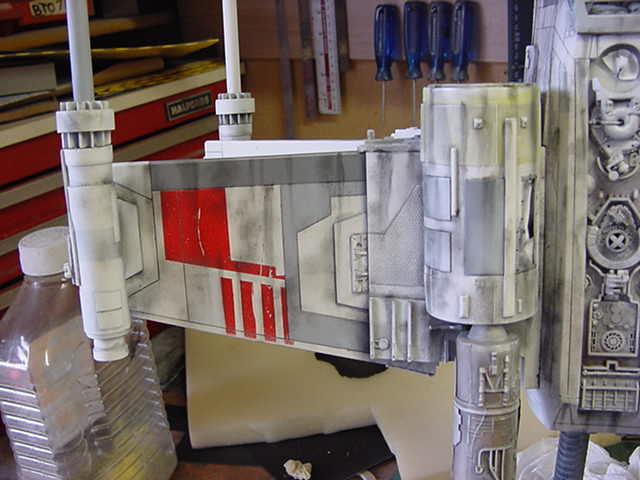
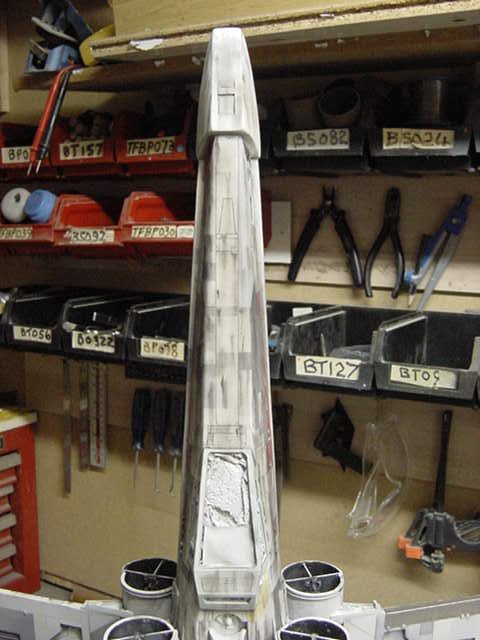
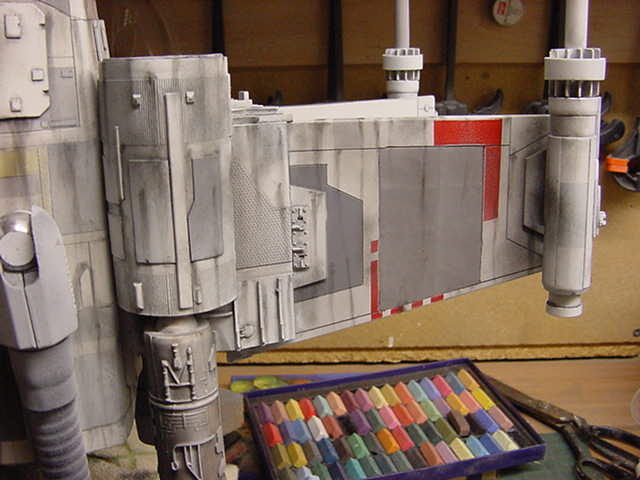
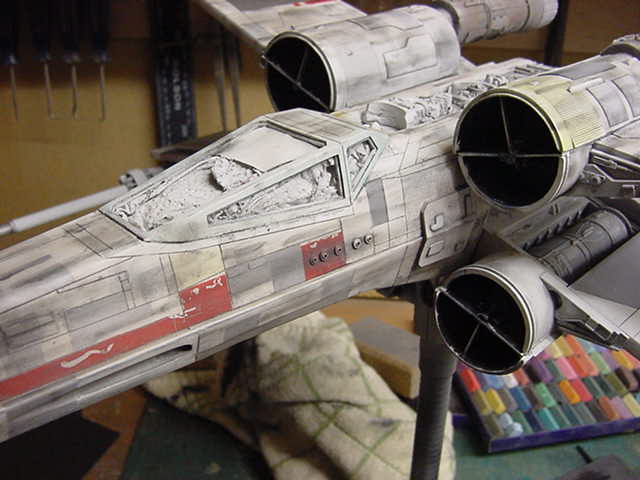
First off is the blotting coat as I call it.
Using an old stiff nylon bristle brush with the very tips of the bristles cut off.
So what ya got is a stubby bristled flat tipped brush.
This was just dipped in the pastel and in an almost stippling fashion, the powder was slapped on.
The odd wide streak was just thrown in here and there.
Pastel colour's just used as is and sometimes mixed with a dab from each.
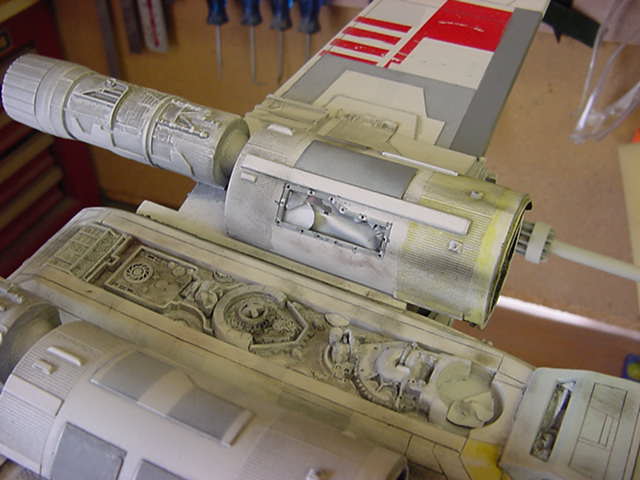
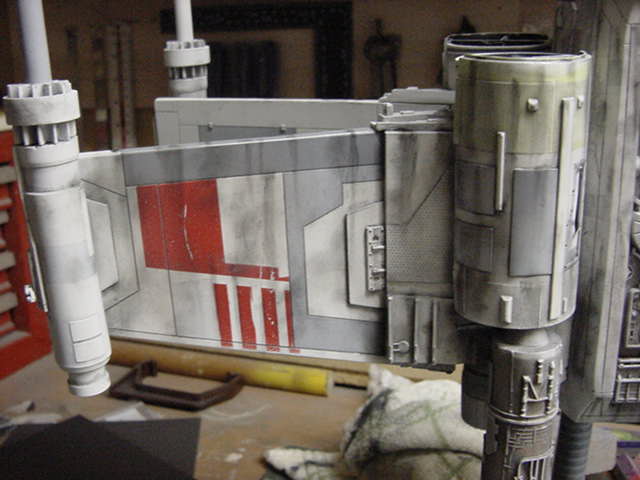
A light airbrush assisted coat of acrylic matt varnish to seal and on to the streak coat.
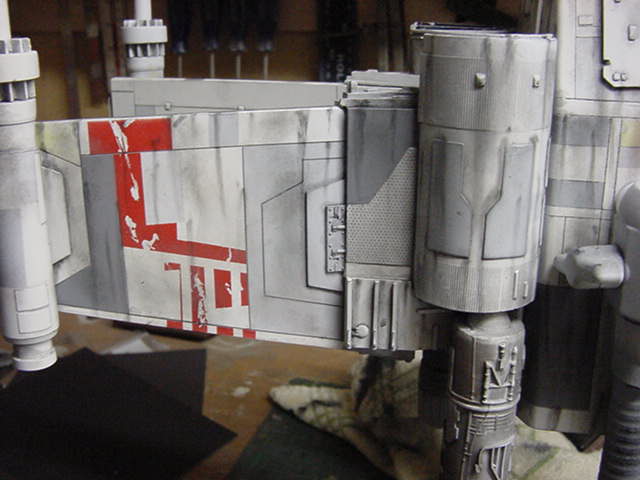
Just a small medium stiff bristle brush, about '0' size going by what it do say on the brush handle.
Just a dip in the pastel powder to get a small amount,
lightly dab in the desired location and brush backwards.
Or whatever direction required but backwards in this case.
Repeat ad infinitum or untill ya got what's needed.
And much juggling of model at all angles while ya go about it.
Time consuming to a degree but worth it.
A coat of varnish later and ready for the final layer.
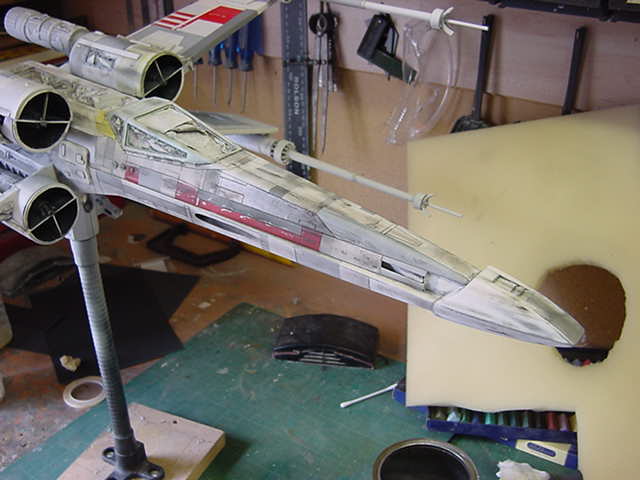
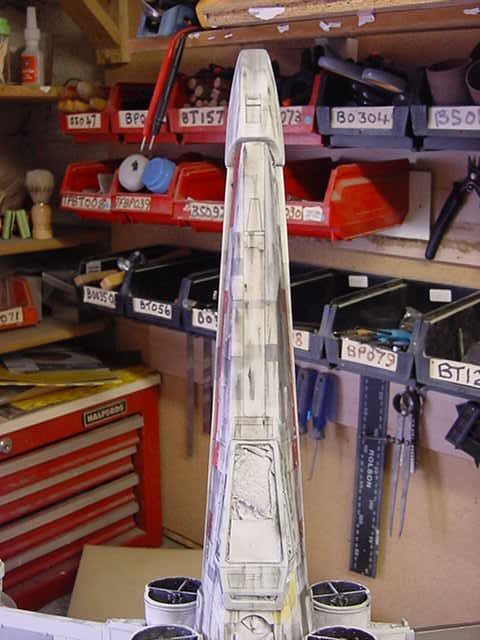
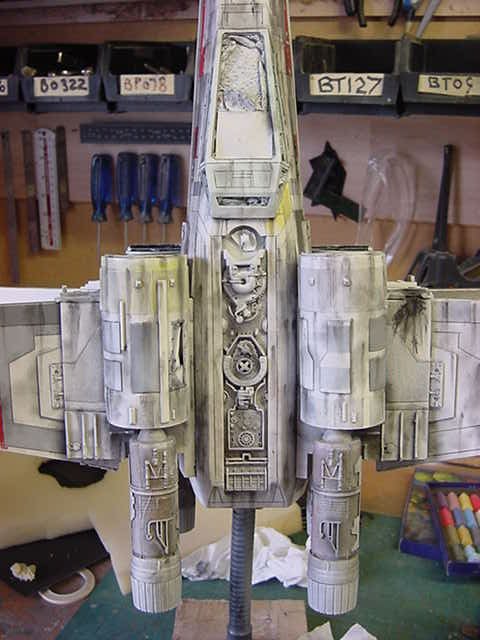
A fair amount of light grey pastel chalk ground up.
Then with a wide but very soft brush, an all over gentle and sparing powder coating applied.
Reason for this is to down the harshness just a little bit to even out the effect.
Needs to look dirty but evenly dirty so to speak.

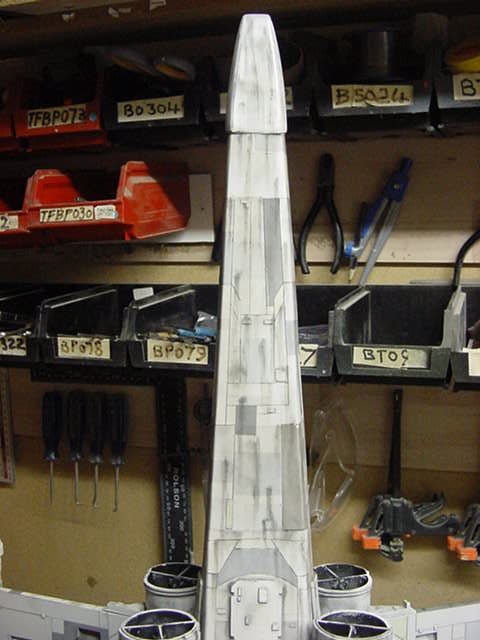
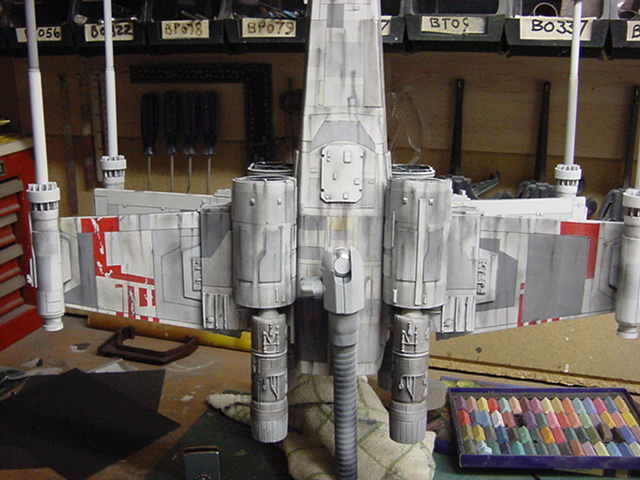
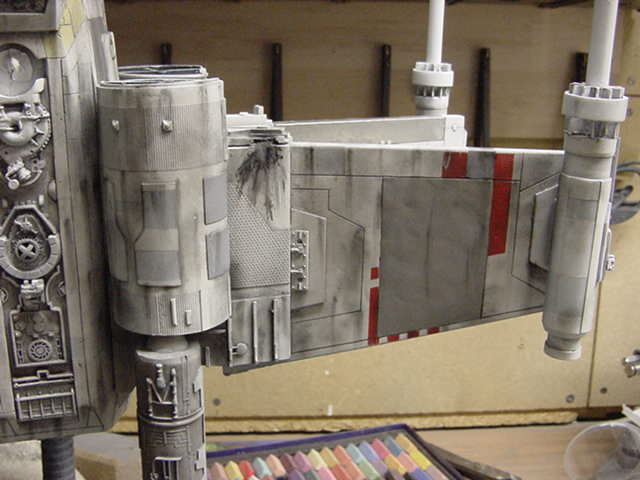
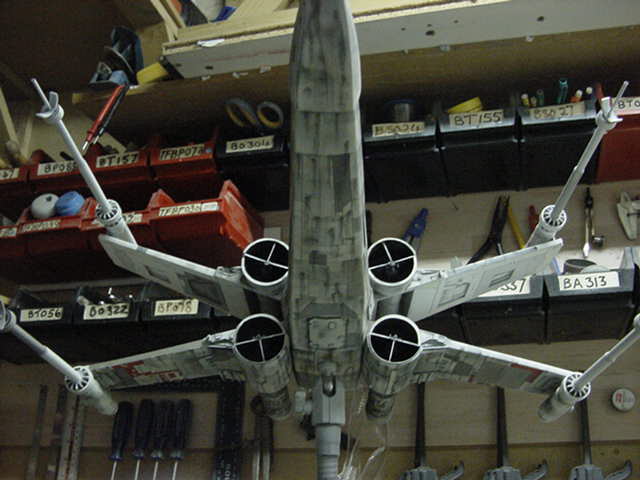
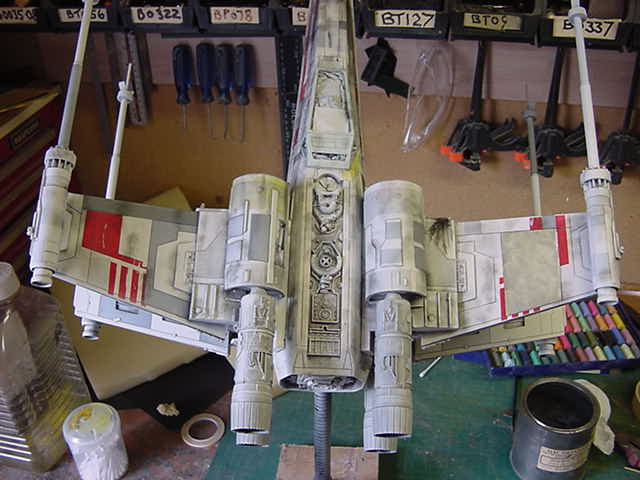
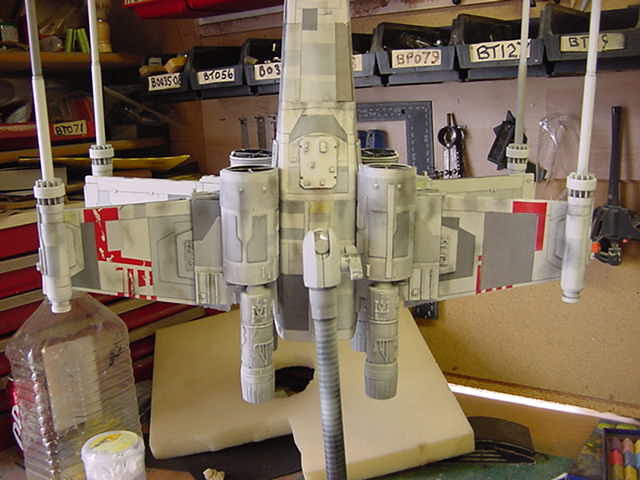
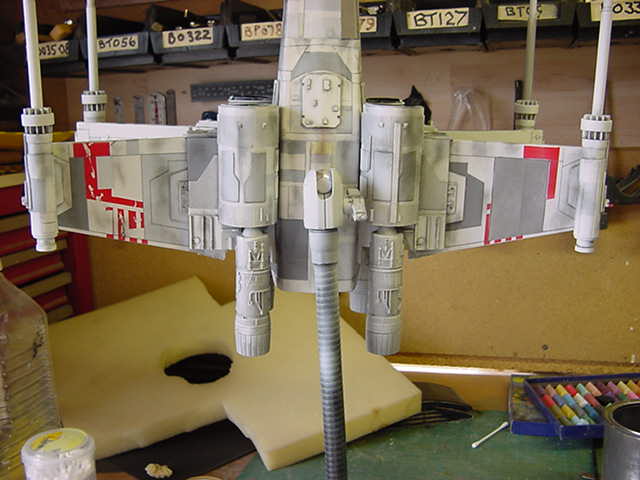
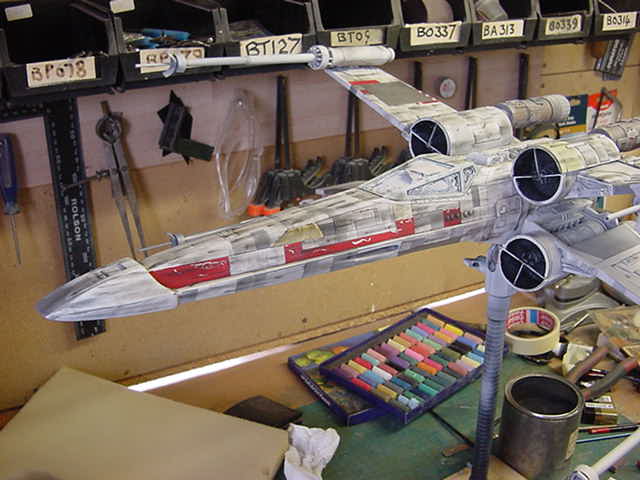
And another coat of varnish to seal and that's the main weathering
for the outer wing surfaces, engines and fuselage.
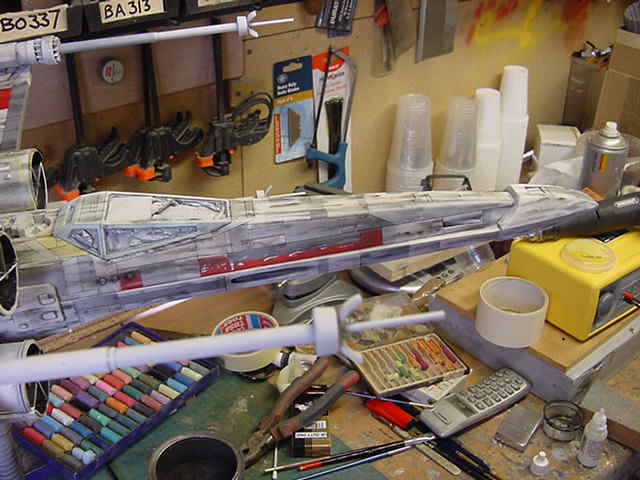
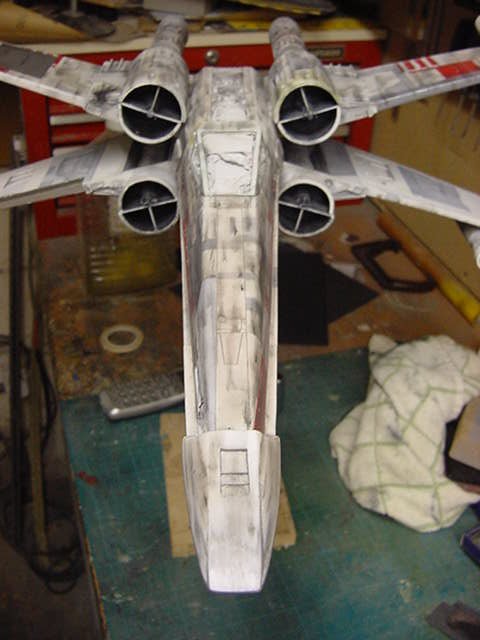
As you can see what shows up and what doesn't weathering wise depends
on the lighting and angle you take the photo from.
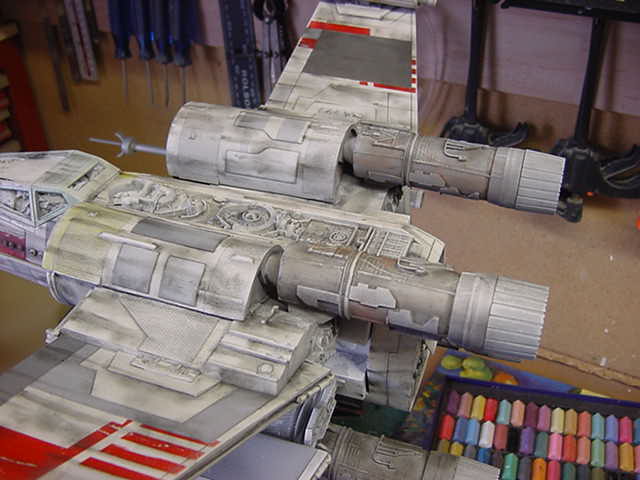
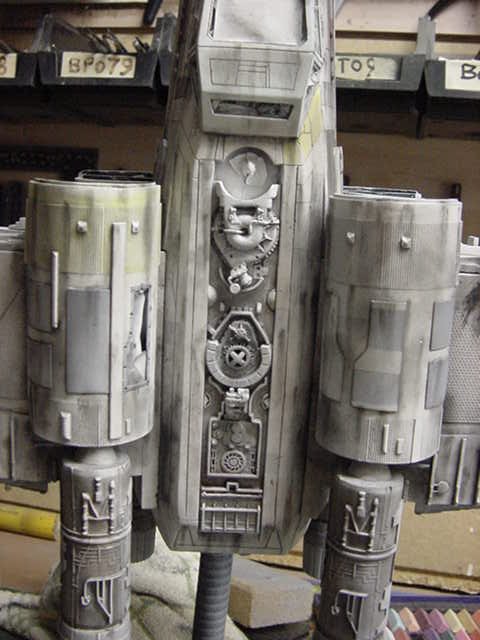
Next up, the inside of the wings, guns, rear engines and anything else i've currently forgotten about.
Which is for the next and hopefully final installment of this round of hellhole happenings.
You merry lot go easy out there now.
Page Number