
Star Wars X-Wing Fighter
Studio Scale


 Page Number
Take a bit off, add a bit on...
It'll Make It Look Different...
Hopefully In A Good Way
Well waddya know people, back again with more silliness.
A bit of engine work is on the cards so let's have at it!
First up, the intakes.
Now maybe it's just me but it always seemed a bit odd to have whacking great intakes
like that with just a blank black wall so to speak.
I'll grant you more than fair enough for an effects model but not for this one.
Well went through what I could do in the simplest fashion
to give them...something...other than blank.
Easiest thing, some mesh.
So taking the parts, and having a wee bit of razor saw violence done unto them.
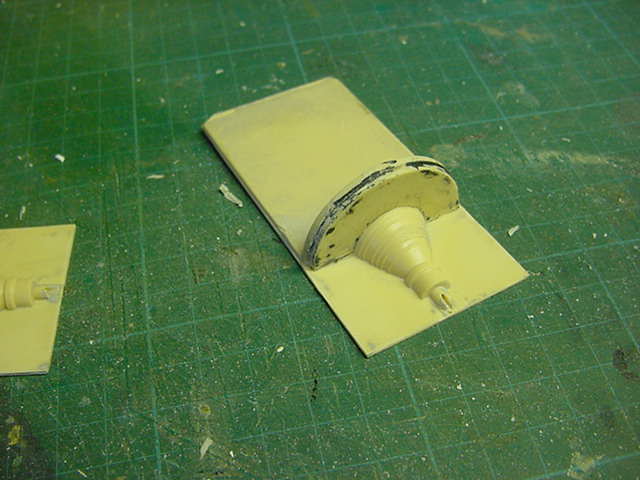
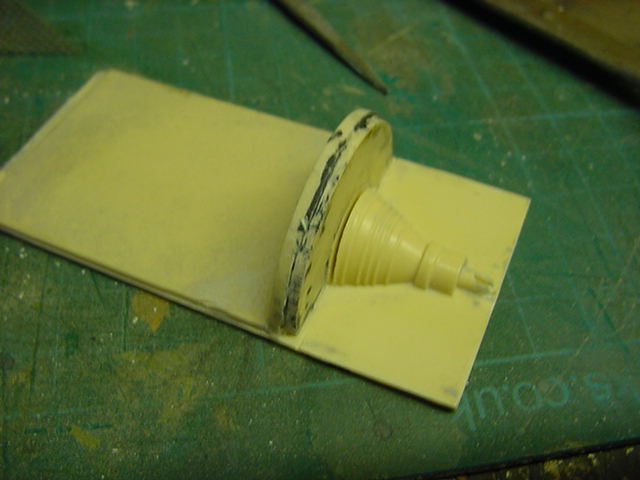
I got some left over screen material.
Mesh from the door I put on the hellhole to keep the
nightlife-that-invariably-lands-on-fresh-paintwork at bay.
Cut this to make a diamond effect and slotted in
with a drop or several of cyano to make it stay put.
Once done and trimmed, repeat on the rest.
Likewise for the other side of the intake then re-fitting the intake part.
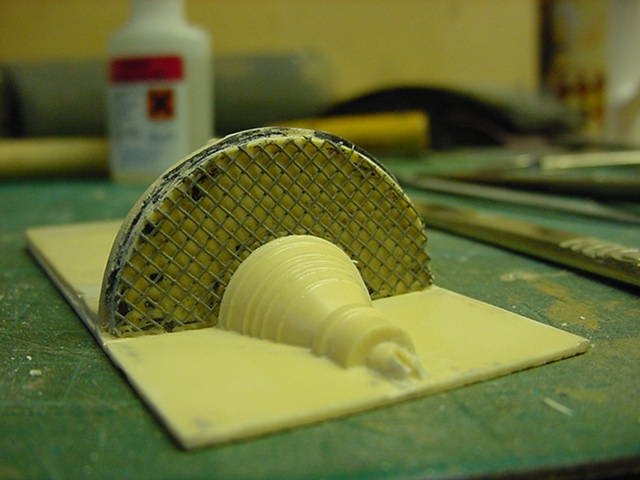
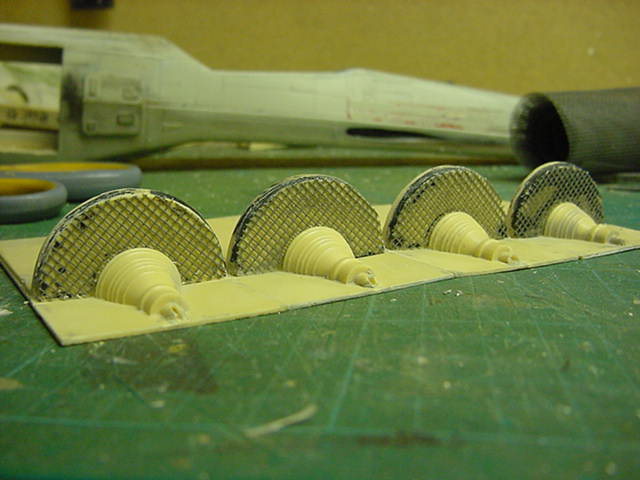
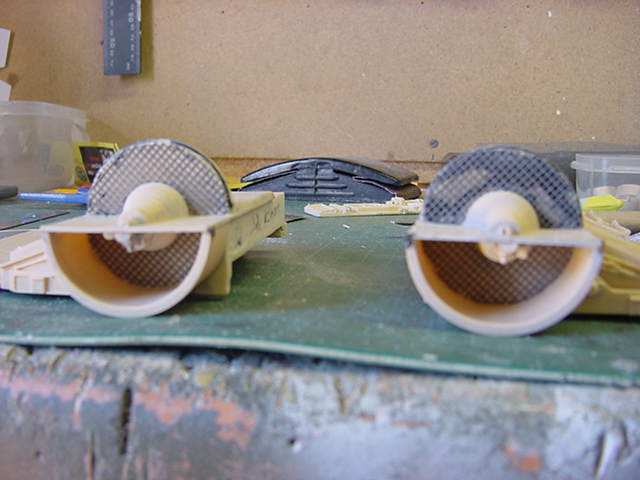
So done and done there.
Idea will be to paint the intake back in a semi-flat black and drybrush the
mesh in a grey or silver grey so at least it looks like it has some depth.
Time to have a detailing think.
Now the brief did state that the odd panel should be missing.
So may as well start by making an engine panel go away.
Selected one of the top engine parts, located a panel to make disappear.
I put a fine scribe line around it then removed the excess.
After some drilling around the edge to remove the bulk and a bit of
careful needle file work, this was dealt with.
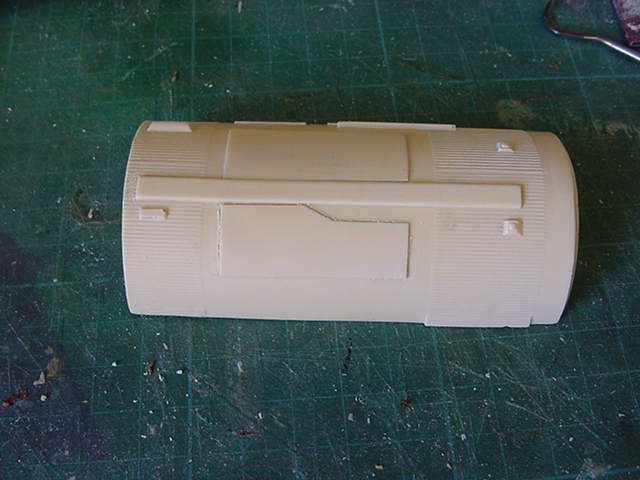
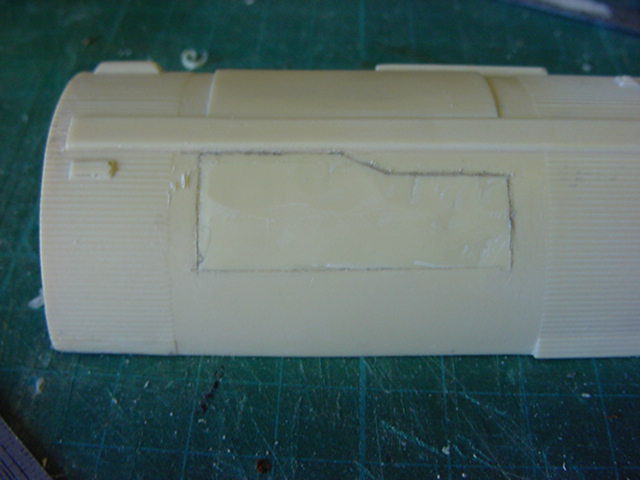
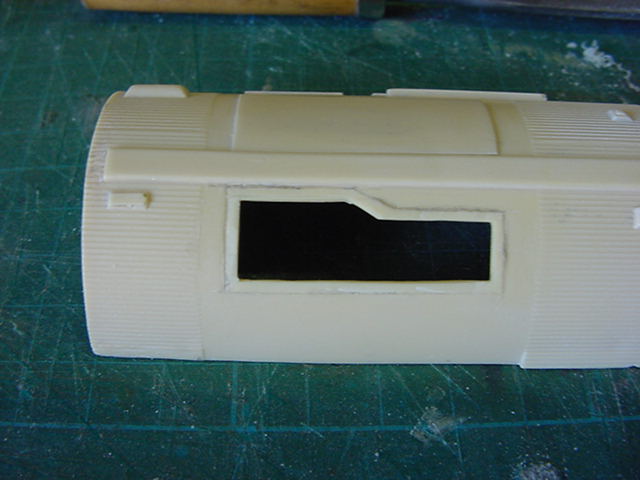
So needed to create a mock engine lump.
A couple of scrap resin nuggets in the lathe time.
Just put grooves and the like in to no particular pattern or method.
This was how that ended up.
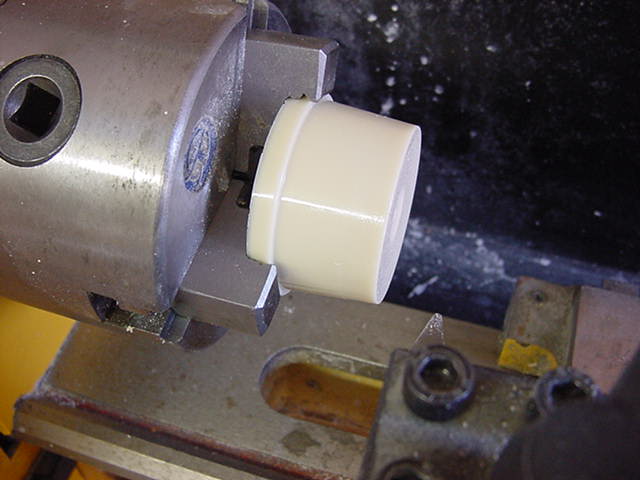
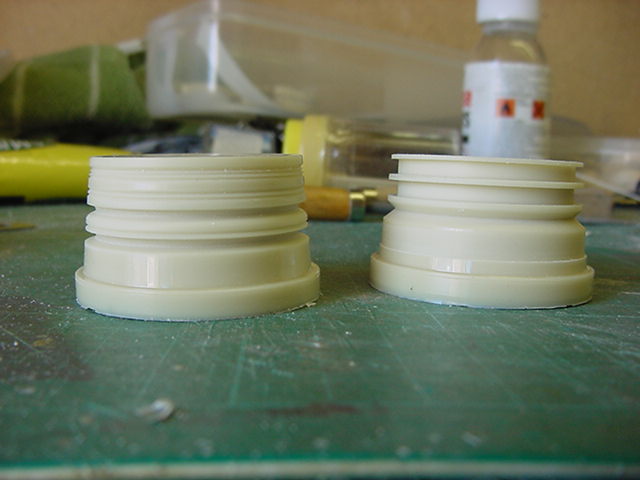
Said nuggets were then sawn in half and then quartered.
Two of which will make up the faux engine.
Like so.
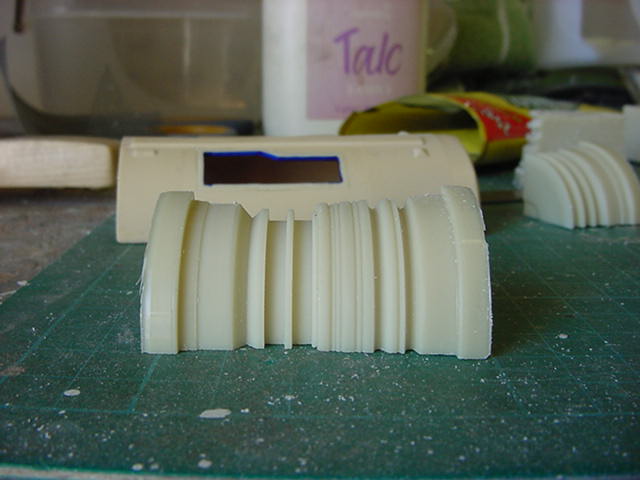
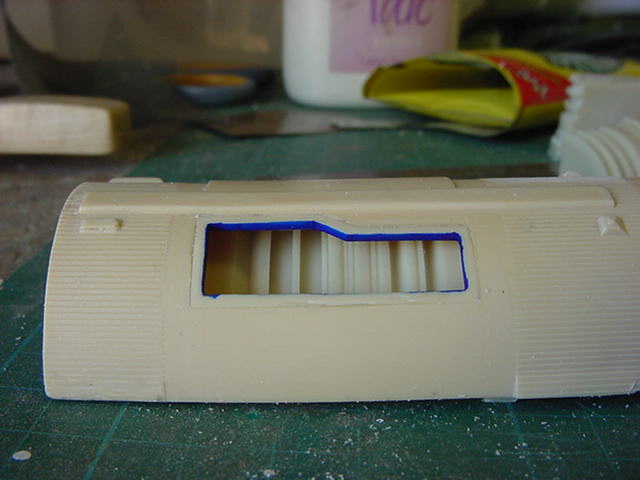
The blue around the hole is just a sharpie marker.
I did this so I didn't go too far with the screaming revs drill with
grinding bit when thinning down the material around the hole.
So not too bad, time to add some piping and the like stuff.
Some brass wire took care of that.
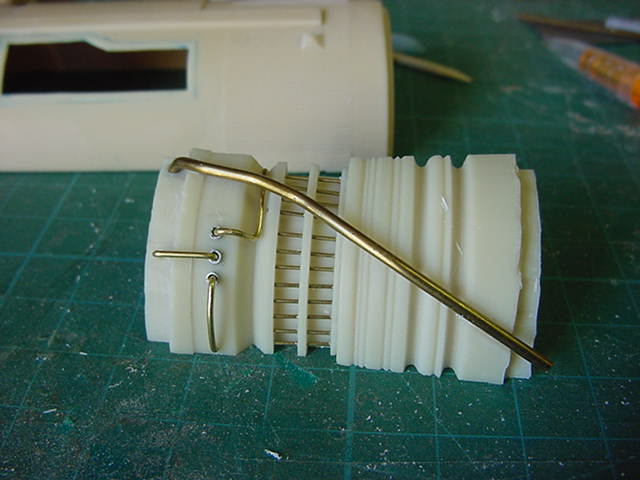
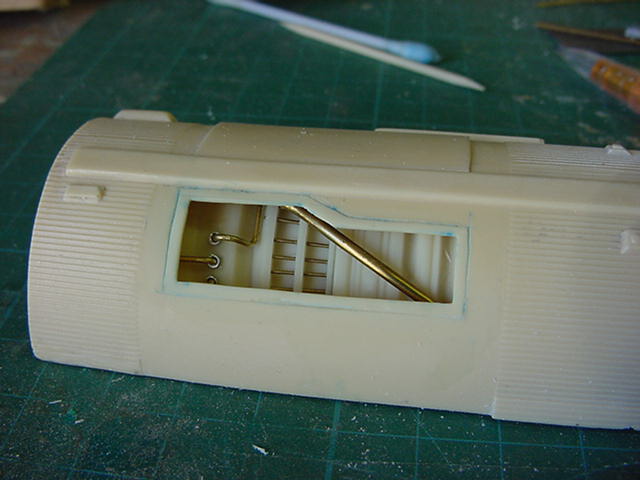
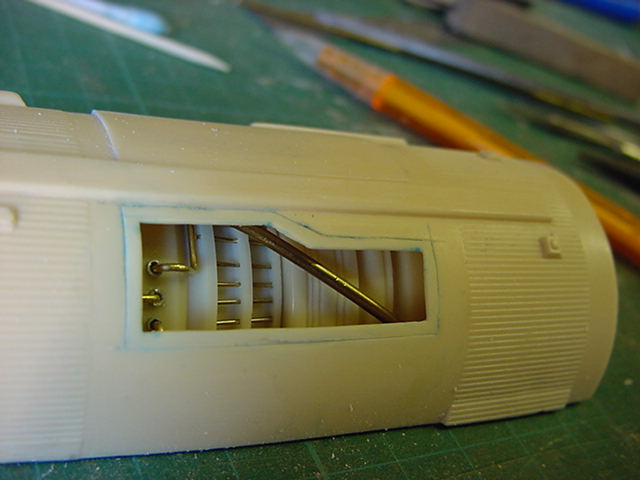
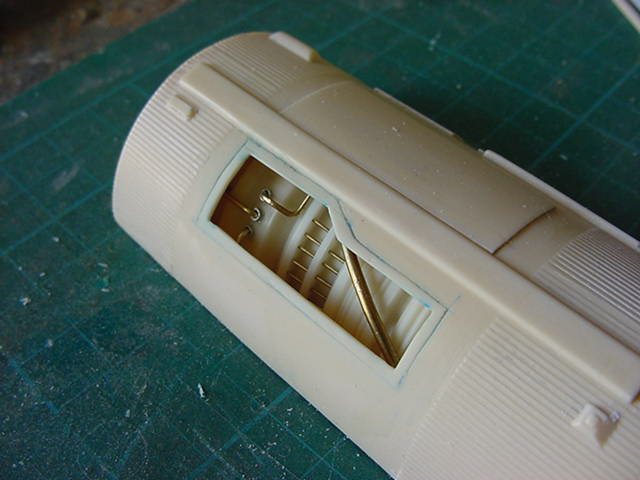
Then added a bit more just for the hell of it.
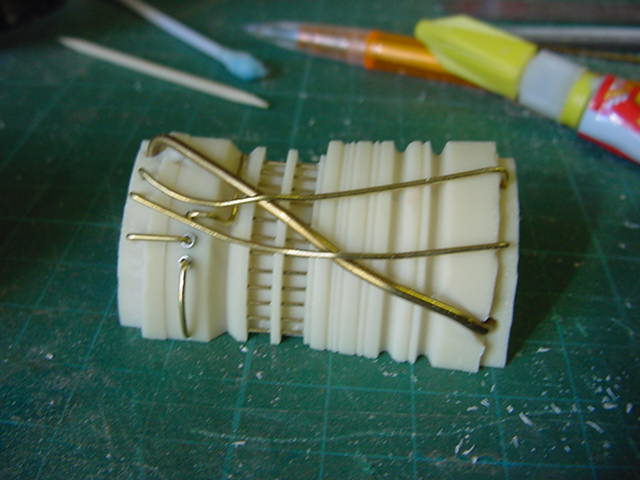
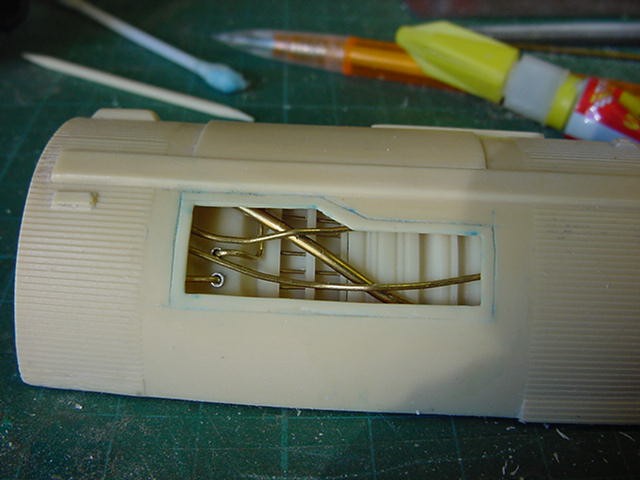
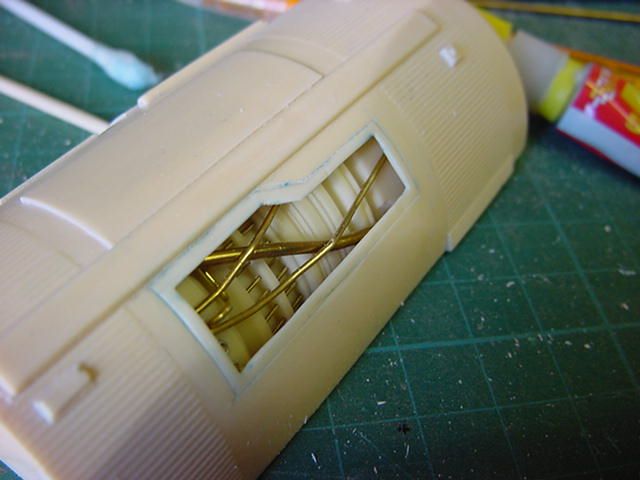
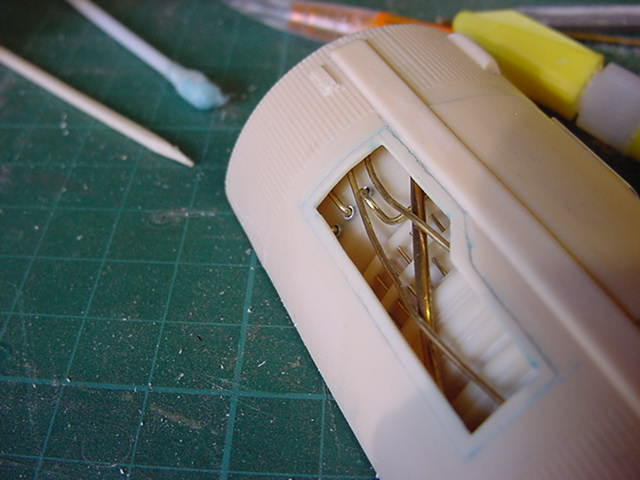
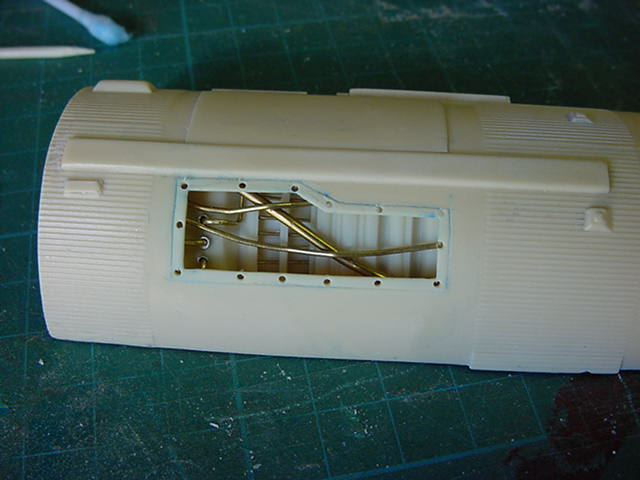
Getting there.
A dab of paint here and there time methinks!
Primer grey dusted with some rattlecan gunmetal.
Some black wash and a bit of ground pastel and blackwash muck duly spread about.
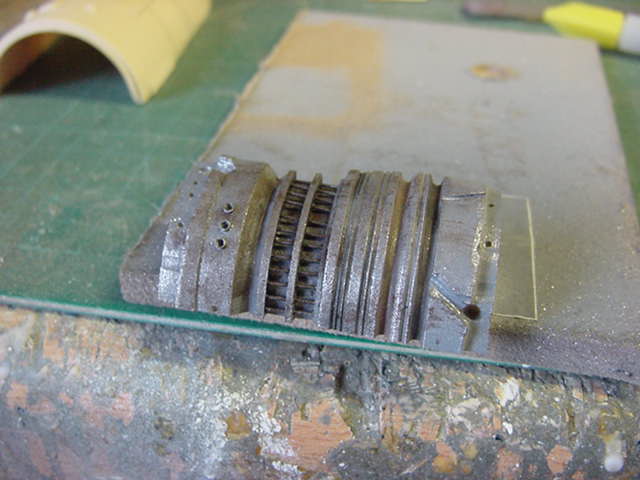
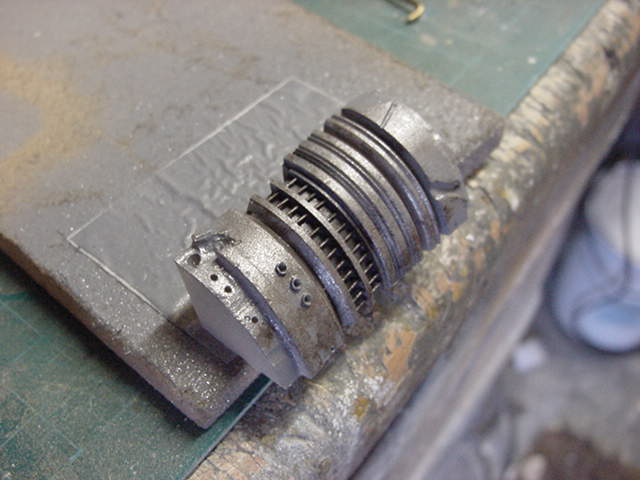
The piping was just hit with grey primer and/or silver.
As the paint got tacky some ground pastel was lightly dabbed on.
Piping done and secured into place.
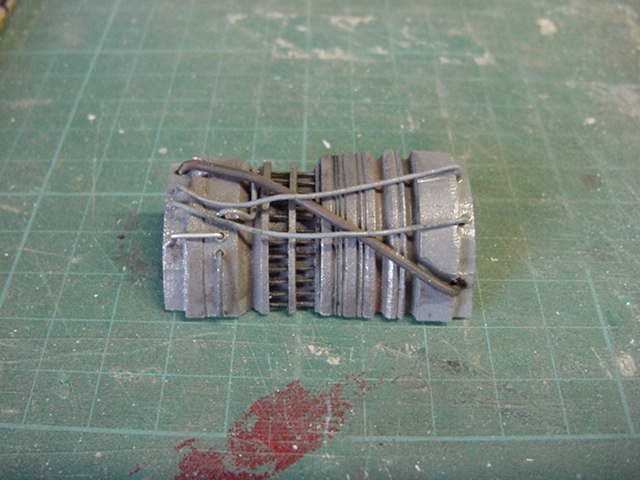
The inside of the engine cowling sprayed in grey with a dusting of matt black.
Time for a looksee.
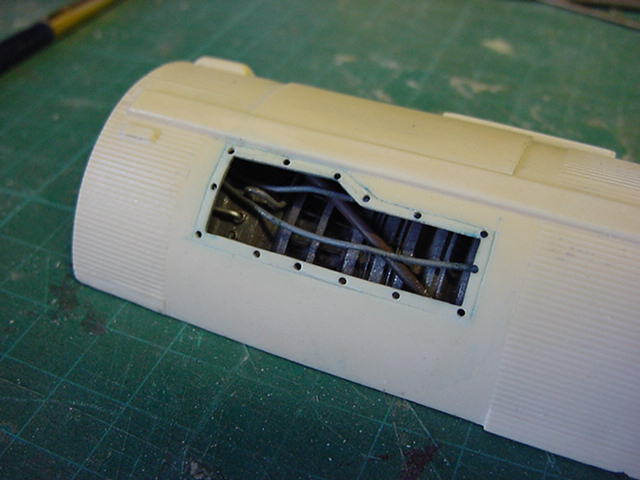
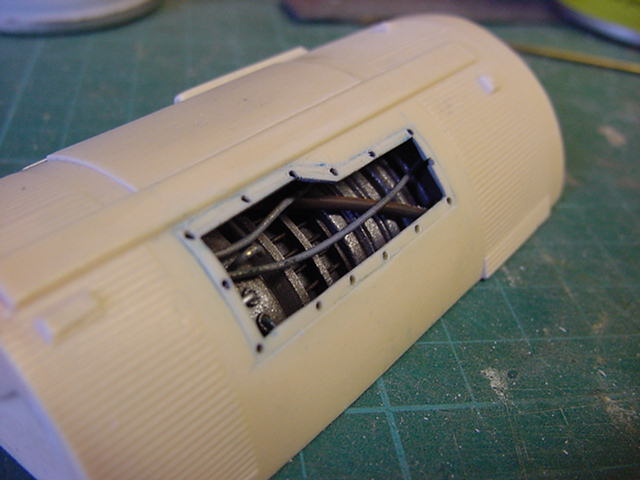
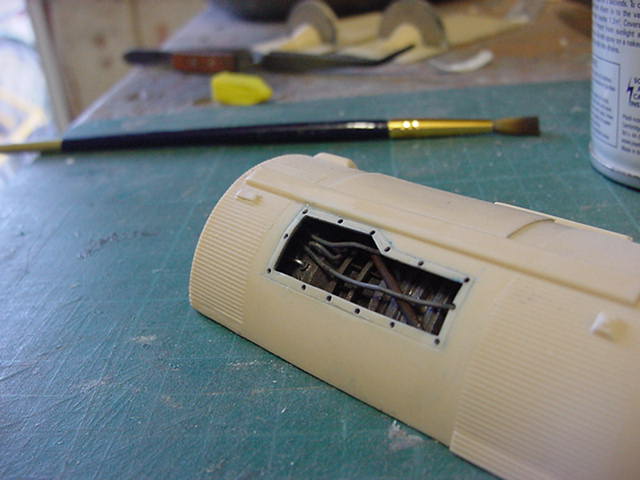
I think that's almost got it.
We'll see how that all works out during the assembly.
That's for later after i've put this together and after the
final cleaning down of that damn Dropship.
Gotta have that good/bad model balance in there somewhere.
That's all for now gang, you merry lot go easy out there!


 Page Number


