
Colonial Marines M-577 APC
1/16th Scale


 Page Number
They say the beat goes on...
Well i'll Make Do With Putting The Roof On
Welcome Gang!
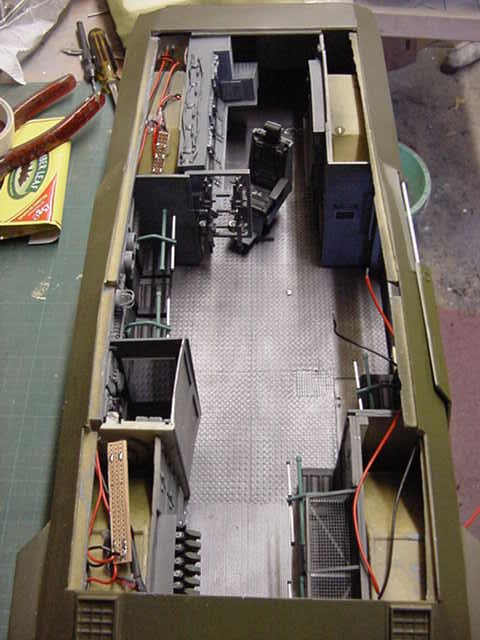
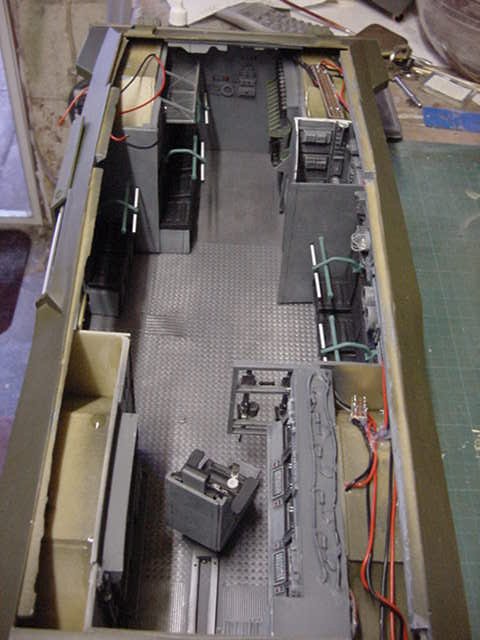
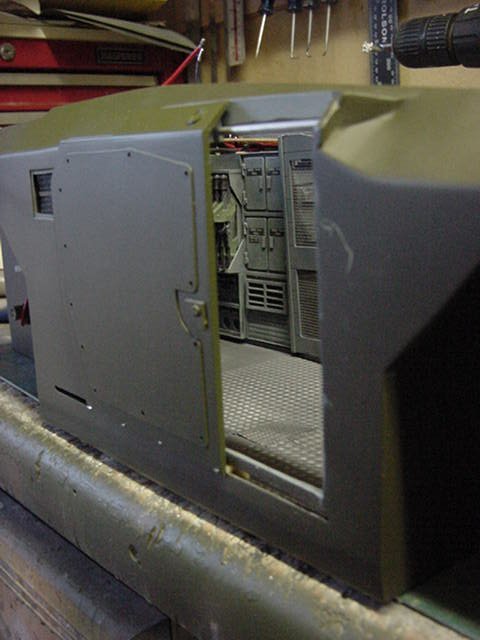
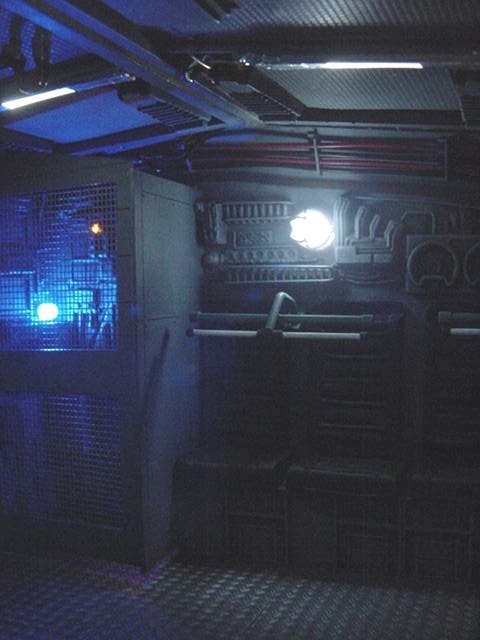
Well last of the wall panels installed and wired up.
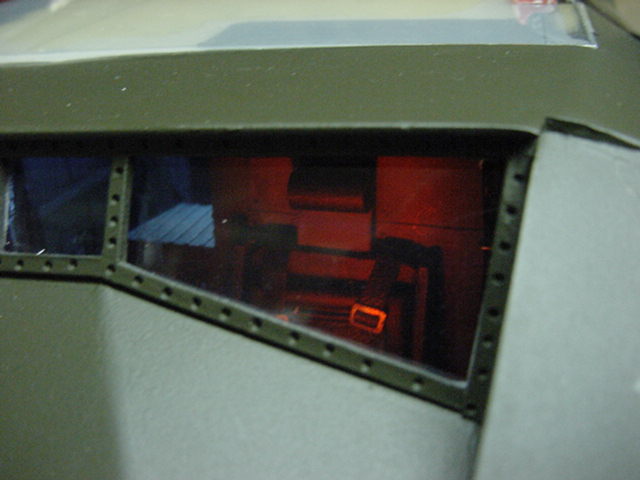
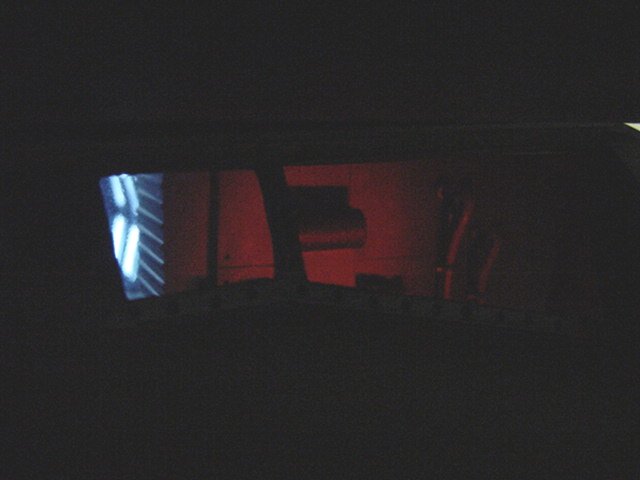
All wiring made tidy where it will show and added a red and yellow LED just in front of the drivers position to give that some mood lighting so to speak.
Some clear plastic sheet in where the drivers window should be and on to the next bit.
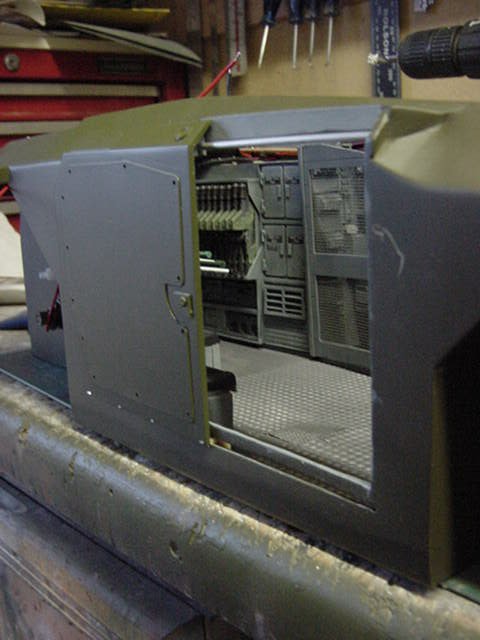
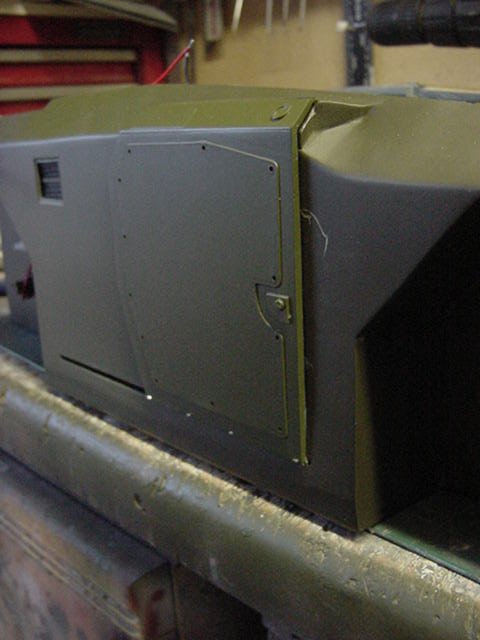
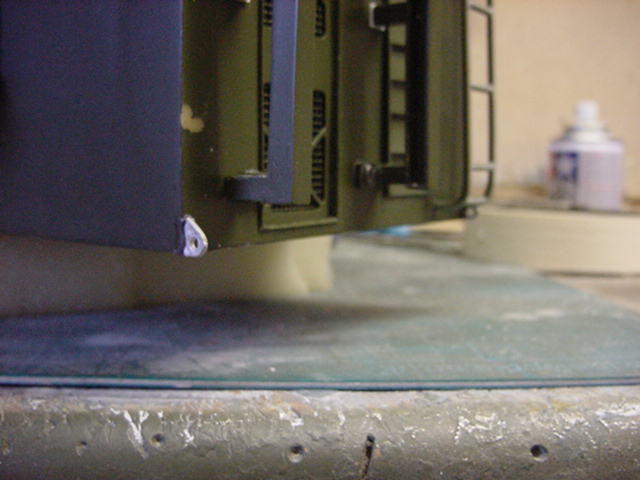
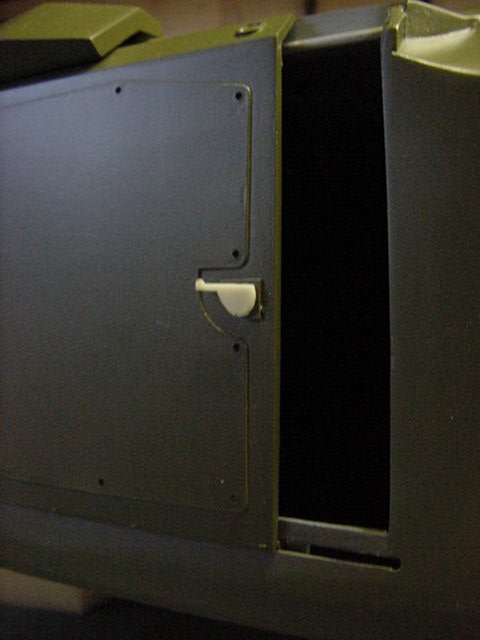
So that bit dealt with, time for some door fitting.
Using a cast resin 'T' bar length for a bottom runner and a short length of aluminium tube with a brass rod insert for a top runner, the deed was done.
Along with the redoubtable epoxy glue and some well placed brass pins to make sure the bottom runner T bar and the door never part company.
At this time, a goodly wave about with the air hose to get shot of any dust and associated bits of resin frag that had set up home in the corners.
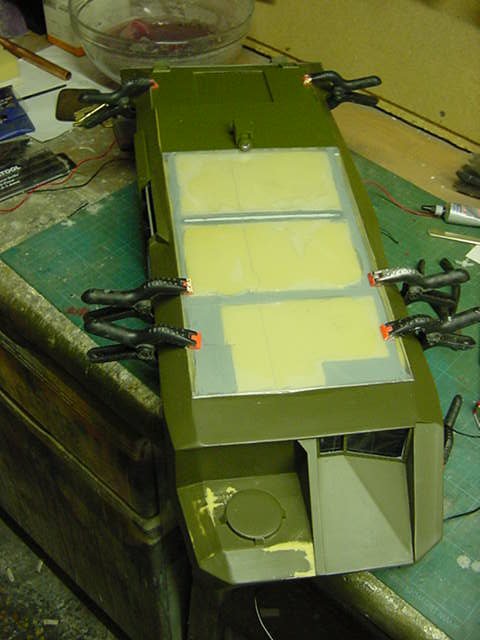
That lot sorted so a bit more soldering and wire shoving then out with the stay put gunk and clamps.
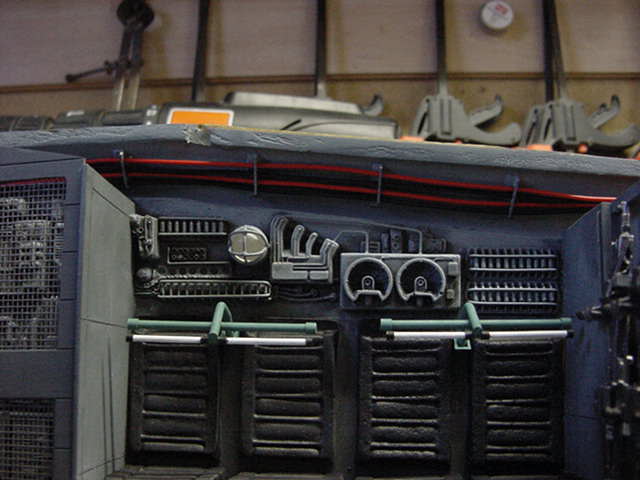
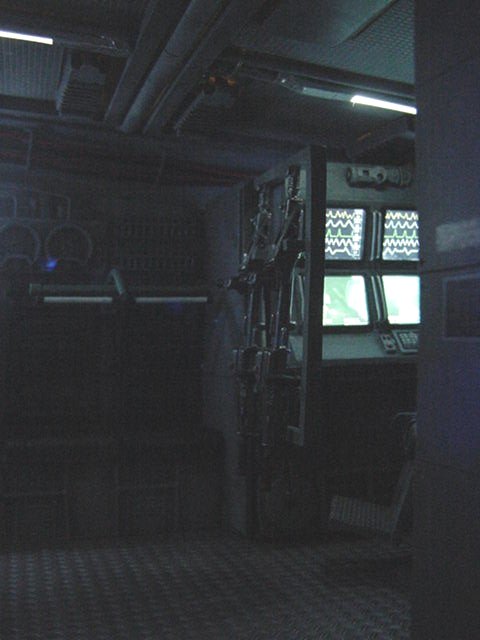
On went the roof panels with surprisingly little fuss.
Which makes a nice change...
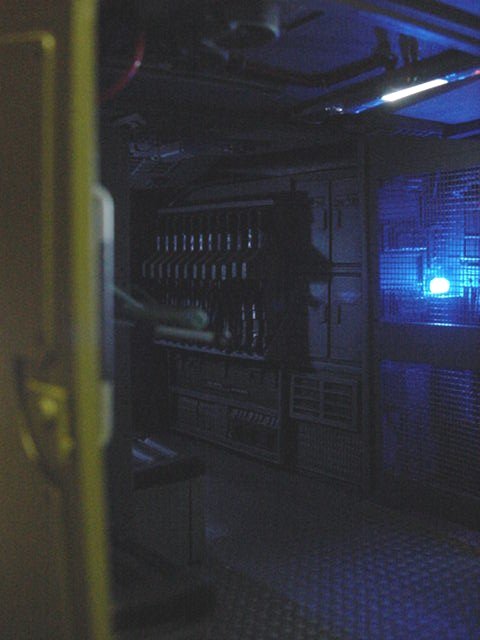
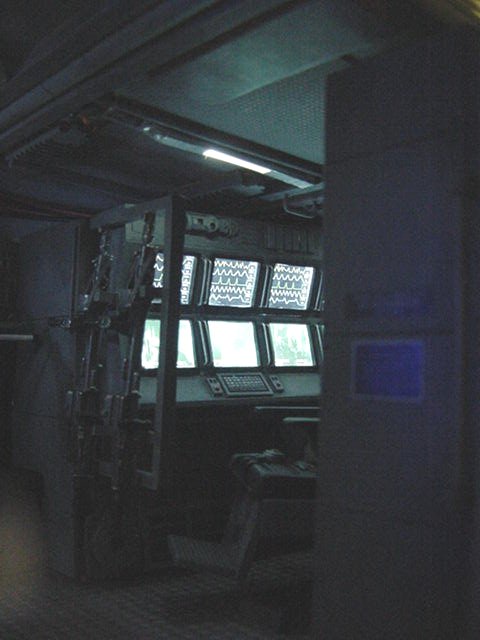
Okedoke then, time for the lighting test.
12v 200mah pack used for this work up which is a bit below what's needed but it'll do for this turnout.
Untill the proper one arrives at my door that is but more on that when it's in me mitts.
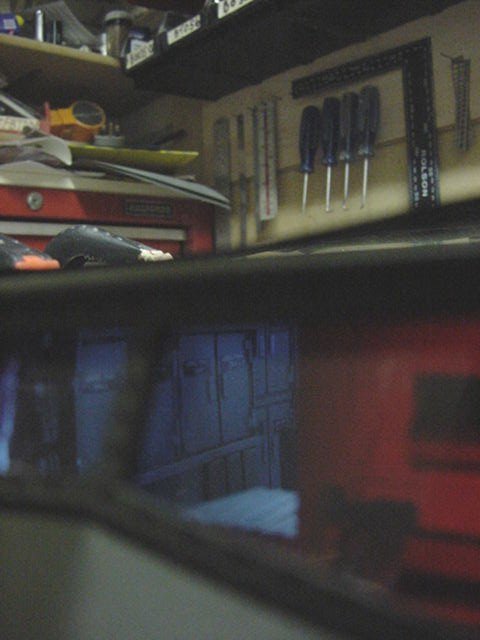
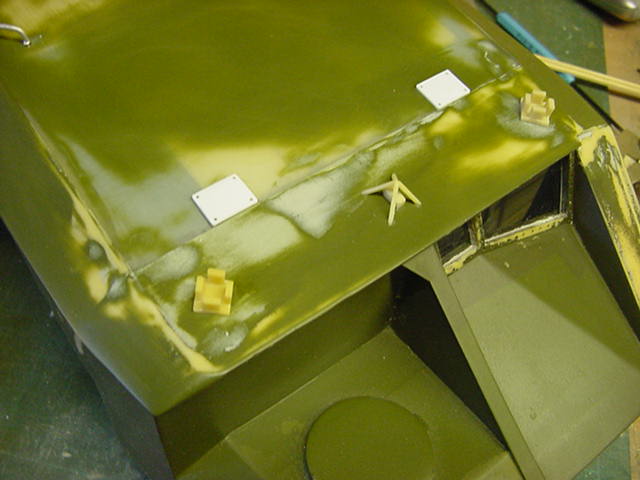
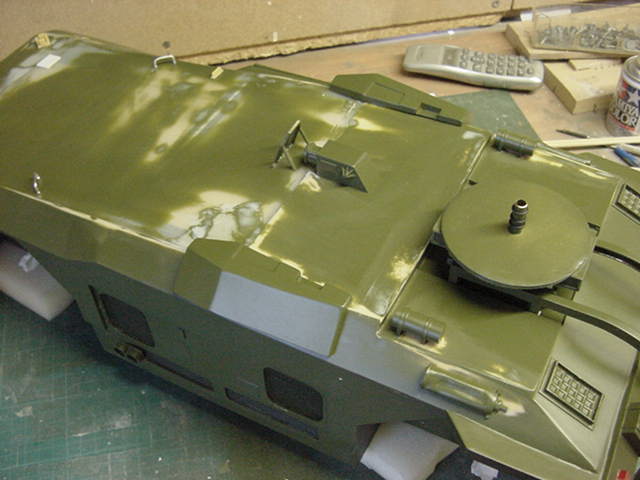
Not looking to shabby methinks so onward!And so there was much fiddling about with paint, filler, wet & dry paper of the 240/400/600 grit variety untill the finish was smooth and acceptable.
Then of course came the slapping on of parts with much pin and stay put ya bugger gunk...oh yes!
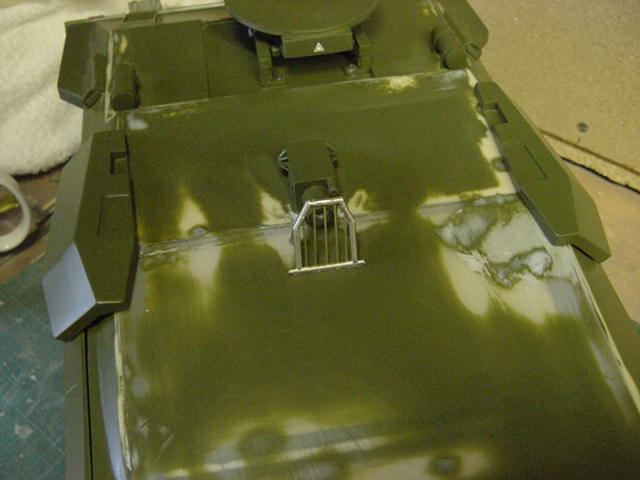
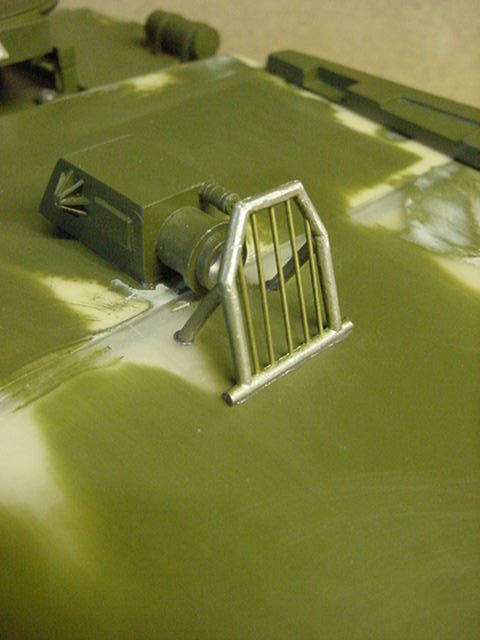
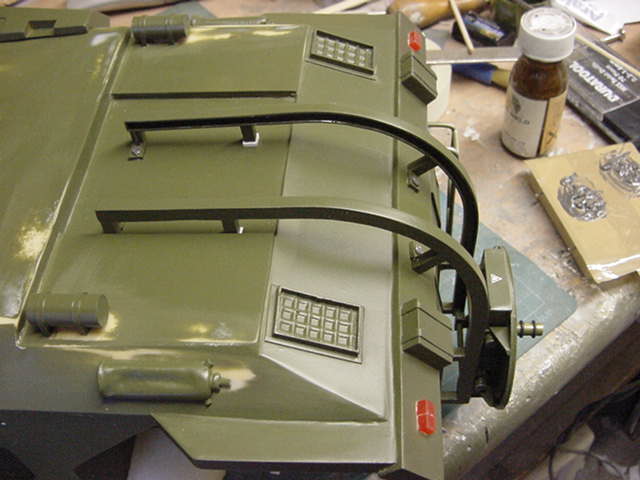
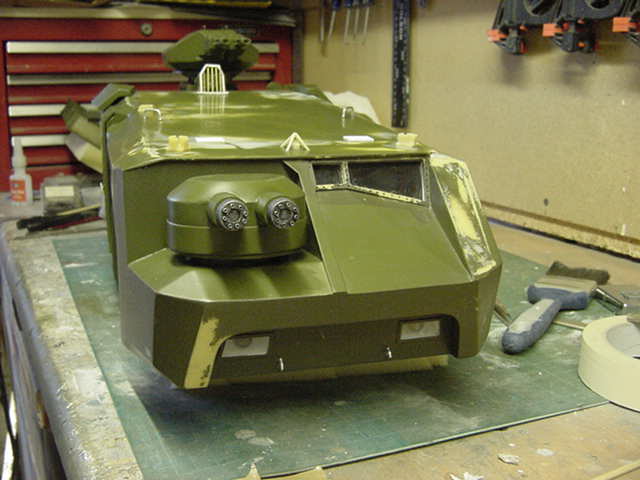
Some resin cast parts, some metal like the searchlight stone guard which was cast with inlaid brass rod.
Possible some overkill materials wise but stronger than resin so good enough for me.
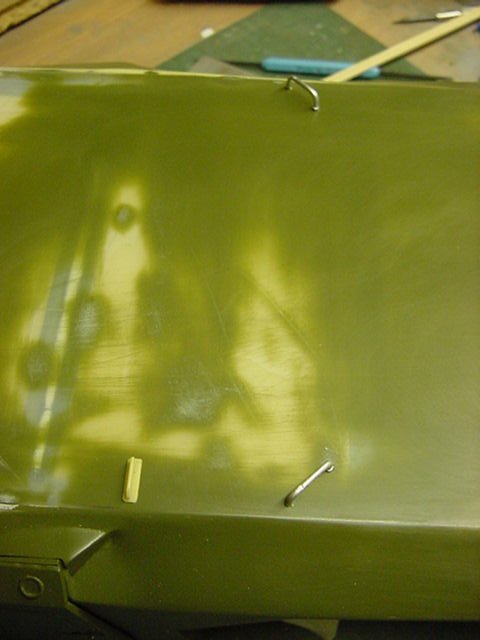
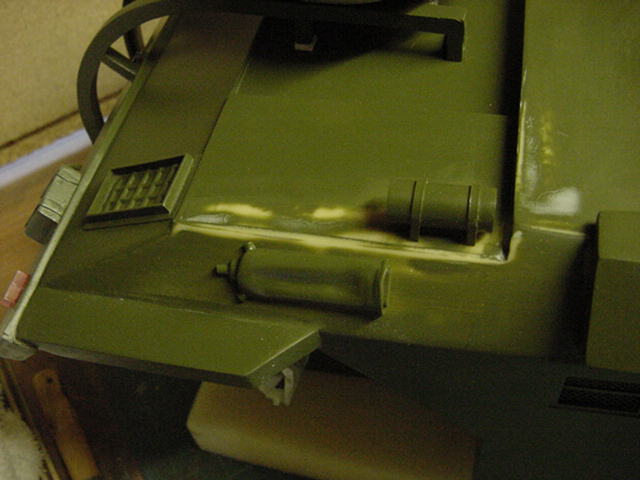
Front towing ring hookups also put where they should be.
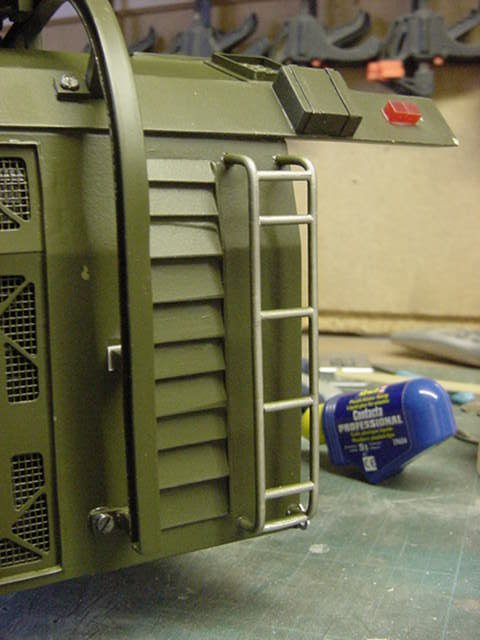
Along with the cast metal rear ladder and rear towing ring hookups.
And not forgetting to drill some holes, add some mega sticky gunk and screw down the main gun turret carriage runners as well.
Lastly the somewhat necessary outside main door handle.
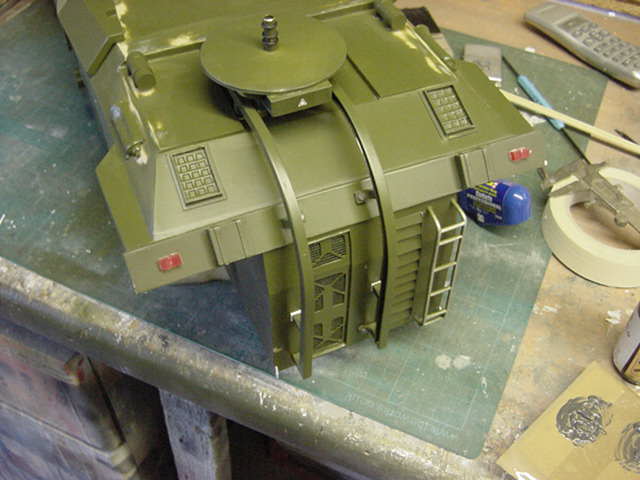
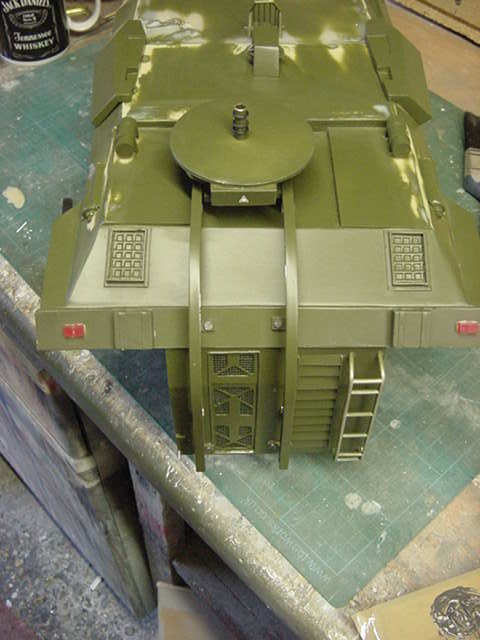
And the final bit for this update, Just had to sit the gun turrets on for a looksee.
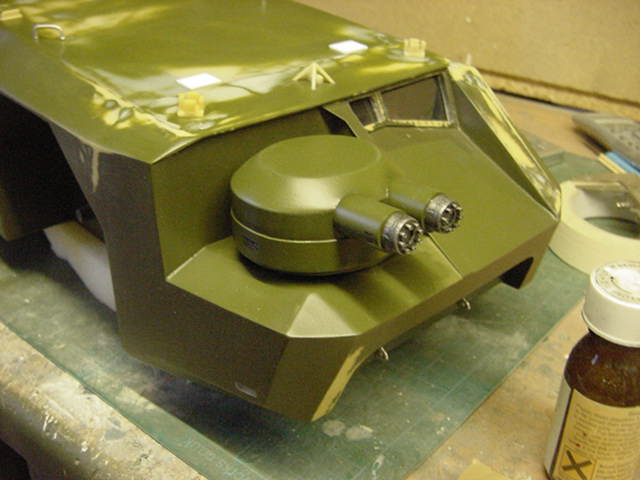
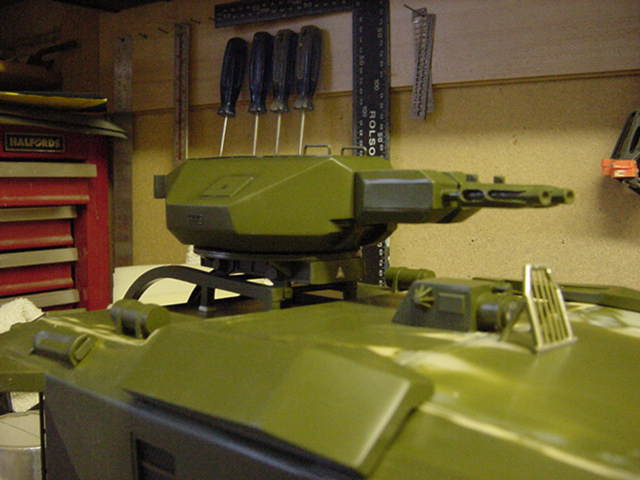
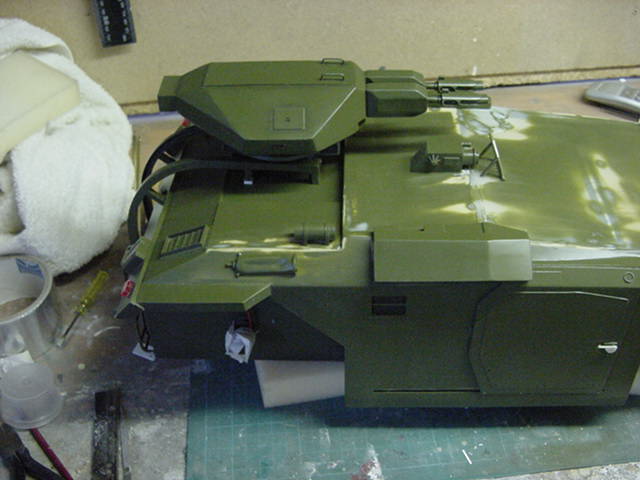
Okedoke, all proceeding according to a plan yet to be thought up so that'll do for now.
Next bit, painting, getting the wheels on and finishing paintwork and a few details to straighten up.
Then comes the wiring up to sockets in the bottom of said wheels then...the base work to begin!
More on that little lot next update so go easy untill then and take good care of yaselves.
Page Number