
Colonial Marines M-577 APC
1/16th Scale


 Page Number
Body Shell Bits, Bobs And General Buggering About
All Necessary I Promise Ya!
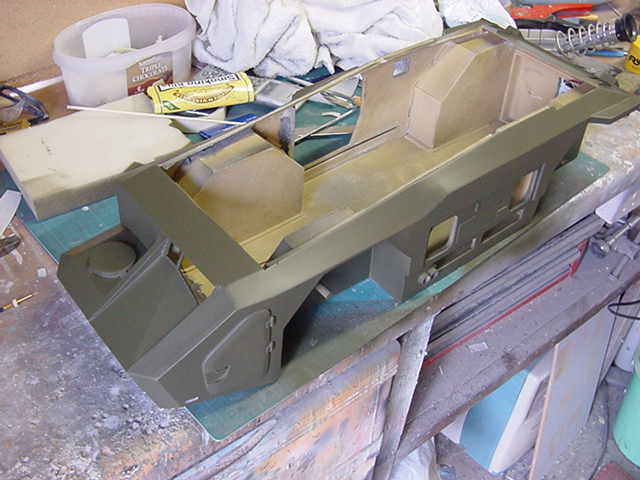
Okedoke then, after much filling and sanding took place, the body shell was finally as it should be.
That is to say pretty much devoid of the lumps, bumps and ruts it shouldn't have and on with the show...
Kinda.
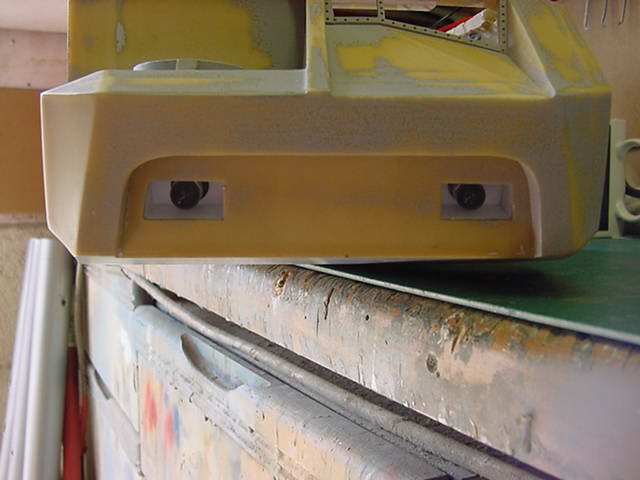
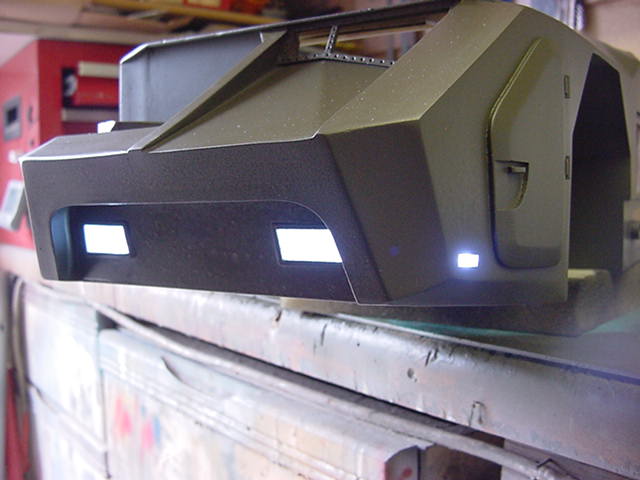
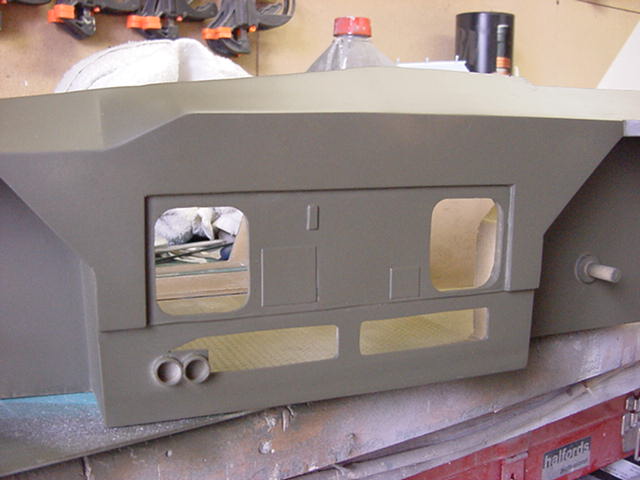
So the headlights first up, that is to say two bright ones forward and two side lights.
So a bit of drilling, filing and plasticard mayhem followed by some LED larking about, we ended up with lighting installed.
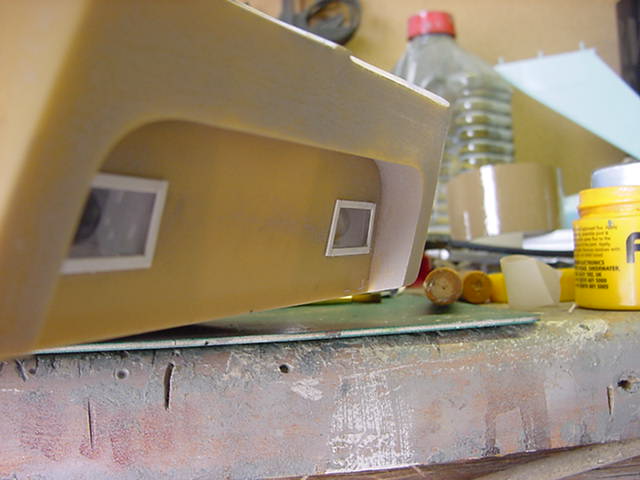
The front lights were given some 1/16" clear styrene covers with some thin plasticard strip surrounds.
The side lights were just drilled and filed down holes with a lump of the aforementioned thick clear styrene, filled and sanded smooth.
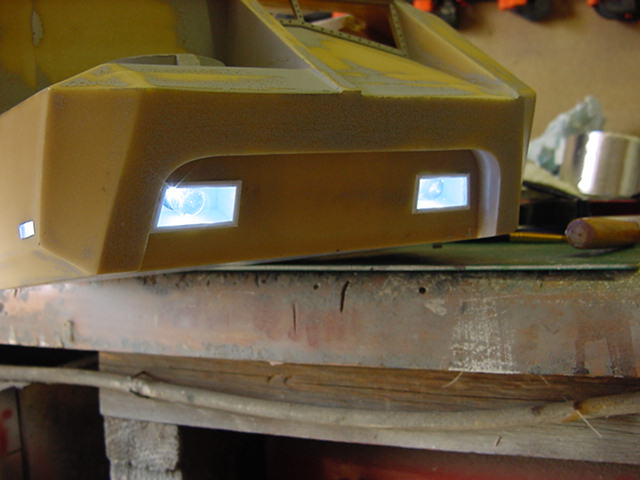
The back end fitted with a 3mm white LED each and the front lights got a 10mm white LED each.
After which some paint laid on just to make sure all was proper.
All ended up looking summat like this.
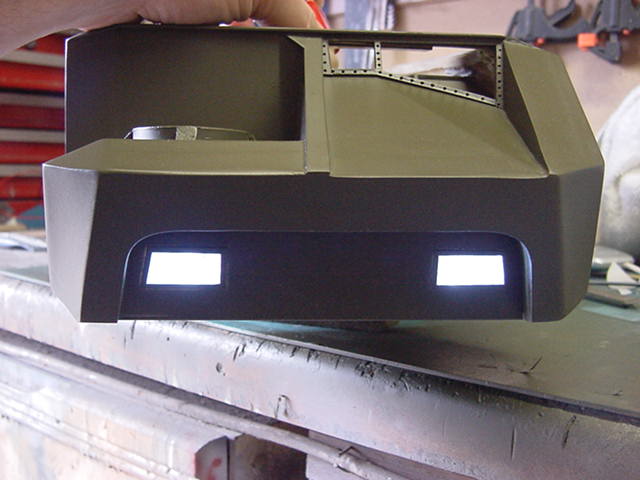
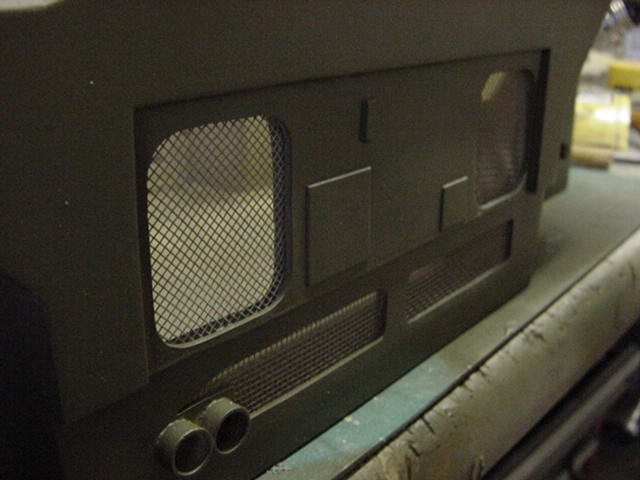
Rear lights likewise given a looksee over.
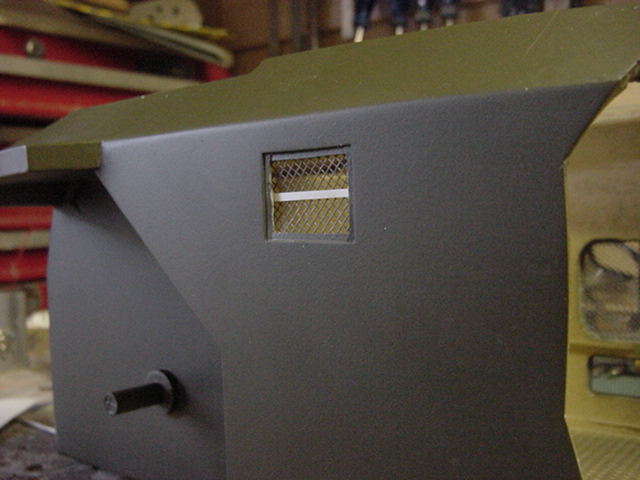
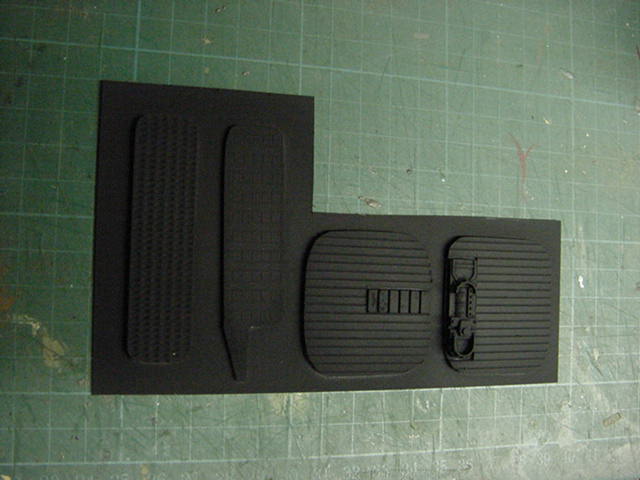
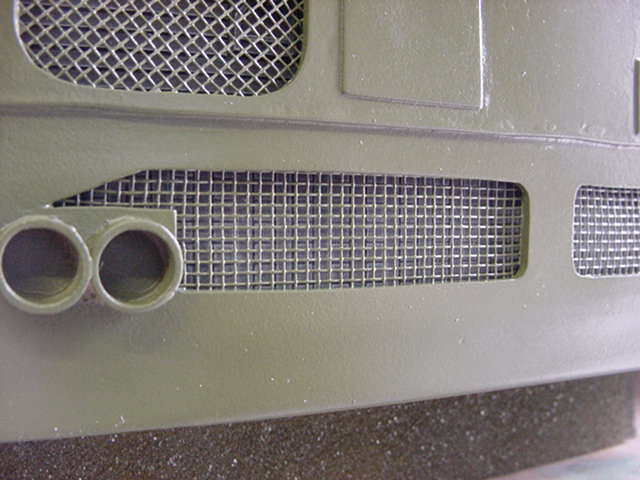
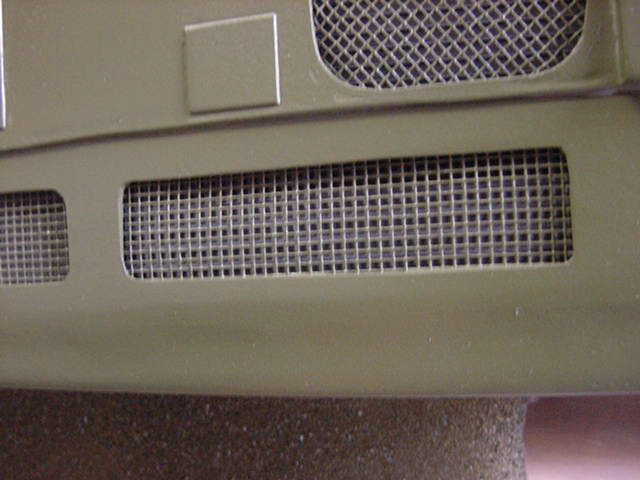
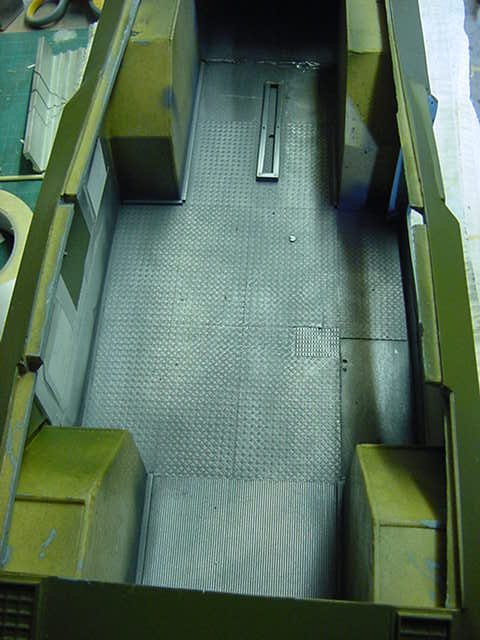
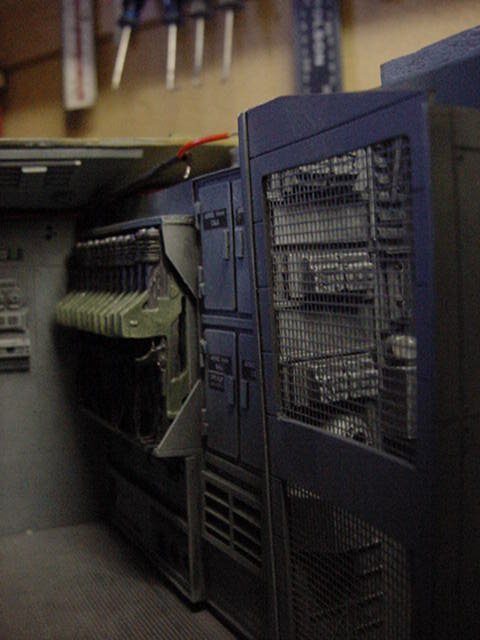
Now we get to the open bits in the body and some mesh work.
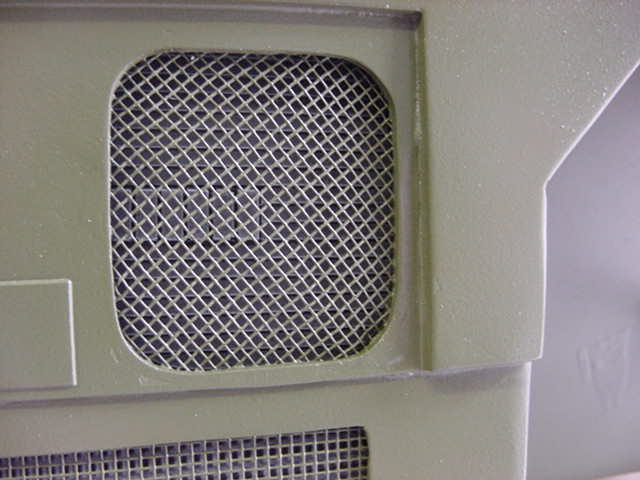
Well areas given a final clean up and some mesh duly trimmed and applied.
Just some left over fine mesh from the screen door on the hellhole when I put it together.
A necessity against the local multi-legged nightlife and the airborne insect population that has the most annoying habit of landing on fresh paintwork...
Little fatherless individuals...
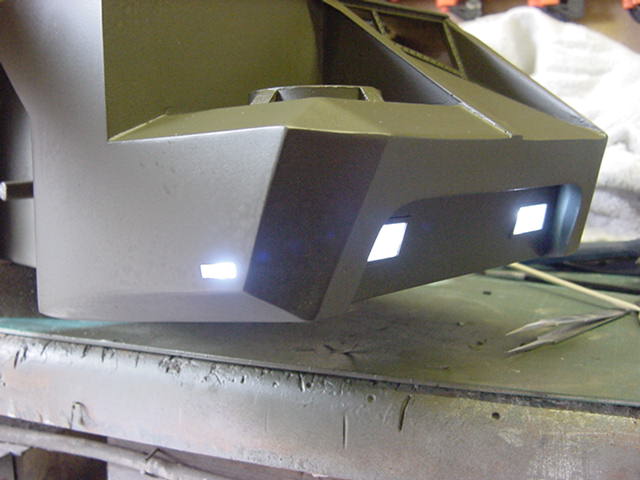
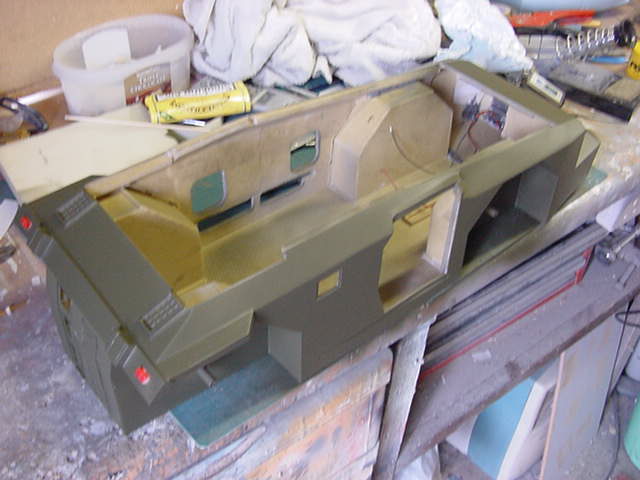
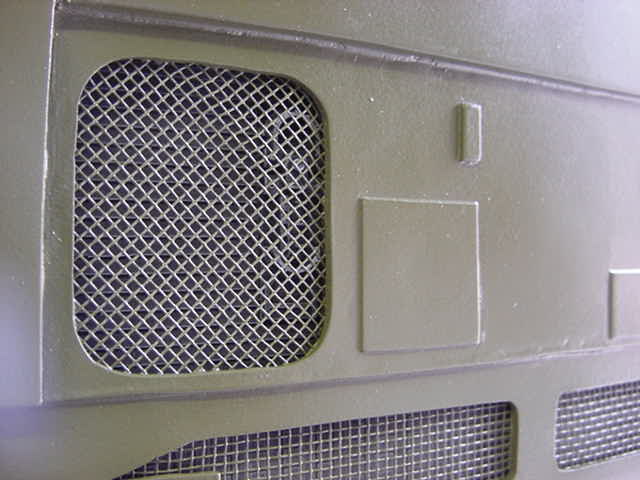
Anyway, mesh installed and a goodly few coats of the final body colour, namely Tamiya TS-28 Olive Drab in a rattle can.
I bought a good stock of these some time ago as I wanted to keep to a standard colour for these things long ago.
Good thing too judging how damn hard they are to get now.
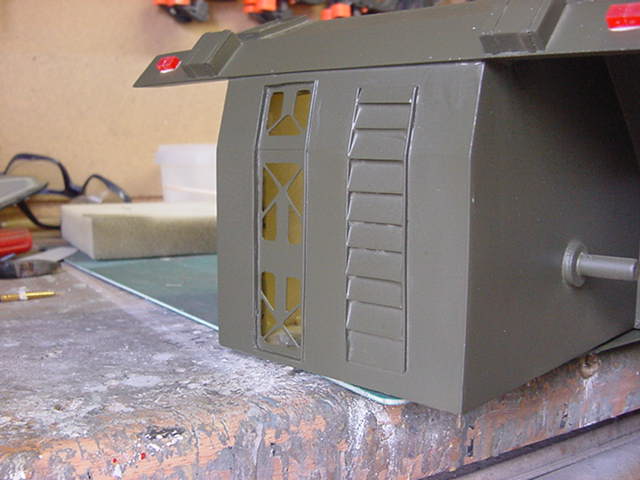
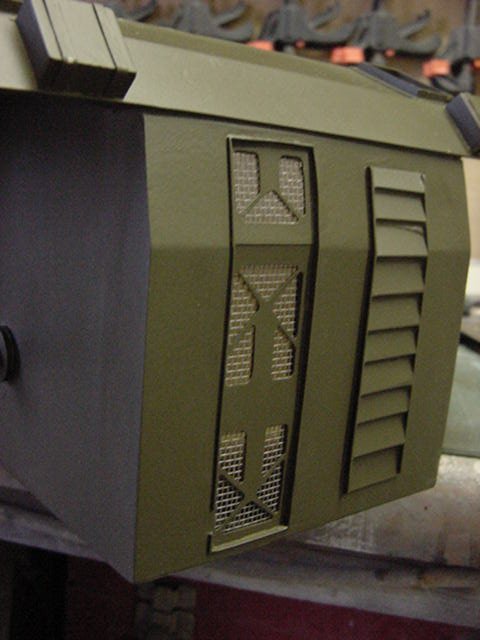
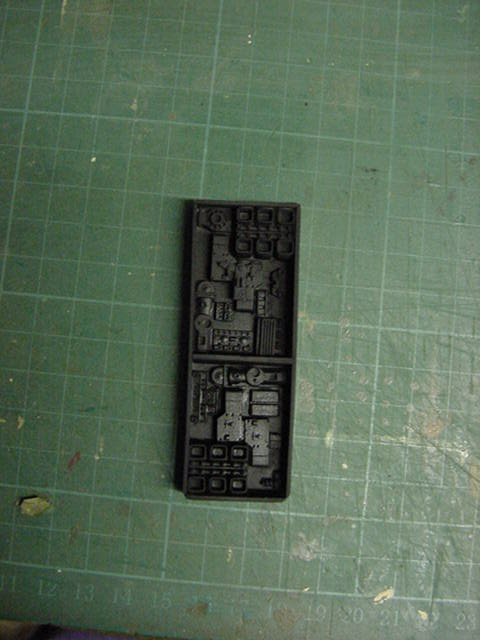
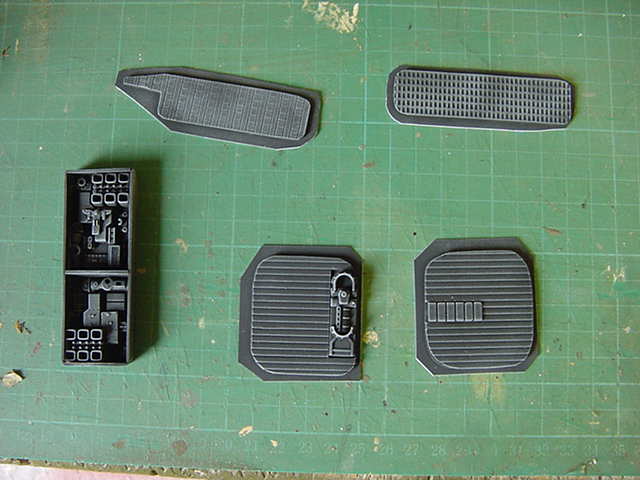
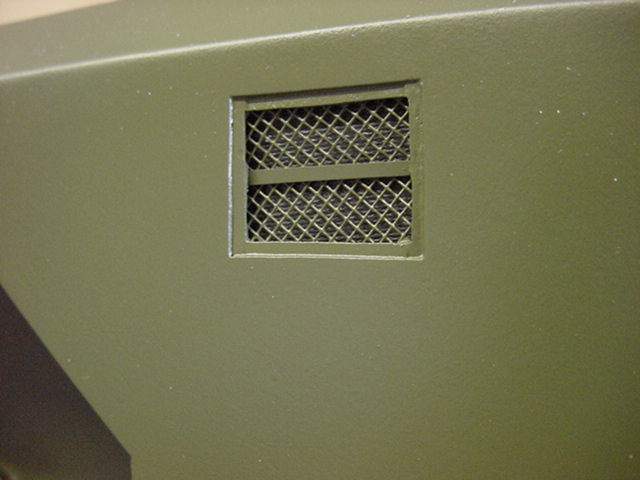
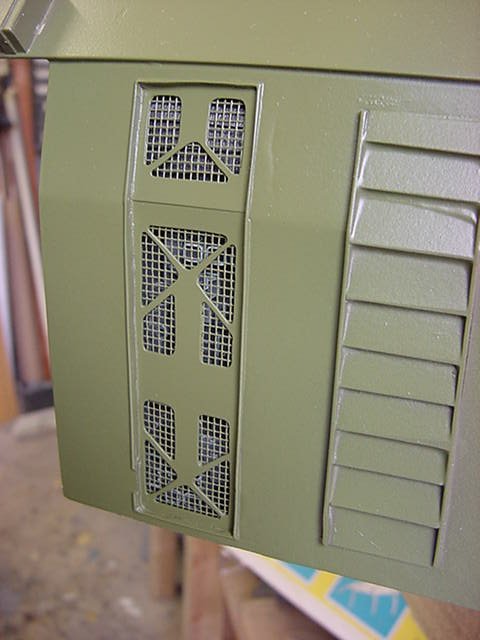
So the detail parts that sit behind the mesh were given a hit of matt black.
When all cured, just a cheeky run over with the two shade grey drybrush and sorted.
A trim up and install.
Well that's those pretty much sorted, some clearing up to do both inside and out and a bit o' that paintwork to get dealt with.
Speaking of which...
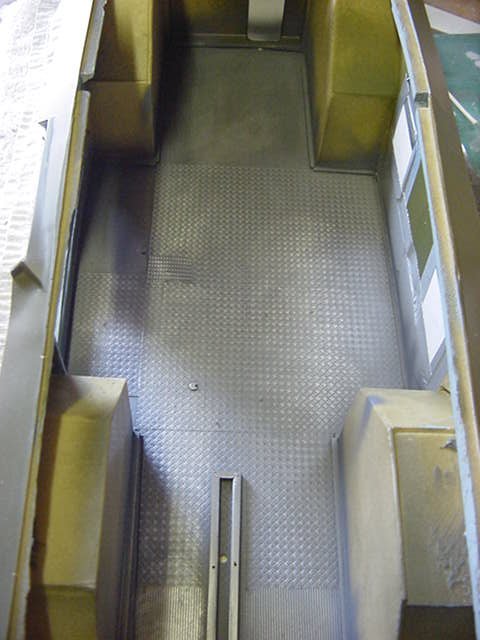
A blast over with enamel polished steel and a goodly buffing up, then a few passes here and there with drybrush enamel silver.
Just to have a little bit of differing wear on the metalwork like.
Sorted.
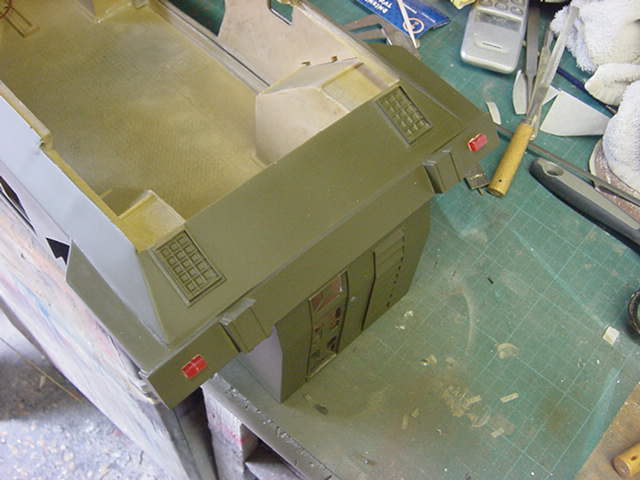
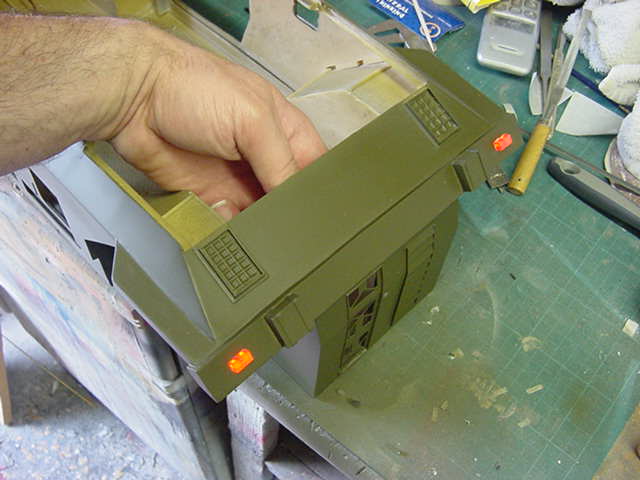
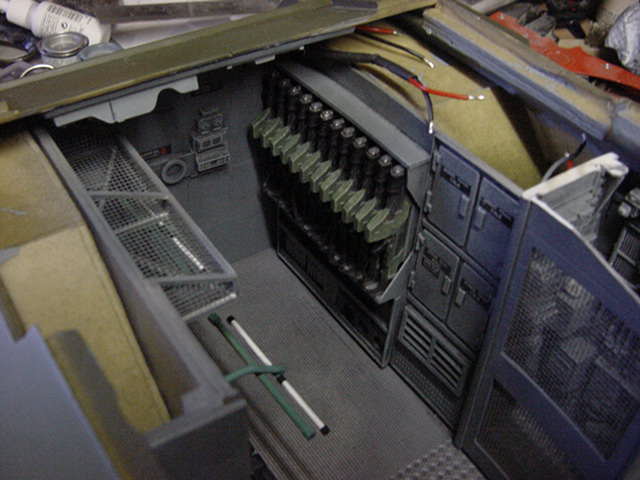
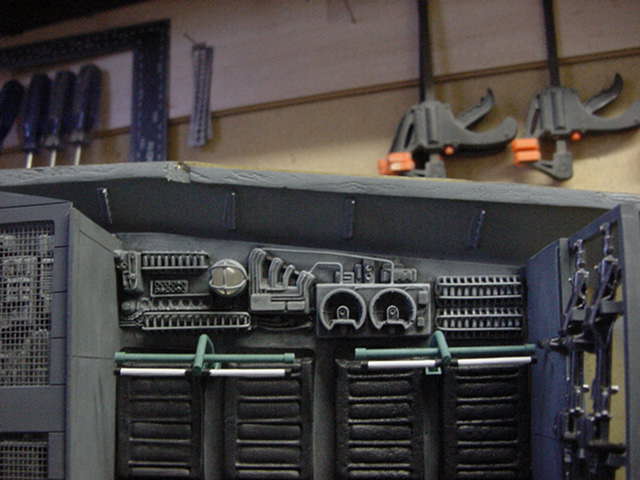
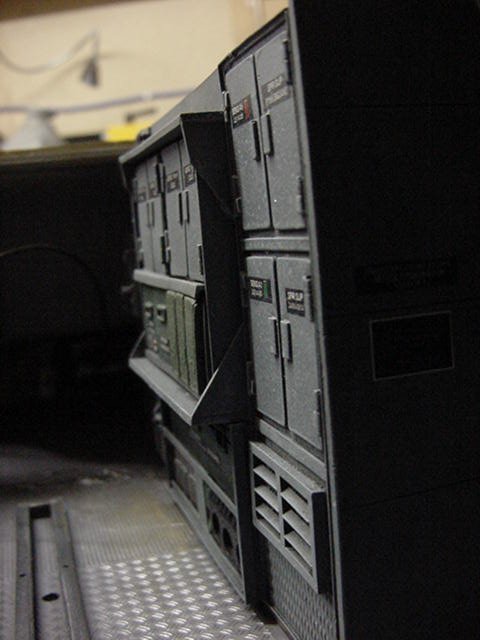
Then to start installing some of the wall panels proper with pins, screws and plenty of epoxy 'stay put ya bugger' gunk.
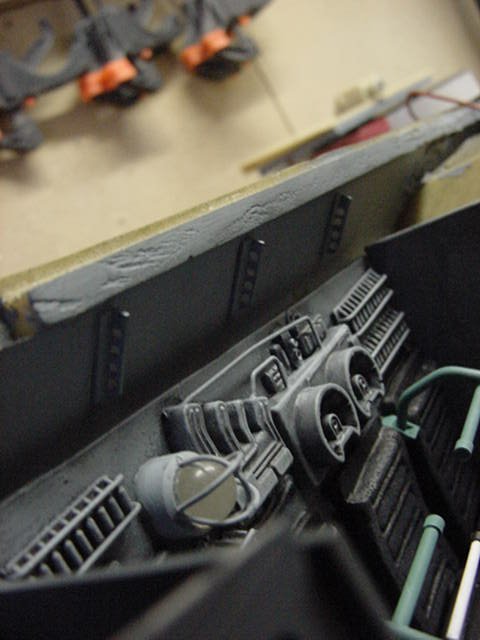
Also the top cable run parts made and installed.
The wiring for the power to front/rear lights and internal lights will go along here.
Easier than trying to hide the wires and in a way adds to it methinks.
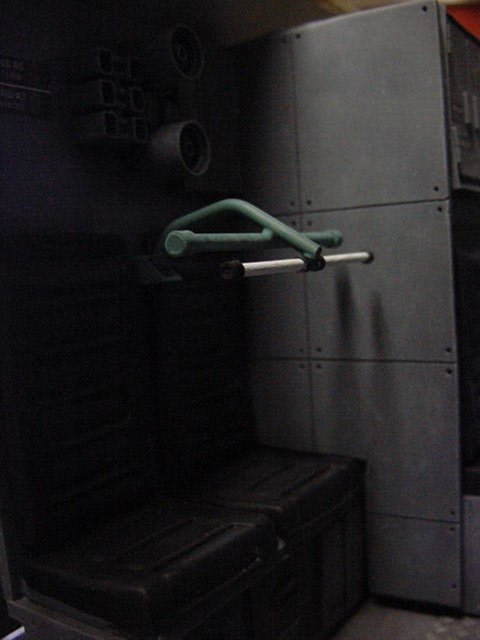
And while there's still time to stick me camera in there 'fore I slap da roof on...
A few shots from a 'Marine's eye view' so to speak.
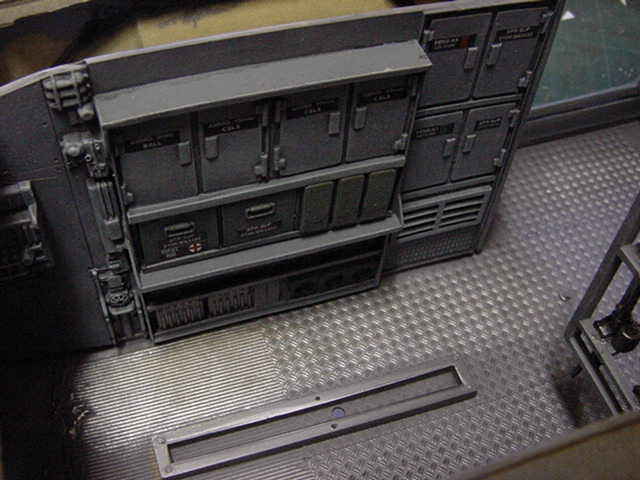

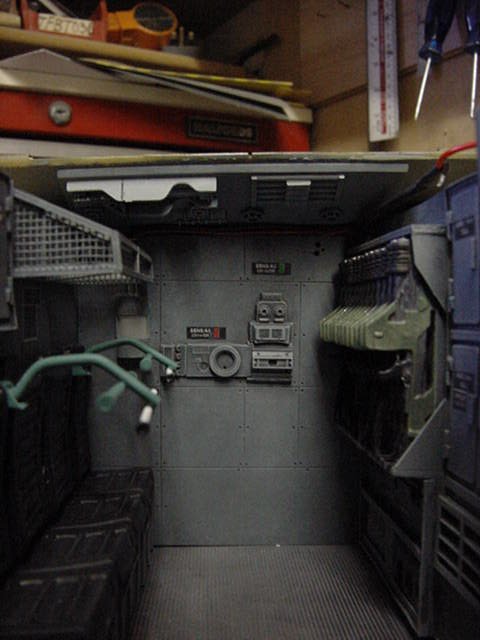
So then, next up fitting the command screen panel, then wire it all up as well as a multitude of other odds and sods to tasks care of.
But we be a getting there.
Untill the next update then, go easy gang!
Page Number