
Space 1999 44" Eagle Transporter
1/24th, Studio Or Thereabouts Scale


 Page Number
Some more plodding along
With Some Possibly Precise Pod Palaver
Maybe...
Welcome back all!
In the midst of getting hard to acquire supplies due to the current situation we are facing in 2020,
I have been successful in getting some of what's needed so here we go!
Finishing up the rescue pod first.
Binned my first attempt with plastic tube as it wasn't that great in the end.
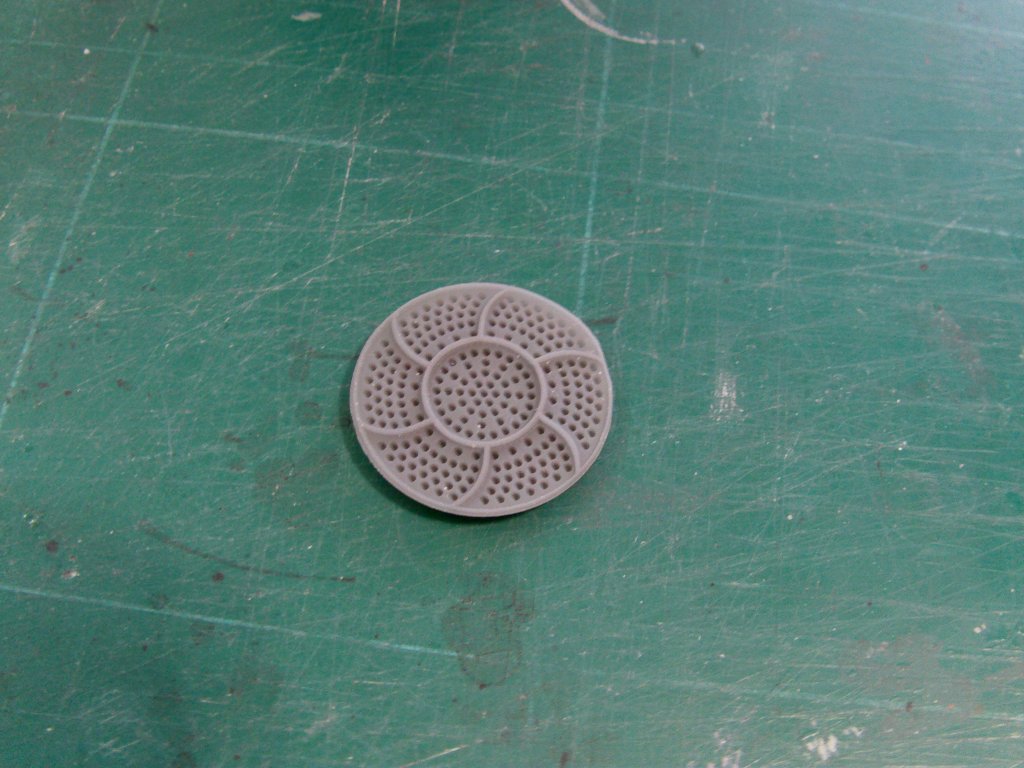
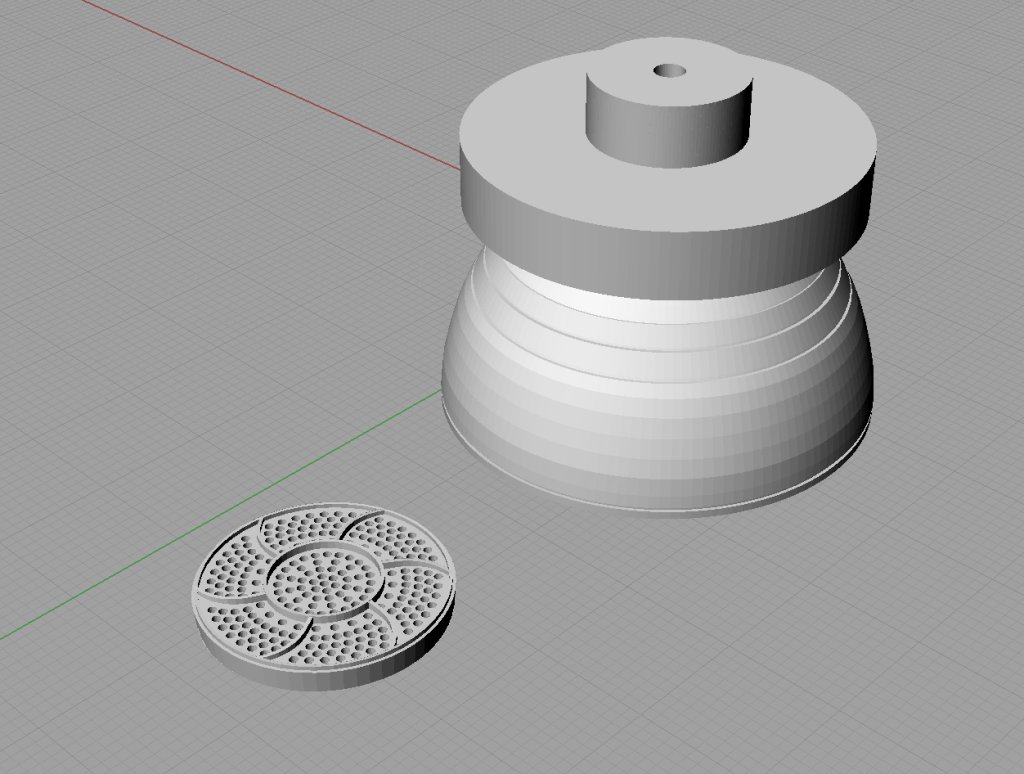
Polygon punching ahoy!
A bit of a print and clean up lark with some glue to follow get's this...
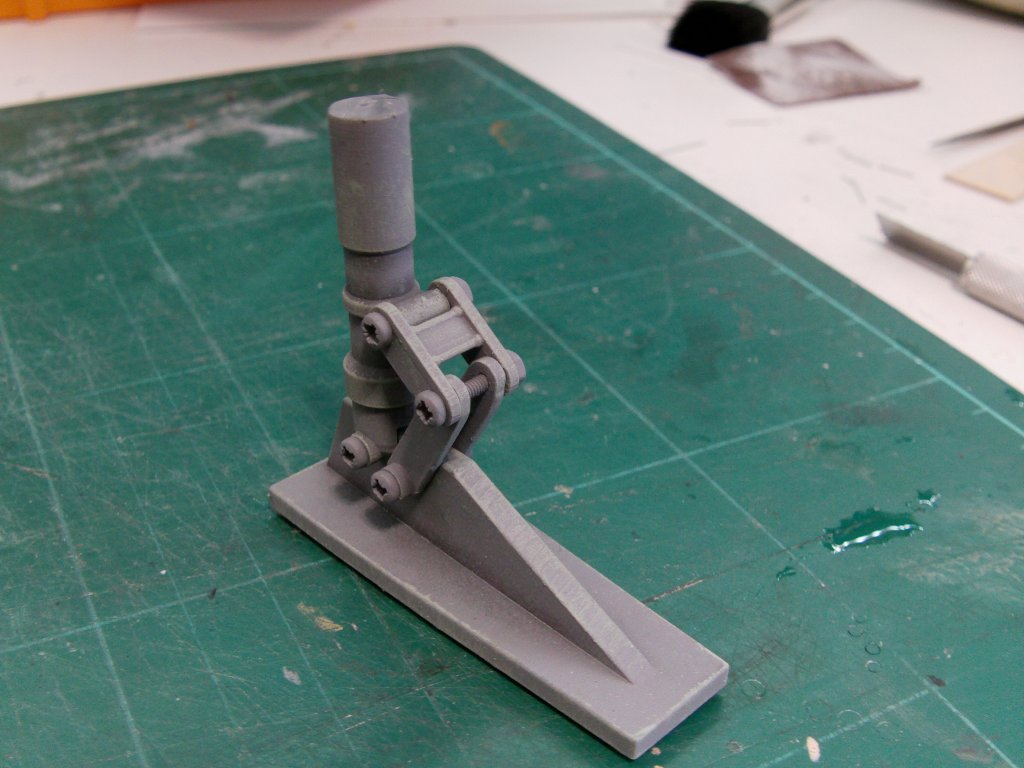
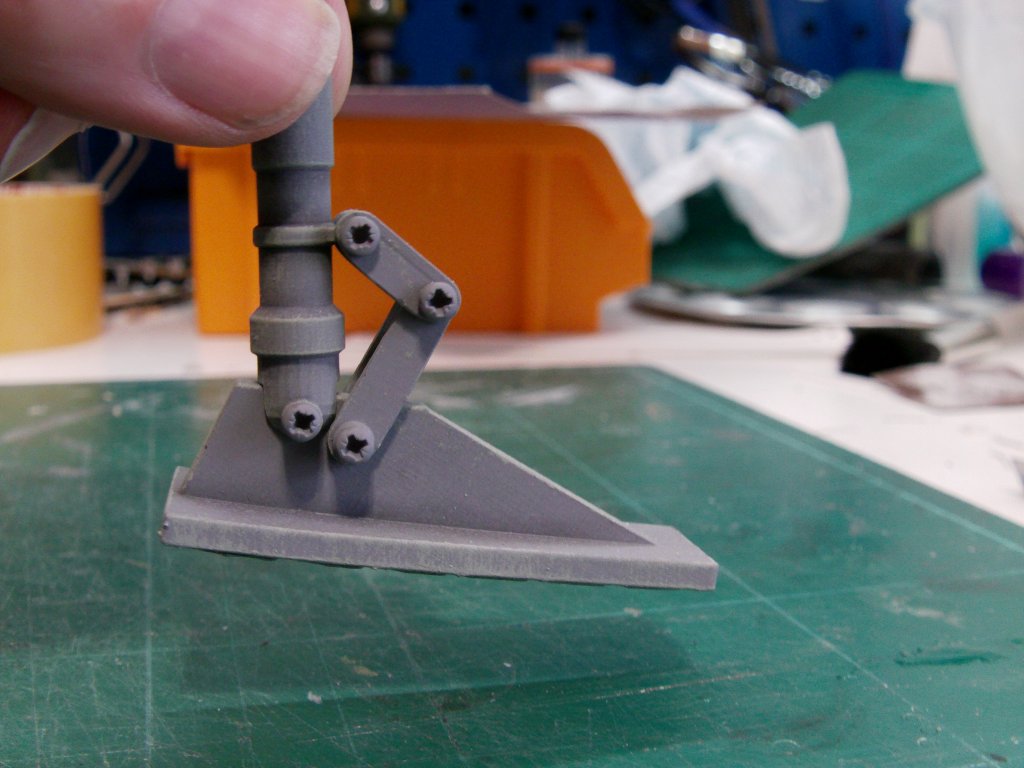
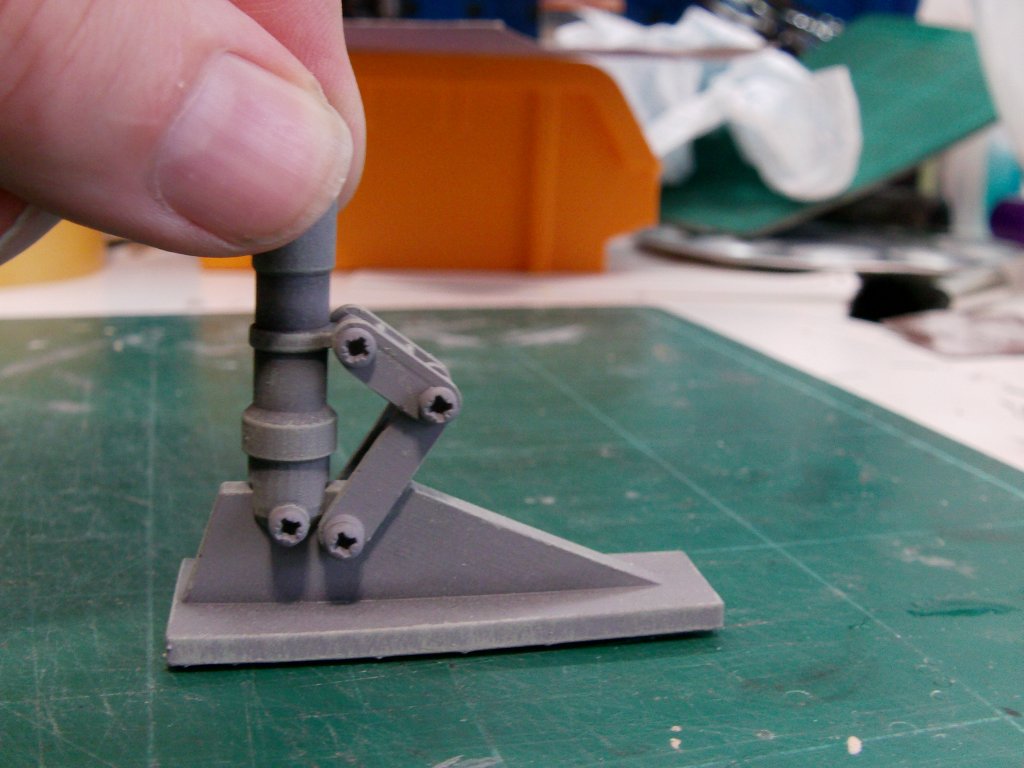
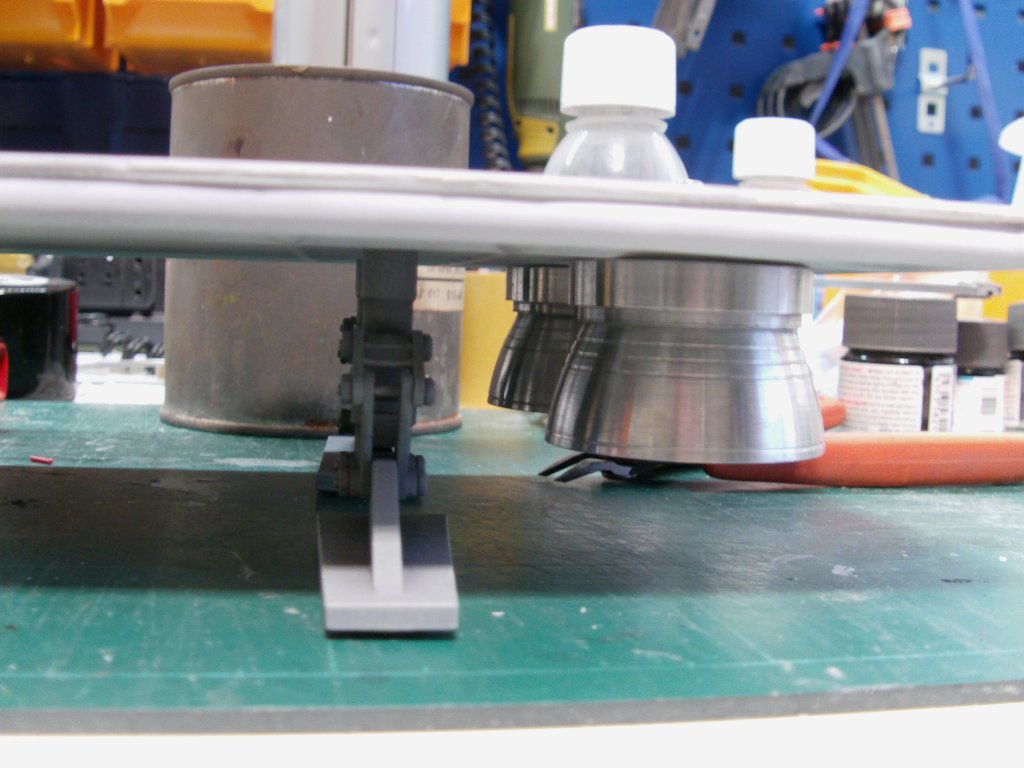
A slight redesign of the pod feet, printed up.
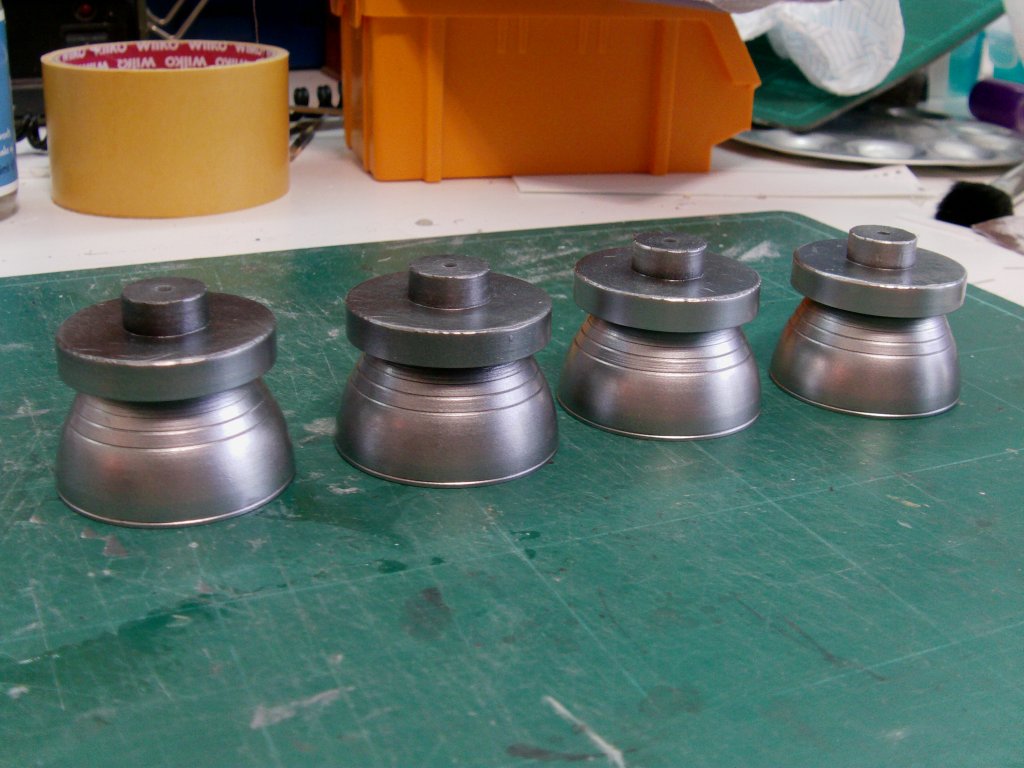
Paint was just grey primer, some graphite powder shading, a bit of dry brushing
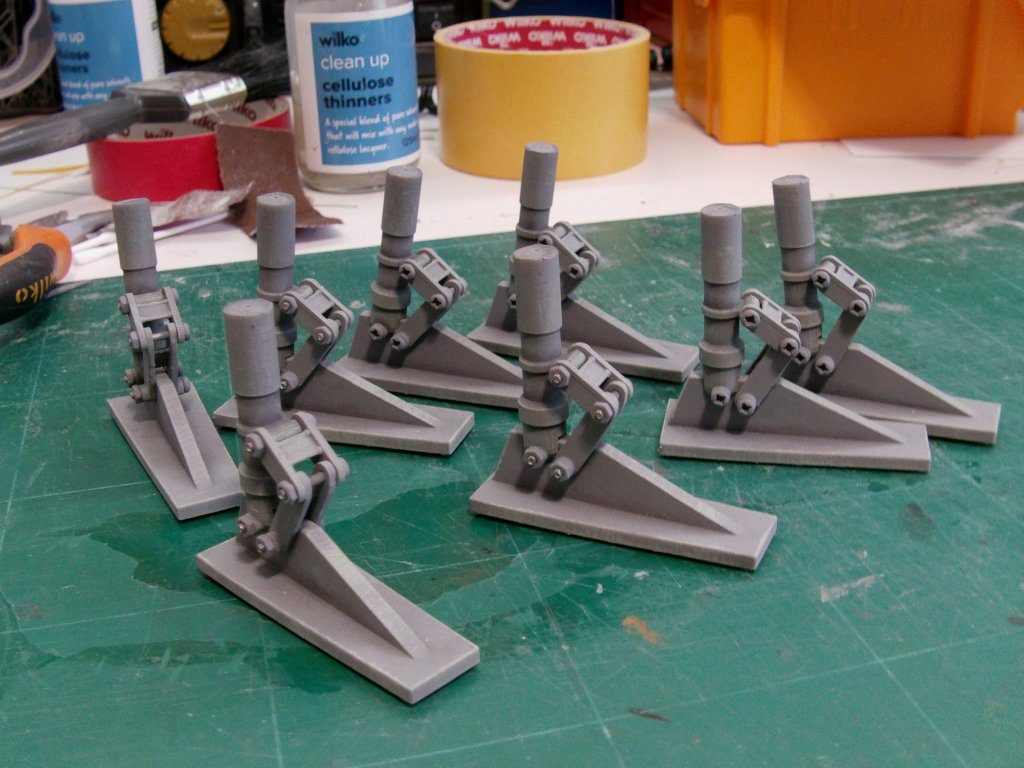
And a few nuts and bolts to finish.
Did enough for two pods and i'll get to the reason for that in a bit.
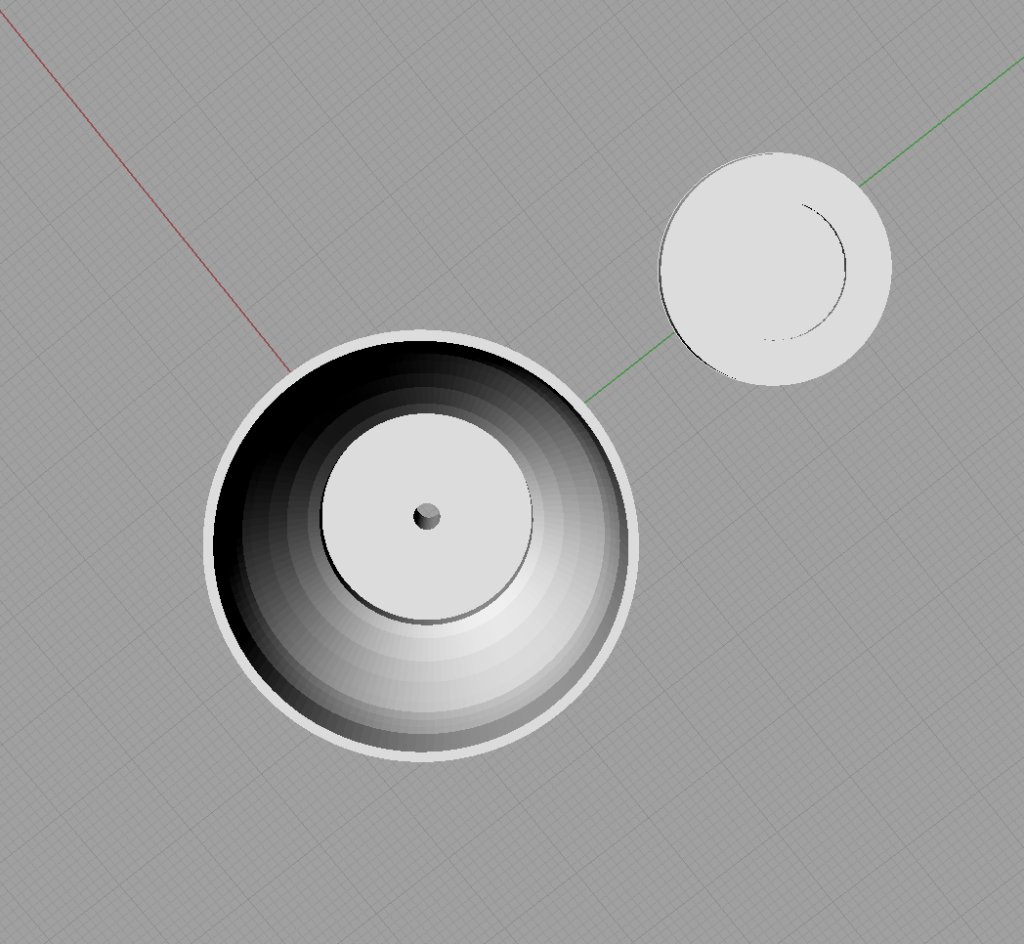
Gathered the turned aluminium engine bells, gave them just a slight polish up.
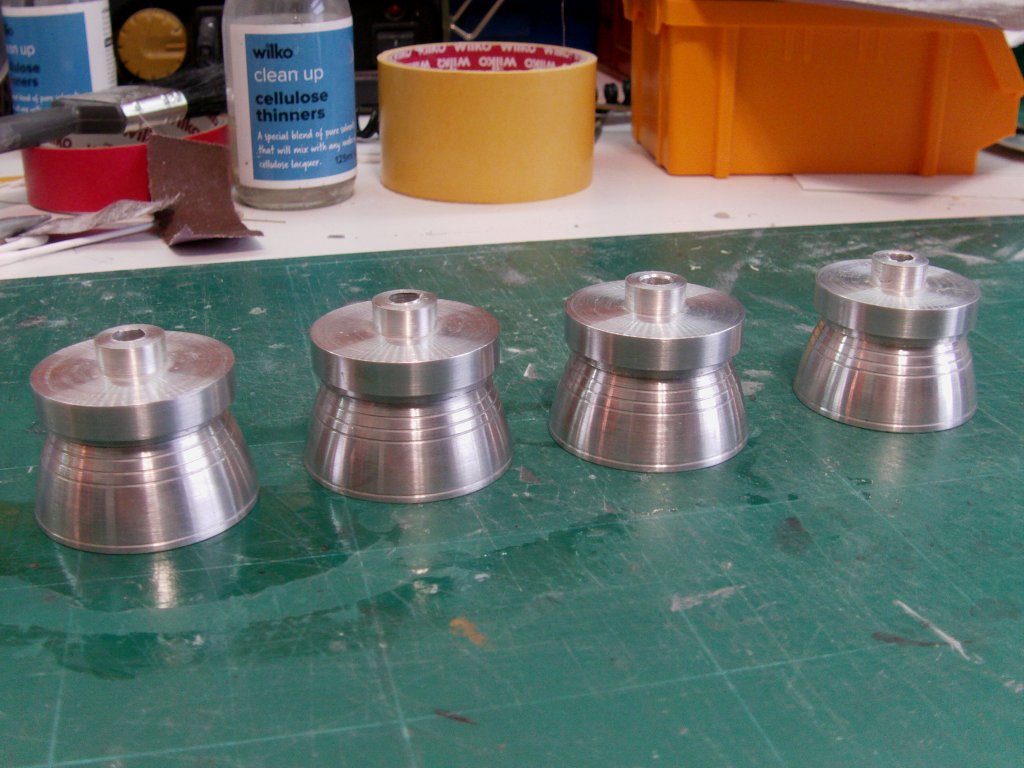
Also 3d printed ignition plates for them.
Granted they will not be seen as such but still better than bare bolt heads.
The inside of the bells was dirtied up a bit for the used look.

Onward!
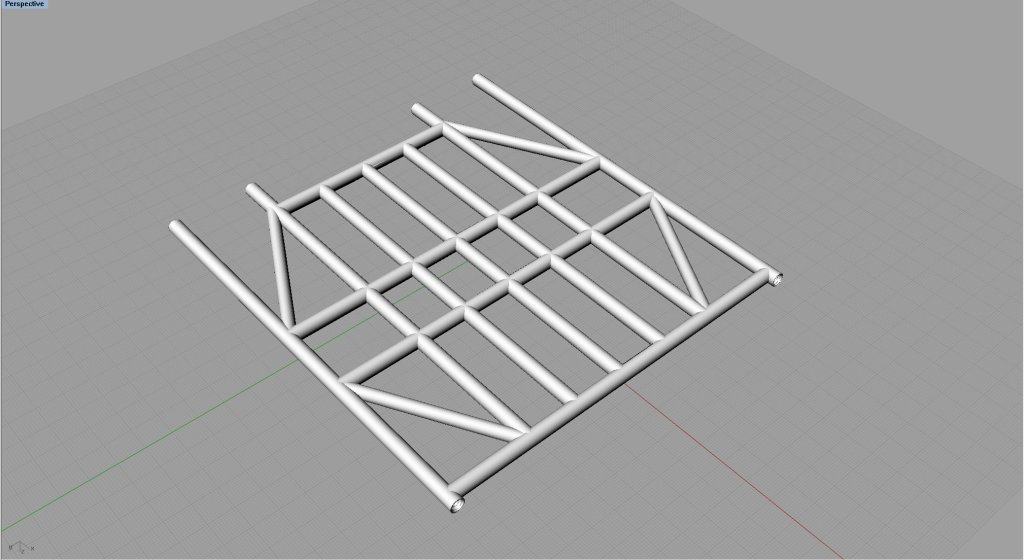
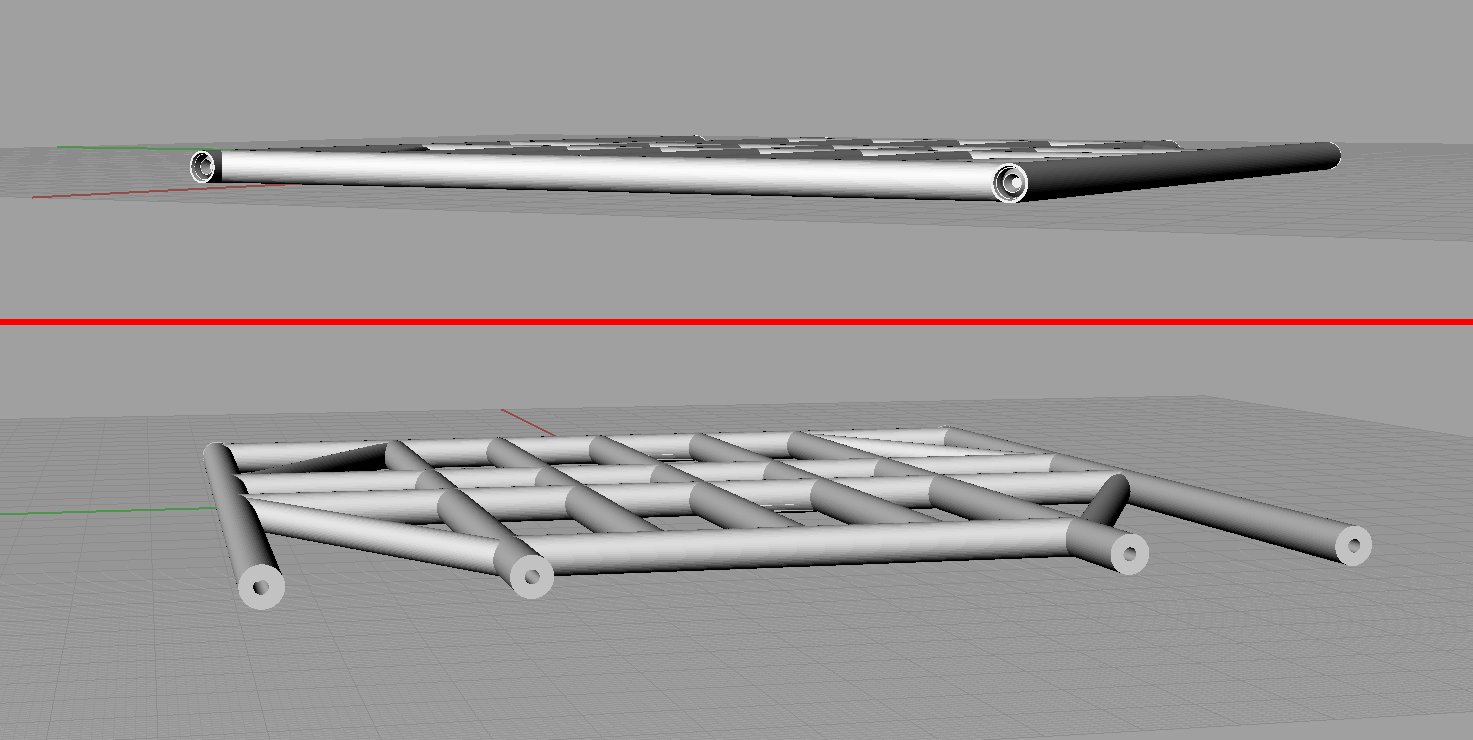
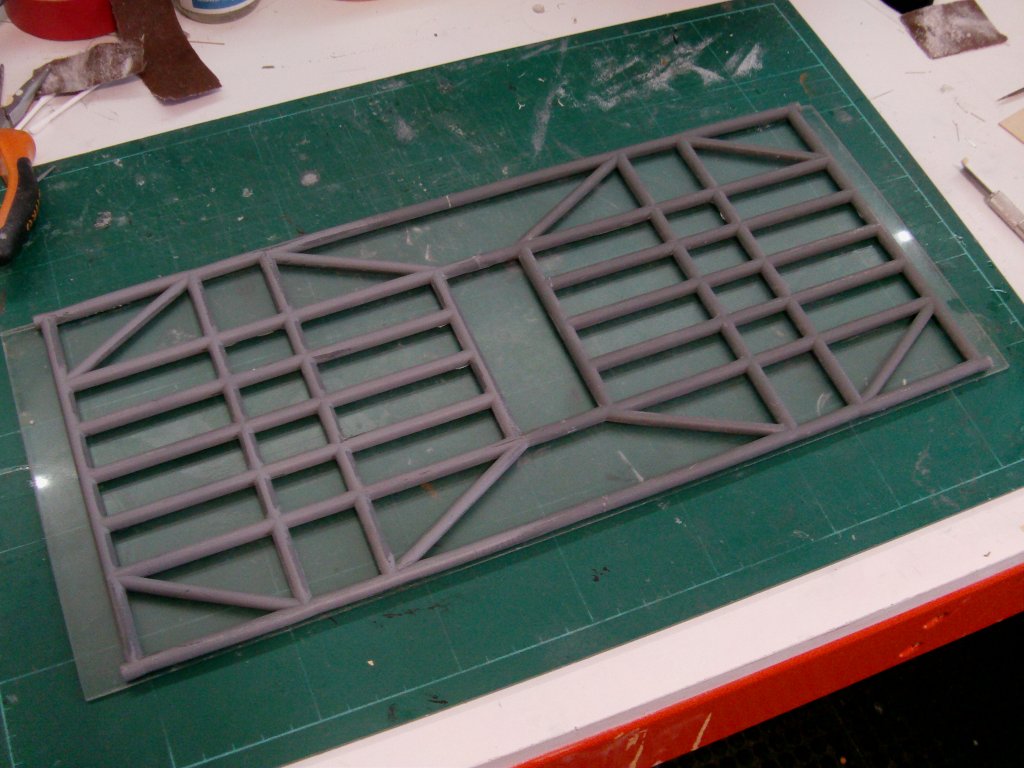
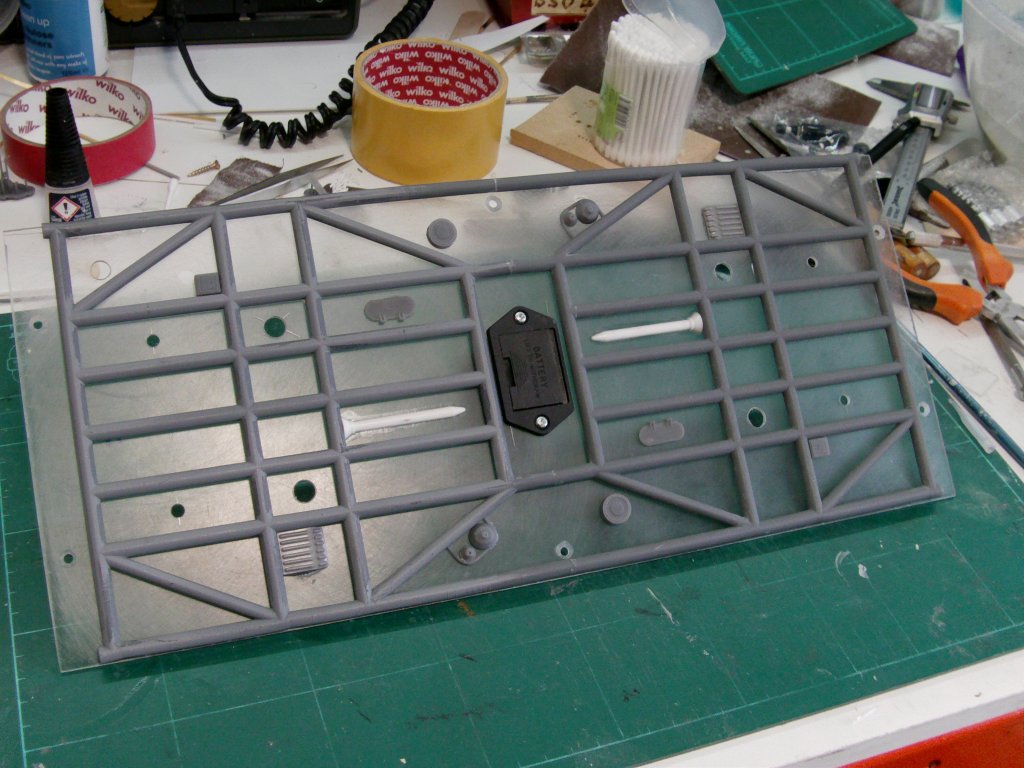
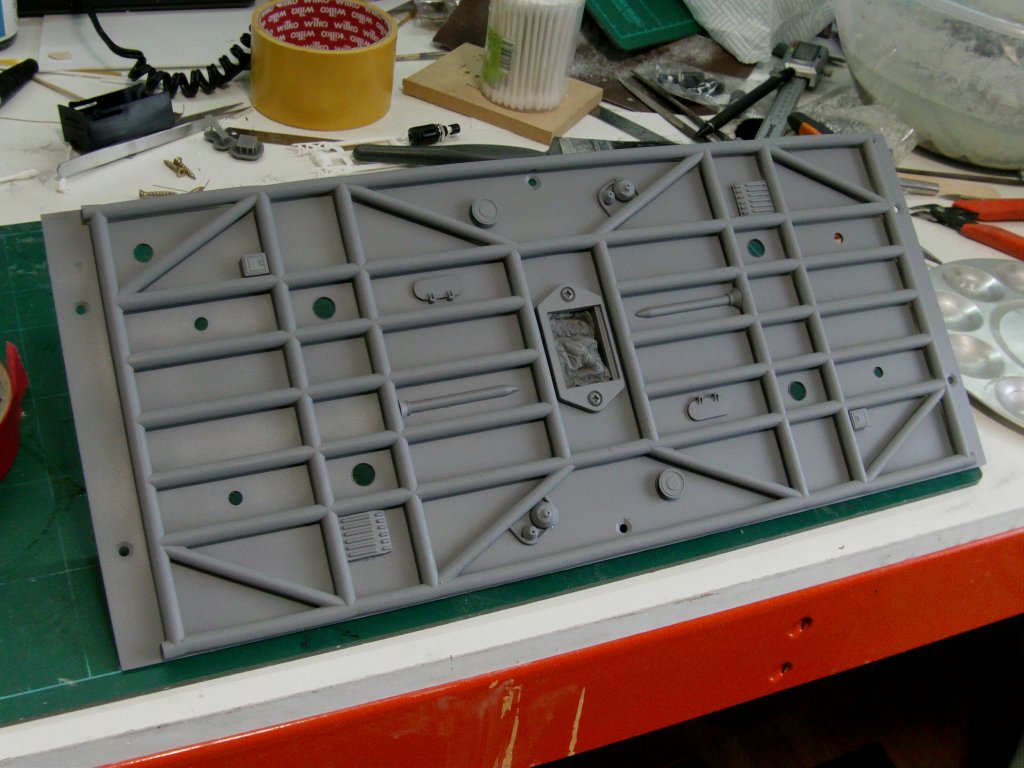
Framework glued to the 2mm thick acrylic sheet,
holes for the legs and engines drilled out,
battery box fitted and greeblies added.
Then of course, the primer did happen!
A few coates of primer white later, the graphite powder weathering/shading took place,
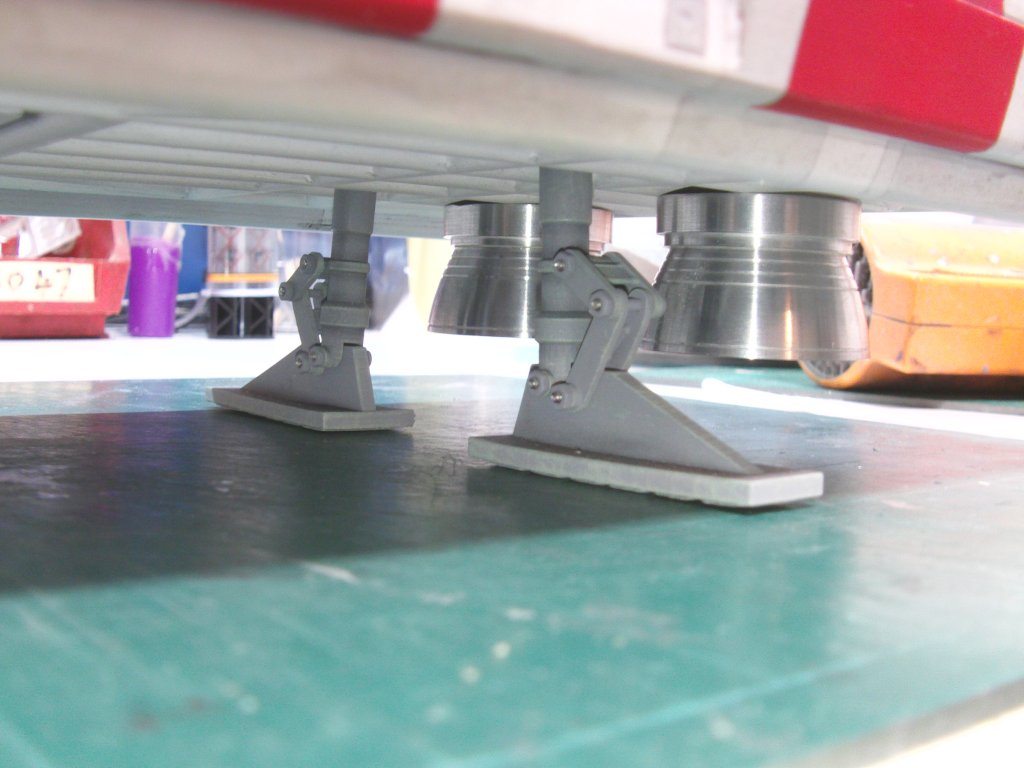
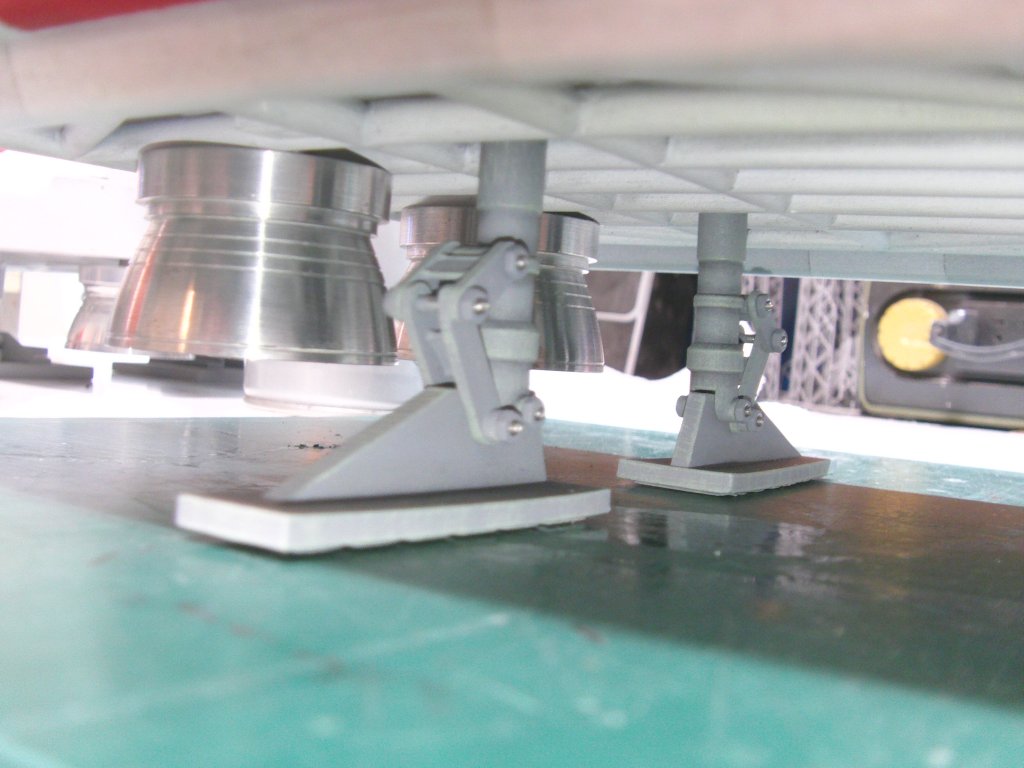
then the engine bells and feet got fitted up nicely.
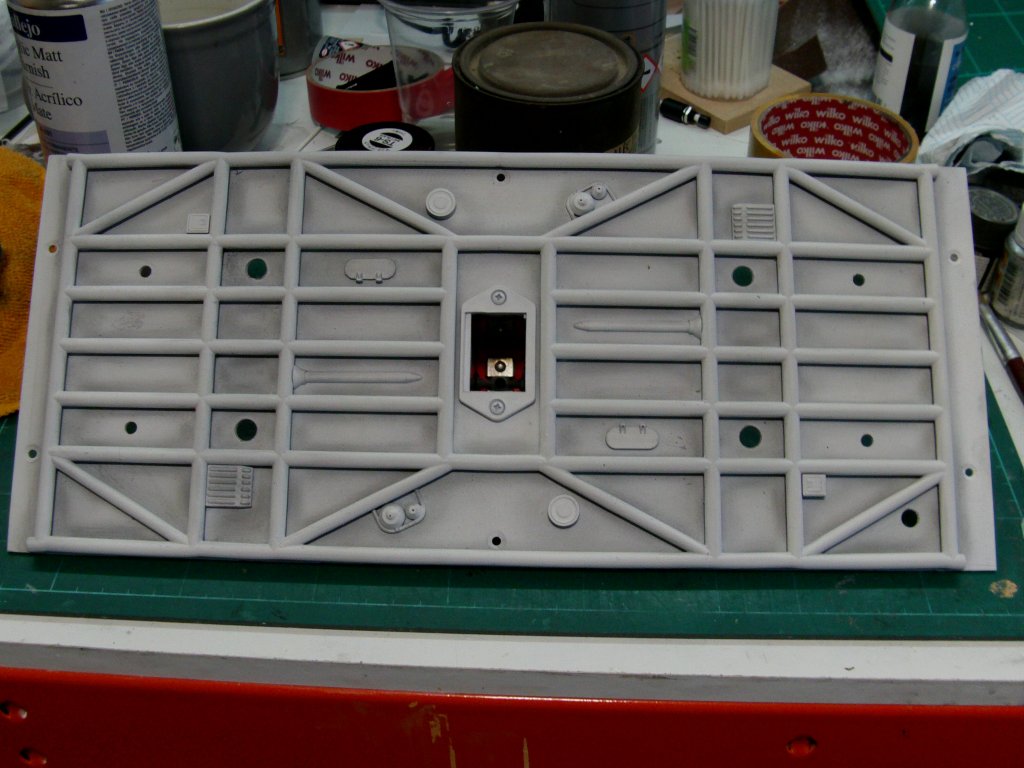
Ignition plates painted and fitted.

Bottom plate wired up with a single push switch for the door lighting and secured in place.
Lighting check and all was well.
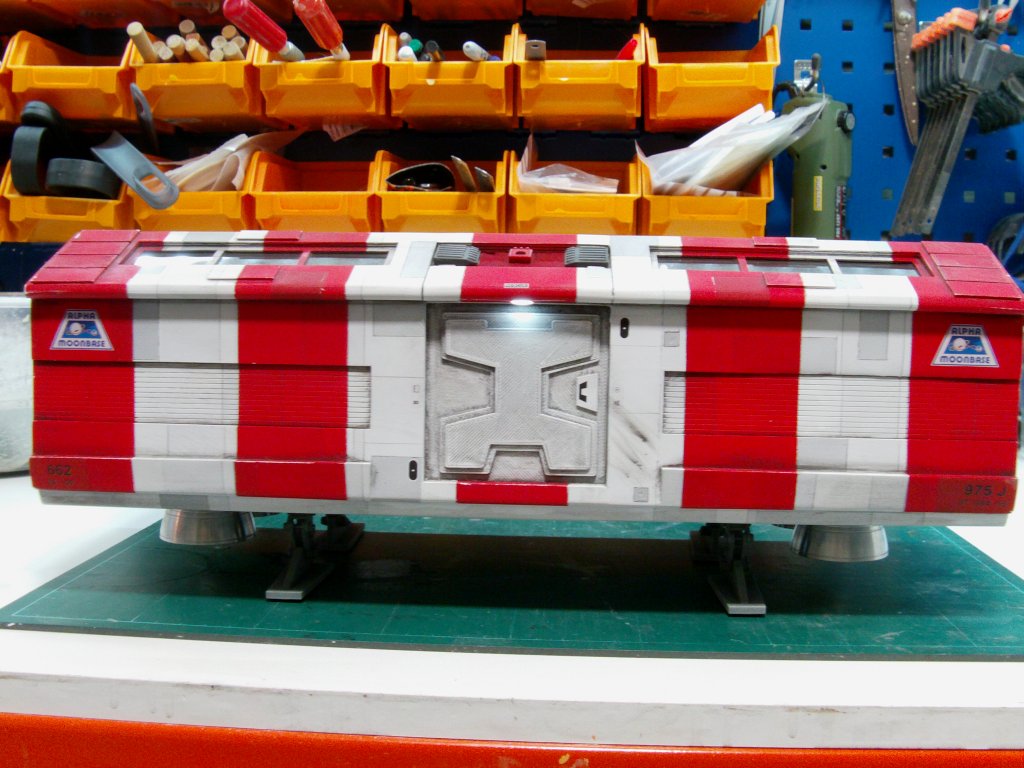
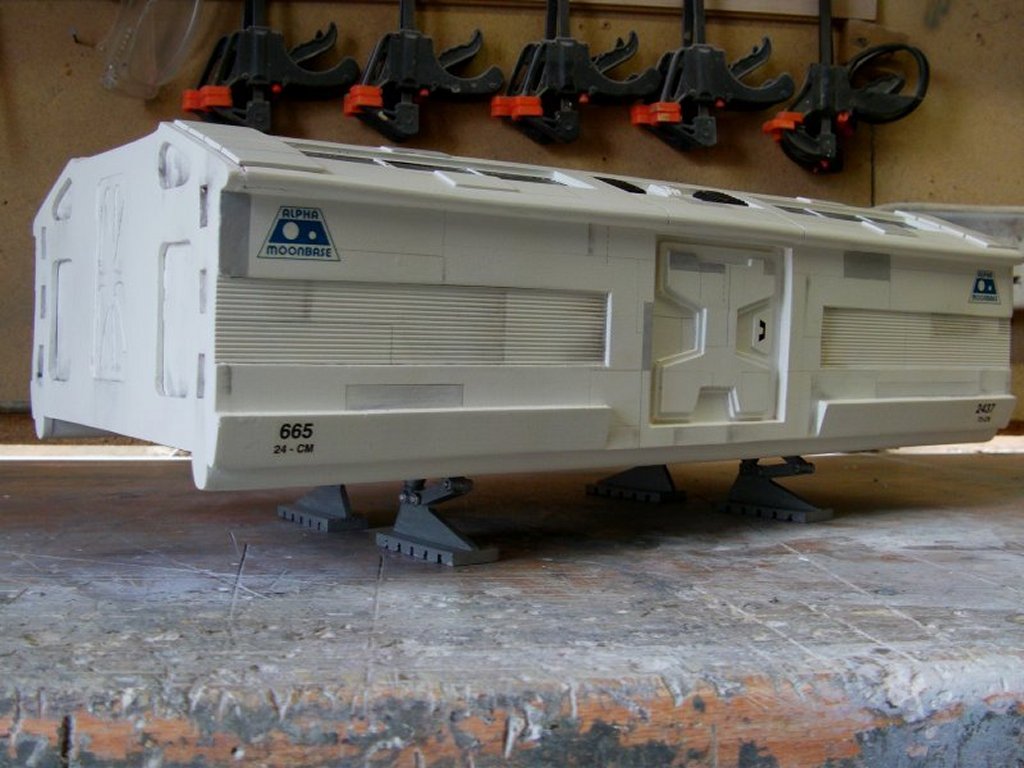
So now to the bog standard passenger pod,
the one that I was given along with the rest of the parts the start of this performance.
All well and good but could do with a smidgen of prettying up to my mind so here we go.
This is also why I need the extra pod feet.
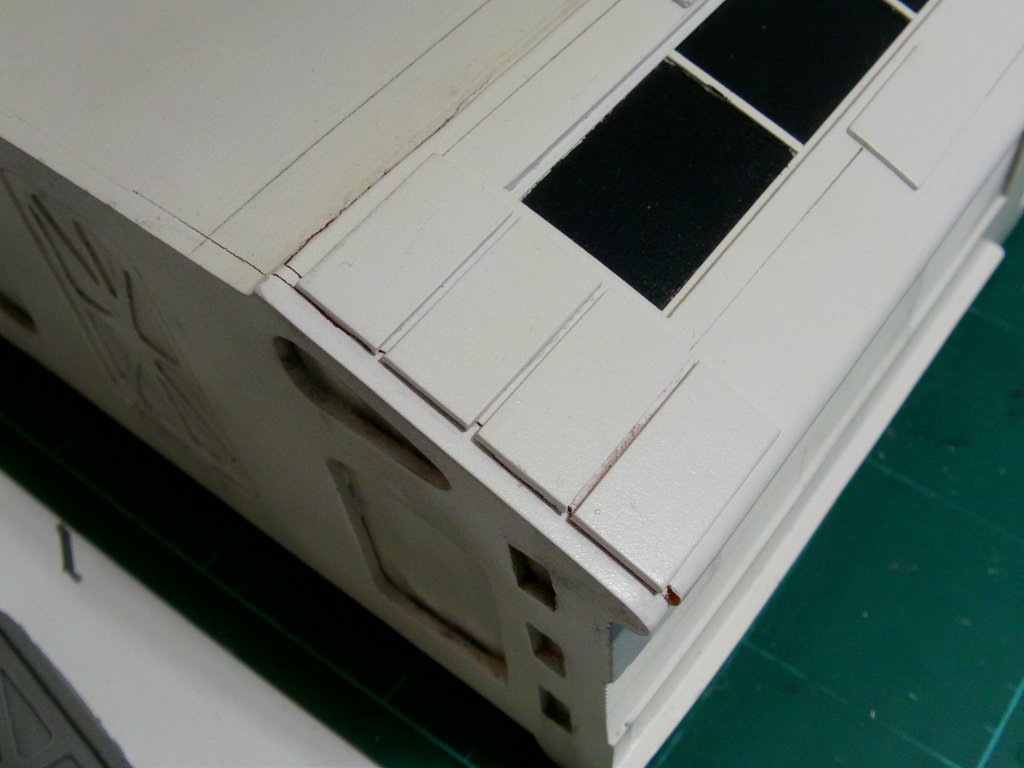
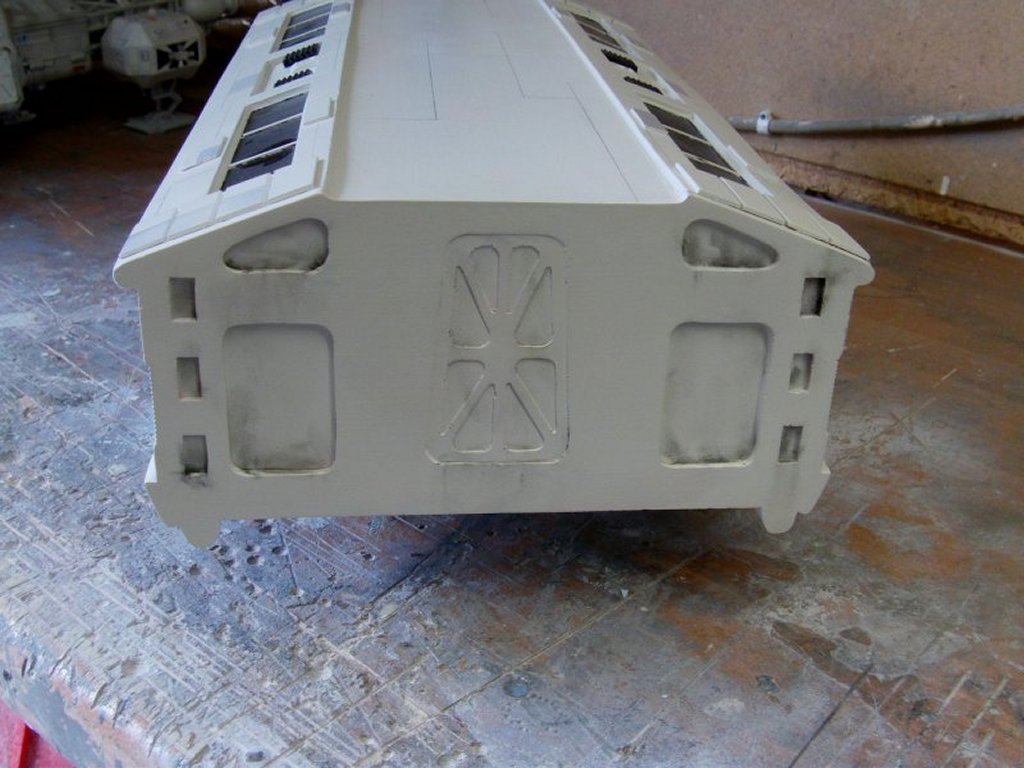
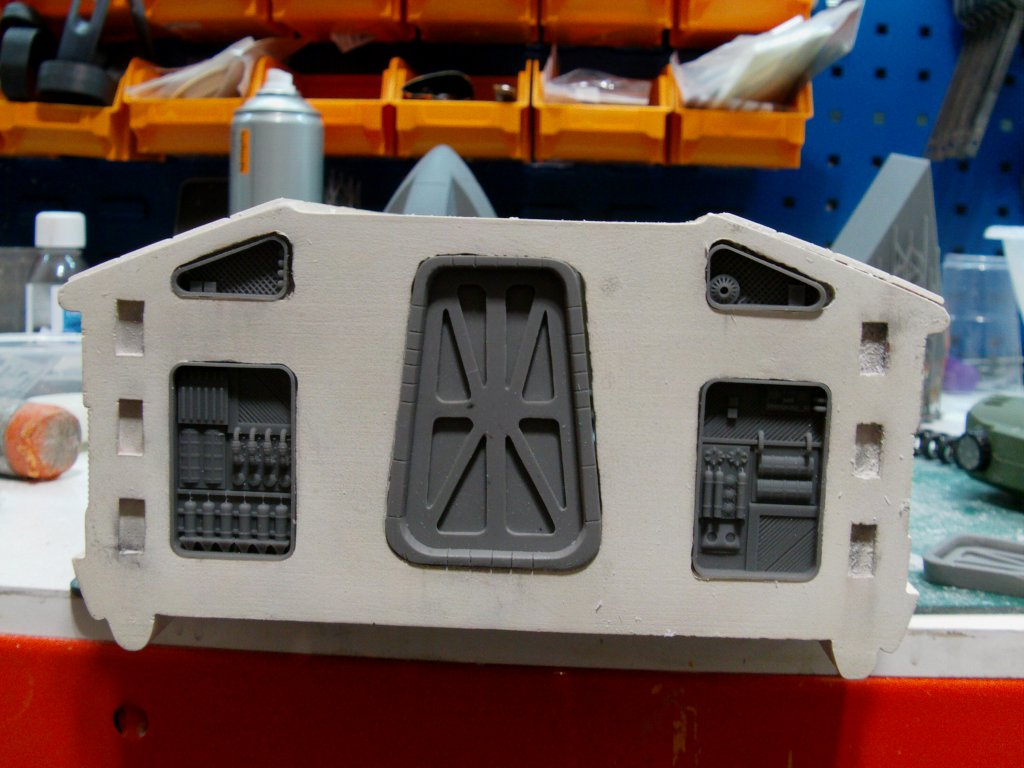
The pod itself had the beginnings of a problem when I first got it.
Said thing you may just notice at the top rounded corner of the sloping roof bit closest the camera.
There was a slight crack back then and over time, the MDF sheet inside it has expanded enough to really make it's presence known.
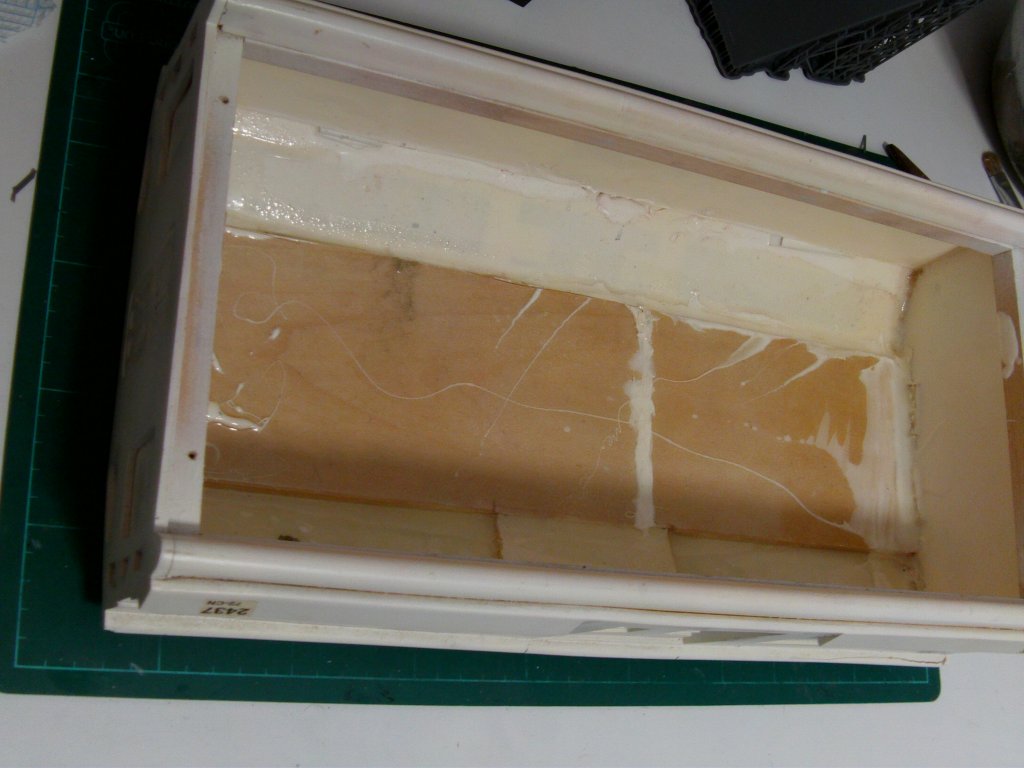
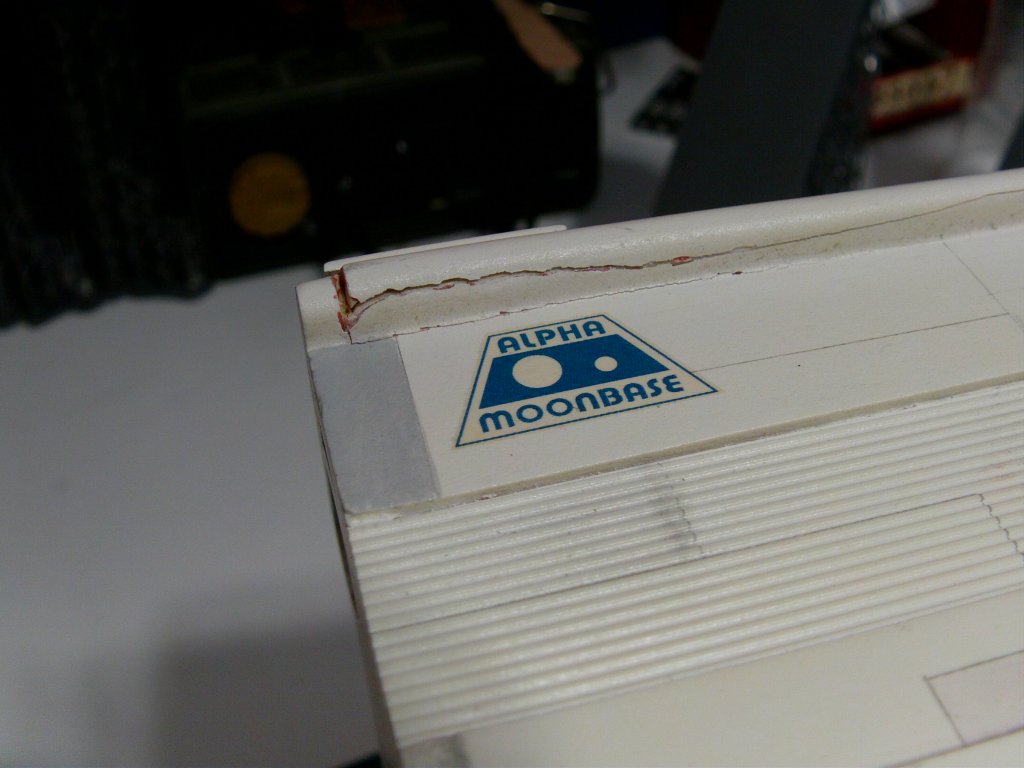
Some epoxy resin got spread about inside to seal the MDF and solidify the shell so shouldn't be a problem from now on.
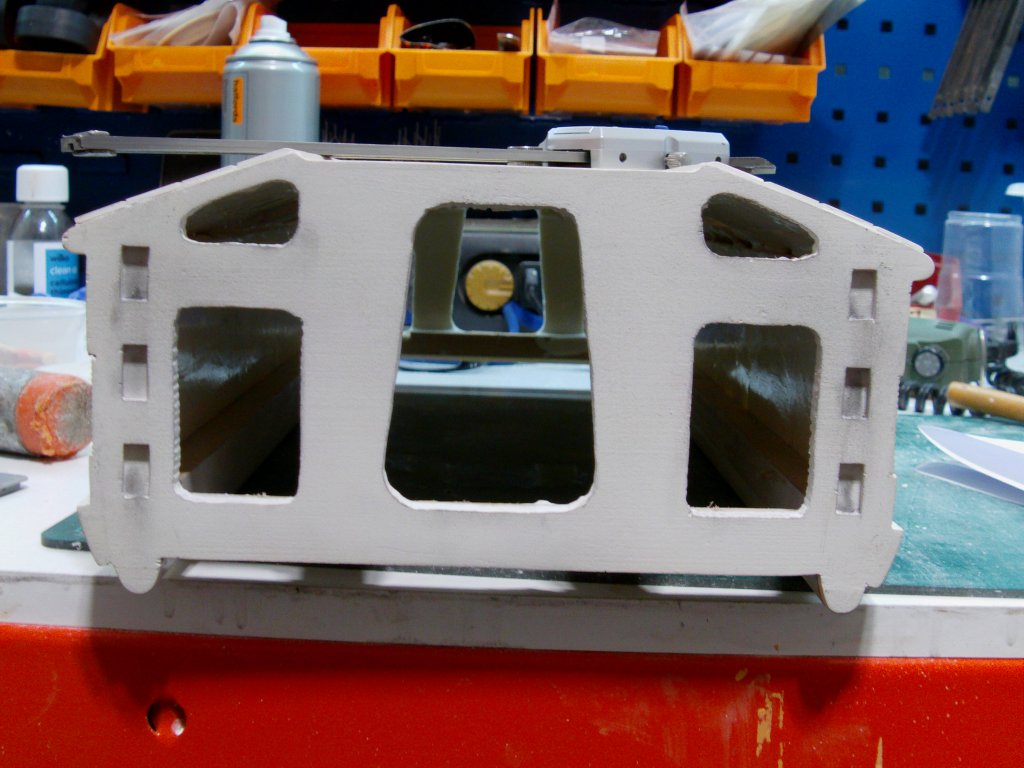
Secure enough for me to fill and clean up the split which will get done.
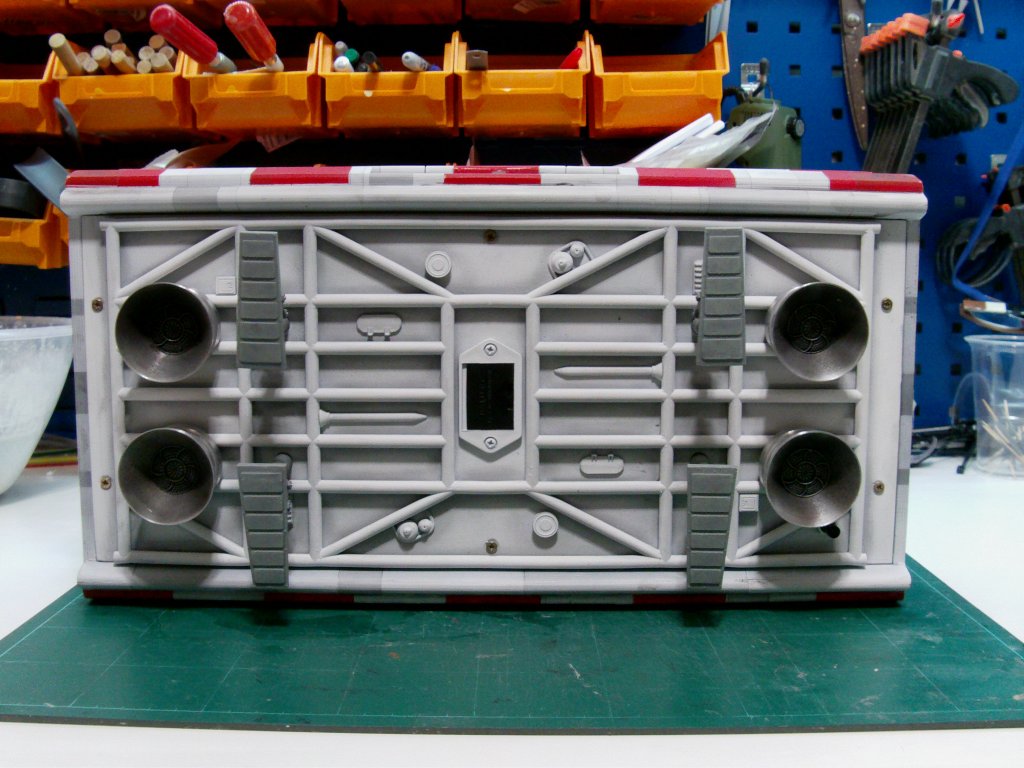
Now the underside plate isn't that great so some replacements needed.
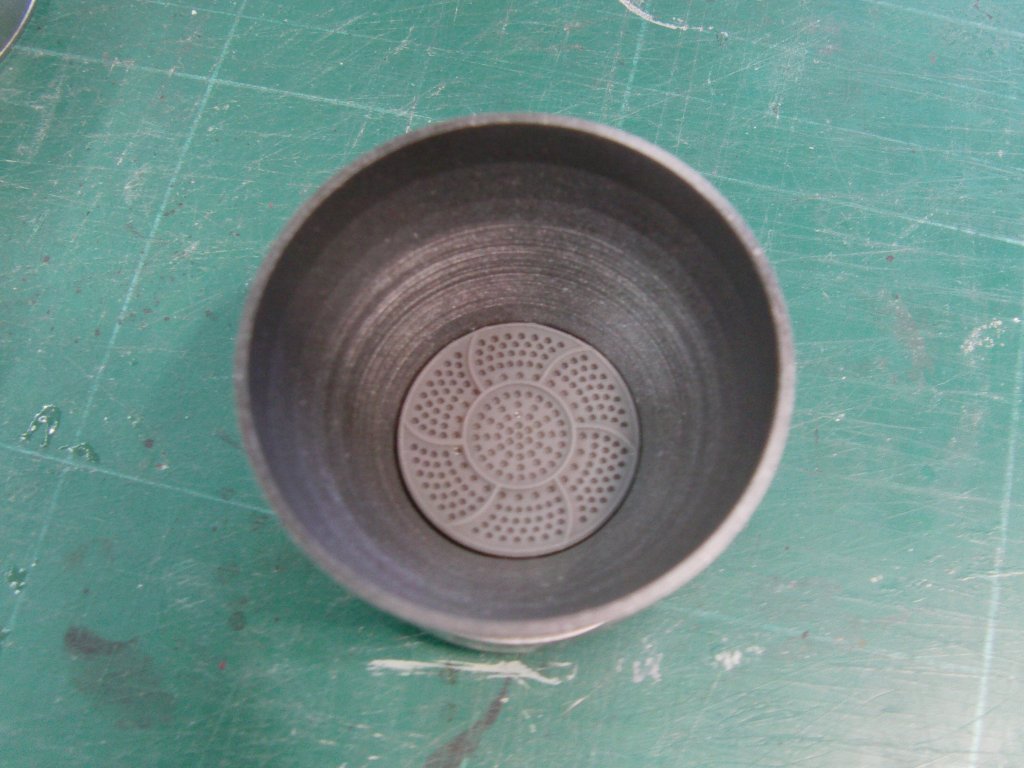
I didn't have any extra engine bells so back to the polygon punching we went.
Printed and cleaned up.
Alclad gloss black, gone over with aluminium and a light coat of chrome.
Finished with some Tamiya gloss varnish lightly applied.
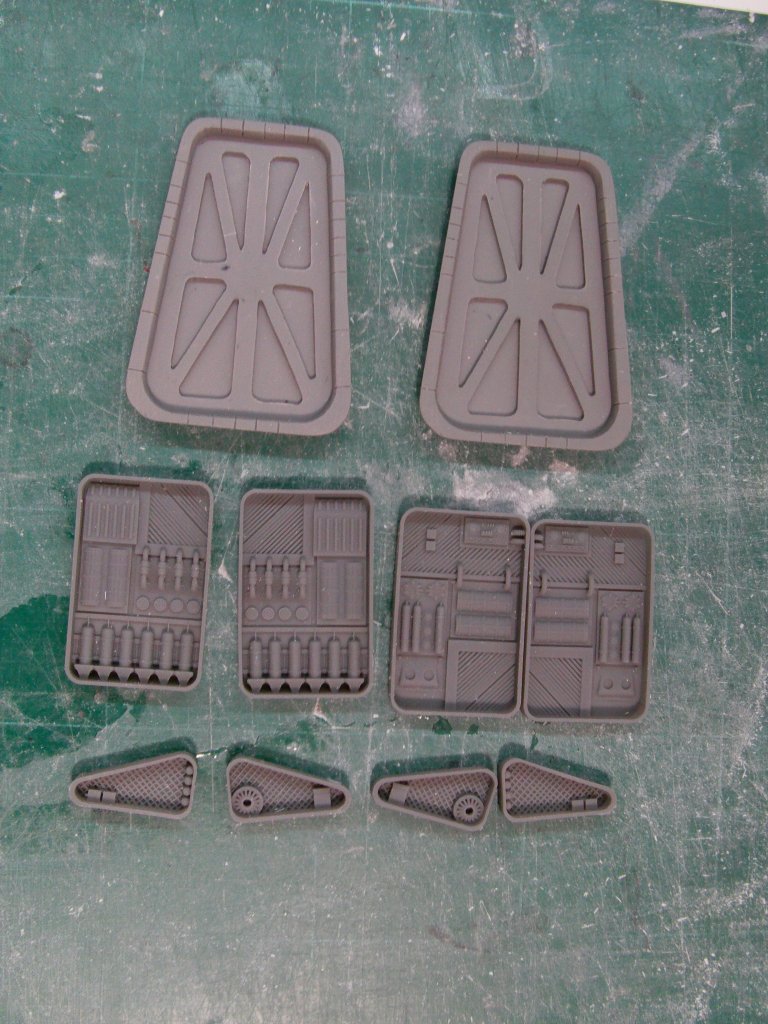
Parts gathered up.
Had some left over inset detail parts but the insets on the pod end for this one were of a slightly different shape to my rescue pod.
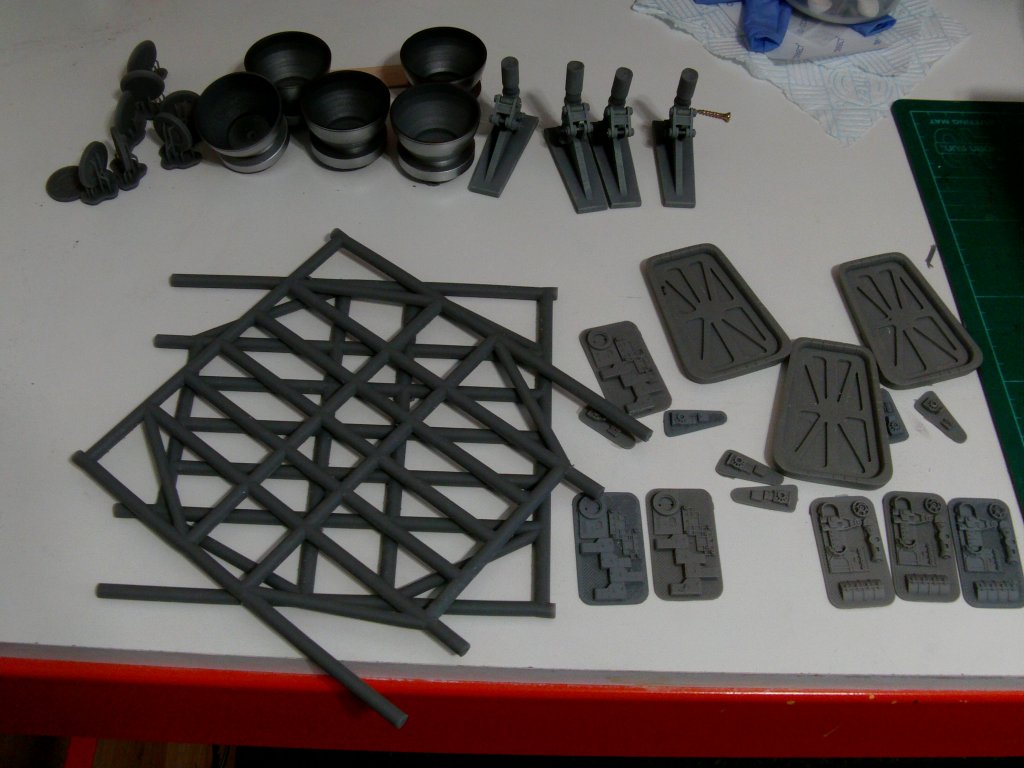
So the bits already there were made to go away with extreme prejudice.
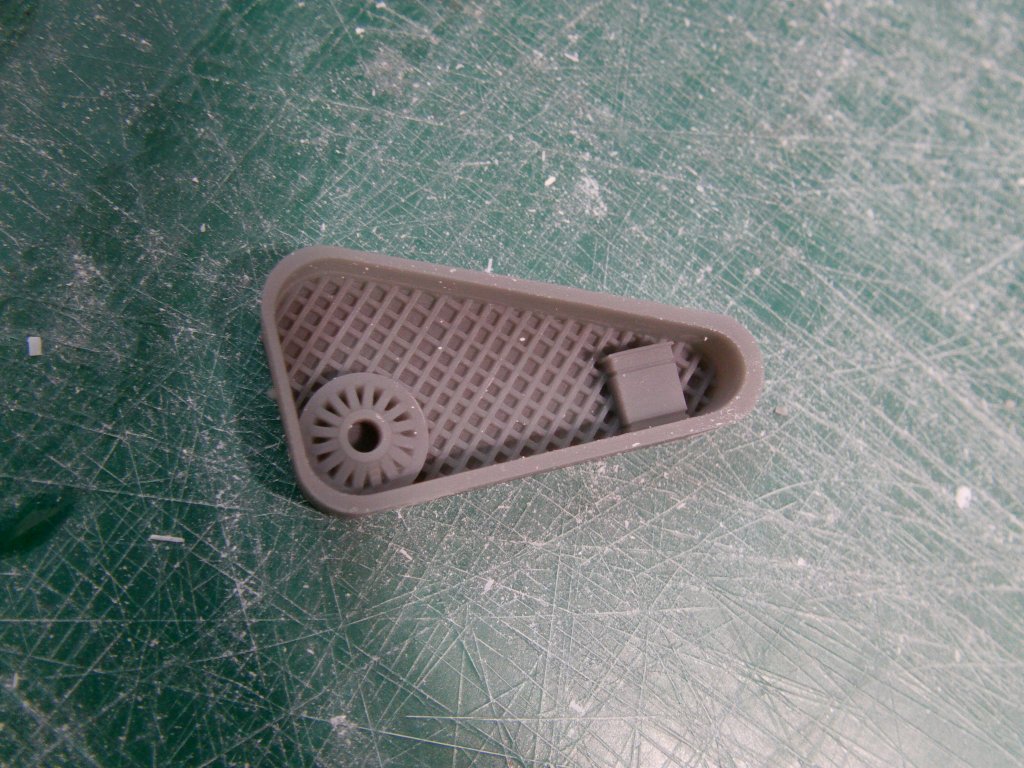
Once the ensuing hilarity had died down, got work and measured up for replacements.
Back to the polygon fun and games, replacement insets done.

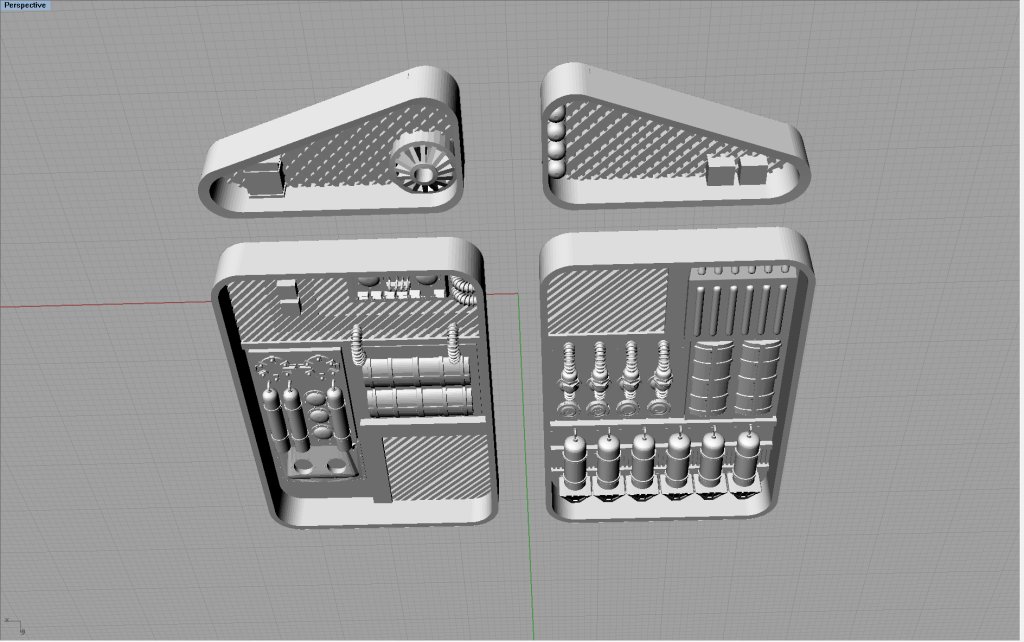
Printed and cleaned up along with my last two resin cast door panels.
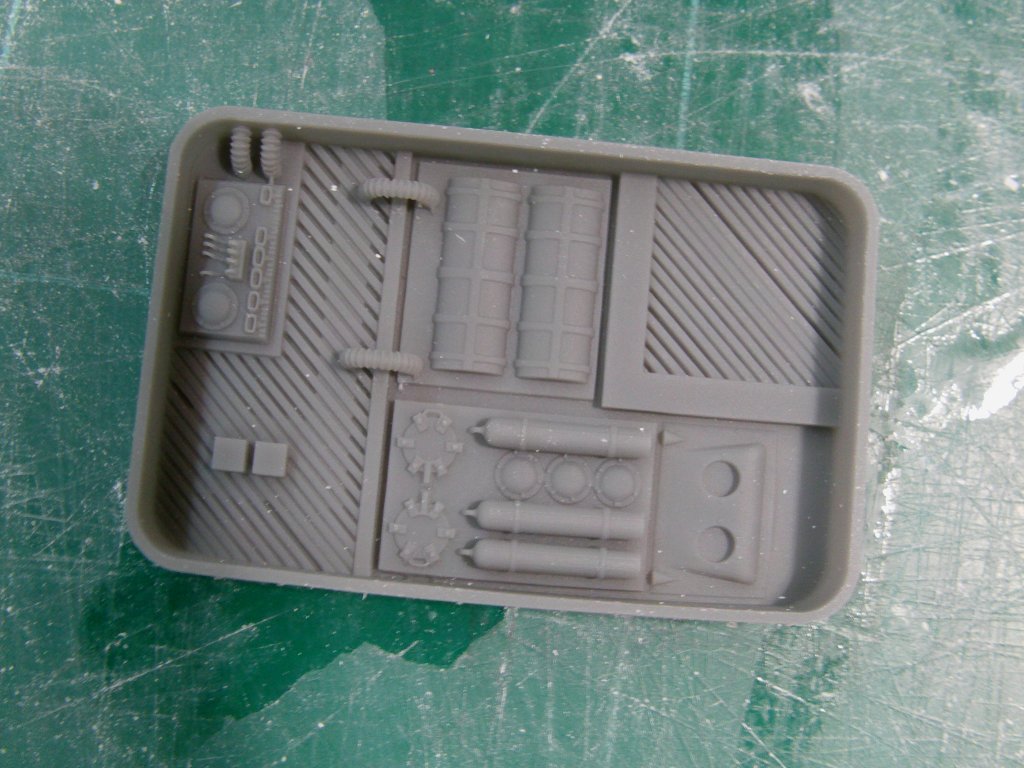


The trays are made just a smidgen deeper than they should be.
This is to leave them sitting a little proud of the outer surface so they can be filled and sanded back flush.
A bit rough around the edges but builder likewise.
More to come at a later date my friends!
You merry mob go easy out there now.
Page Number