
Sovereign Replicas USS Enterprise NCC 1701-E
1/650th Scale


 Page Number
And there was me beginning to think i'd never finish...
I Have Now!!
Yea verily my friends, the end of this wee tale. So without further adieu or pointless waffle,
let's get to the point....
So, after a few attempts at casting the dedication plaque, it came to nothing.
Just couldn't get a clean and acceptable cast sooooo, kicked that idea into touch,
decided to save the mould for something in a resin vein later on,
painted the master with some matt bronze with a few drops of matt black added,
let rip with the gold paint on the raised bits so I could get this bit done.
Speaking of which, here it be.
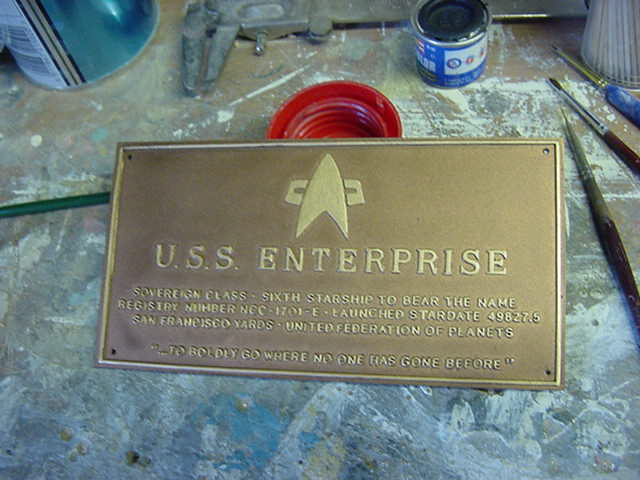
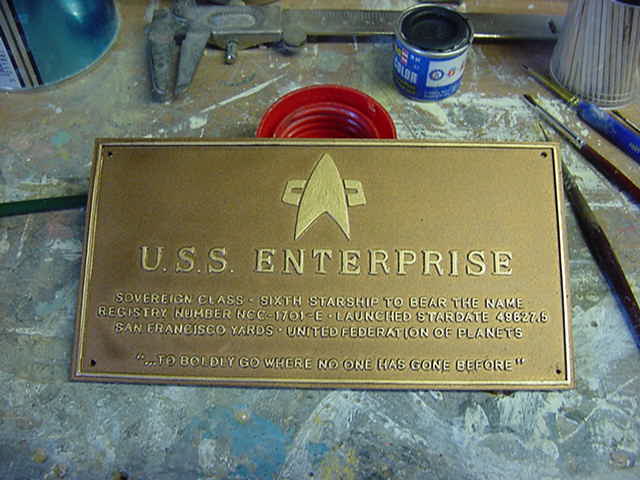
Well that done and with the help of some copper nails it was shoved into place and told to sit still.
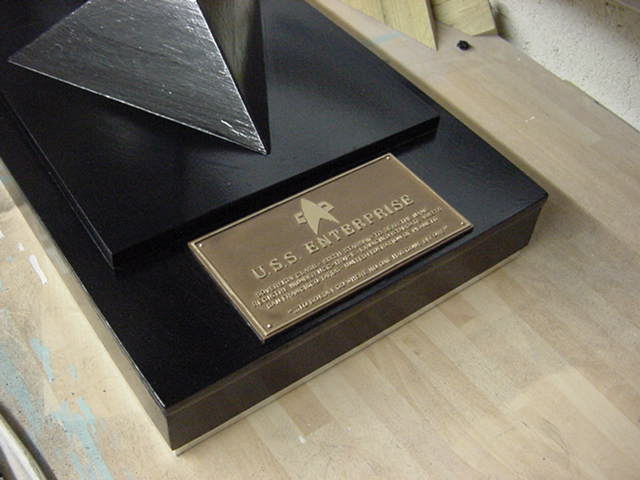
Now the base is an all wood affair, pine batten and 12mm MDF
duly held together with some strategically placed nails and a fair dollop of white PVA wood glue slung on the appropriate spots.
Plenty of sanding, filler, filler primer, gloss black paint that wouldn't dry,
removed and replaced with enamel matt black, two coats of acrylic matt black and finally hit with a coat
or three of acrylic satin varnish...what a performance eh?
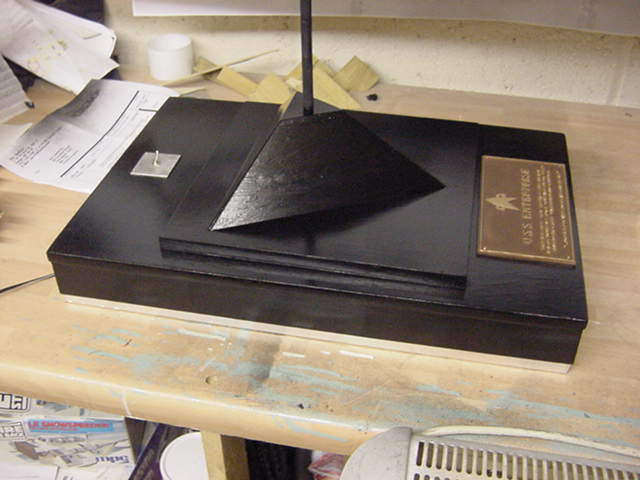
Not perfect but this beastie ain't going to fall over in a hurry so all good there.
The back end is the power hookup, the mains converter is hardwired into the base.
Two 9v battery packs power the bussard's and the nav/strobe setup.
The whole deal is run from the single toggle switch.
It's a 4 pole switch of which three tags are used for the on/off to all the lighting.
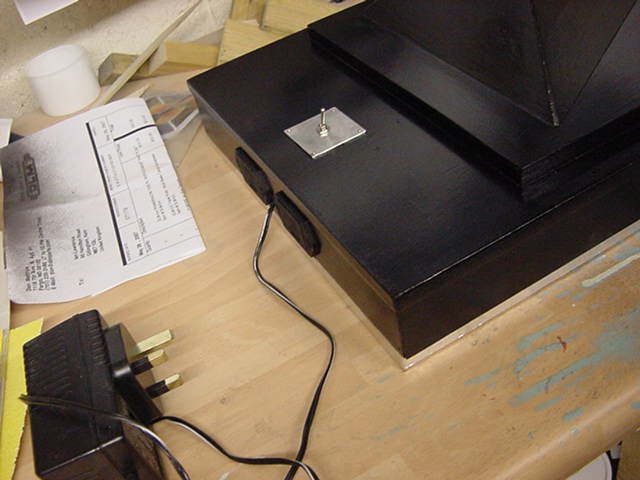
A lick of matt black of the stand pole and officially, we be done.
Had to have the lighting tests of course...
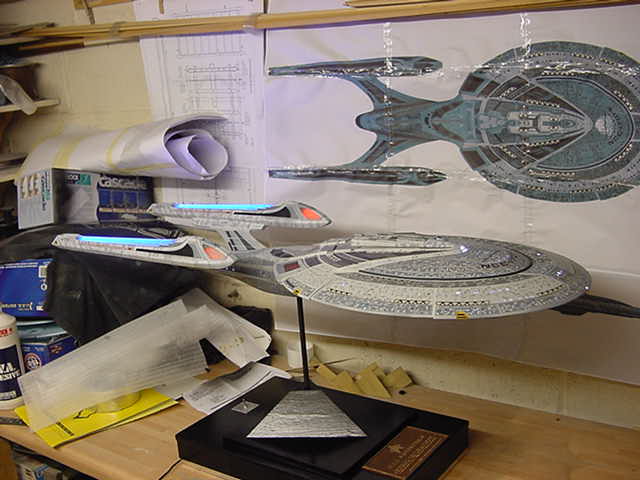
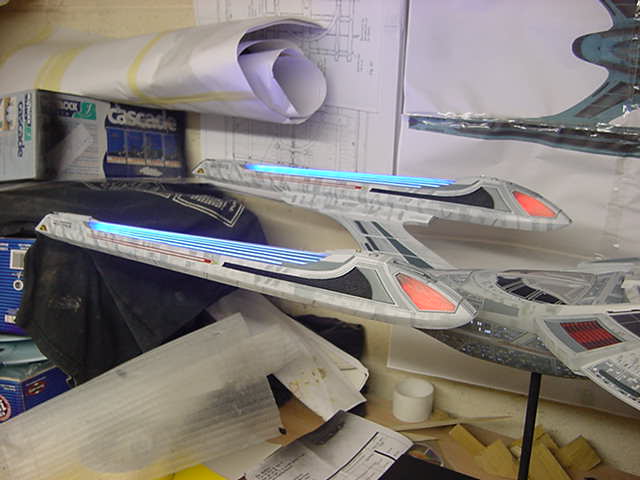
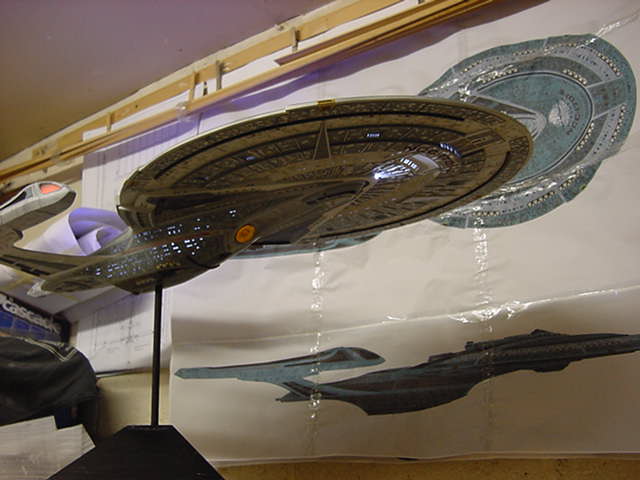
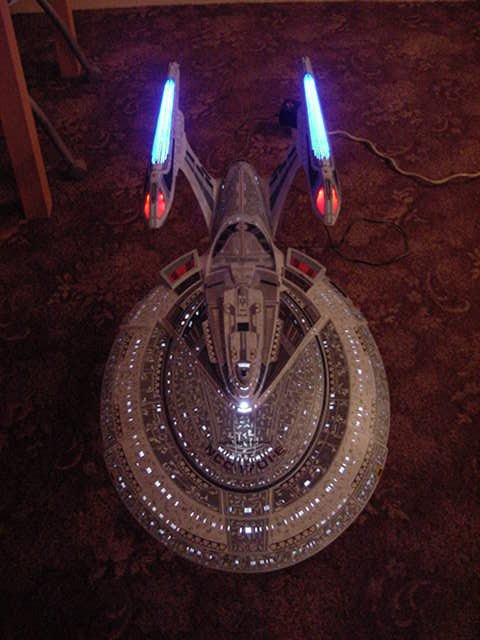
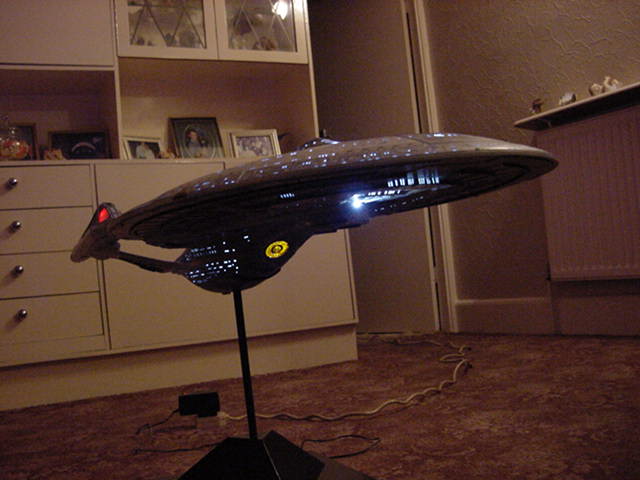
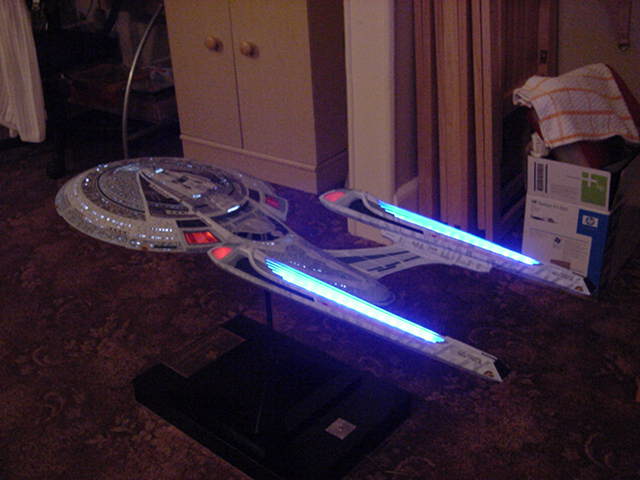
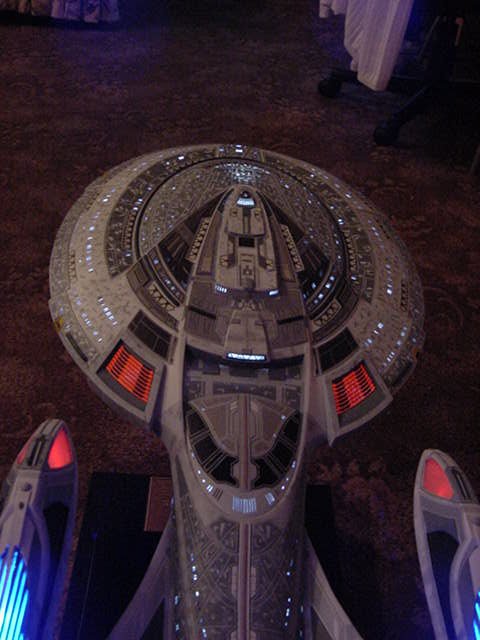
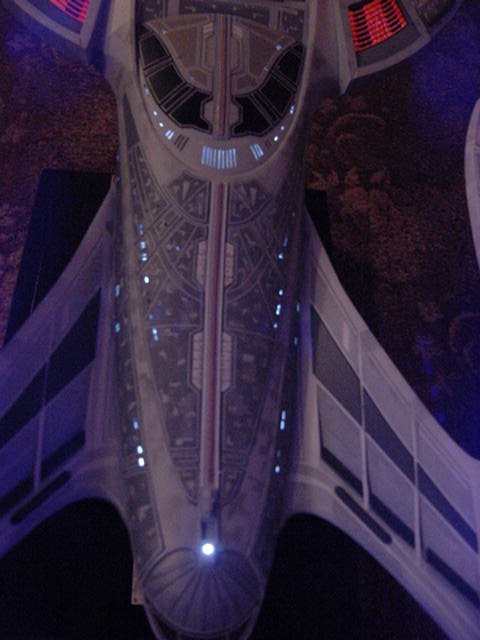
And finally, the finished article gallery.
What can I tell you folks, if your still reading then i'll tell you
that's all for the pics so now we down to the pure wordy stuff...
Final Thoughts, Ramblings, etc....
Sorted.
Ok then for those still here we will begin with final kit analysis...
Well let's go with a few facts:
1) It's an expensive kit.
2) It builds into a big and detailed model.
3) It's somewhere in the region of 95% accurate give or take a few.
So this leads us to good and bad points but it depends on your perspective as to which is
which so i'll list a few points here and you can make up your own mind.
For your general modeler who just likes to take the parts out of a box and put it together
in a small amount of time...nope, not going to happen.
A model this size just screams for lighting and a good paint job, add more time and a few hair pulling moments.
For the anal types, it's not 100% there and when you really look close there are
a few wonky bits and some slightly out of alignment details.
This I call par for the course and there are reasons why this is so.
The white resin used for the pylons and smaller details is soft and easy to damage,
also a bit susceptible to heat and will soften,
this can cause a few probs unless your ready for it.
It also soaks up cyano glue like a sponge.
The decals all have to be trimmed individually.
So that's just a few of many but I don't want to bore you to tears so, any possible problems with
this kit can be laid at the door of the maker but considering it's the outfits very first kit
and just one fella doing almost the whole deal,
I for one can certainly forgive that and it bodes well for future output,
so this may not sound pragmatic but it is when I say
"Job well done for your first kit Richard, nicely done sir"
So then, if you want a big Sovereign class Enterprise, this beastie is the proverbial 'it' at this time
and I feel it's currently worth the effort to bring a project like this to fruition.
Next up we have the 'What's needed' details.
Well you can get the LED's from wherever your favoured supplier is located so i'll leave that to your own tastes.
So to paints.
The basic grey of the self etching primer was used for a medium grey base,
you may choose to de the same or not but it should really be self etching primer
to ensure a stable and reliable base for painting this model.
A mixture of Revell enamels plus Tamiya Acrylics were used here.
To go over the basic colours, they were as follows:
Saucer section lightest grey, Revell enamel SM371.
Darker blue/grey areas Revell enamel matt 43.
Darkest grey areas Revell enamel matt 47.
Secondary hull lightest grey Revell enamel SM374.
Darker blue/grey areas Revell enamel matt 43.
Warp nacelles and pylons, Basic light grey Tamiya acrylic gloss white
with about 3% matt black and 10 to 15% flat base added for first build ups of colour and masking.
Second light grey buildup colour Tamiya gloss white with
about 6% matt black and 10 to 15% flat base added.
Pylon dark grey areas ahead of the pylon depressions Revell enamel matt 79.
Pylon depressions Revell enamel matt 76.
Detail at aft of depressions and all phaser strips Revell enamel matt 140.
The rest of the paintwork was done using the same colour enamels
as listed above or mixtures of the colours with either white or
black matt enamel added as needed.
Additional colour used on the aztec but in very light passes with the airbrush was
Revell enamel matt 75 and 82.
The friskets used on this model were simple single items just cut
from matt film with sort of random patterns printed on them.
The pics can be got by doing the right click and 'save target as' from here and here.
Just print both on to an A4 size frisket film backing paper,
set the printer to 'fit to page',
separate the groups of black patterns leaving a fair amount of border on each,
cut out the black areas,
peel the film from the paper,
save the paper as extra templates,
give the glue side of the film a hit with some talcum powder to
neutralize the glue and it's a done and ready to spray deal.
To use, just load up the airbrush with whatever colour you need,
spray as needed then on the next pass on the next area,
just rotate the frisket by 90 degrees,
spray and repeat, easy as that!.
For an indication, I went through 2 of each on the whole model.
Well then, I think that about covers everything I wanted to say here so that as
they say is indeed that folks and folkettes.
I hope you've enjoyed the hoo-ha from the hellhole,
For now, i'm taking tomorrow off from the hellhole but i'll see you merry lot about the
net again someday so untill then,
take good care of yaselves and go easy!


 Page Number


