
Sovereign Replicas USS Enterprise NCC 1701-E
1/650th Scale


 Page Number
Despite my dented ribs, it's another update !
Secondary Hull, Nacelles, Pylons, Filler, Glue, Foil Tape
& A Couple Of Near Screamin' Hissy Fits
Right then folks, we off again.
Copious amounts of squinting down the length of the parts to find the windows,
some sort of precision pencil work and that ole foiling thing
perpetrated to the insides of the secondary hull...
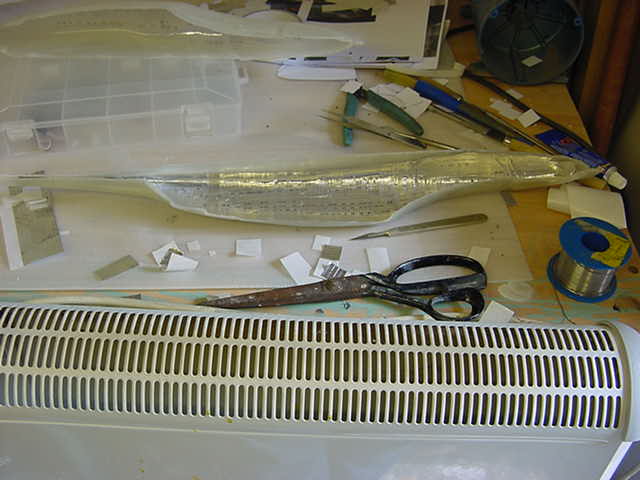

And not too shabby I think you'll agree.
Now it occurred to me that the secondary hull is going to bear the brunt
of some fair old forces due to the weight of the saucer,
the nacelles and the pole that will be holding the whole deal up so to help this along,
I decided to make a little bit of seam joining assistance when it comes to all the joining together of parts.
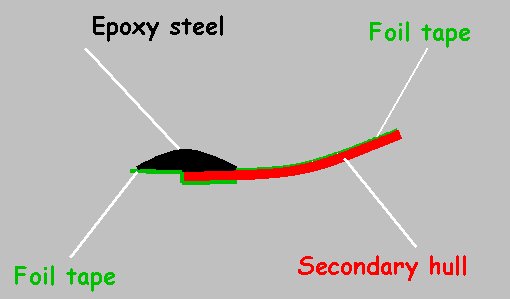
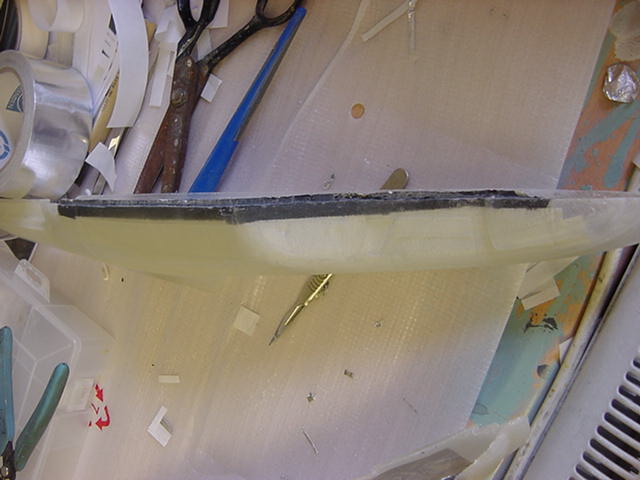
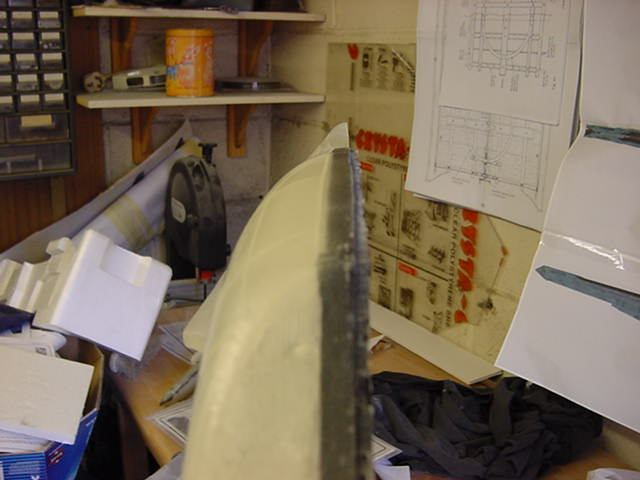
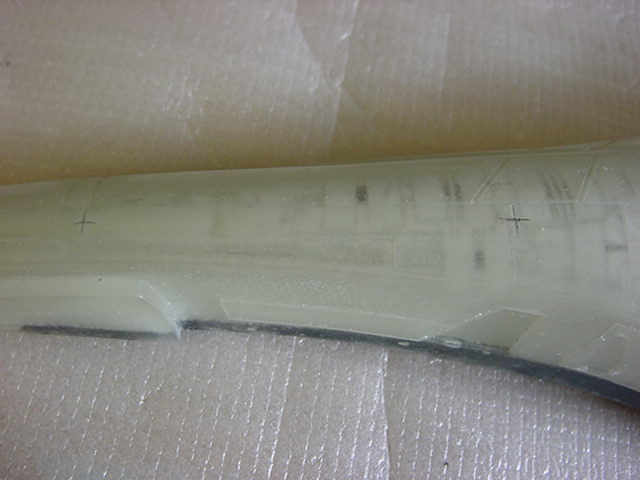
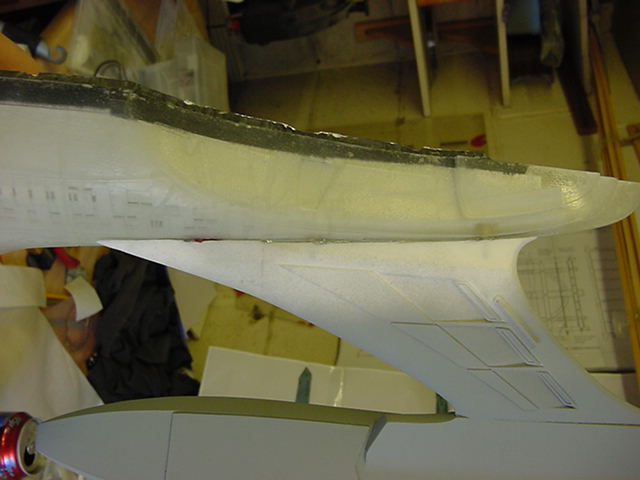
A lip was made up by laying some foil tape along the seam,
bending it inward then out at the same level as the inner surface then
just plaster the epoxy steel all along the line...
'ang on, better shown in the rough section pic below...
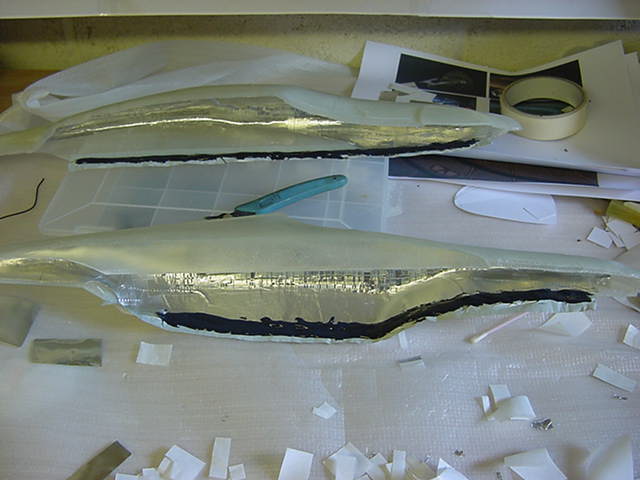
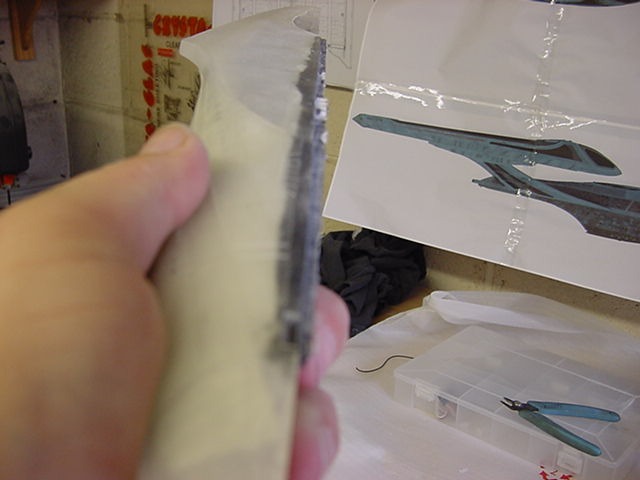
Get the rough idea? So the black stuff laid on,
takes about 10 mins or so to gel but full cure strength in about 24hrs and when its done it
is bloody hard I can tell ya and sticks like nobody's business to the mouldings.
That was done with a bottom line to one side and a top line to the other
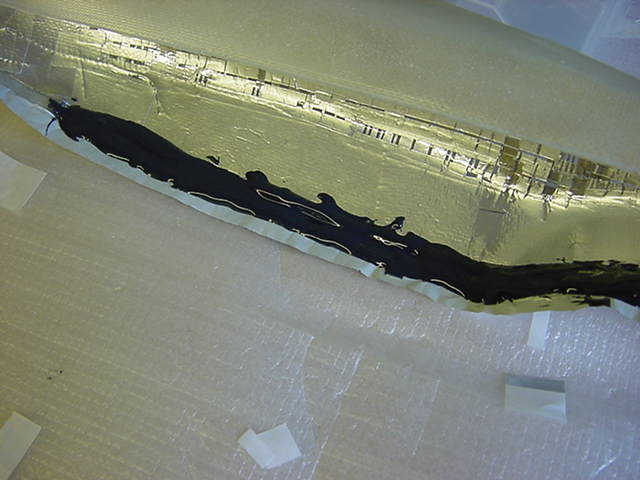
Tape removed and a wee trim up...
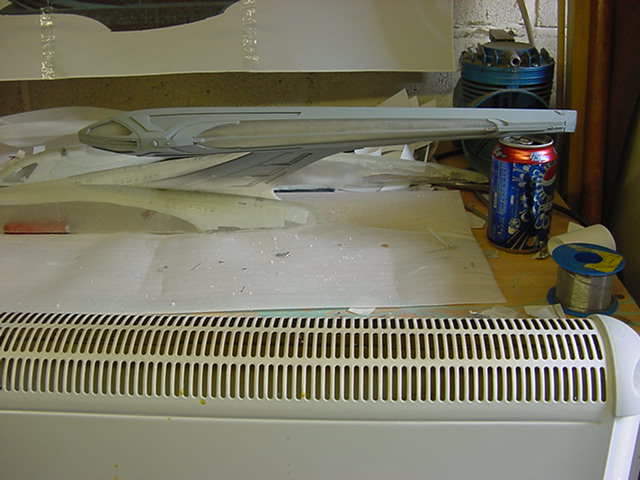
Right then, next job was one long round of fun,
and I use that word loosely,
with the nacelles.
This involved a clean up, fill in, sand down, look for faults in the surface and holes in joins,
repeat several times untill I was happy and had stopped gnashing my teeth,
spray some self etching primer,
clear up surface faults shown by primer,
repeat untill happy with finish and stopped swearing at it in varying volumes of voice.
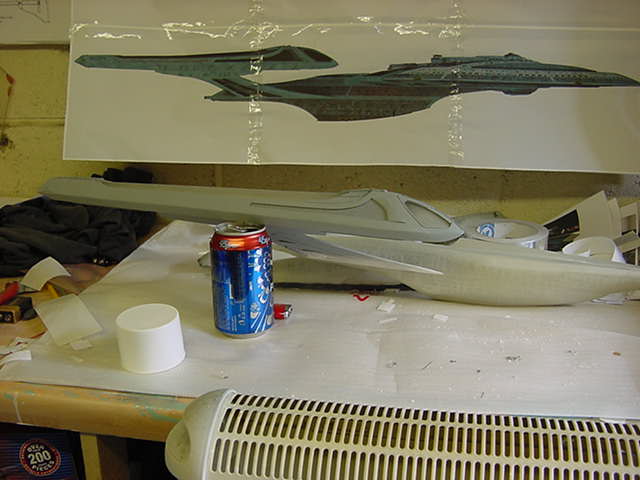
The result as shown below.
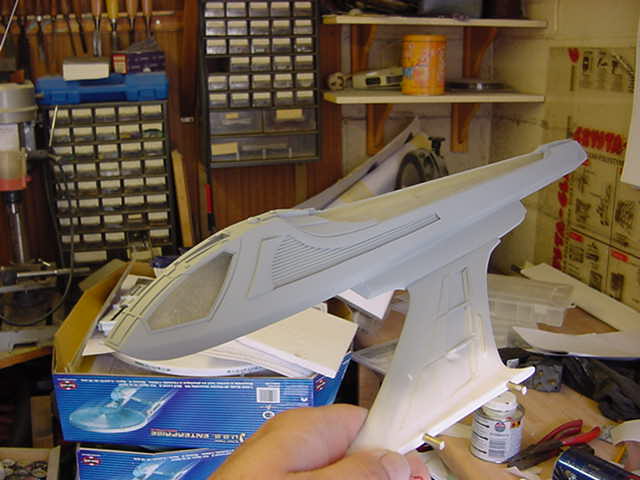
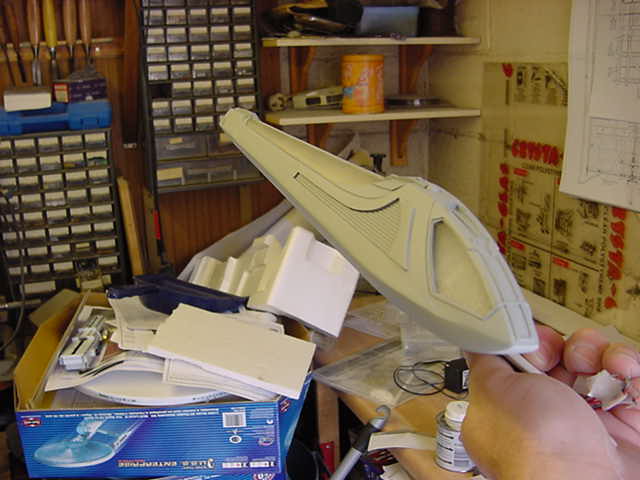
Smooth.
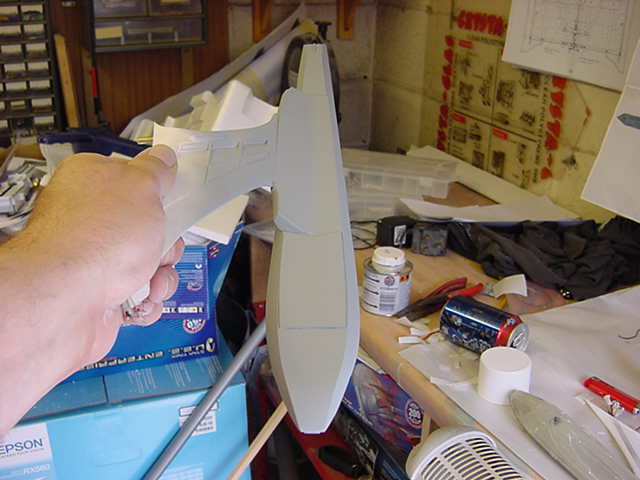
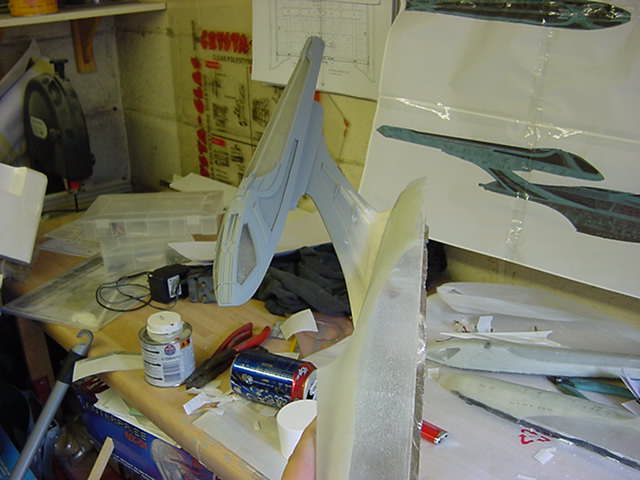
Okedoke, time to get one of these beasties where it should be.
So, the bottom of the pylon has a step moulded into the face where it meets the secondary hull
and the said step likewise replicated on the said secondary hull.
Try saying that fast.
Anyways, first job to mark out the places to drill and taking the aforementioned step
as a marker and using the vernier,
first was 'step' to center of forward pin then center forward pin
to center rear pin,
measurements transferred to secondary hull and places marked.
That done, pilot hole of 1mm diameter drilled,
then 2 then 3 then 4mm final diameter hole drilled out.
The fit was too tight to run the pins in smoothly so a rattail needle file
was run around the hole gently and that allowed just the
right snug but not overly tight fit, lovely!
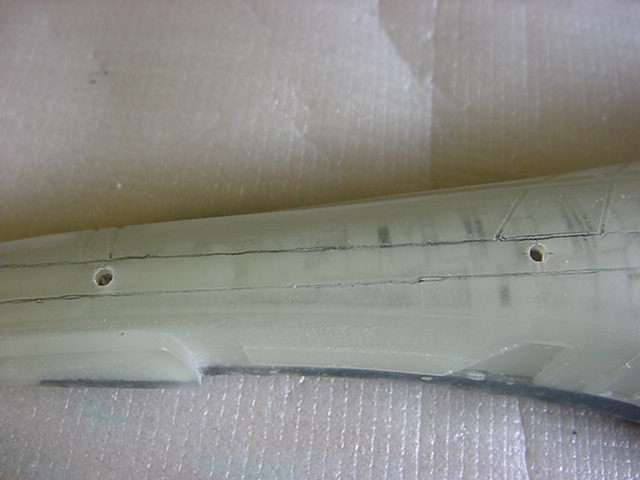
Only hole making job left was to measure, mark and cut out the hole for all the wiring,
That sorted, a small area of foil inside the hull was removed from around the holes for the pylon mounting
pins to make a larger glue adhesion area.
The faces to be glued on the secondary hull,
pylon and pylon pins respectively were given a light roughing up with some ordinary 240 grit sandpaper,
a final lighting test to make sure all was well then epoxy glue mixed in a smallish quantity.
The stuff used now was simply clear epoxy, a 5 minute curing variety,
liberally spread on said faces to be glued and the pylon slid into place.
Once that was done a larger amount was mixed and spread around the
pylon pins sticking through the hull side and where the wiring comes through
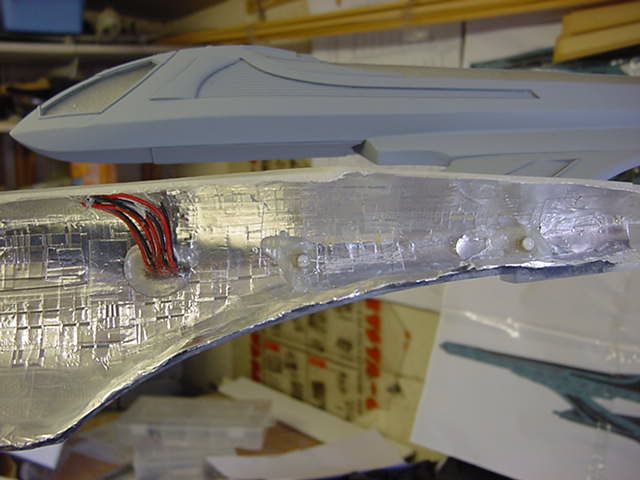
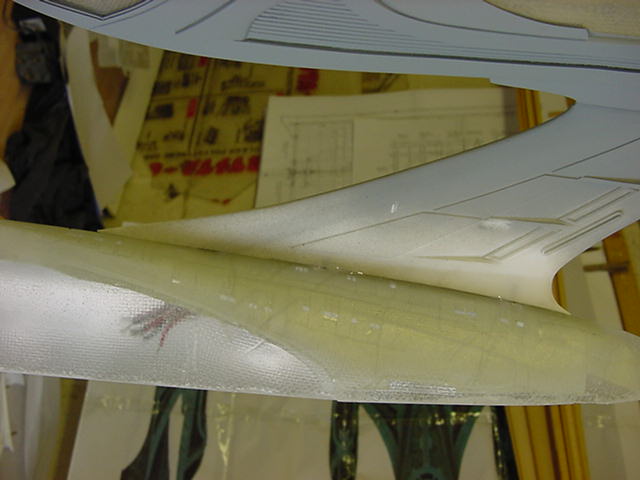
A bead or two of resin glue to be removed during cleanup and filling but that's ok
as the beads indicate there's a good solid fit and the glue is covering the
whole join so solid as it can be,
the bugger won't be going anywhere else than
where it's been put and that's what I was after.
Well that's that for now you merry lot,
more to be done and it will be as time goes on I can promise you that!
Stay tuned and go easy people!
Page Number