
Salzo Battlestar Galactica
TOS Viper Fighter.
1/12th Scale 31" long


 Page Number
Nice enough...
But They'll Have To Go.
Welcome along to the inevitable page 2 people!
Time to get stuck in with a vengeance so best deal with what could be the most problematic of areas.
Or at least the most time consuming...namely the cockpit.
Now the supplied parts are nice enough in their way.
The material they are cast from is a bit of a mystery to me to be honest.
It's some form of semi-clear, not completely rigid semi-flexible stuff but I know not what.
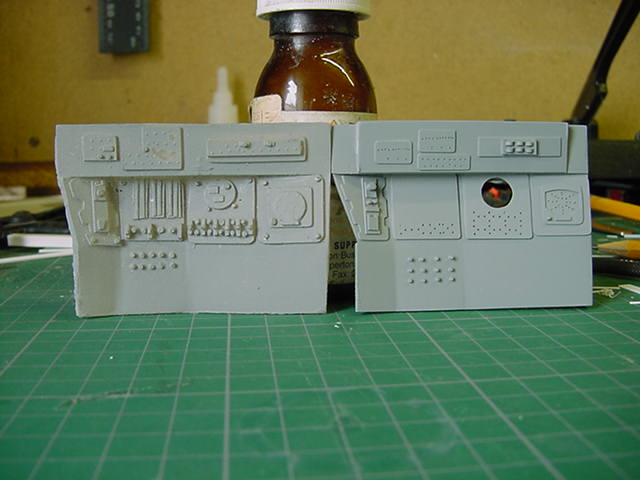
Anyway, the bits in question with just a primer dusting so you can see 'em better
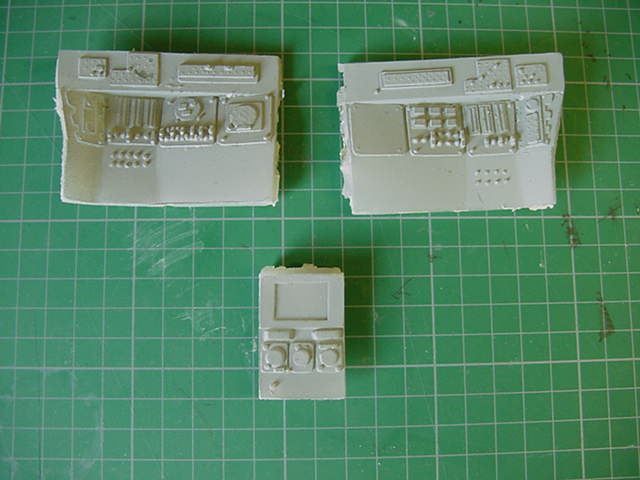
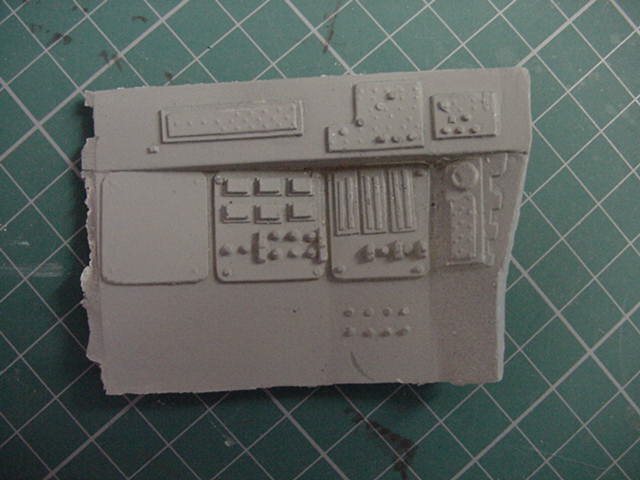
As I said, nice enough but a smidgen sharper is called for here methinks.
No offence Mike.
So then, first up the ideas dept. kicked in.
After all that fun and games with the second Flying Sub interior build,
I got to thinking why not try the same decal trick with the instrument panels.
After a short trawl about the net, I came across the following page:
Joel Owens TOS Viper Cockpit Page
This fella has put in some serious eyeball work on the panels of the Viper so all due credit to him for this.
I thank ya sir!
So then, parts slung on a scanner and pulled up in a 'picture fiddling with' program.
A tad of re-drawing and sodding about finally yielded this:

That pic is reduced about 70% from it's original size.
These were then printed on to inkjet decal paper and sealed.
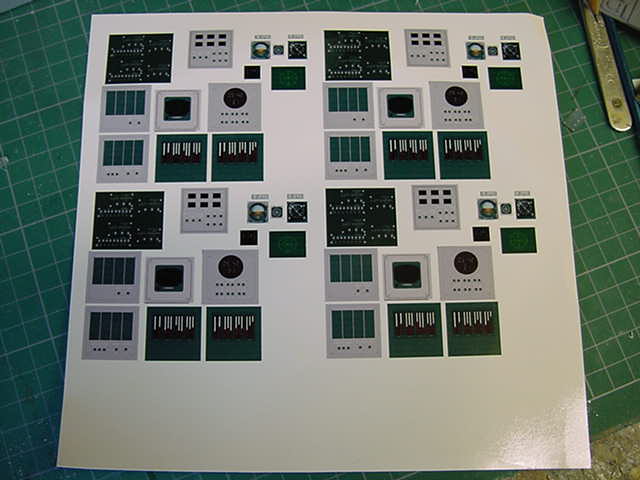
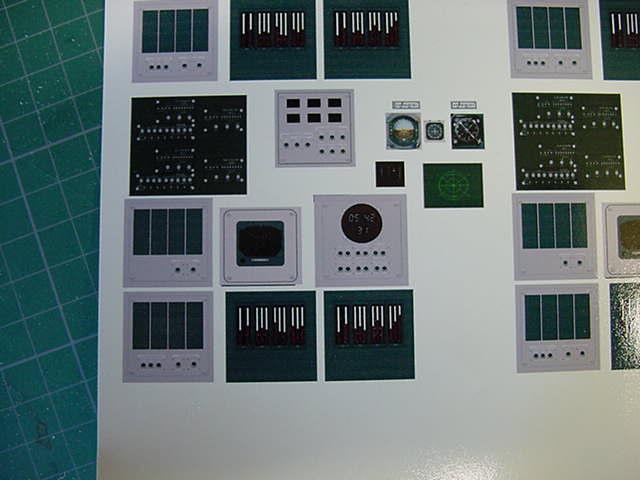
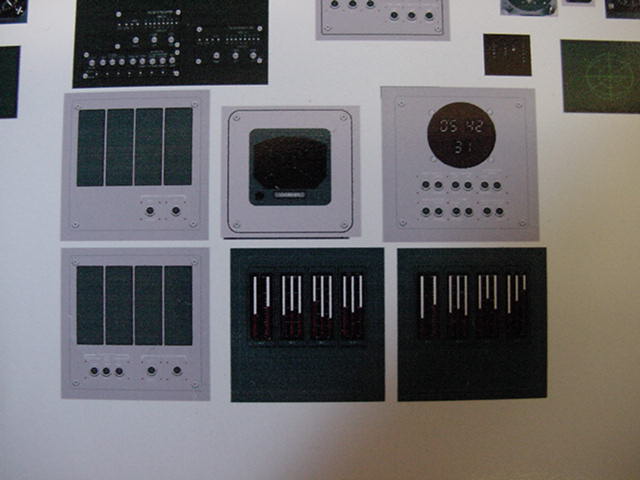
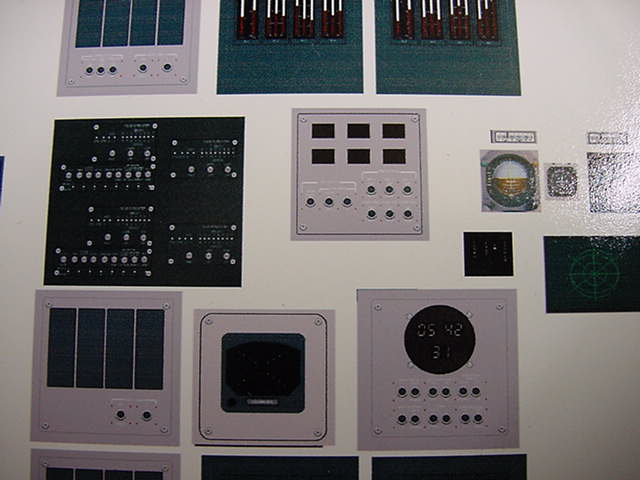
Another lot was printed out on ordinary paper and cut out as templates for the panels to be.
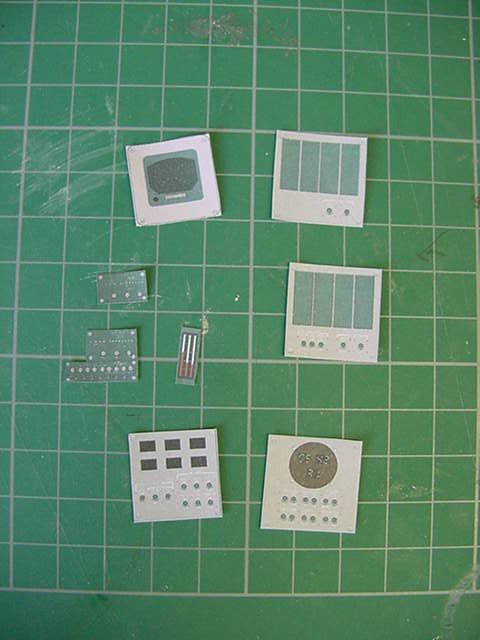
So plan here, to make flat plates and drill holes for the eventual fitting of the switch guard bars, switches themselves and so on.
The basis for the side and front panels is 2mm thick clear styrene.
After much slicing and faffing about and a fair bit of ordinary styrene sheet...
along with much hole marking and drilling...
And glue...
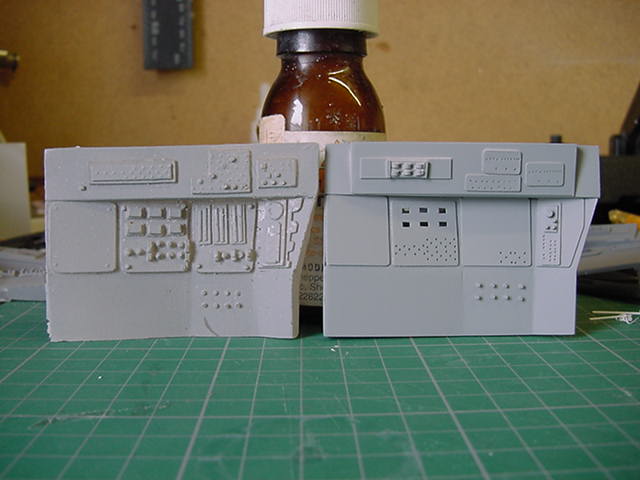
We get this kind of thing.
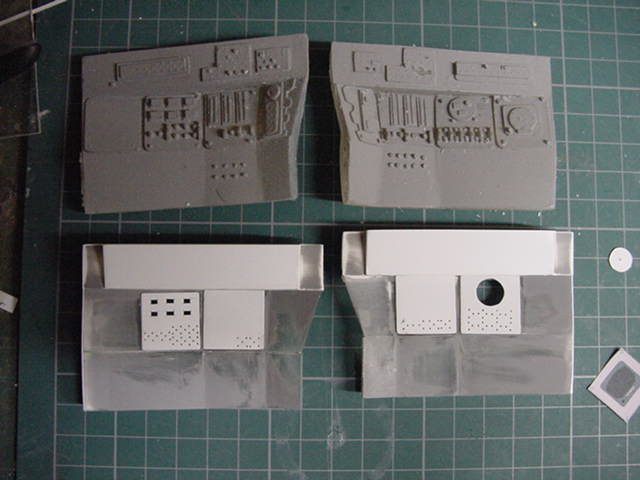
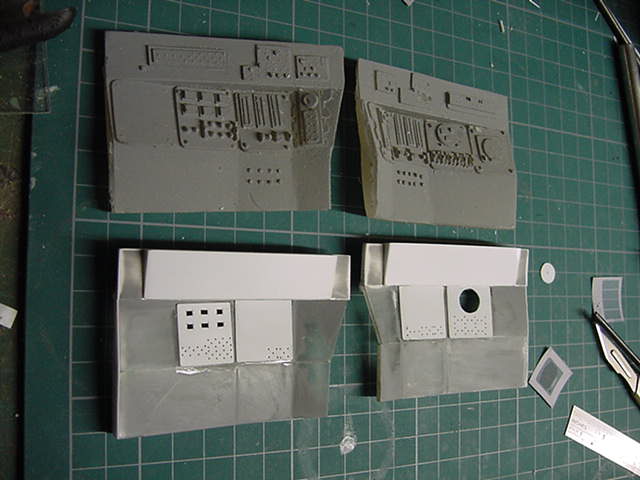
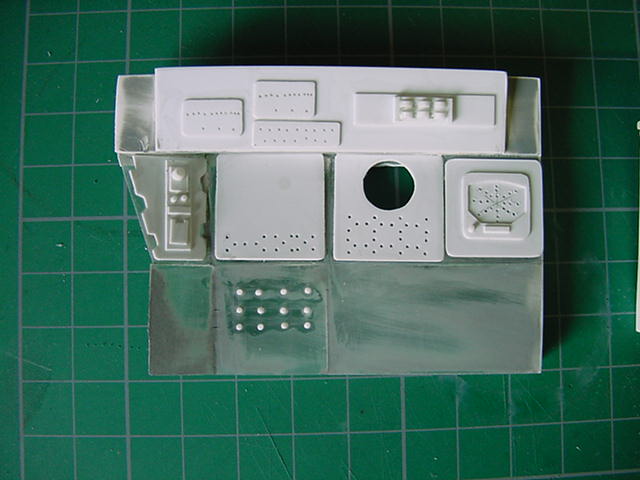
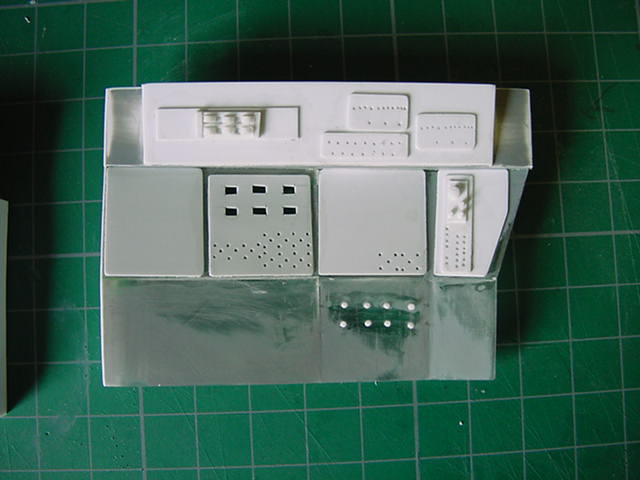
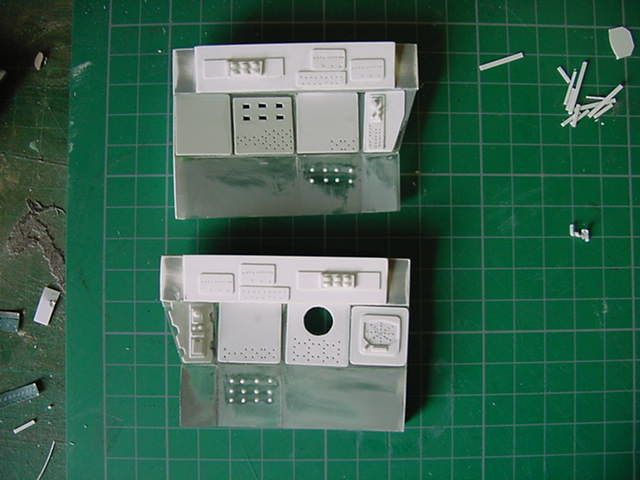
Then of course the primer splash on and look see like ya do.
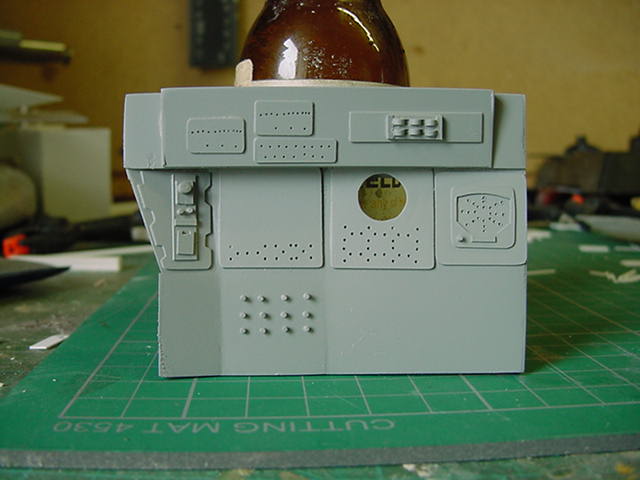
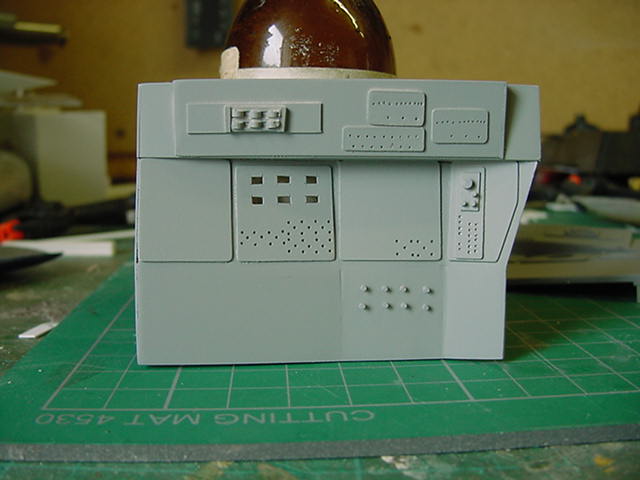
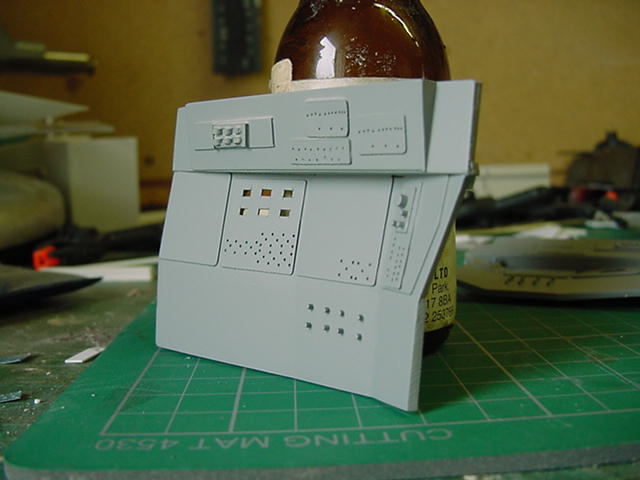
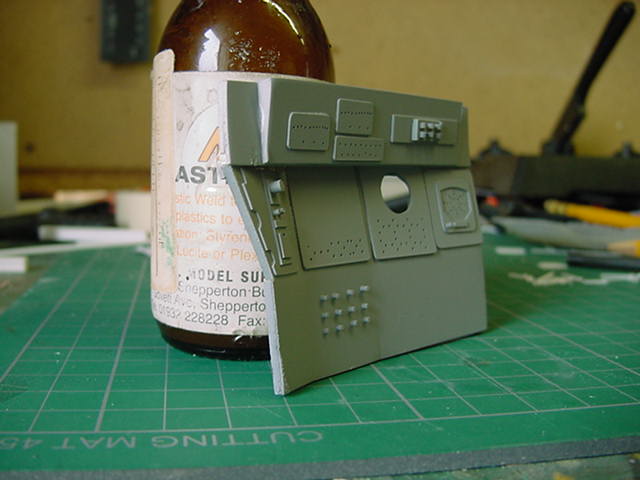
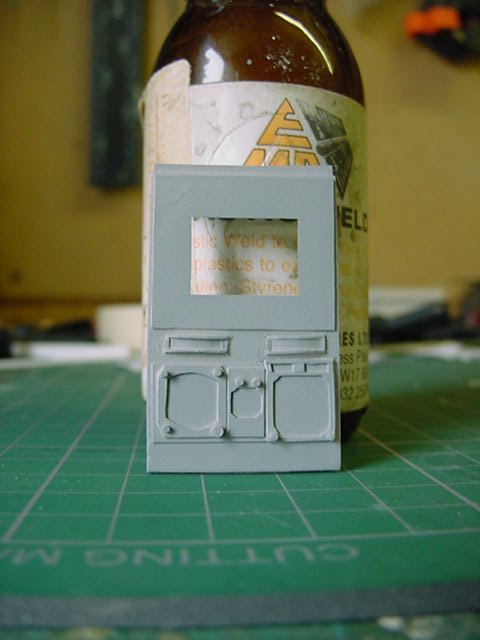
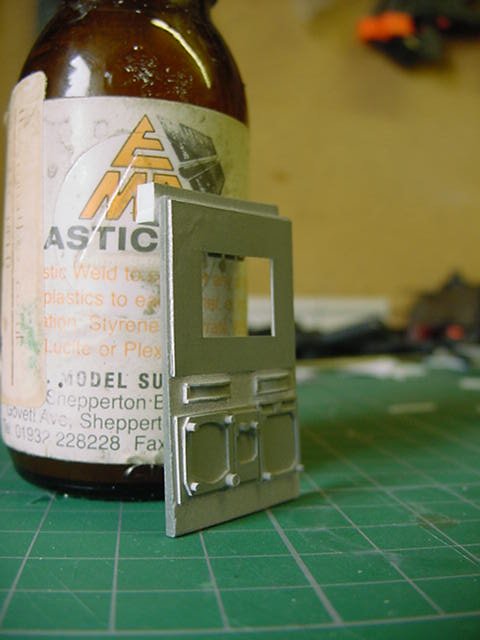
And the comparison shots...
Well gotta pad out the update page to make it look like i'm doing something somehow.
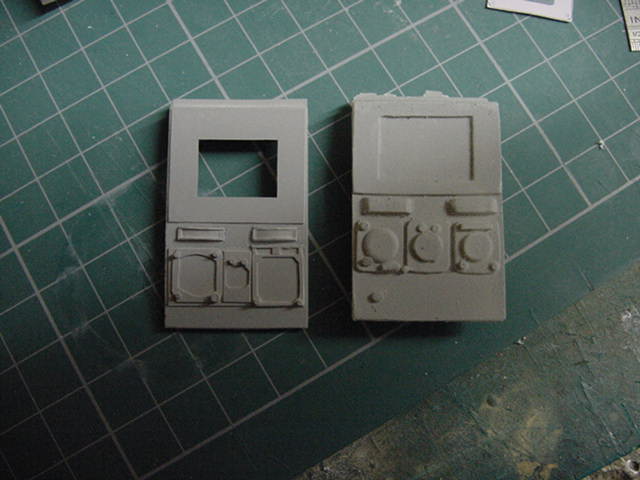
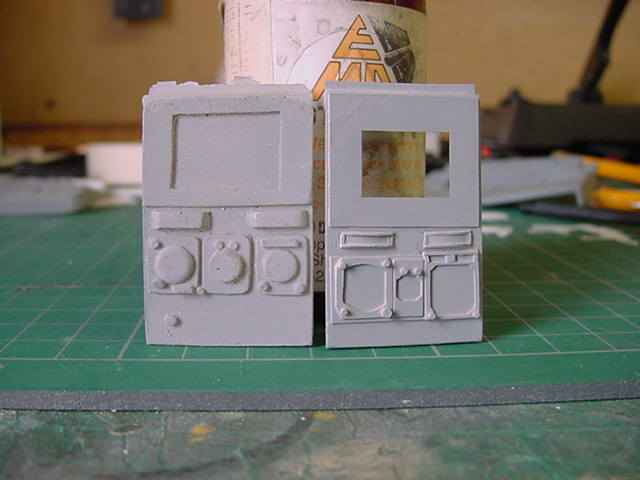
Ok then, time for the dry fit test and look over as it were.
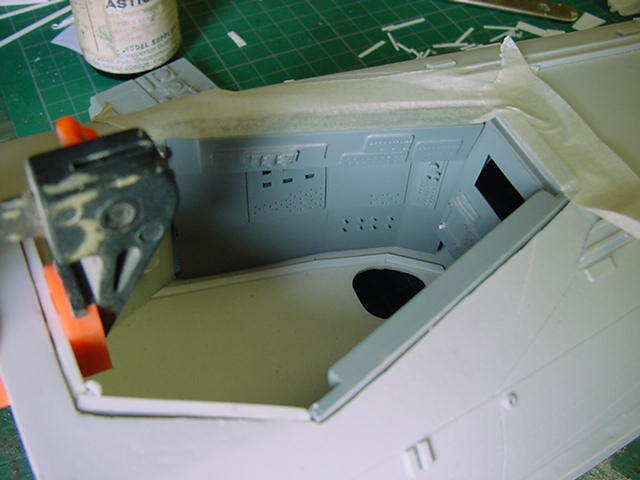
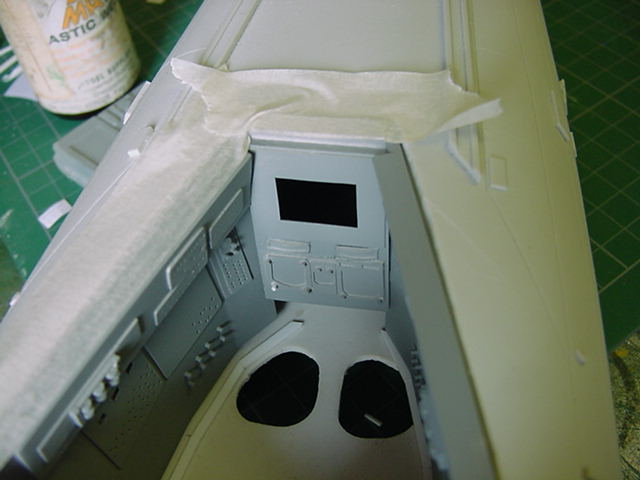
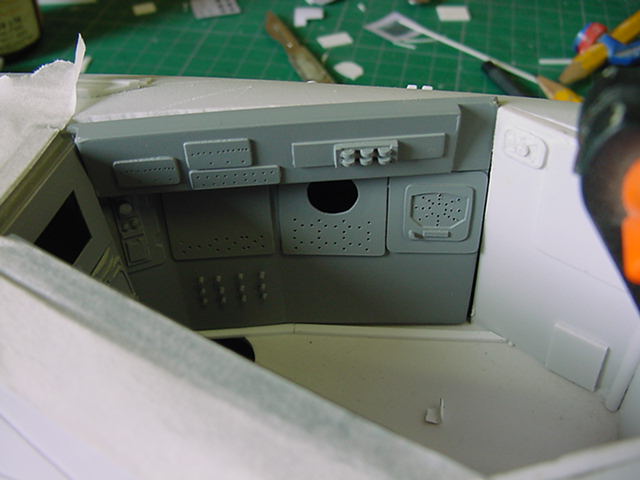
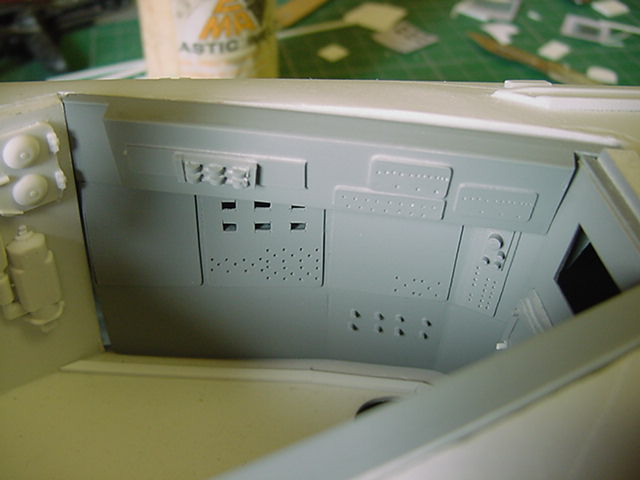
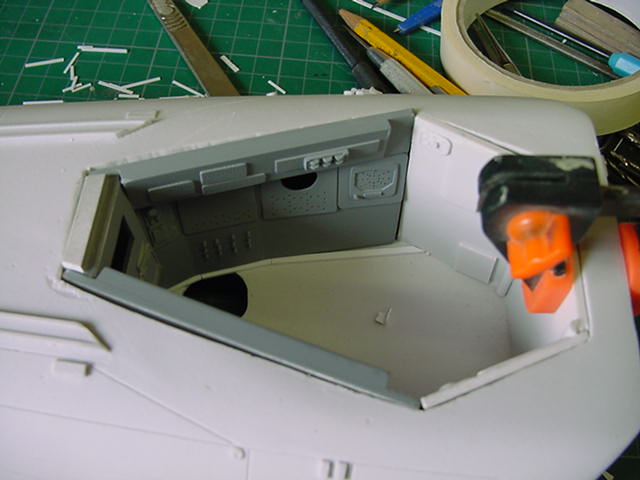
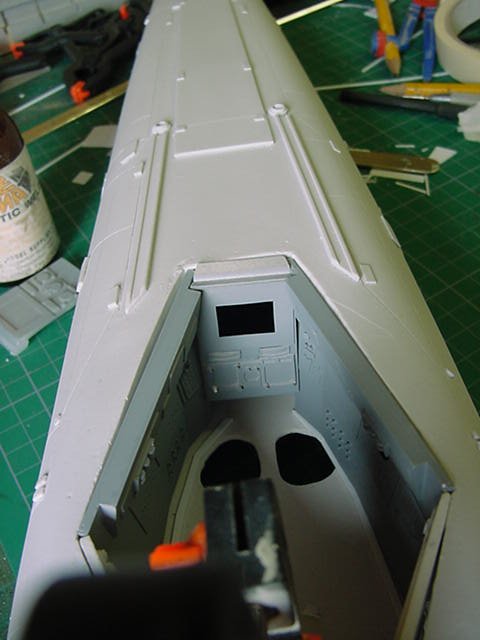
Well not perfect by any stretch of the imagination but a bit better at this stage.
The new cockpit parts will be getting the rubber and resin casting treatment.
Saves time when it get's to the build if one makes a screw up...
Always possible...
So i'll do what it takes to negate that sorta nonsense.
Well that's it for now, more to come I assure you so stay tuned folks and folkettes!
You merry lot take care and go easy out there now.


 Page Number


