
Salzo Battlestar Galactica
TOS Viper Fighter.
1/12th Scale 31" long


 Page Number
I'll have..five 139, five 137, three 144, four 143, two 142 and a side of double 9020...
Oh And Throw In Three Sheets of 2' by 4' 2mm Acrylic...
To Take Away Please And No Fortune Cookie.
Welcome back you merry mob!
I trust I find you all well and with it?
Excellent!
Okedoke then, to business of a plastic kind.
Now the end bulkheads for the launch tube all assembled so now came the fun part.
Possibly more than required for this turnout but I thought it's either do it as right as I can or don't bother.
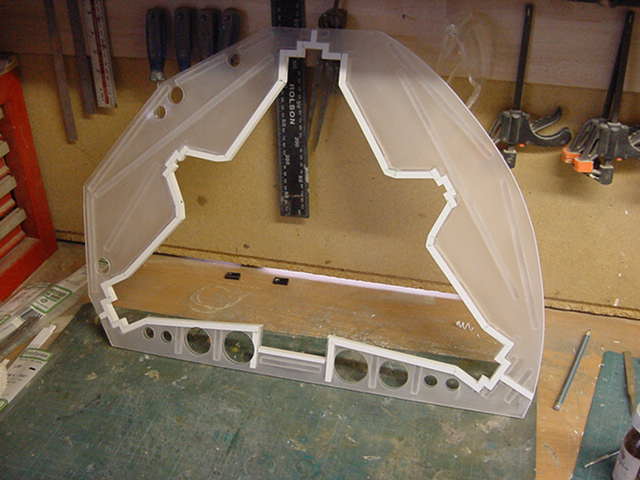
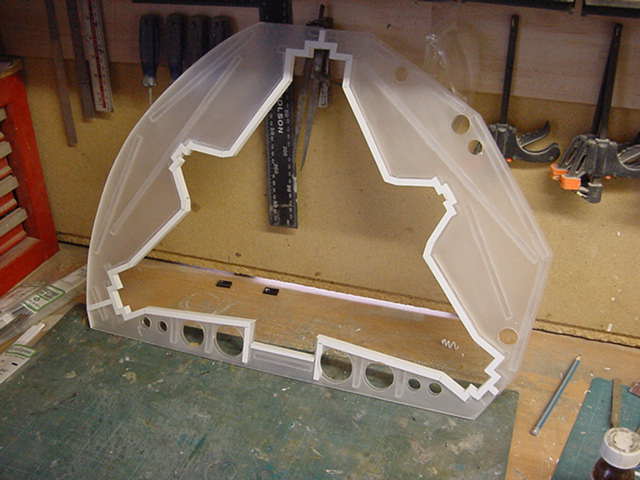
The thing here is capping strips.
On all the in between bulkhead formers and the bulkheads themselves.
There was no ready made channel plastic strip I could find so had to do this the hard way.
That is to say one strip made from several parts across the top of the formers.
Then a dab of filler where required and wet sand the living daylights out of them.
Looks a bit like this.
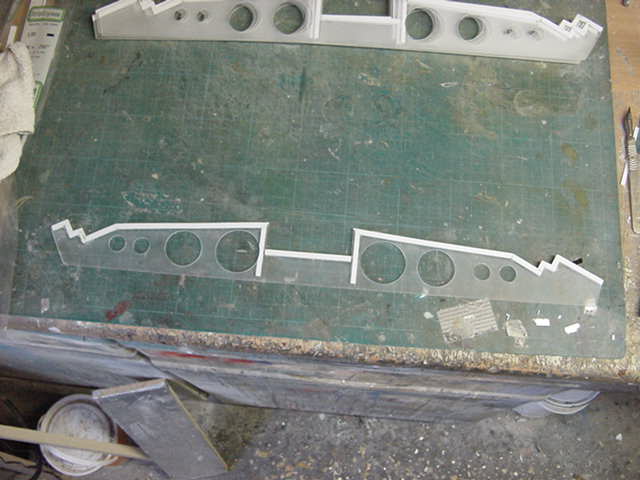
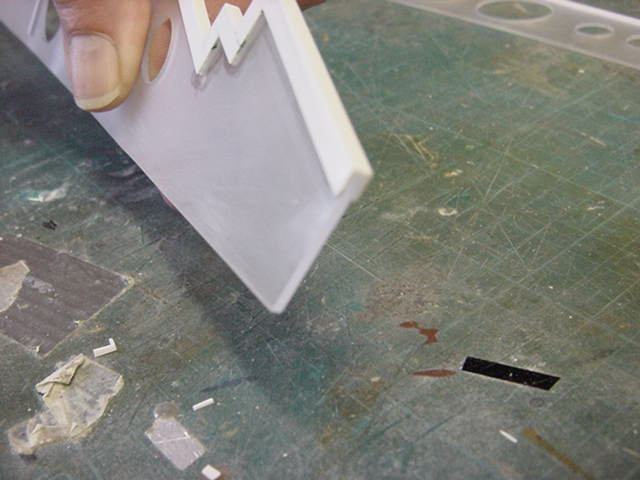
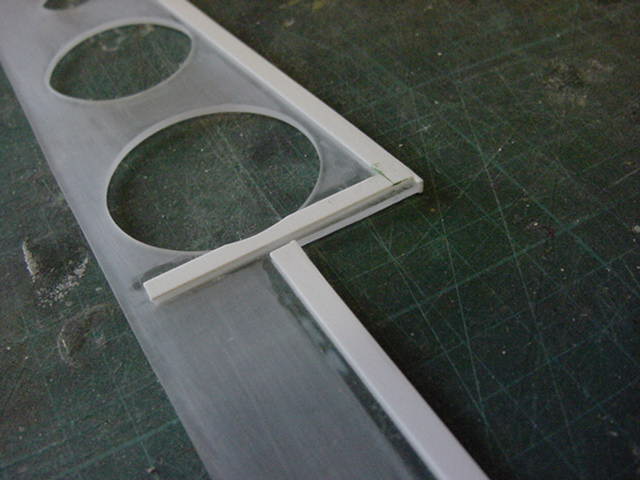
And of course, the rest of 'em!
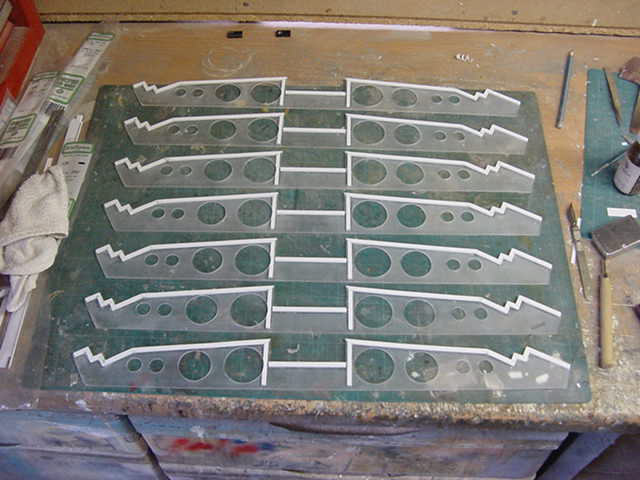
Not forgetting the bulkhead ends.
Slightly wider strip this time with so sliced sheet getting used too.
Done both sides of course.
So that lot kicked in to touch and onward.
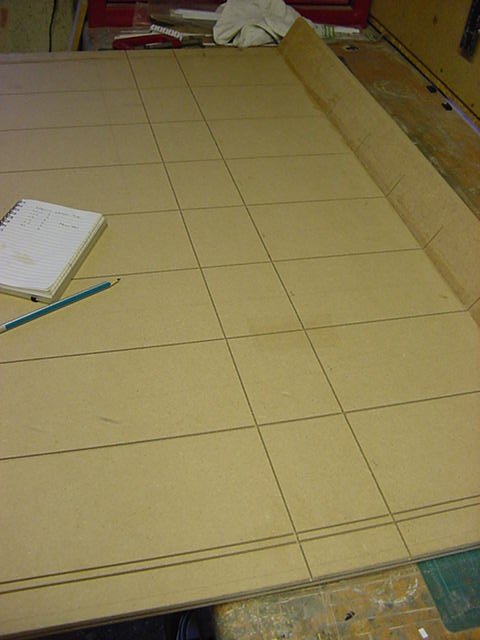
So the baseboard brought in to play here and a strip of 6mm MDF.
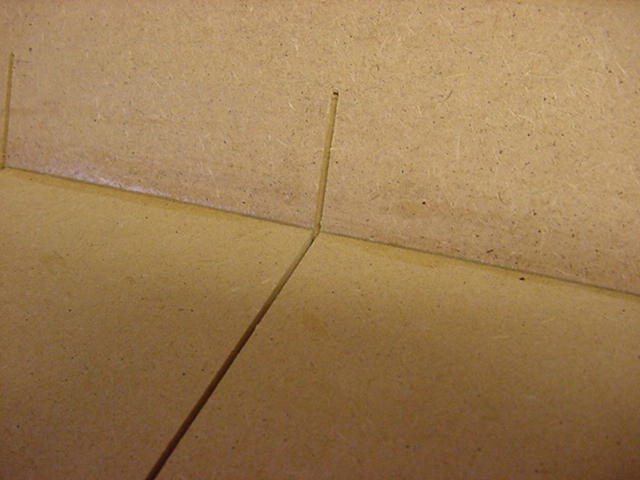
Said 6mm strip got the router treatment and was then shown some glue/hammer/nail violence.
That fixed in a good 'un to form the bottom of the back tube wall to be detailed up.
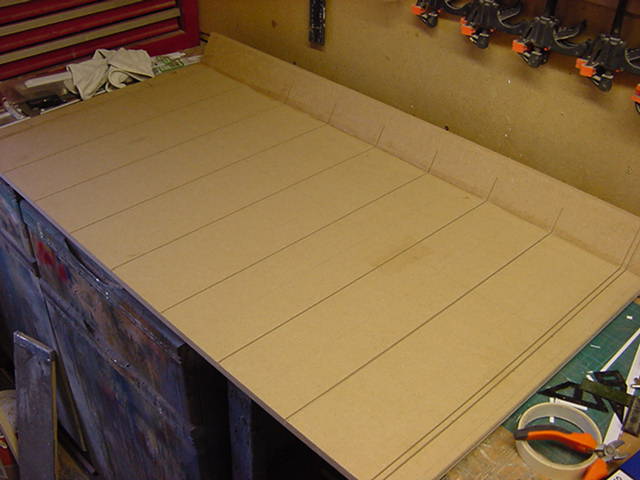
So a bit of test fitting just to make sure I can still measure and put the pencil marks in the right place.
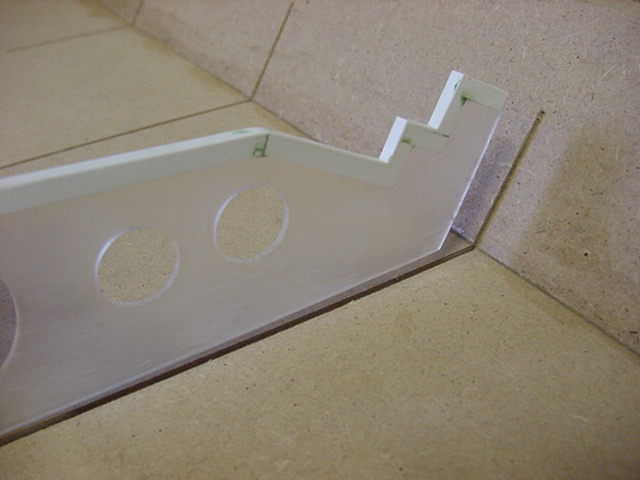
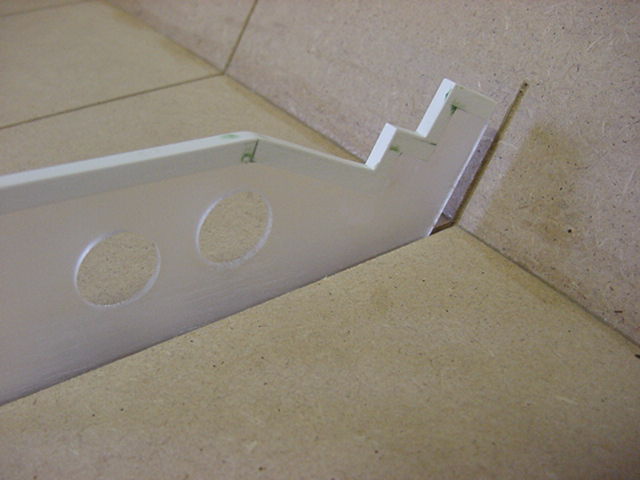
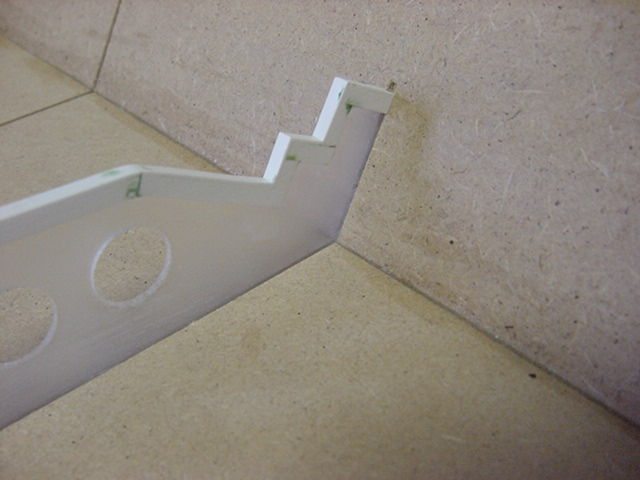
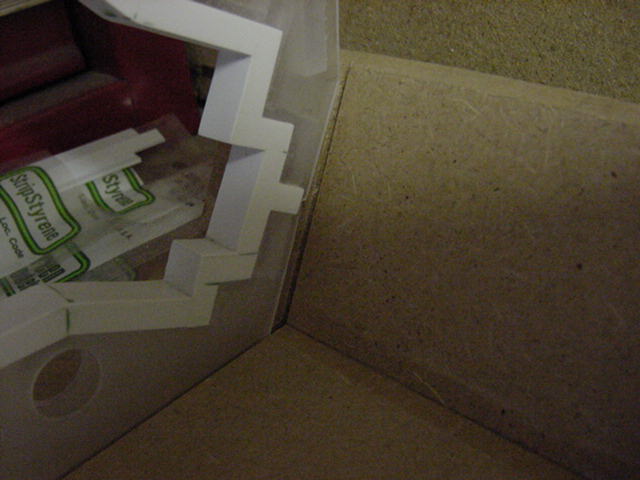
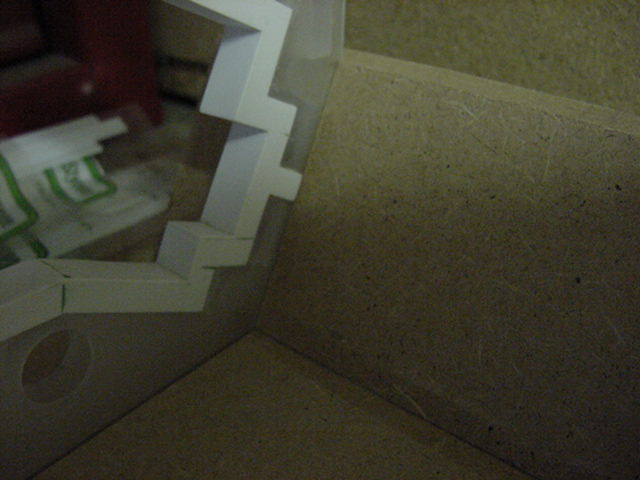
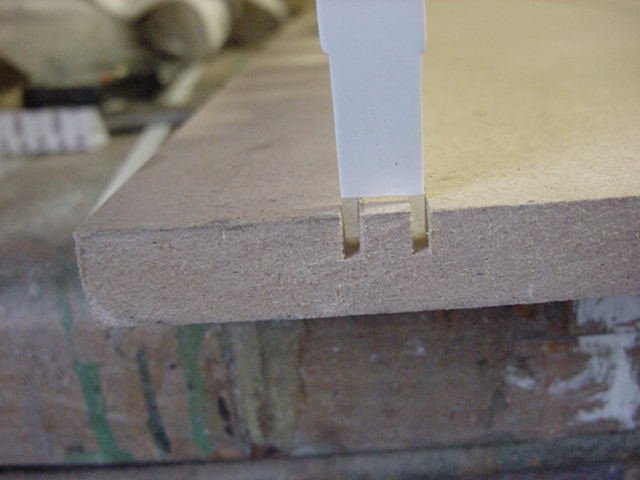
And all without the aid of a large mallet.
Most cool.
A test fit of parts and line up check.
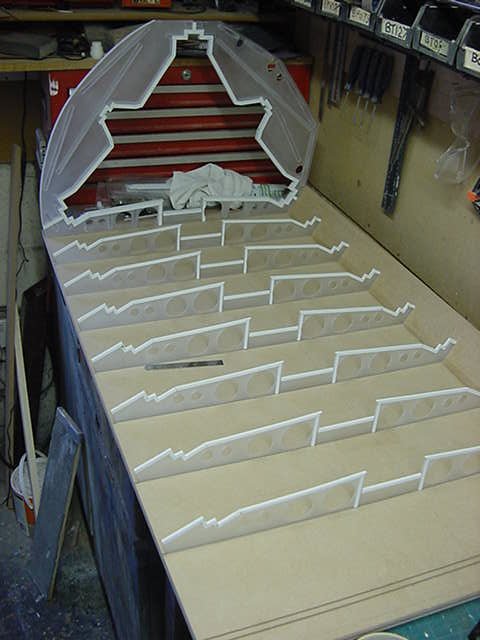
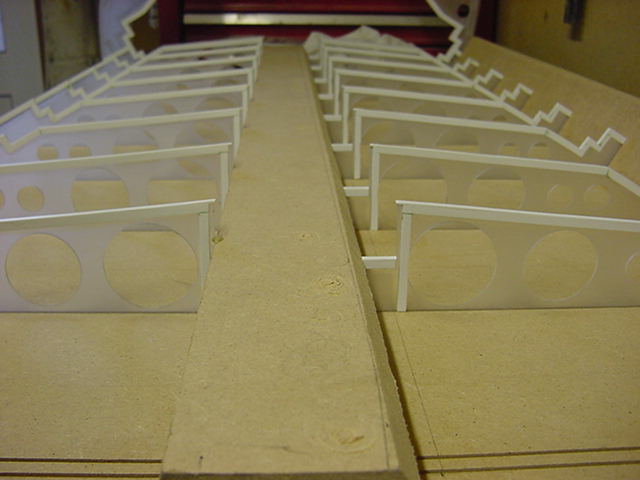
And they fit just nicely.
No one more surprised than I.
So the base was measured up for the final bit of routing to take the sliced up acrylic sheet for the bits in between formers.
Then lo... twas the time for the 24hr stay put ya bugger epoxy gunk.
And there was much mixing of gunk and sliding in of parts.
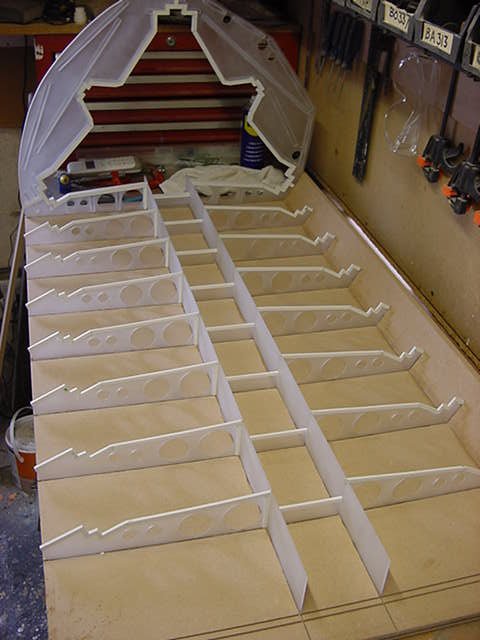
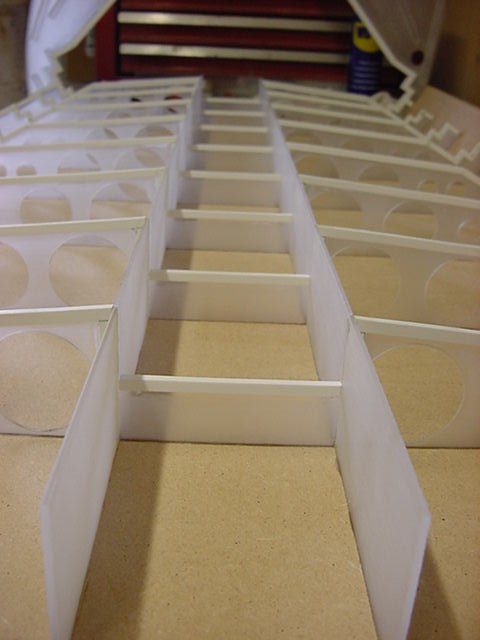
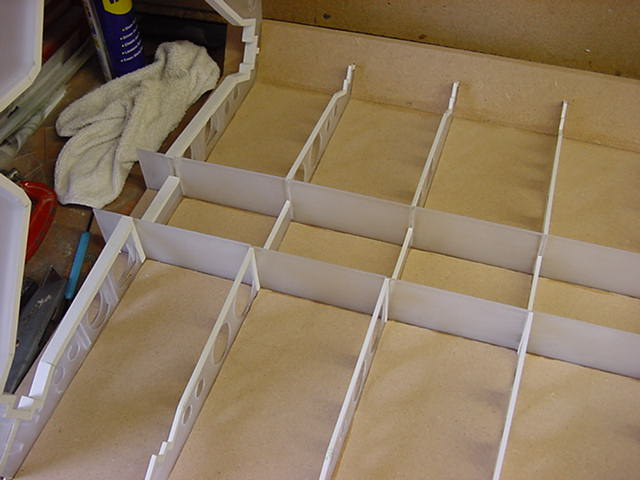
And verily did they all fit with no fuss.
Makes a bloody change.
Next up was much cutting of acrylic sheet, a dab of sanding here and there
and a fair dollop of contact cement thrown in to the mix to surface up the MDF where required.
Which was all over the place really.
Added to this was mucho plastic strip.
Again all over the place and some of that mice rubberised net like material.
The sort of stuff that usually makes an anti-slip covering for workbenches and the like.
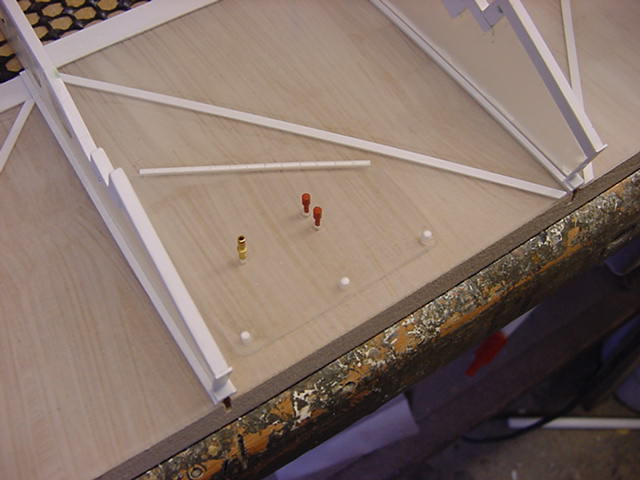
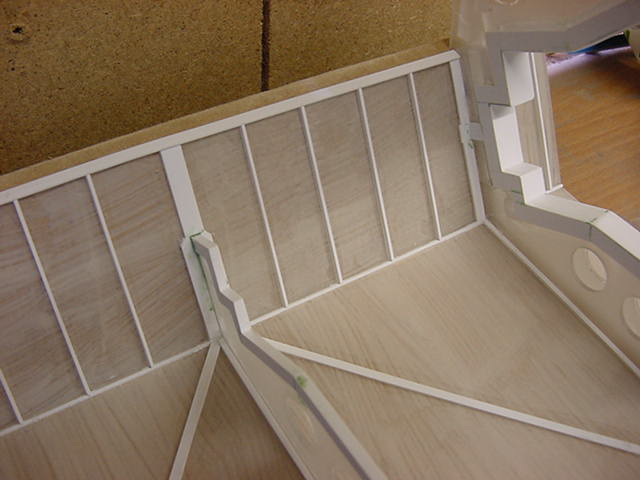
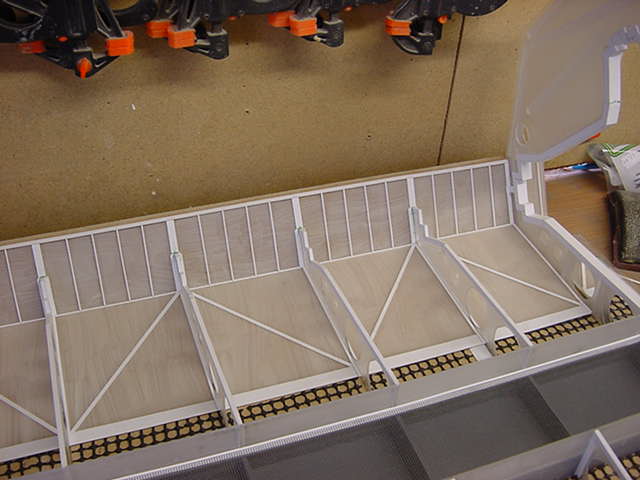
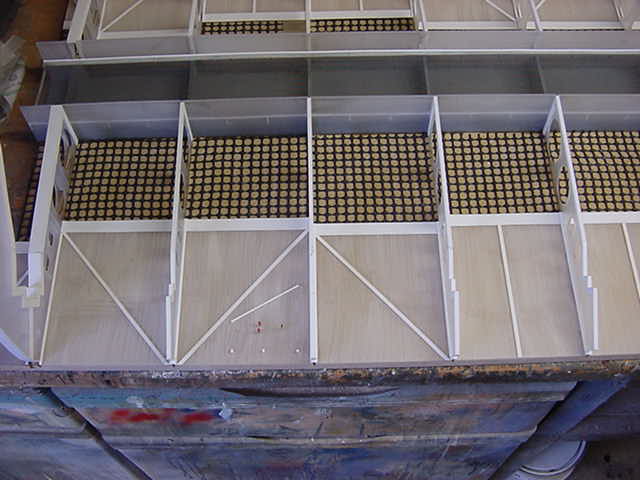
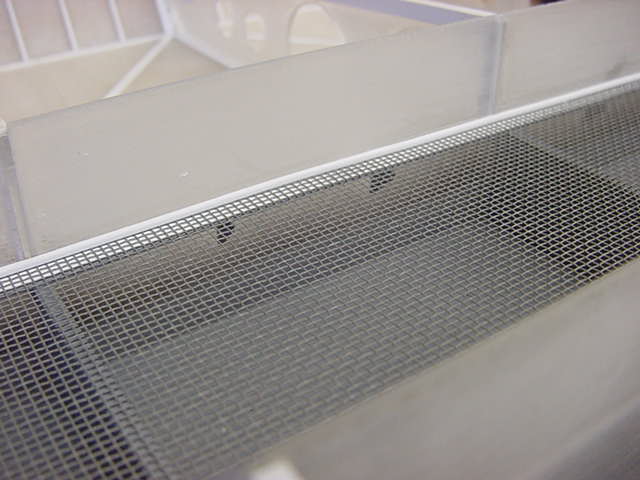
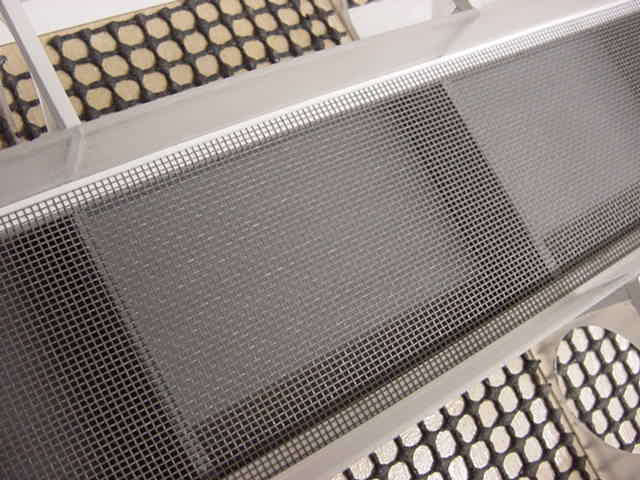
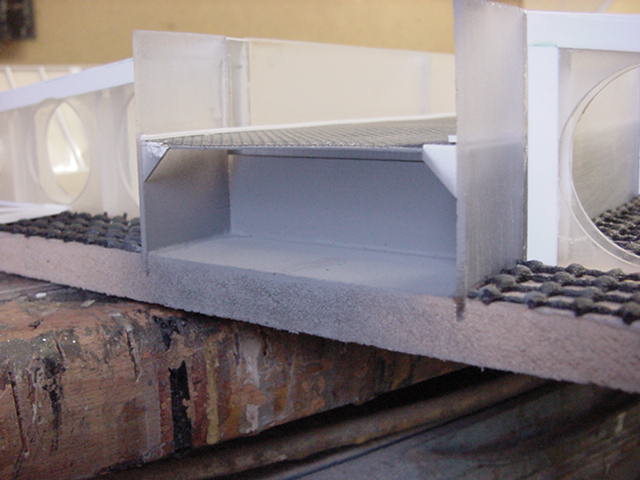
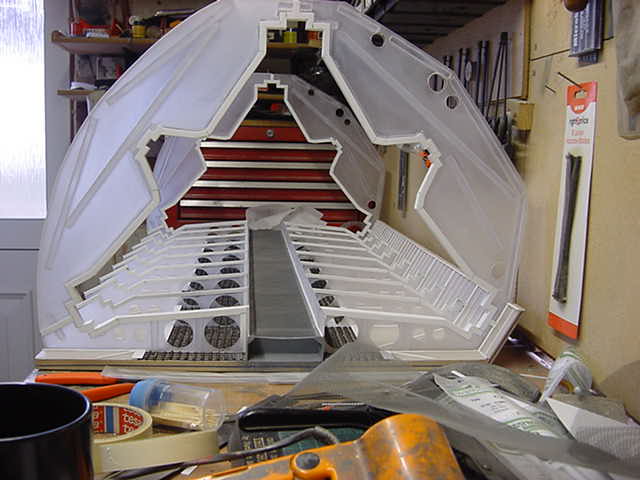
The center run along the tube got some 6mm strip run along it with some little supporting bits.
About half way up to make a resting ledge for some mesh.
Sort of making a maintenance cat walk down the middle of the tube kinda thing.
The trench was sprayed with ordinary auto primer grey and the mesh added.
A drop or two of cyano and a bit more strip got that secured.
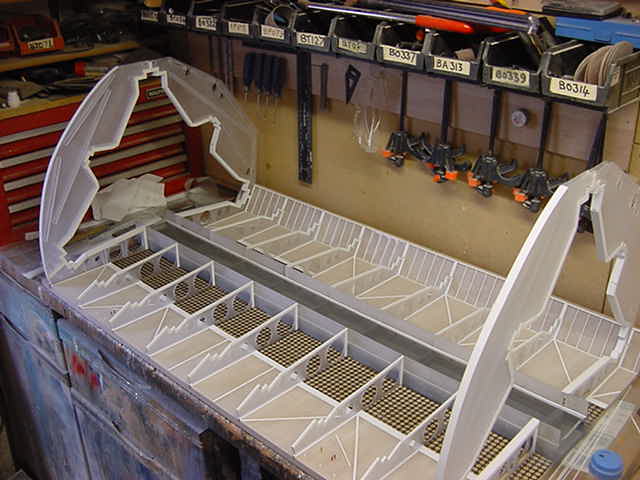
So the sort of last bit for this turnout.
The running rails need a basis for support so mucho plastic strip slicing culminating in a cup full of wedge.
Like so...
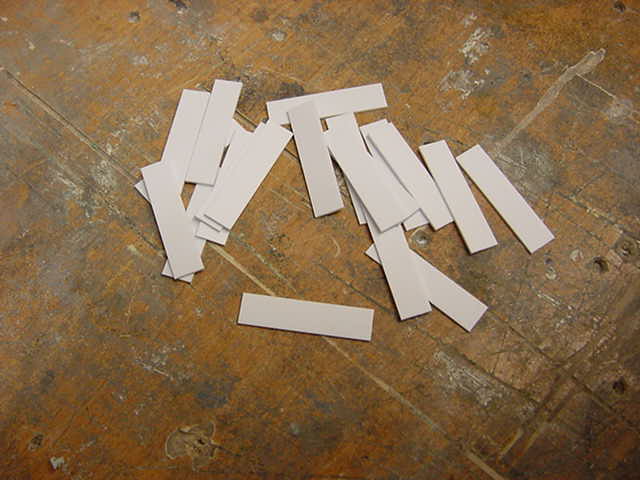
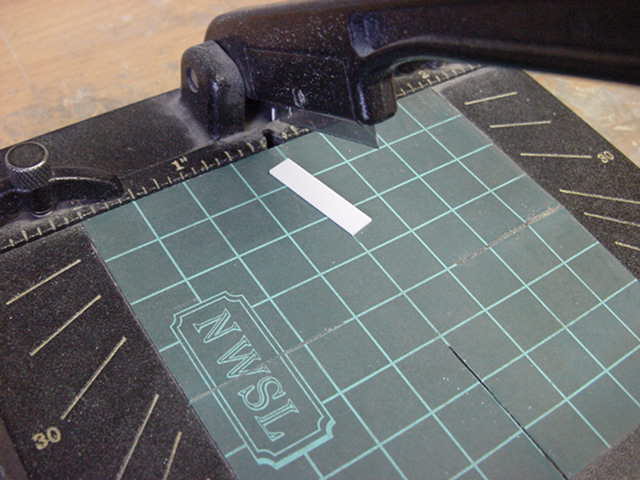
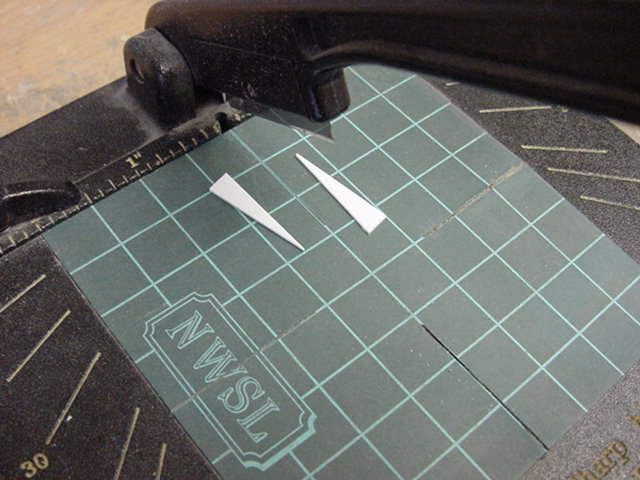
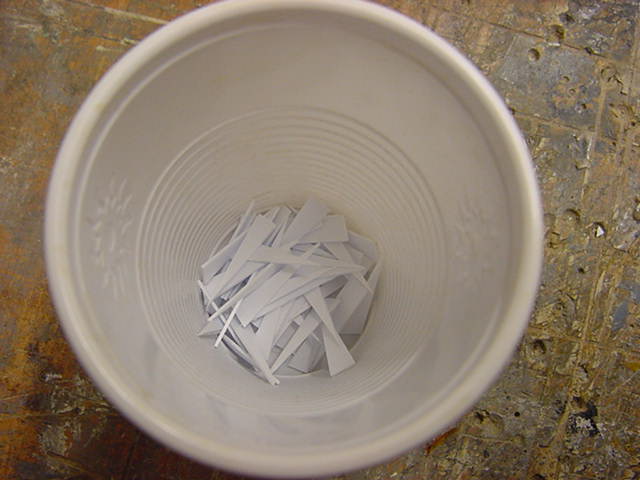
Which along with even more sliced strip got the gluing in treatment.
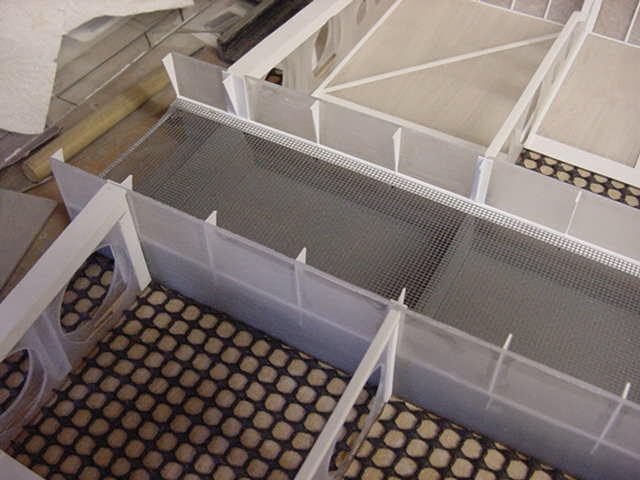
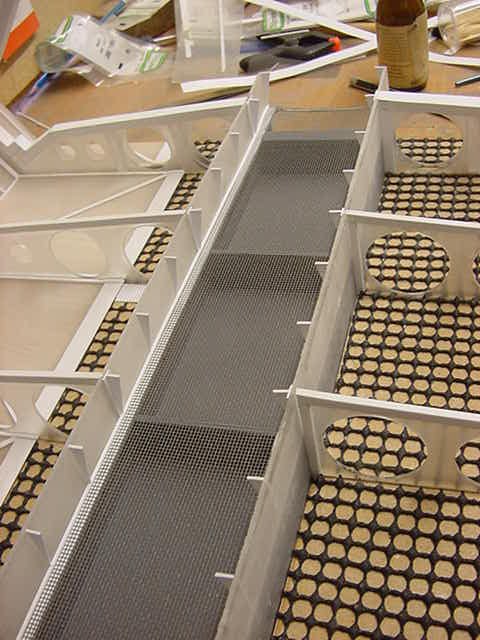
So then, next up is to put in the rails on that will support the trolley like device the Viper will sit on.
Then we get to some greeblie fun on the bulkheads.
Much grey paint and the big tubes to be fitted.
Then the creep up the back wall starts...oh joy.
But that be for the next installment folks so untill then,
You marvelous mob go easy and take care of yaselves out there now.


 Page Number


