Polar lights USS Enterprise NCC-1701 Star Trek The Motion Picture Refit 1/350th Scale
Page Number
More pearlescent!, more decals!, more headaches!.
And We Ain't Even Got Back To Model Yet!
And here we go again.
Right then, the decal thing and just so you don't have to go
hunt down the page, i'll repeat stuff posted in another build log...
Here's the thing, the movie Enterprise is covered in pearlescent paint which gives her that unique and rather beautiful look.
So looking at the registry and other markings that go on this lass, the water slides are ok but a bit of a problem. Problem being from my limited perspective is that you can't exactly matt coat them to even the finish and hide the carrier film in the normal way without doing some disservice to the pearlescent paint and bringing the effect down.
Not what one has in mind so a bit of 'how to get around that brain thinking in the head thing' did take place.
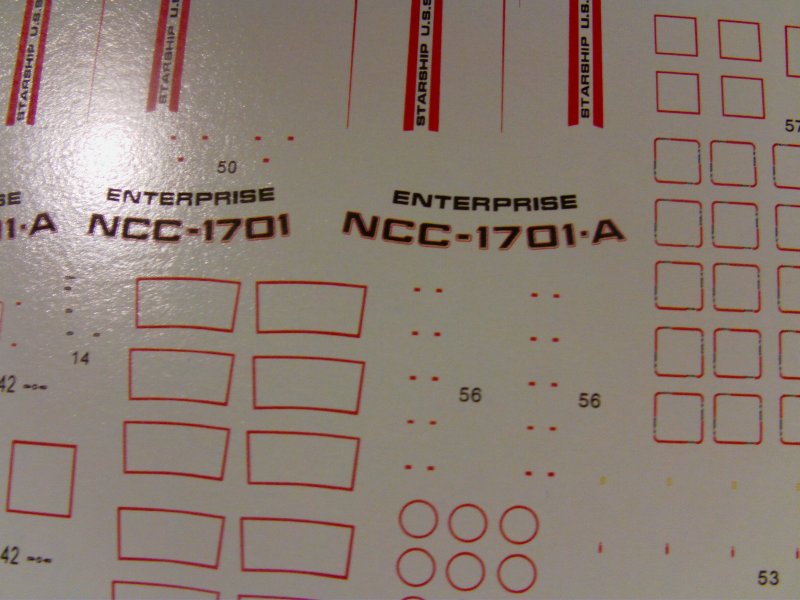
Rub down decals are the easiest answer but how to get the right fonts of the correct size and let us not forget the red line surrounding the letters/numbers on the registry and so on.
After some faffin' about I came across a piece of kit called 'DecalPro FX' by Pulsar Professional FX from Florida. Put simply; with a laser printer, a good pouch laminator, a hot air gun and a bit of time,
one can produce your own rubdown decals in any colour and even metallic's.
More than just a little bit up my alley so dosh paid out and kit got from a vendor on my own landmass of England.
Info on what you get in the starter kit and how this lovely stuff works
can be seen in detail on their site which can be got to by clicking the link thingy below...
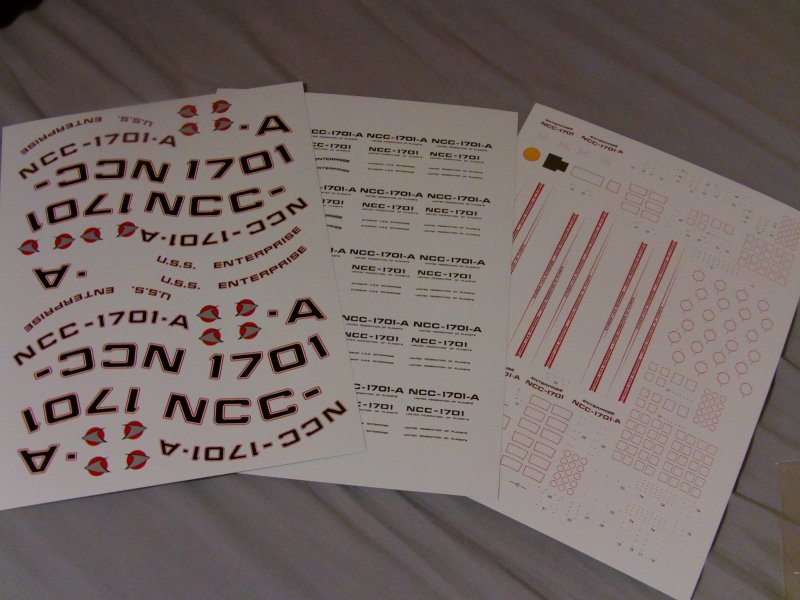
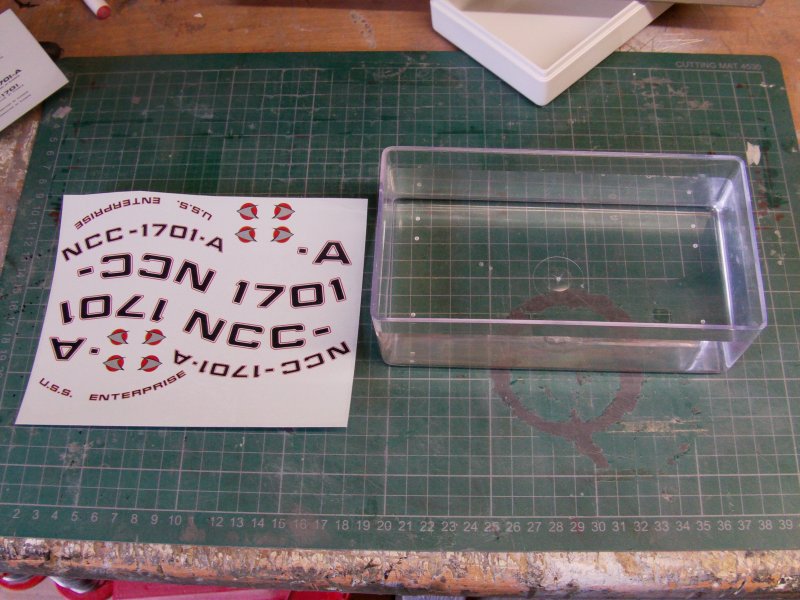
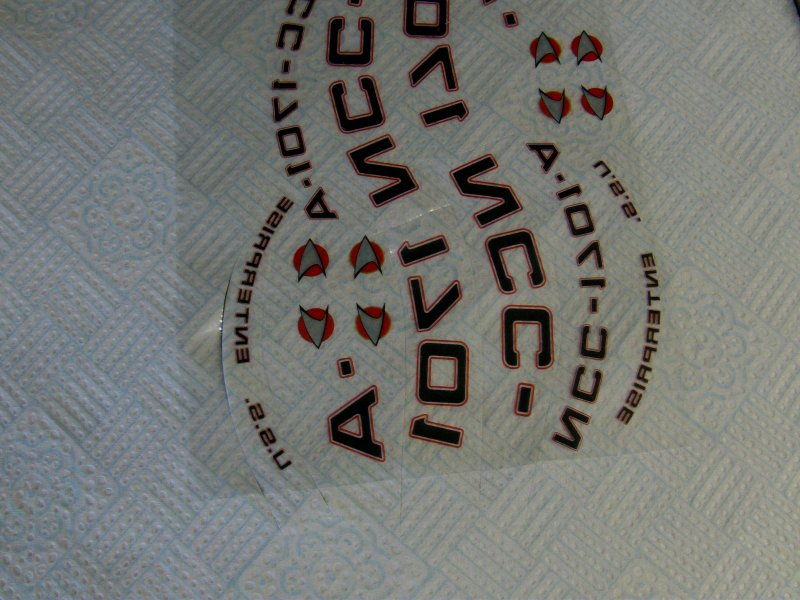
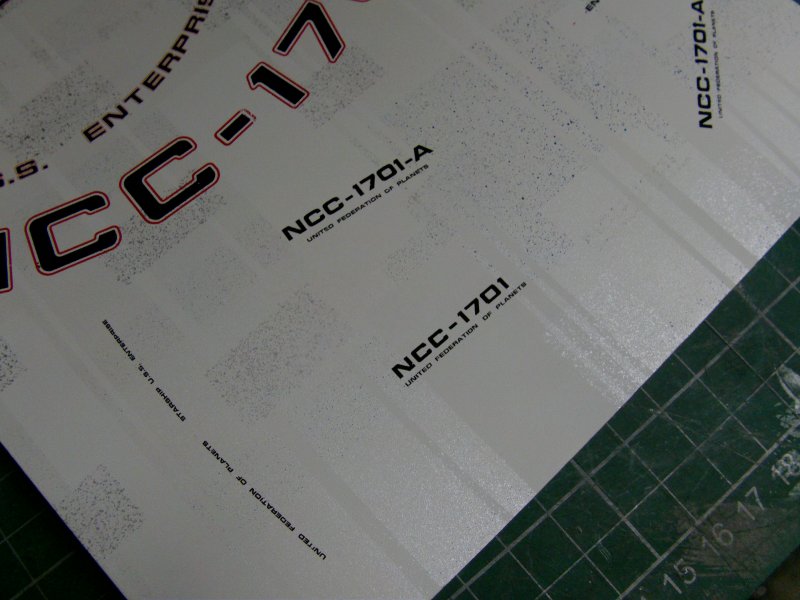
So long story short, the original waterslide decal sheet got scanned at 1200 DPI if memory serves and the whole damn thing got redrawn
in PaintShop Pro 9, which took a few days to do.
And before the rabid "why don't you use Photoshop!" brigade start wailing, I have PSP9, it works just fine for me, does everything I need it to, I do not have Photoshop anymore anyway so deal with it.
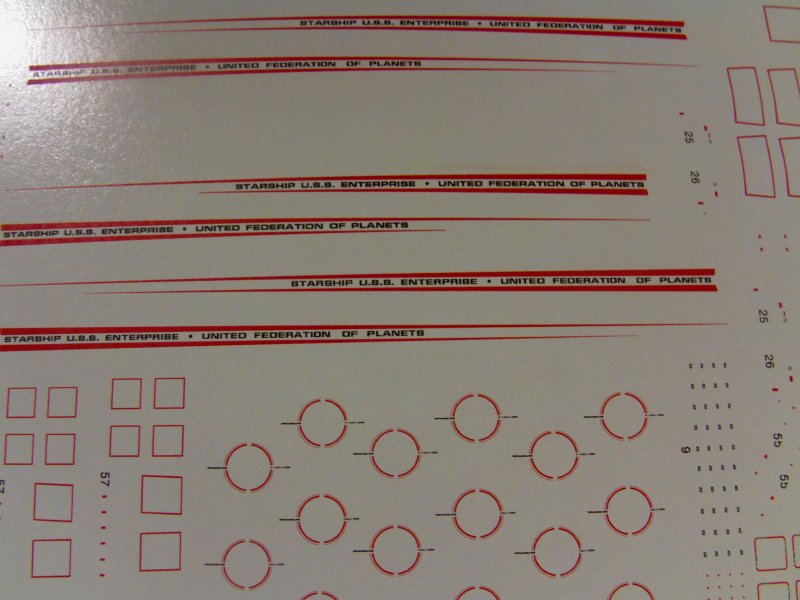
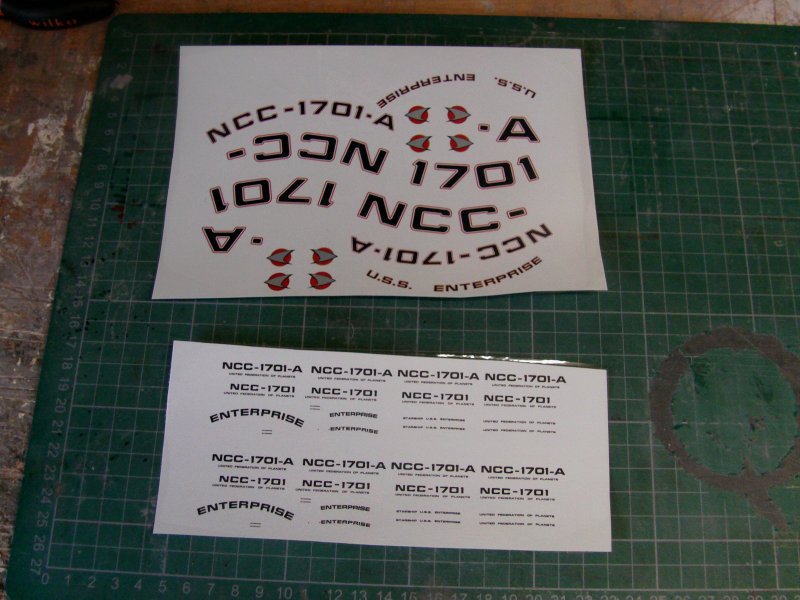
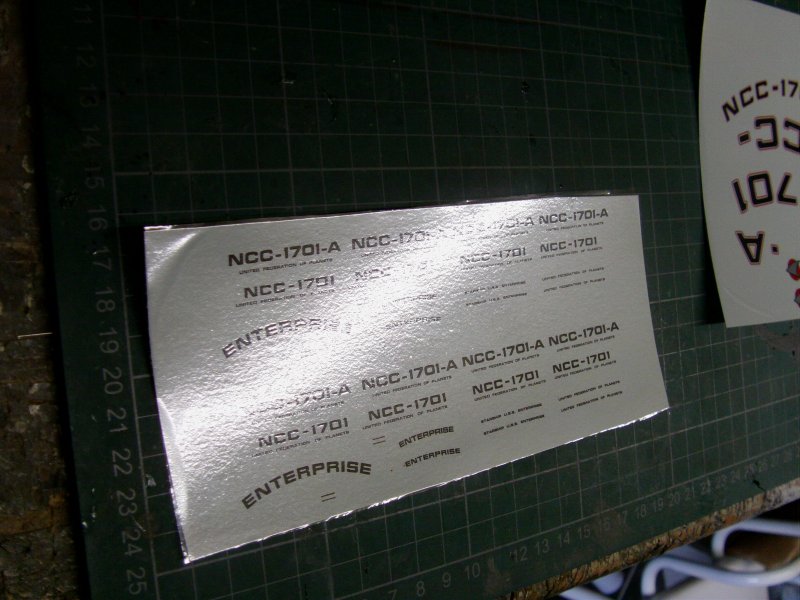
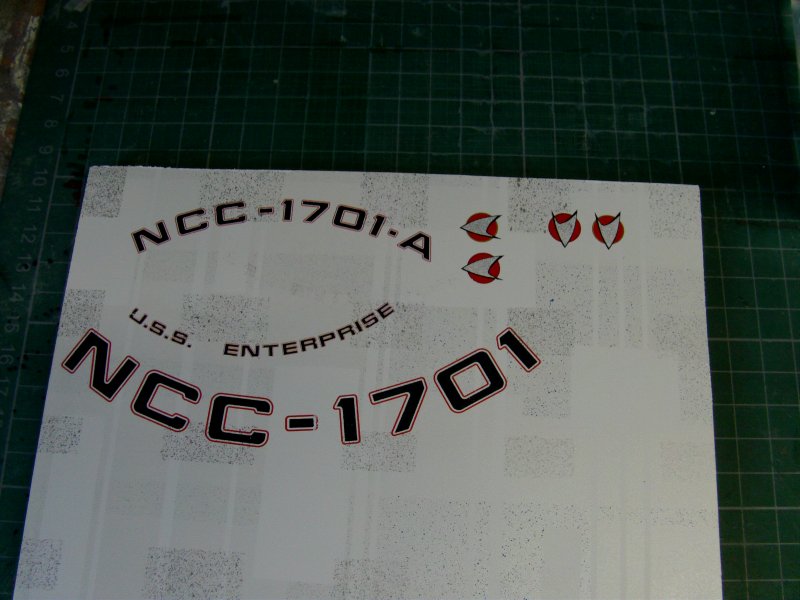
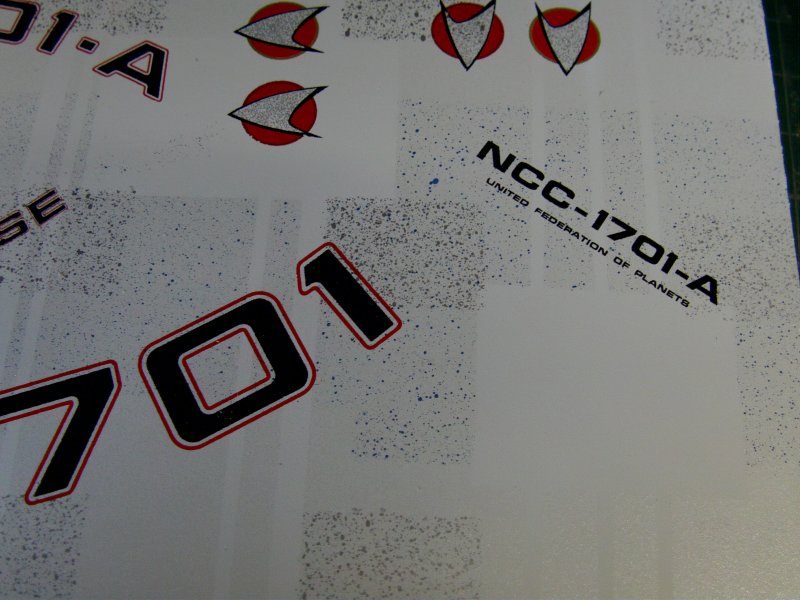
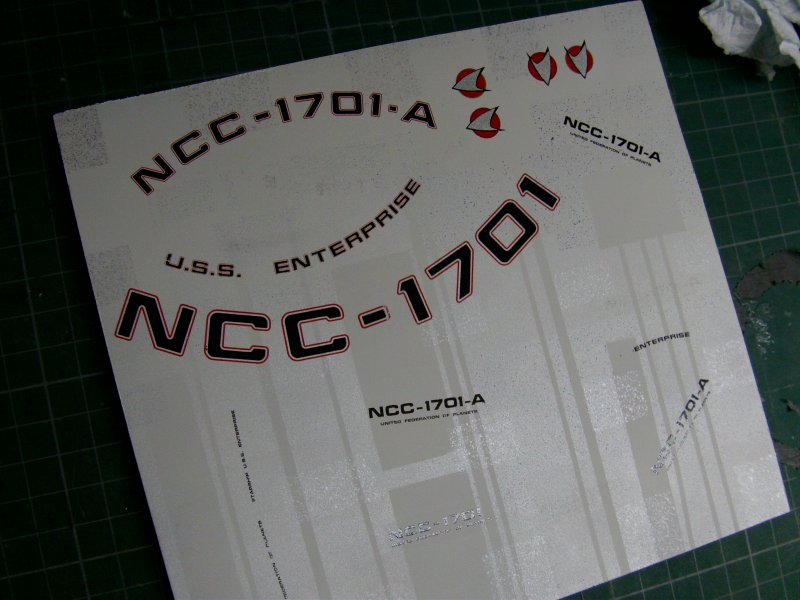
So ended up with three sheets of about A4 size coming mumbling out of the laser printer.
All very crisp in the printing which is nice.
So then, grabbing a couple of test printed sheets for the sacrificial tryout, hacked up and shoved through the laminator with the mylar carrier film attached.
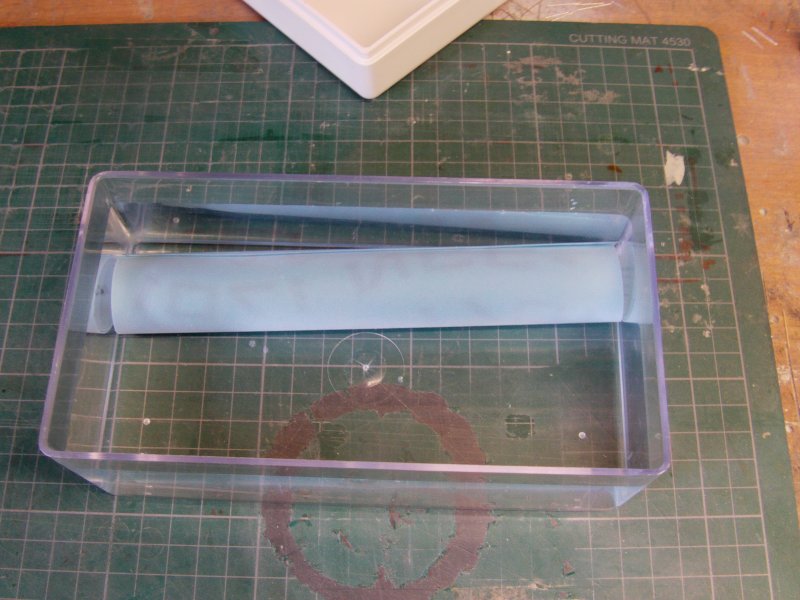
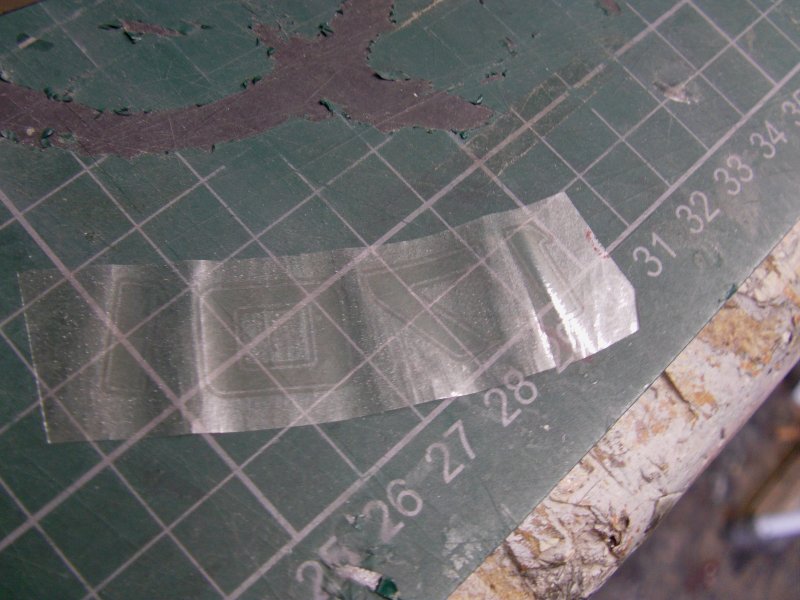
Now comes the fun bit! The sheet was dropped in to water and it curls up just like a water slide decal.
After a minute or so, the mylar releases from the paper and comes out in one sheet. So what you have is a clear sheet with the artwork attached.
Now i'm not going to go in to too much depth about trimming and stuff like that before soaking, each project will be different so after the initial learning curve is done then it's up to the individual how to best proceed.
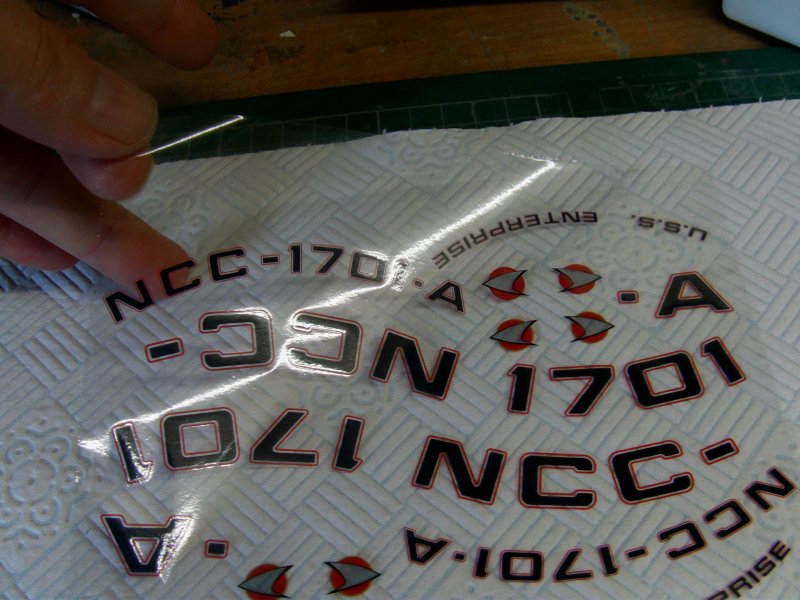
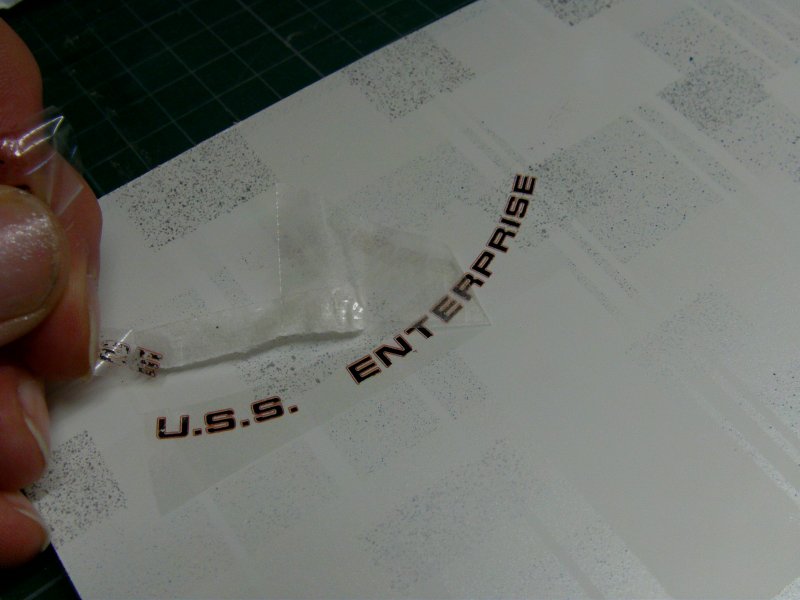
Right so, all dry and ready then.
A paper towel sprayed lightly with the adhesive to hold the film steady then place film face down.
A proper coat of the spray adhesive on the artwork itself, then a fresh scalpel blade and a bit of trimming here and there and ready to go.
For testing purposes, a scrap slab of acrylic spry bombed in matt white,
some rough masking and bit more spray bombing
with pearlescent and metallic's.
Not going for style and it'll do for this test.
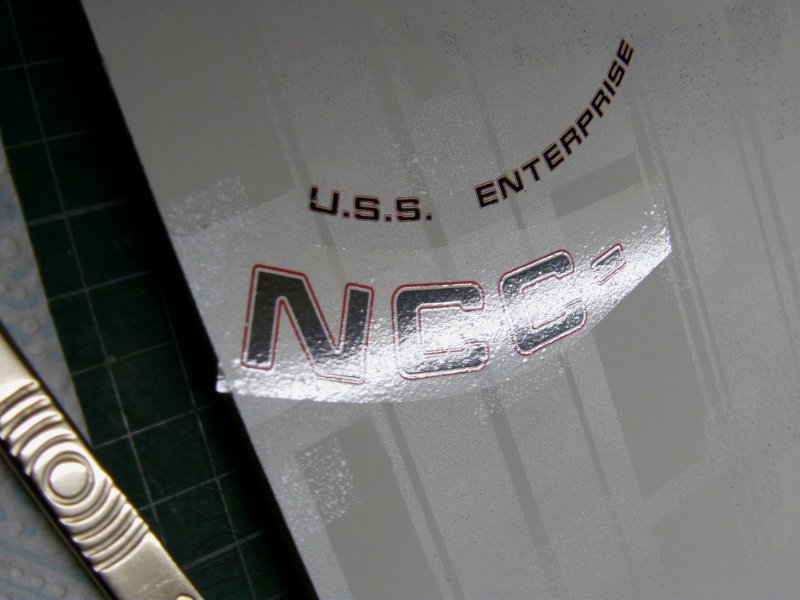
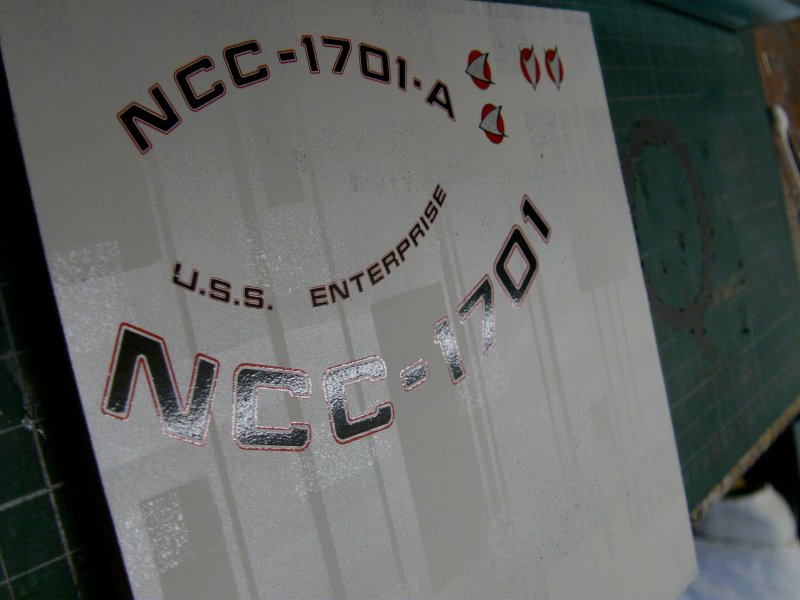
So to the decal application. Well just like a rubdown decal, Place, rub, peel. The spray glue is pressure sensitive so a little press after removing the film does no harm.
No carrier film to fuss over, no residue, no worries!
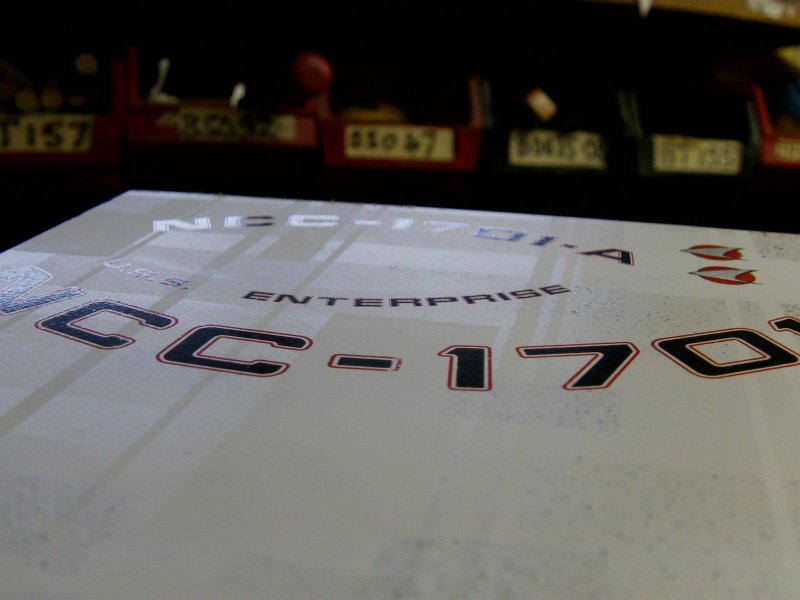
And the all black decals come out rather splendidly as well.
Now, before someone asks, no I will not be making decals to sell in this manner.
Reason being that after a few tests, they don't travel well. By that I mean that I tried it out by printing some off, doing the mylar bit and then sending them to myself through the mail.
Just stick with me here gang.
The paper the decals are printed on has to be as dry as possible just before you send it through the laminator with the mylar sheet attached.
Now dry paper picks up moisture from the air so it will expand, slowly but it will happen. The mylar does not have such properties so, when the paper expands, it curls up a little.
if the mylar looses it's cohesion to the paper, the print is ruined
so the decals are useless.
Seems to me that once they have done the laminator and mylar bit, it's a use ASAP gig so doing them for others and then sending them out is a no-no, sorry about that.
So.....still with me so far? Excellent!
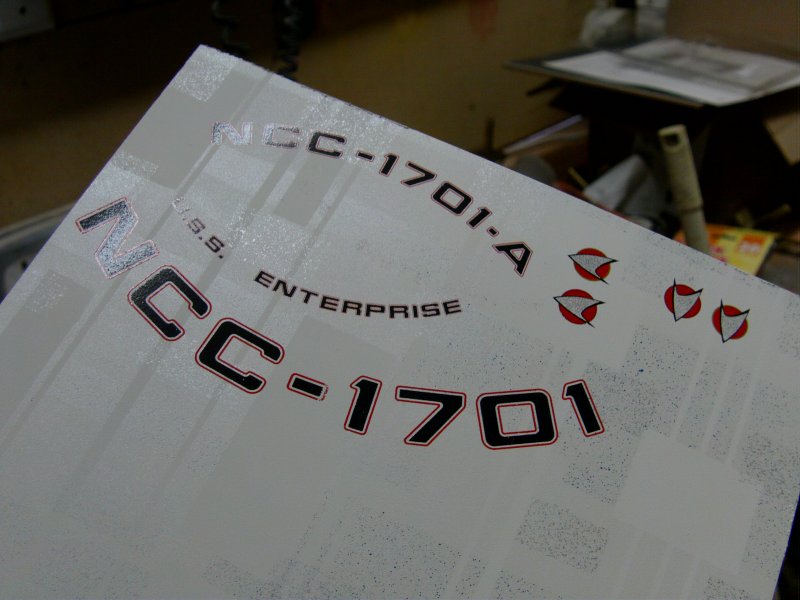
So decals and pearlescent test the second coming up. Pretty much the same deal as last time, Primer laid down and polished, then decals applied.
Now depending on how much spray adhesive you use, there
can sometimes be just a bit of adhesive residue.
A quick wipe over with a small amount of alcohol will remove that.
So frisket mask and paint again.
The frisket I laid over the decals was de tacked slightly on
my mark 44 modeling t-shirt that had just a little talcum powder
on it, frisket still stuck just way less aggressively.
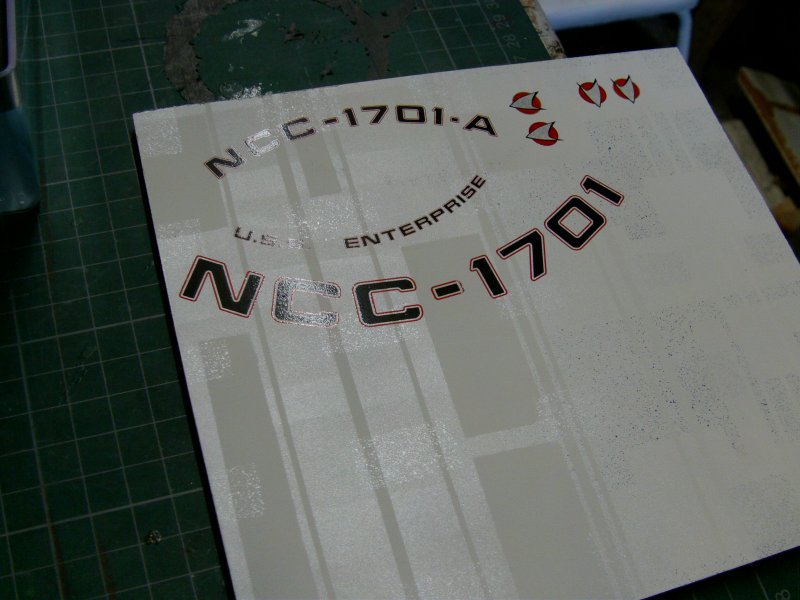
The result...
Still some pearl tearing but not bad and the decals remained intact. Result so far!
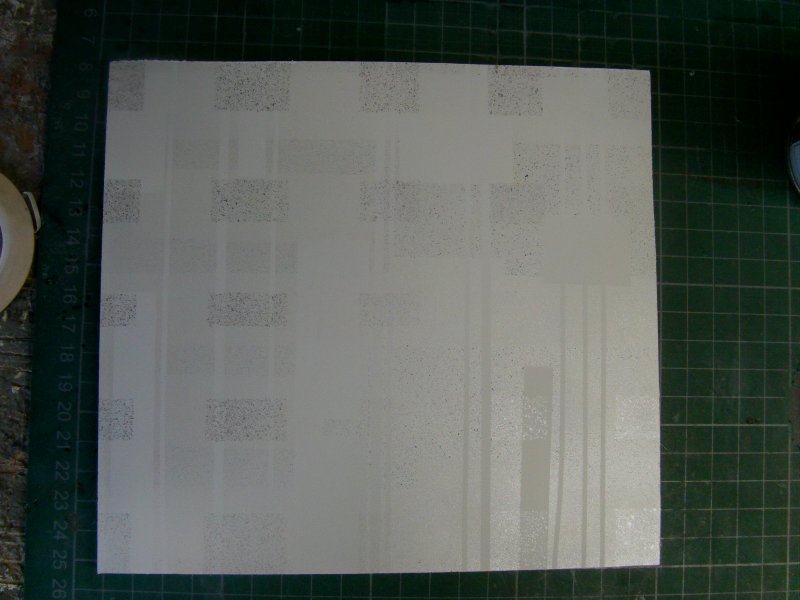
Ok then, a little bit of a back track... when I first got the pearl paints, I did a test out on some scrap styrene sheet. This is it.
About a week later I got the sheet out and after all the paint tearing lark I decided to see what a weeks worth of curing would do the the pearls.
some frisket laid on and left alone for 30 mins, then removed.
You can still see some sight tearing down the middle, so any masking is going to have to be done with great care.
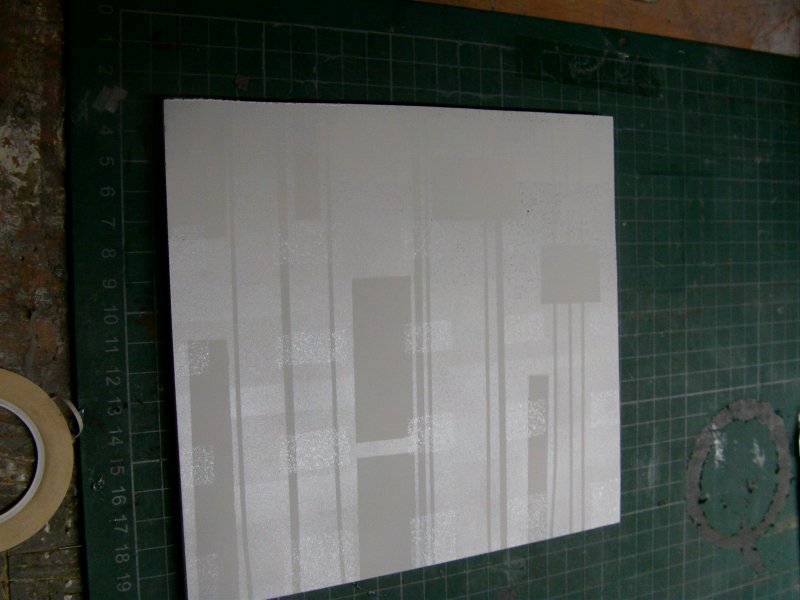
Onward to test three then and a little twist.
I sacrificed some of the Aztek Dummy V2 masking set I have for this test. Paint and decals the same as last time, except I laid down a light coating of Tamiya TS-65 pearl clear before the masking and spraying of pearls took place.
So then laid on the masking.
Blue pearl applied, varying between one and four coats in differing areas. Each coat was given 30 mins to settle.
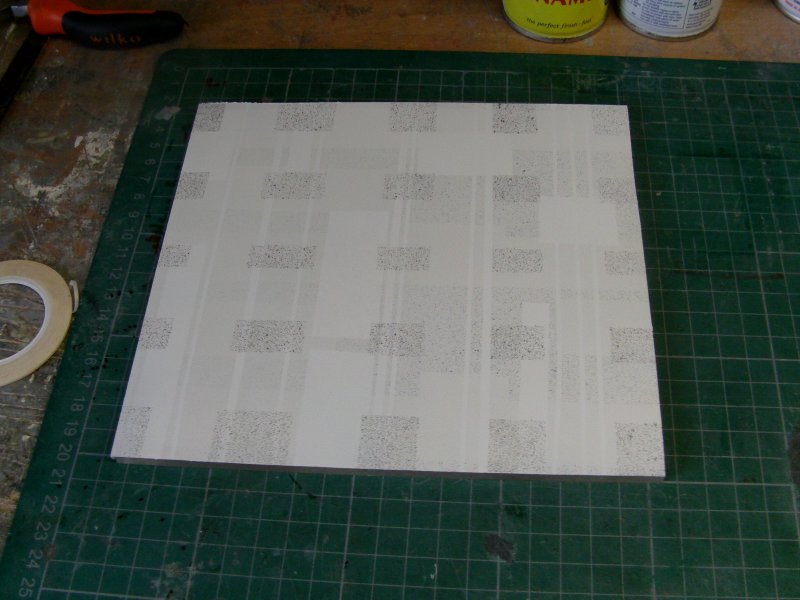
So a couple of frisket's made up for the paneling.
Varying coats of green, red and gold laid down. Since this stuff needs to be applied in thin coats, it's difficult to see where you've been but them's the breaks.
So all left to sort itself out and then masking removal.
The adhesive on this vynil is pretty strong stuff but not as bad as the frisket film.
Still got some pearl tearing on the edges.
So the only option was to fit a fresh blade in the scalpel
and VERY LIGHTLY go round the edges of the masking. Mega tedious but it sorted the tearing out.
So all masking removed.
So that done, a run over with a mega fine 12000 grit polishing pad to get rid of the inevitable 'stepping' or raised edges of the pearl coat, then a goodly going over with the Tamiya TS-65 pearl clear.
Makes the surface shiny and bloody hard to photograph but the vid didn't come out too bad.
As a last thing after another polishing down, a light dusting coat of the clear pearl was shot over it again to give a slightly satin finish.
Getting there, vid ala youtube is below.
Ok, starting to get close to what i've got in mind. one more test shot may be in order but we'll see what happens there when I get around to it.
And that's the lot for now people, another update to come soonest.
I have a set of Aztec masks on their way, a new
product from Orbital Drydock who's masking stuff is getting some rather good words said about it, we'll see how that goes from my end when they arrive.