Polar lights USS Enterprise NCC-1701
Star Trek The Motion Picture Refit
1/350th Scale


 Page Number
Tiny odds and sods.
Fiddlin' About With The Wee Stuff.
OK gang, time to do a bit o' tinkering with the odds and sods dept.
First up on this is them...
MAGNATOMIC FLUX CONSTRUCTION GRILLS
...And that's the last time that the techno babble will be in caps I promise.
Now, the shape of said replacement parts is a bit more accurate in profile
to the effects miniature so no problem there and the ones moulded
on to the nacelle halves in the stock kit are not.
The way of replacing is in the instructions but for this outing we
are going to deal with something I noticed while casting
a beady eye over the reference material.
First a comparison with the resin part and stock part.


Now as stated the resin part is more accurate in profile but
neither are quite rounded enough in section.
Not too bad really but one thing may become apparent by looking at this pic...

See what I mean, well if you do then carry on,
if not then how about this re-done pic with a few lines
drawn on to assist...

Said grille sits in the indent on the said of the nacelle but the slots
in the grille do not go all the way to the vertical surface,
there is a definite gap line.
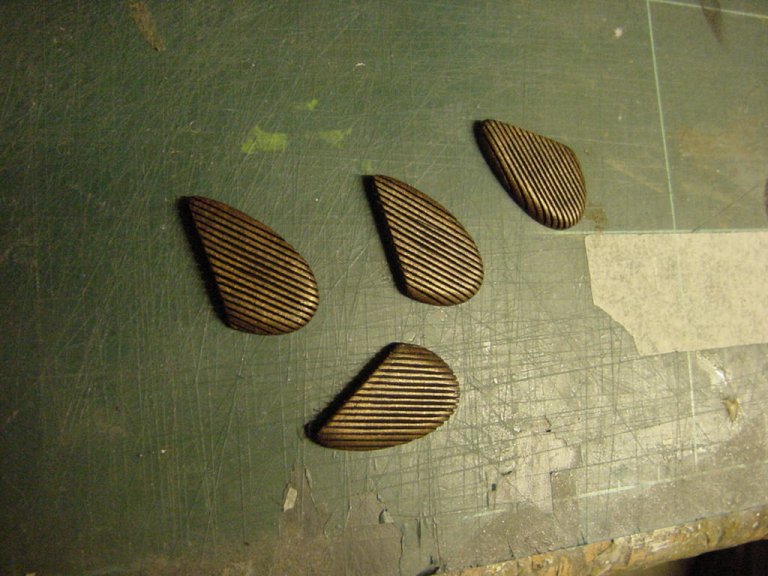
To replicate this, some 10 thou plasticard...

A light sanding to the surfaces to be joined, a dab of super glue,
a trim up, plaster on some squadron green putty, sand,
razor saw and clean up and we get...


A liberal plastering of some acrylic matt black
then a serious bit of dark copper drybrush action.


I reckon that's that lot sorted untill assembly time so onward!
Just Had To See How This Was Going To Turn Out
Moving along swiftly,
I just had to have a go at the travel pods and workbees and
give them excellent decals a try.
Parts were easily removed from the moulding stub and cleaned up,
then after a bit of a think and a cuppa I decided on two workbee cargo trains,
4 workbees alone and two travel pods.
Parts were given a cleanup, wash down and temporarily mounted
on the ever useful cocktail sticks.

The pods and workbees were given a going over with some
ordinary matt white and once dry,
four of the workbees were given a coat of yellow.
Two were left white after looking over some reference pics and the
cargo workbees appear to be white/light grey while the rest seem to be
the ever popular yellow colour.


Getting a little pressed for time late on the sunday night and a conference
to go to in Blackpool Monday morning I decided the last bit
would be a test application of decals to one travel pod and one workbee.
The decals are excellent but just to note,
they are printed on one decal sheet so each has to be trimmed before use.
A bit fiddly but nothing that can't be handled so after some
close trimming and a bit of teeth gritting....

Now just how cool are these lil' buggers?
As easy a job done as it gets and most likely far better looking
than I could pull off with a paintbrush,
just basic background colour and lay on them decals.
I am more than a little happy with these so the rest will be attended to
and the whole lot boxed up and left somewhere safe untill build time.
And that be all for this round of fun, sun and suffering in the hellhole
untill the next time.
You lot take care and go easy now.


 Page Number


