
Polar lights USS Enterprise NCC-1701
Star Trek The Motion Picture Refit
1/350th Scale


 Page Number
Bits and bobs in a manner of speaking.
Some...Stuff To Get Sorted Like.
Right then people, a belated happy new year to all,
hope you had a good one.
Ok, first up now I be back working on this beastie,
a few things to smooth off so to speak.
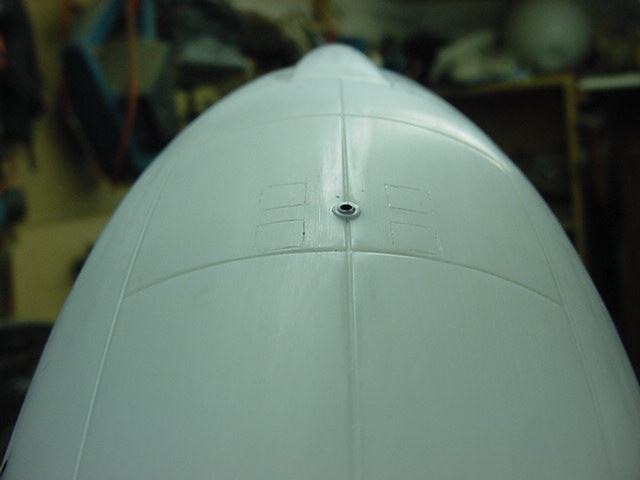
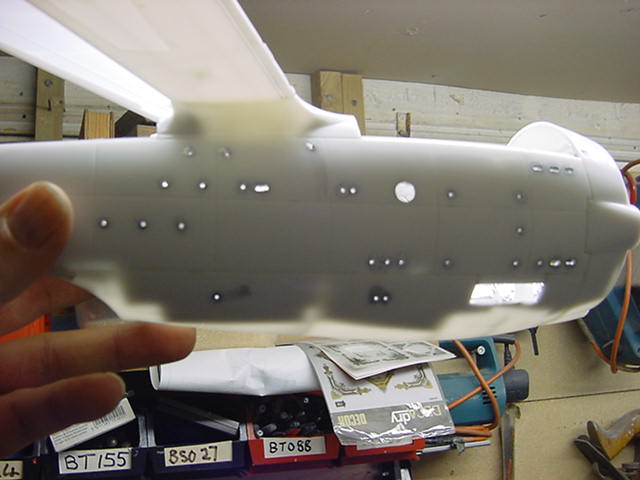
One thing of note is the phaser banks,
on the miniature the only things sticking up are the phaser emitters.
Well that be okedoke normally but the surrounds on the
kit are also raised where they should be flush with the hull.
Only way around is to remove them completely and
sand flush but not before lightly scribing the surround so I can
correctly replace the phaser emitters with some 2mm white plastic beads
I'm a waiting on getting.
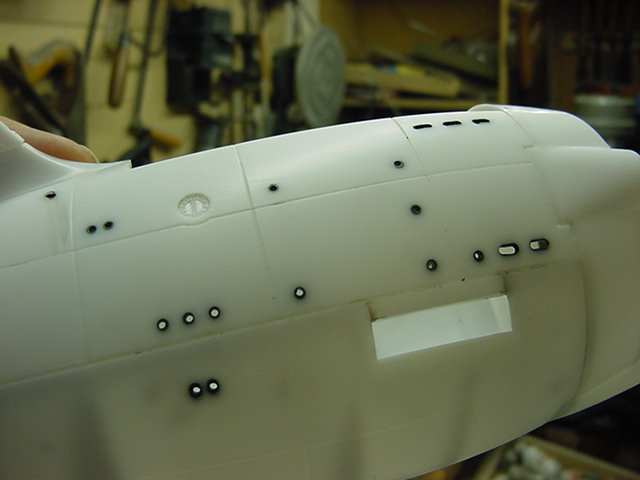
As an example, the four phaser banks surrounding the belly strobe...
The same deal has been done to all the
phaser banks on the entire hull.
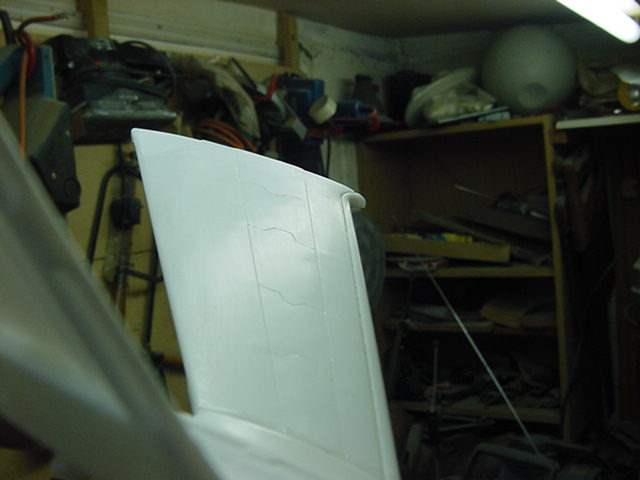
Along with this deal, the raised section running up the inner
nacelle pylons was given the same treatment.
As far as I can tell from my reference,
this was never raised on the effects miniature so it's out of here
but not before the lightly scribed line
thing happened.
The inner pylon halves were attached to the strong back and the outer pylon halves
glued to the sides of the secondary hull and the sides and belly assembled.
Much slapping on of the epoxy steel putty in the windows
to reduce the size followed by a bit of drill bit action
and they were a done thing.
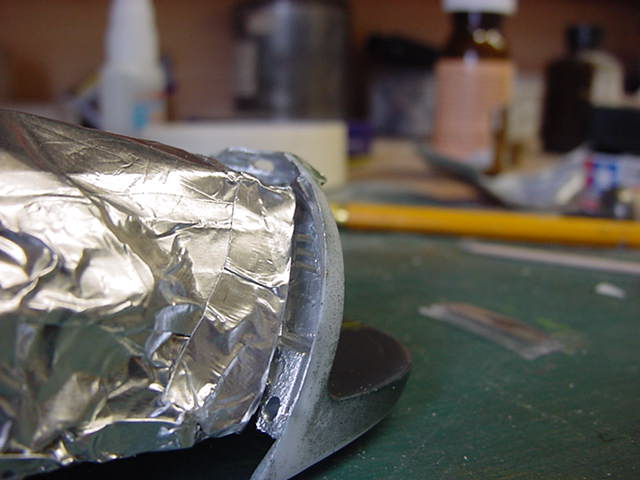
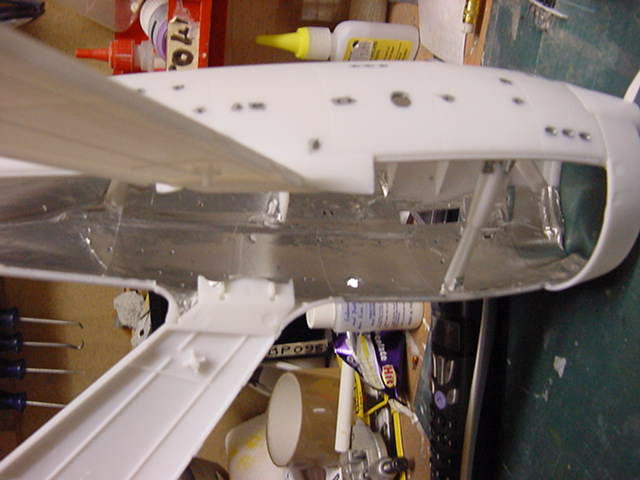
Ok, that dealt with and onto a last bit of work on the hangar door
sides of the shuttle/cargo bay.
To cut a long story short, there are lit blue lines on detail panels
so these were outlined with foil as was the rest of the fantail inside surface.
A dab of clear blue added then onto the windows of the
hangar control room.
Simple enough, clear epoxy resin with some red colourant,
namely Tamiya clear red and the gloop was duly maneuvered in with a tooth pick
to fill out the windows.
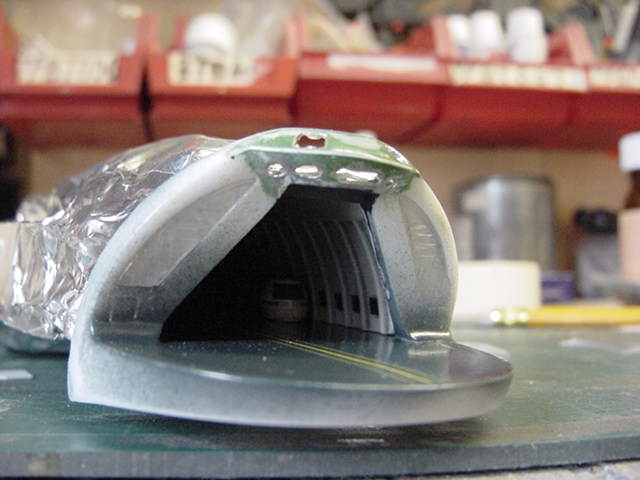
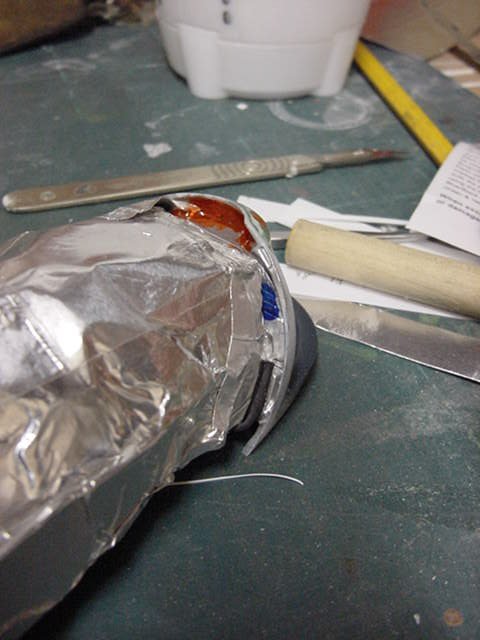
The whole lot was then fitted with one 3mm LED each side and that will
light the blue lines and the hangar control room windows.
This lot was then sealed up to prevent light leaks.
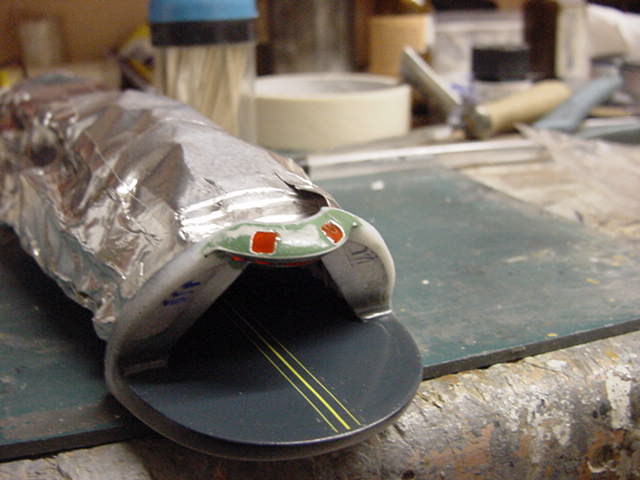
So, next up the secondary hull was lined out with foil,
the airlock hatches were drilled out as these will be replaced
by the splendid photo etch parts on the
PNT supplied detail sheet,
more on that and some airlock lighting later.
Lick Of Paint...Couple Of Plants...
Yeah, It'll Be Just Like Home
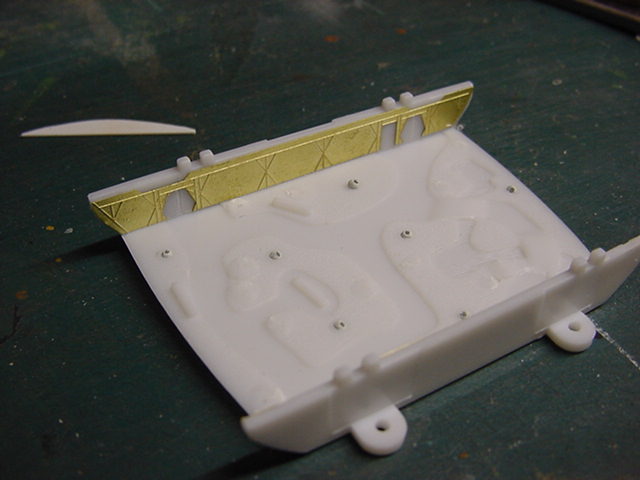
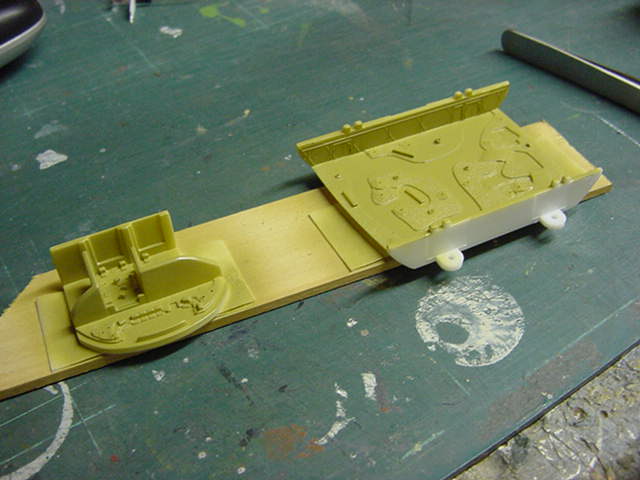
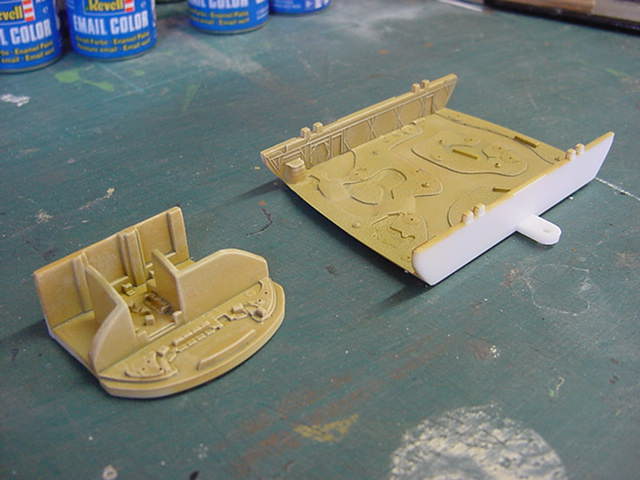
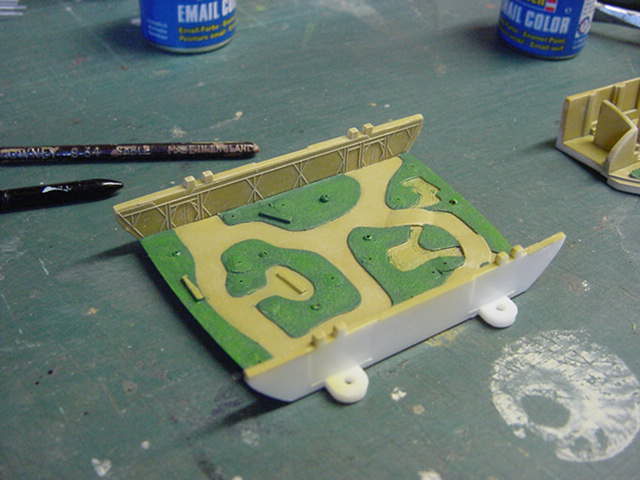
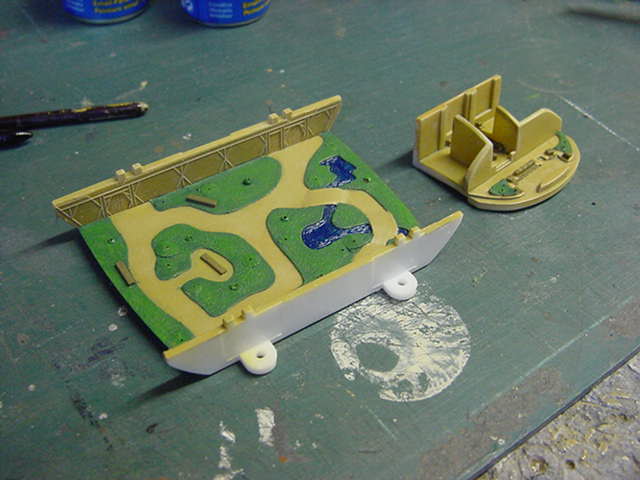
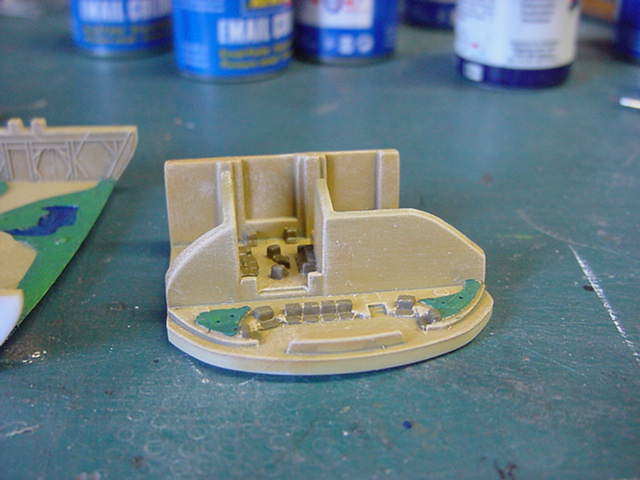
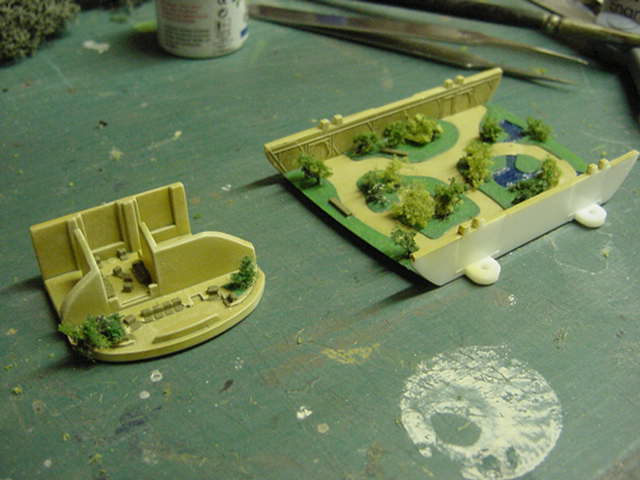
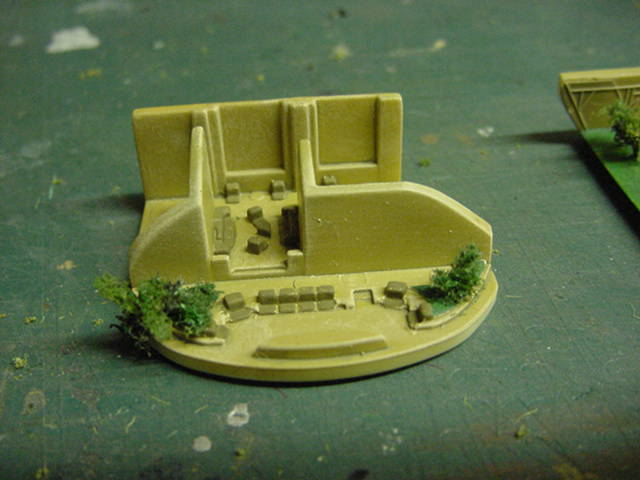
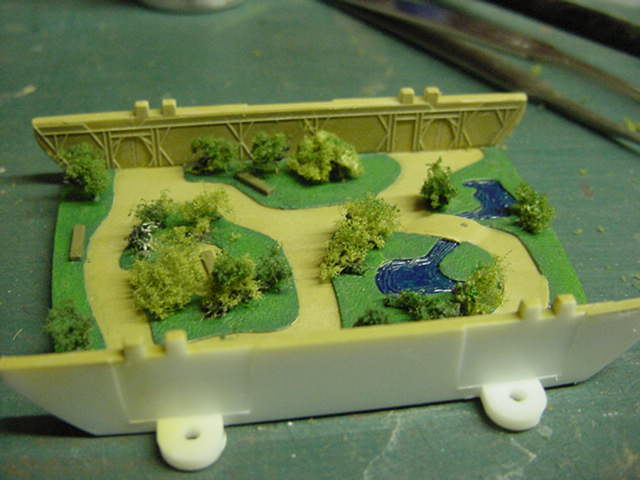
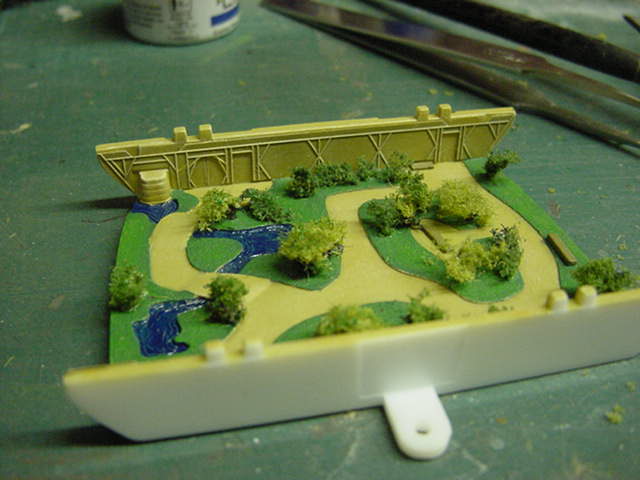
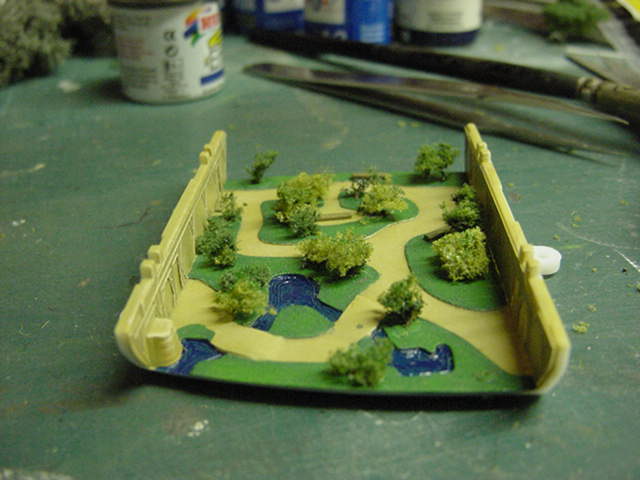
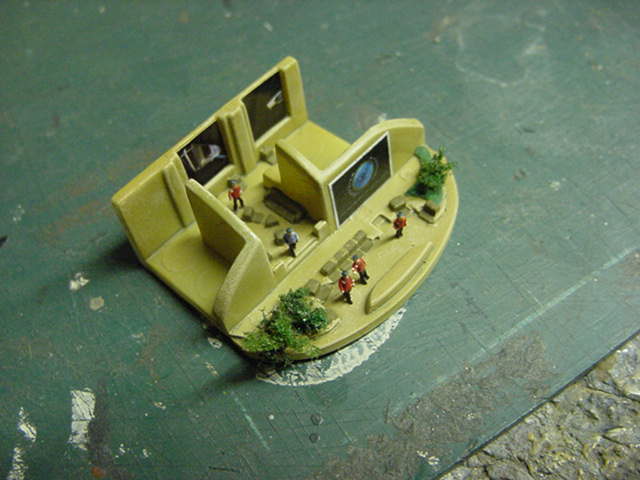
Ok then, on to the interior detail bits namely the arboretum and VIP/Officers lounge.
The detail of the ...well I think they are supposed to be sculpted greenery were duly removed
and them horrible round pruned trees got scrapped and the lot was trimmed up.
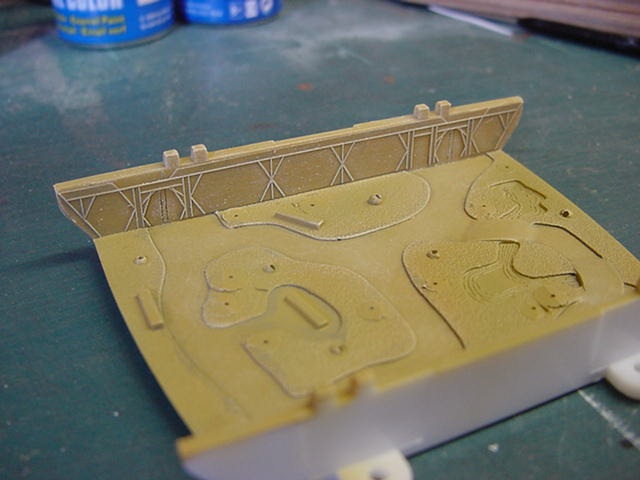
The photo etch sheet provides detail fascias for the walls in the
arboretum so these were removed from the sheet, trimmed and installed.
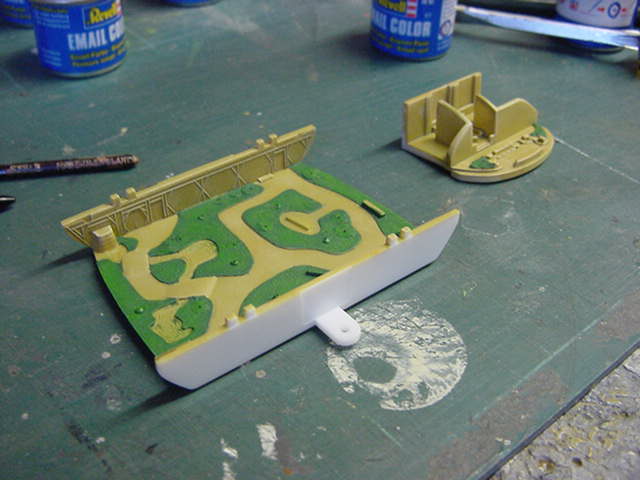
The parts were given an airbrushing of Tamiya desert yellow as a base colour.
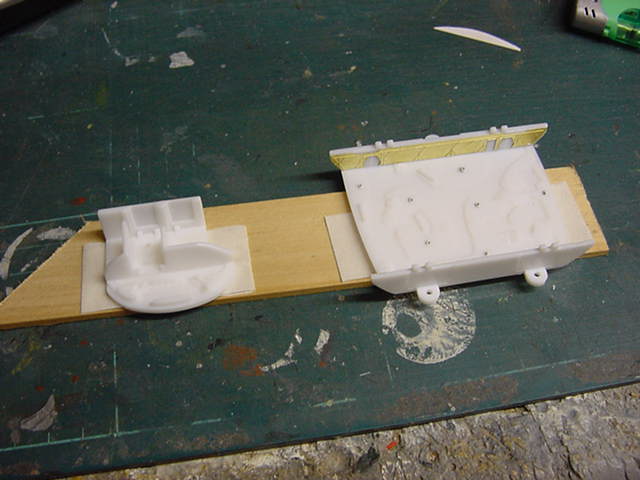
A wash of dark brown and plenty of drybrushing with light beige
and the result was fairly pleasing to mine eyeballs.
Next up, some dark green drybrushed with some leaf green
to sort out the grassy areas then some dark blue with some
clear blue over the top for the water.
A smidgen of dark brown for the seating and suchlike
and we be on our way.

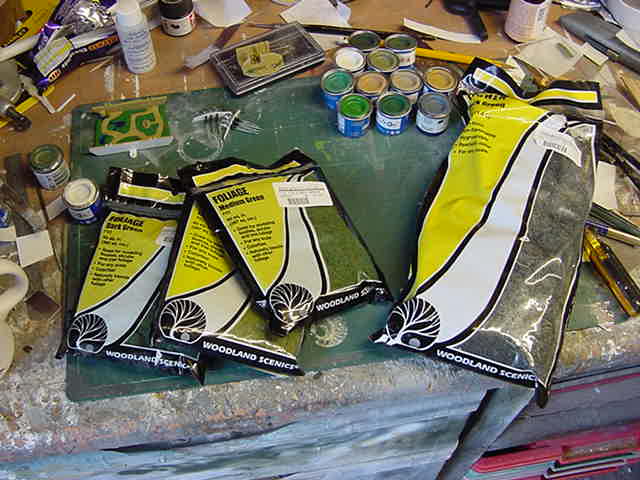
On to the vegetation.
A change from the previous method I used on the last build,
after a visit to a local hobby store and an exchange of some monies,
came back with a few bags of model railway scenic stuff.
The basis of all the trees would be this nice lichen topped with
some ground scatter foam material in some differing green shades.
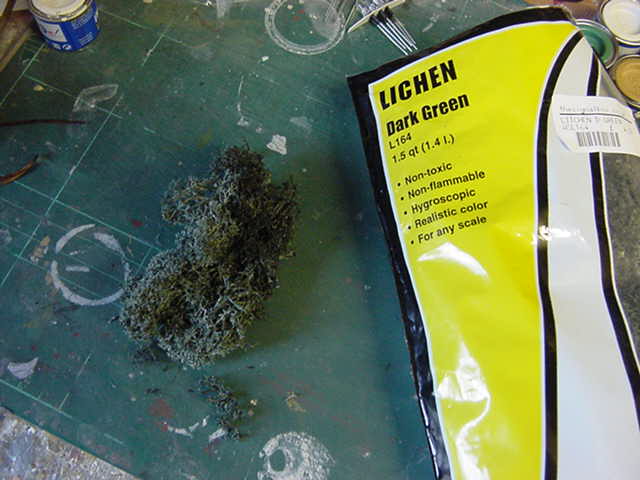
Some of the lichen was separated down into small bits and
put in position with the help of some very we drops of cyano.
Some of the ground scatter foam bits were applied to the
lichen sprigs using a brush on PVA glue that dries clear matt.
A few bits of lichen and scatter were used in the VIP lounge as well.
Pulling about 10 of them nice 350th L'arsenal figures from their bag,
some fiddly paintwork work with the 0/5 brush and the crew did
move in and take position
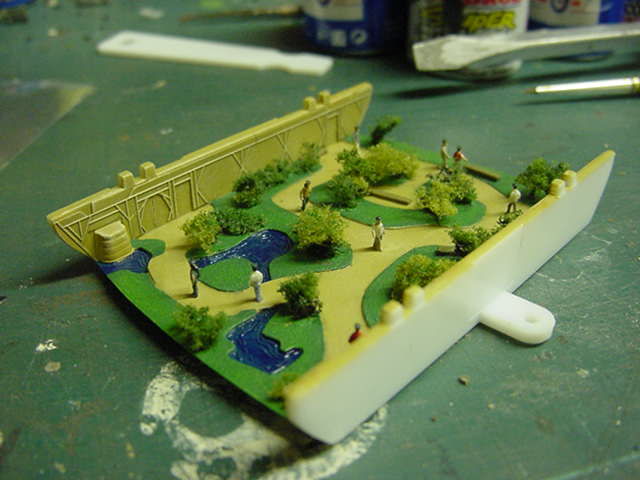
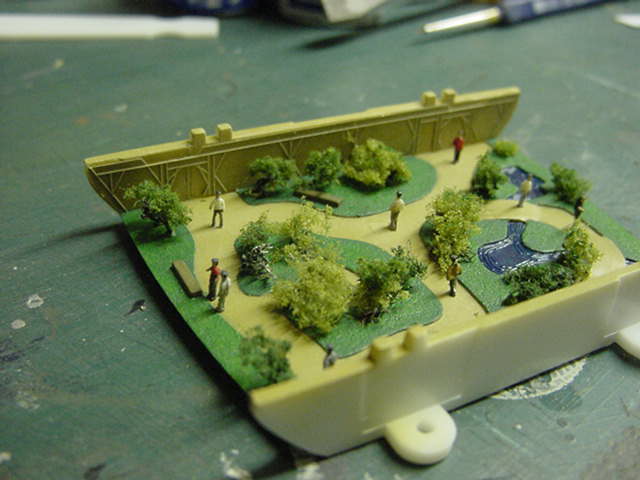
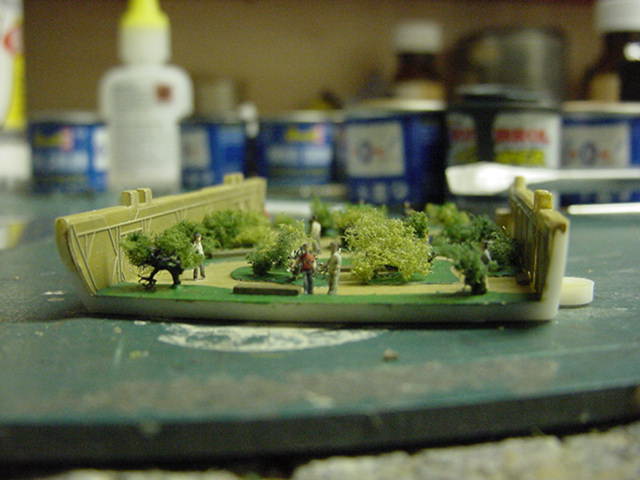
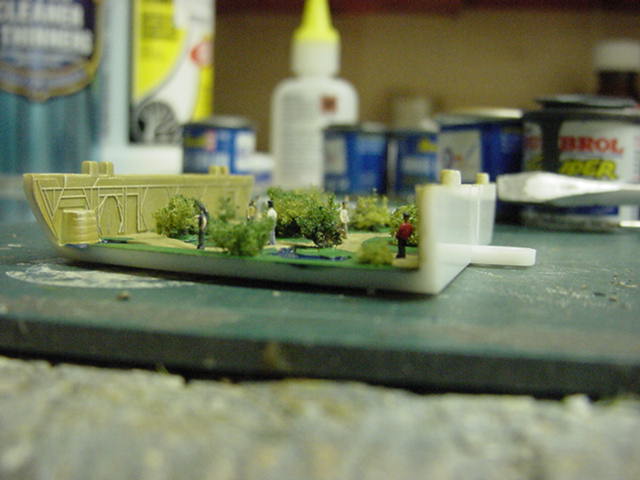
Likewise the figures painted to populate the VIP lounge and a
pic or two along with supplied stock decals and the deed was done.
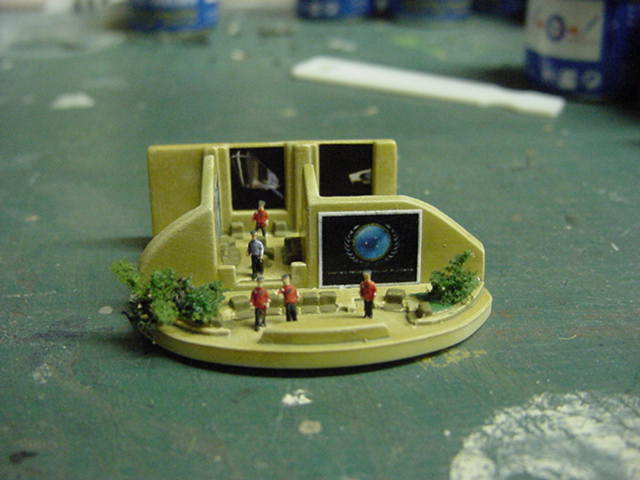
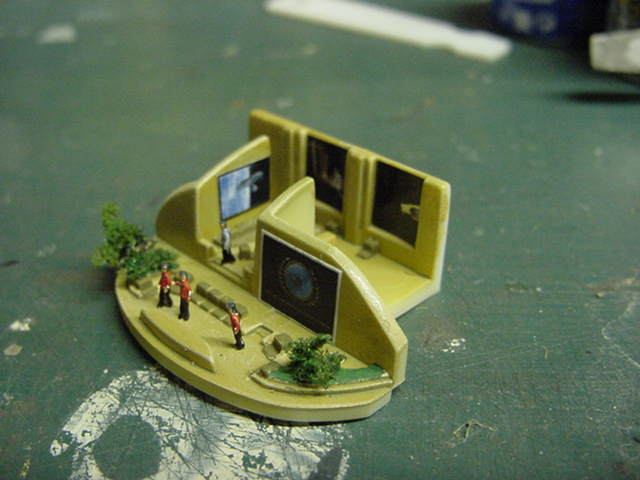
Not too shabby there methinks and that be that for this update.
Apologies it's been a while 'tween updates,
been a busy bugger since well before crimbo and new year with more
than just a few projects on the go but this is the only one that has a WIP
so it may not be the quickest in creation but we will get there
I assure you and fairly soon too.
Well, no rest for the wicked and even less for the modeler...
at least I think that's how it goes.
Go easy gang and i'll see ya next time around.
Page Number