
DeAgostini Part Work
'Build The Millennium Falcon'
Possibly Studio Scale Model.


 Page Number
Framing farting about, plating pandemonium, ...
And Some Moderate Modification Mayhem
Blimey, you lot got here quick!
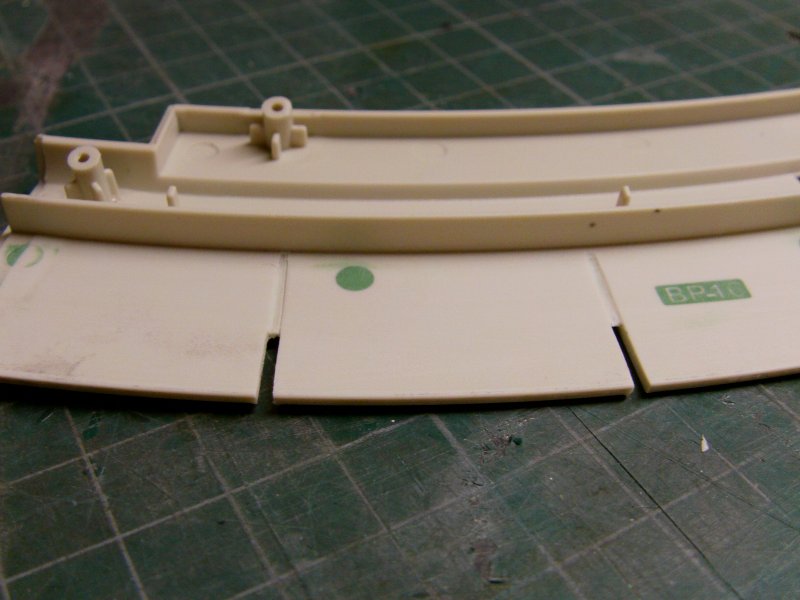
So now to the the destructions from the issue 46, starting with BP-01.
The ramp surround part was also fitted but said ramp
will not be motorised for the full on build.
I just don't see the need and neither does the bloke who will be
getting first refusal on it when it's finished so that's good enough.
it will be held shut just with magnets to keep it simple.
The interior will eventually have the frame removed and detailed out with extra corridor sections to join the interior up proper.
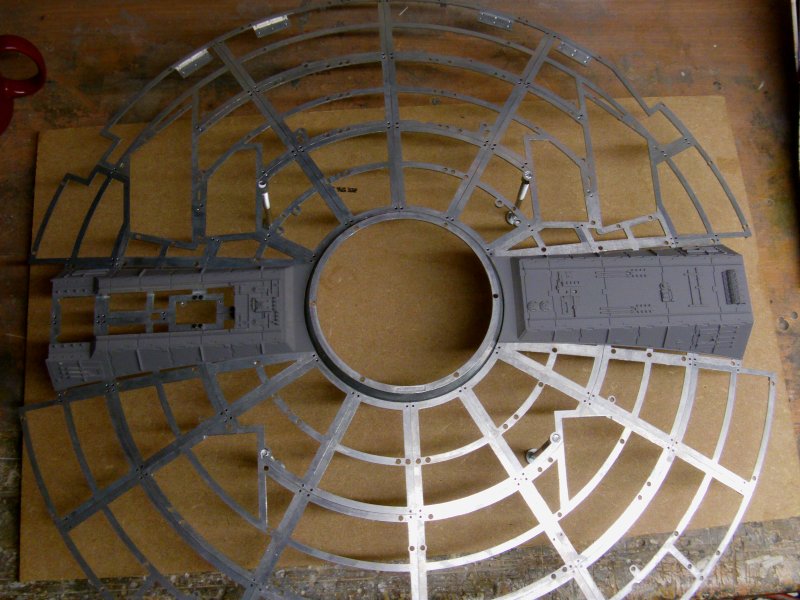
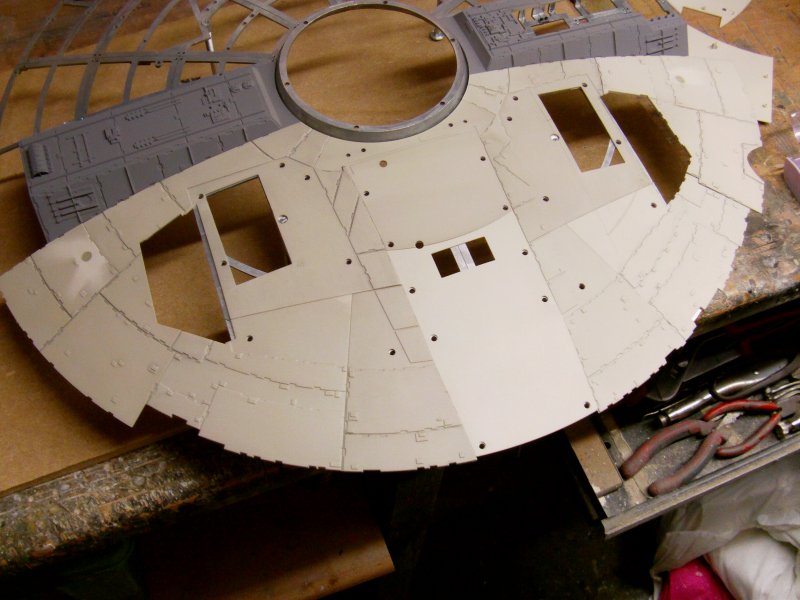
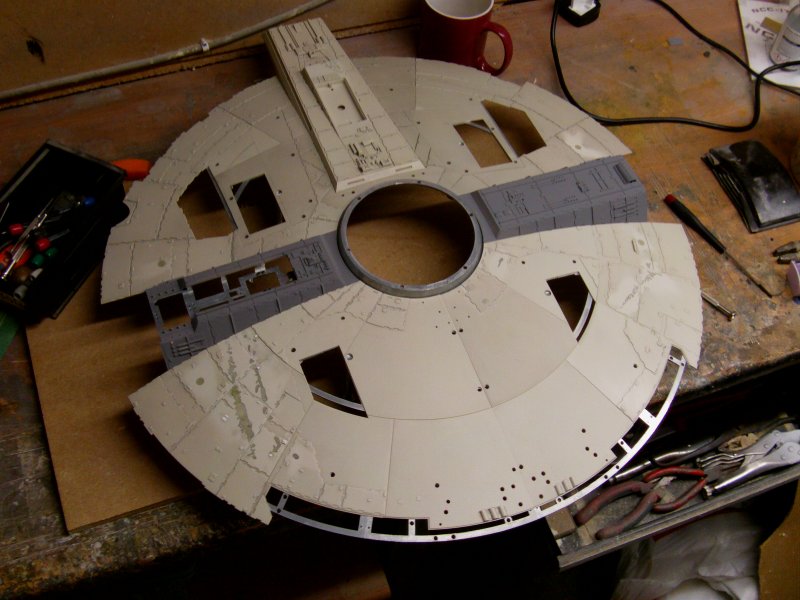
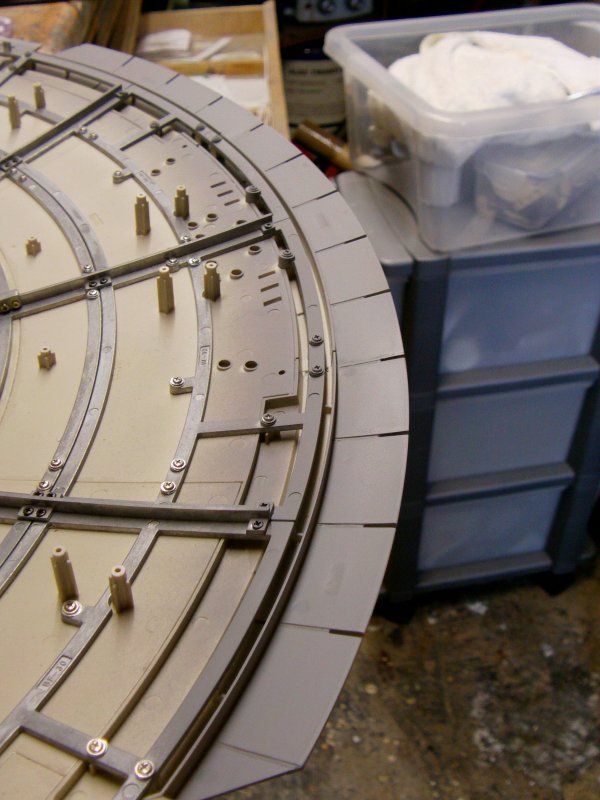
Onward with the bottom plating.
Parts fitted and screwed on in order, BP-10, 09, 11 and 12.
This completes the first quadrant.
The plates themselves have lap joint edges and the order laid down means that they secure each other quite nicely.
Coupled with all the self tapping screws, they are going nowhere anytime soon.
Or indeed anytime much later on either.
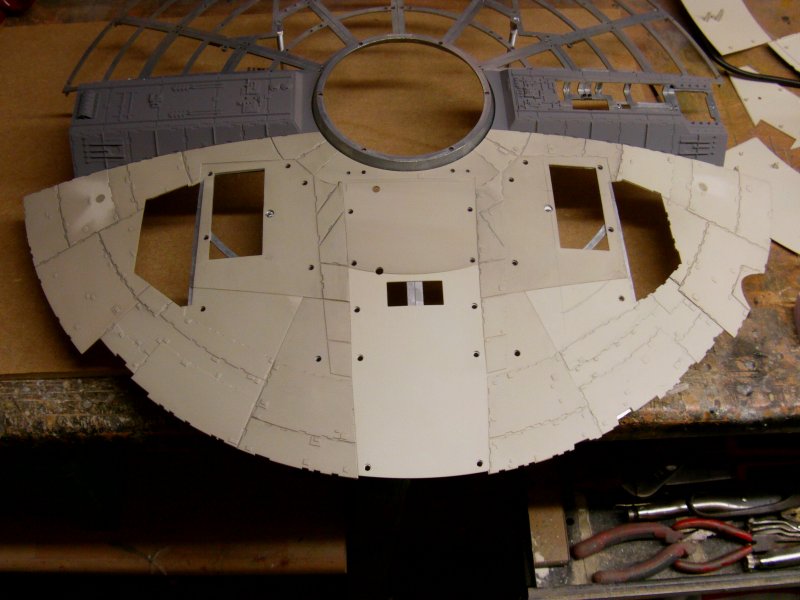
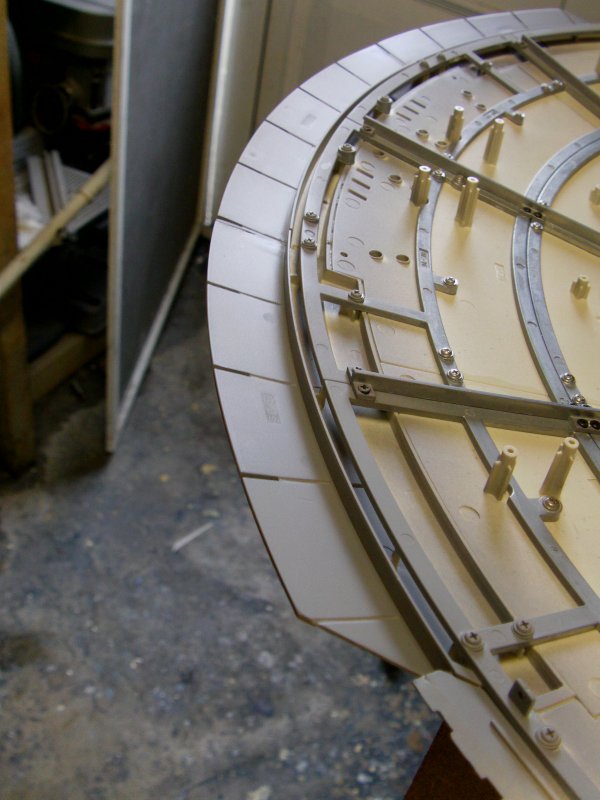
Proceeding to the rest of the plates for the front end.
BP-08, 07, 06, 04, 05 and 03 in that order.
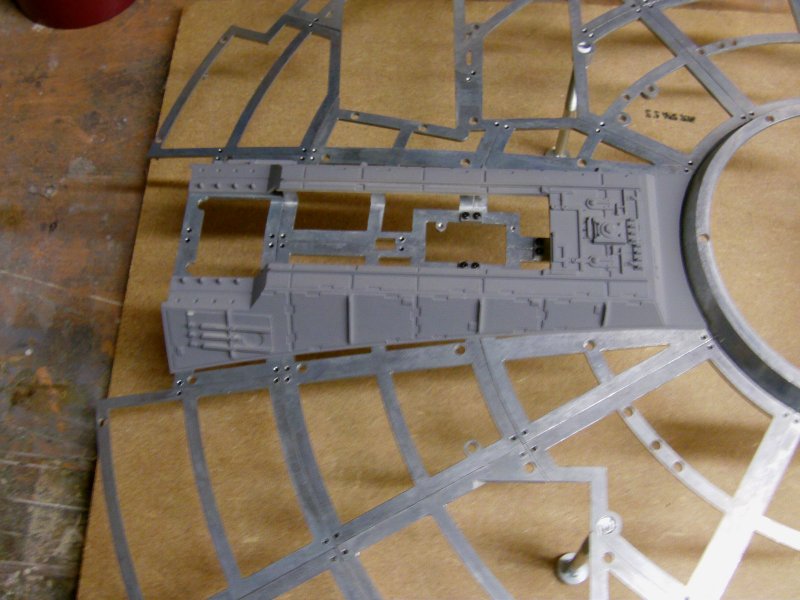
Skipping merrily ahead to issue 47 and fitting the bottom jaw box, Part BP-28.
Once all the screws are done up, it's a snug fit.
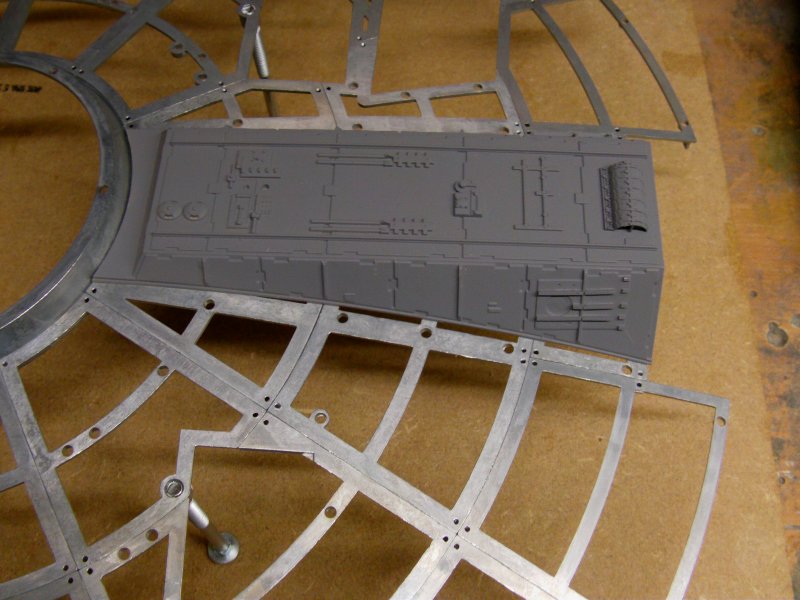
To the rear part of the frame and order of the plates are...
BP-25, 26, 24, 22, 21 and 19.
A thing of note here...
19 goes alongside 21 and the fit is such that 19 overlaps slightly instead of fitting flush as it should.
I encountered the exact same thing on the OOB build and I believe others have too.
The edge needs about 1mm shaved off the edge and the lap joint to get it flush but a bit of careful filing out can sort it.
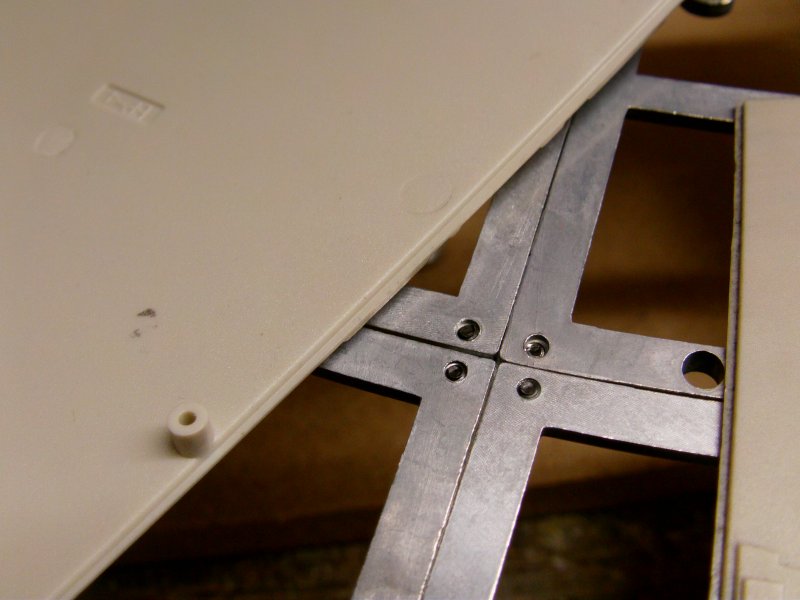
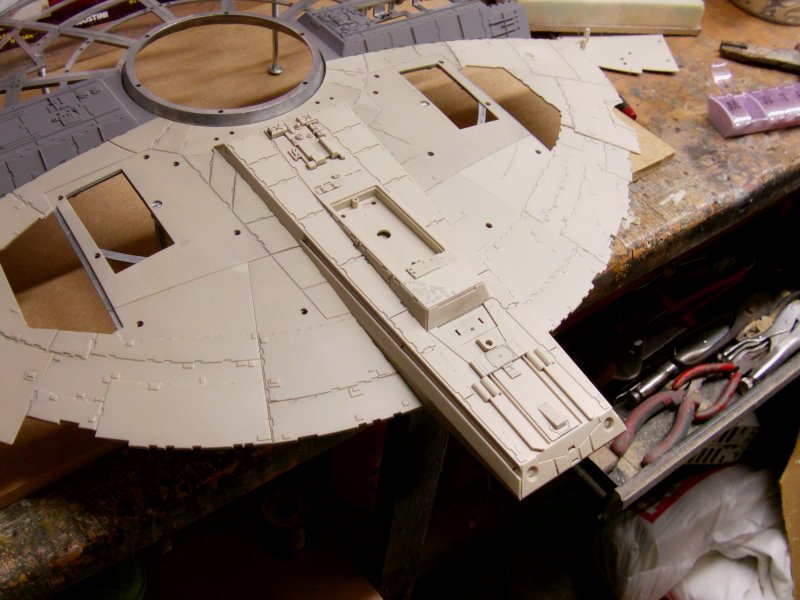
After this comes BP-17 and 20 screwed down but 14 and 15 were just fitted to check it would all go okedoke.
And it did.
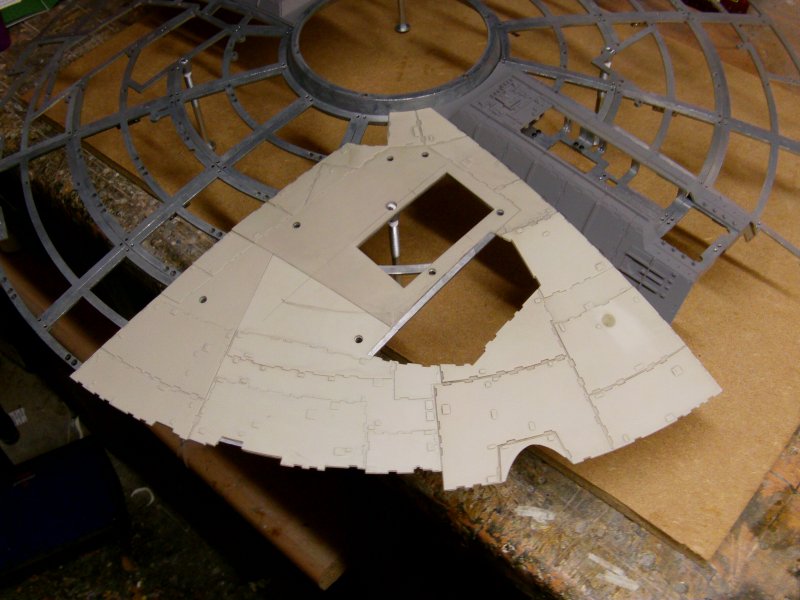
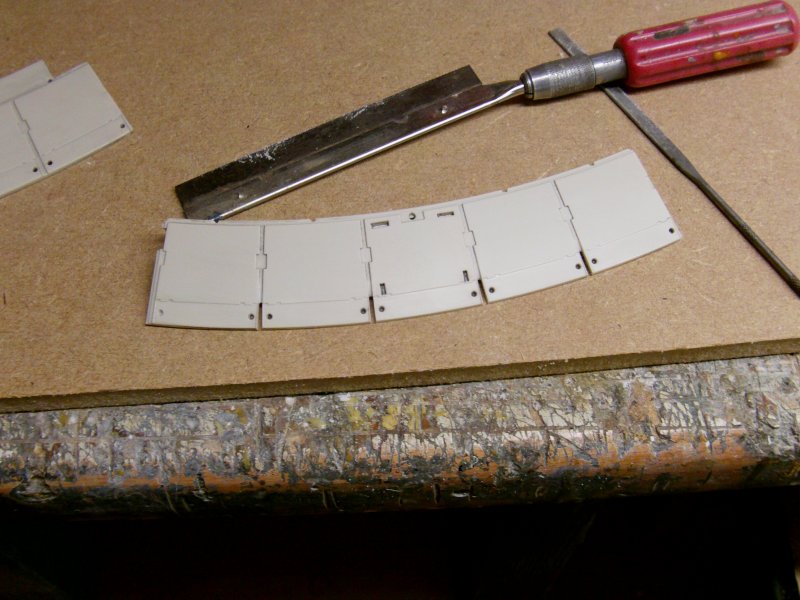
14 and 15 were removed for fitting the thrust vector plate parts.
Before doing so, a bit of fiddling about to be done
for no other reason than why not.
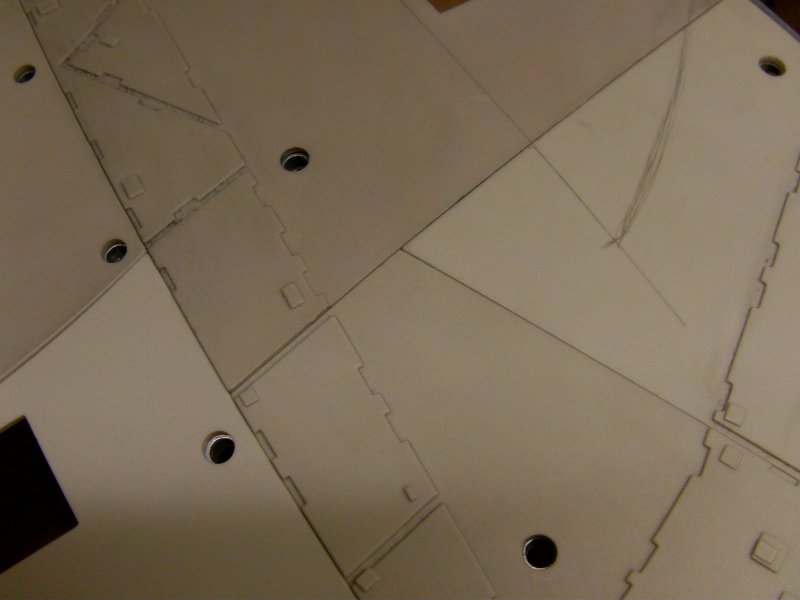
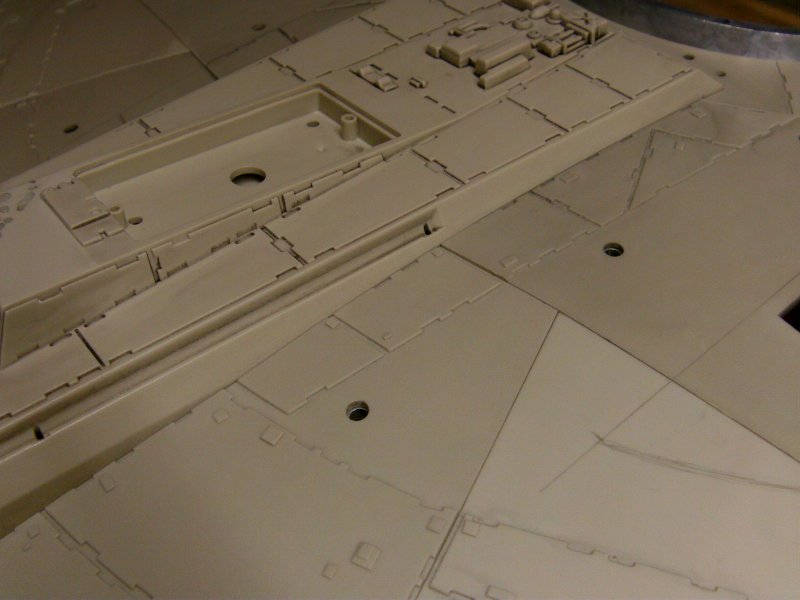
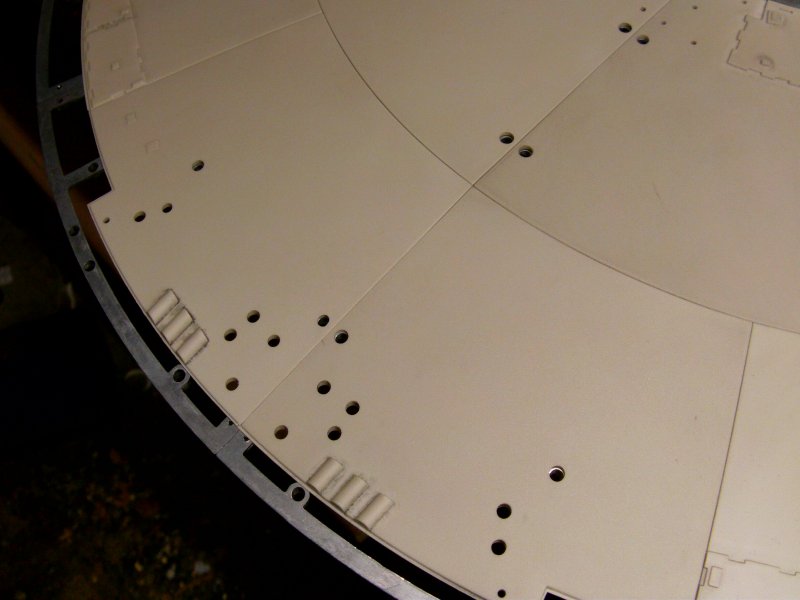
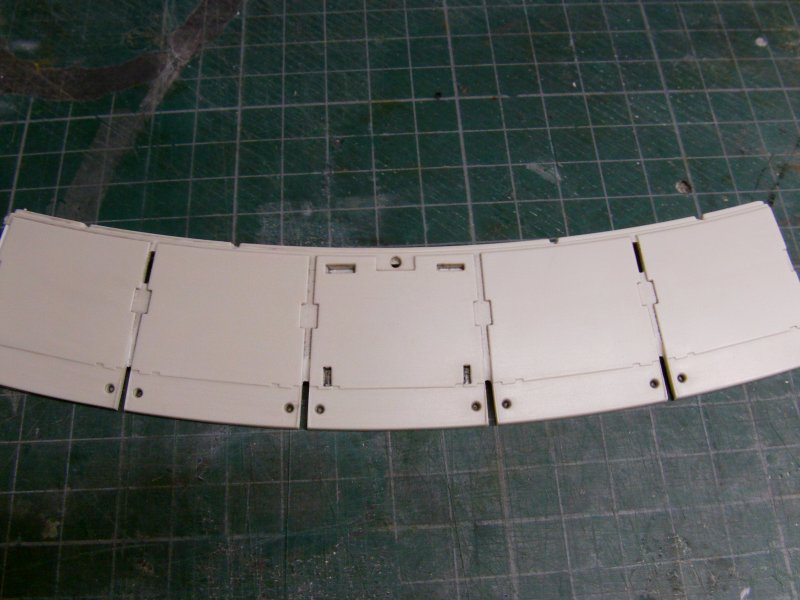
The inside of the plates have ejector pin marks and part numbers moulded in.
Not exactly what one was after so they got filled and sanded smooth.
Also I cut notches in between where the extra details would be fitted.
it's something like that on the filming miniatures anyway so why the hell not.
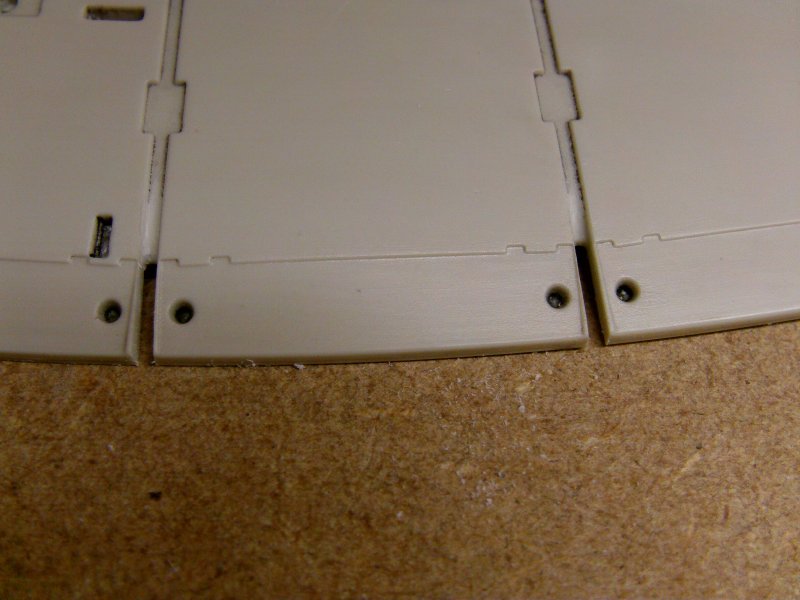
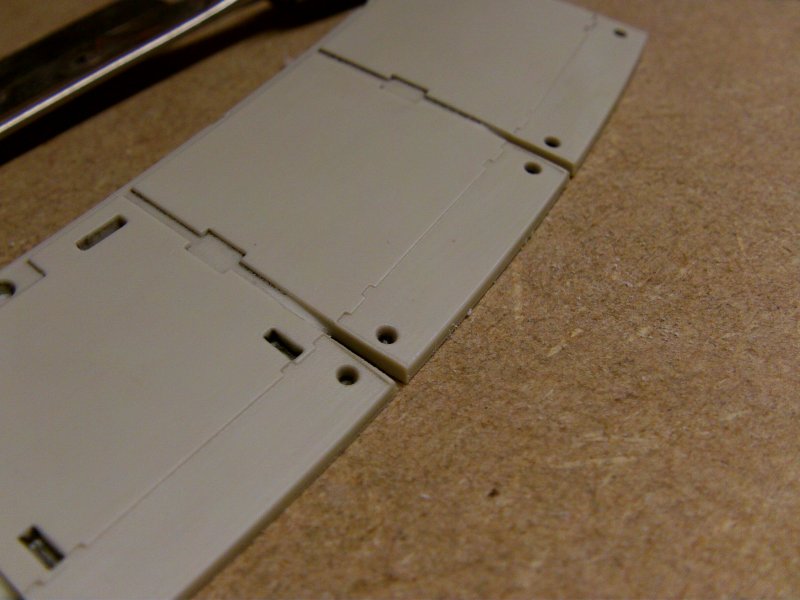
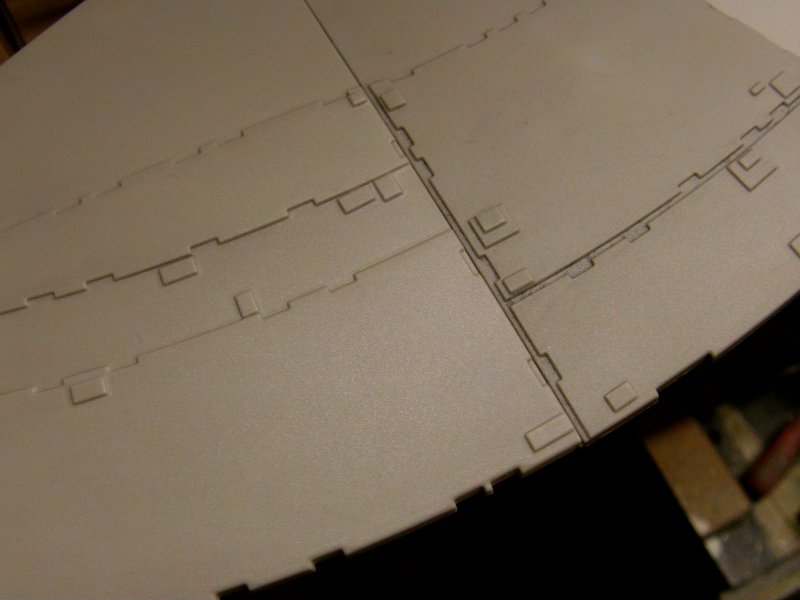
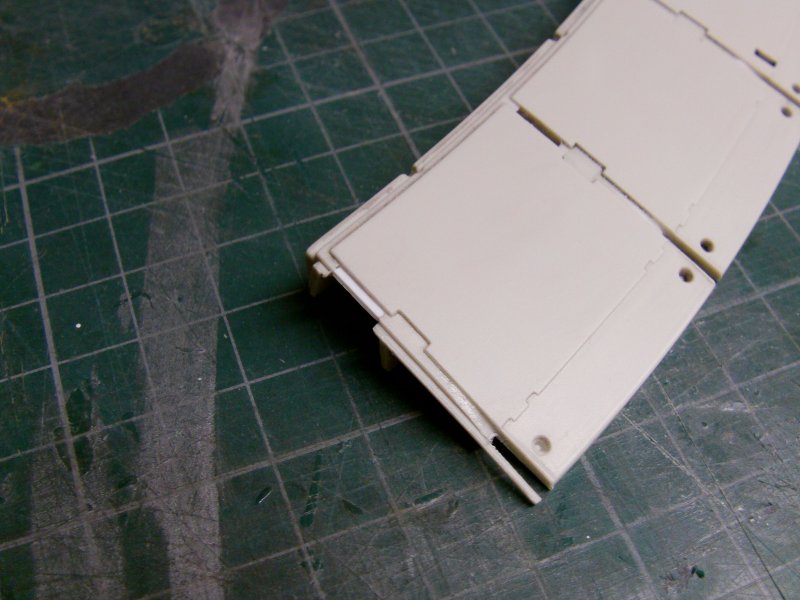
The inner surface got some file, scrape and sanding violence done unto it with grooves to match the outer surface.
it just looks a bit better than a bare flat surface so it's all good.
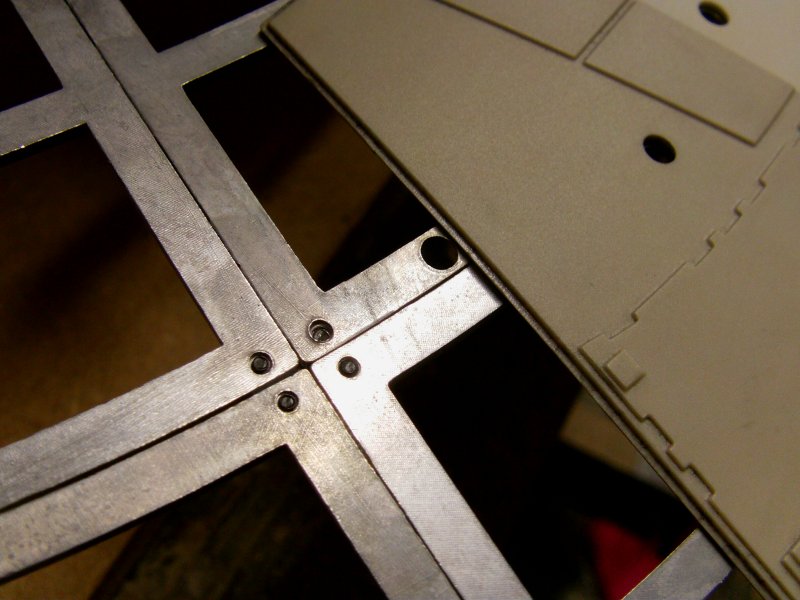
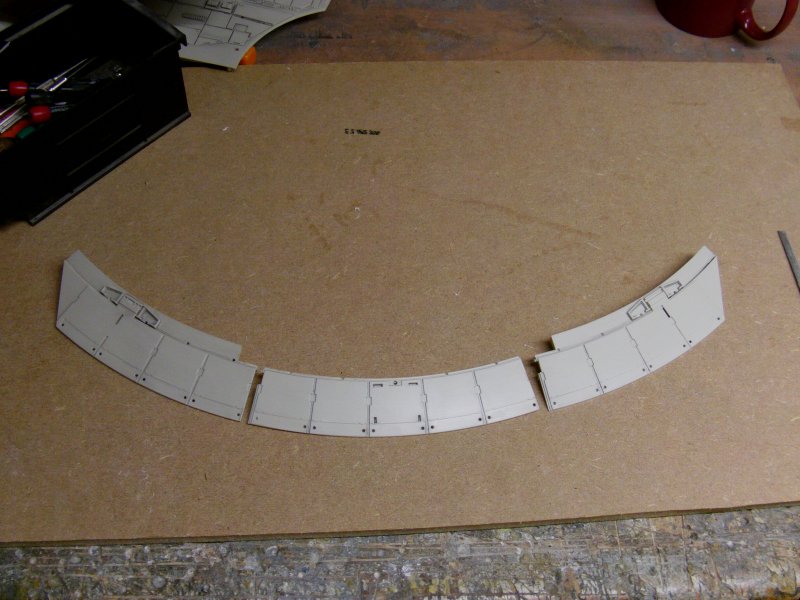
The vector plates have slots in four places for detail parts to be fitted...these.
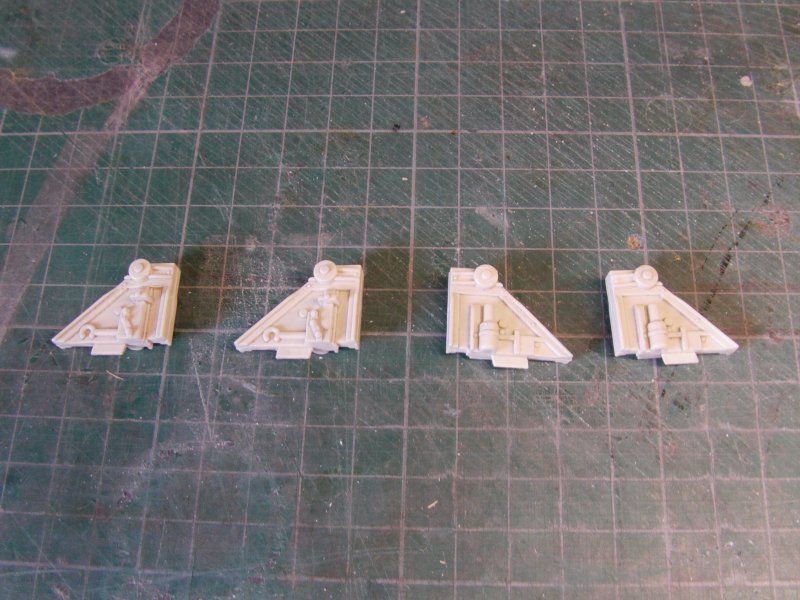
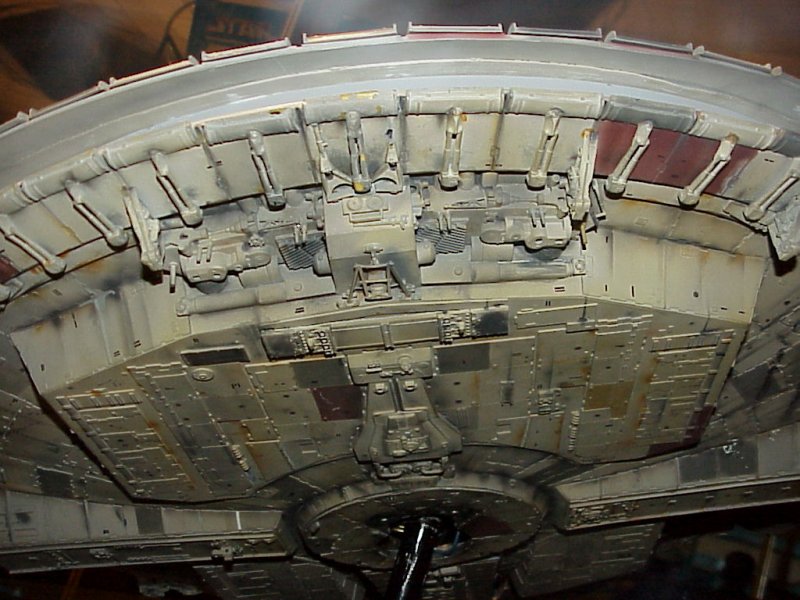
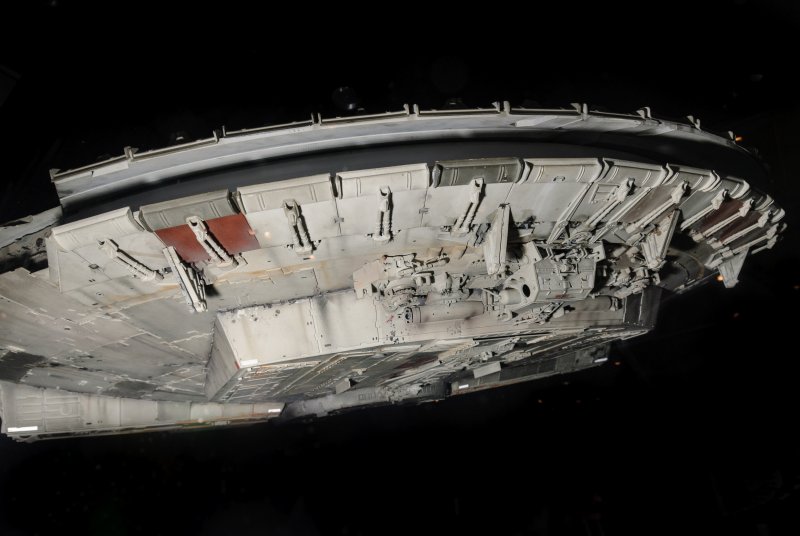
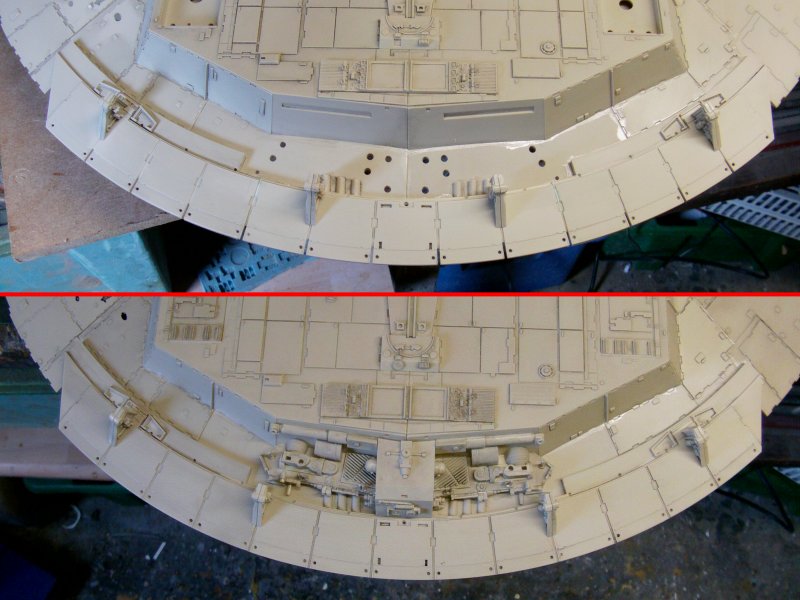
Now there is a difference in placing between the 32" Falcon and the 5 footer.
The two in the center are closer in on the 5 footer and that's the look i'm going for with the full on build.
The pics of the 32" and 5' in order below.
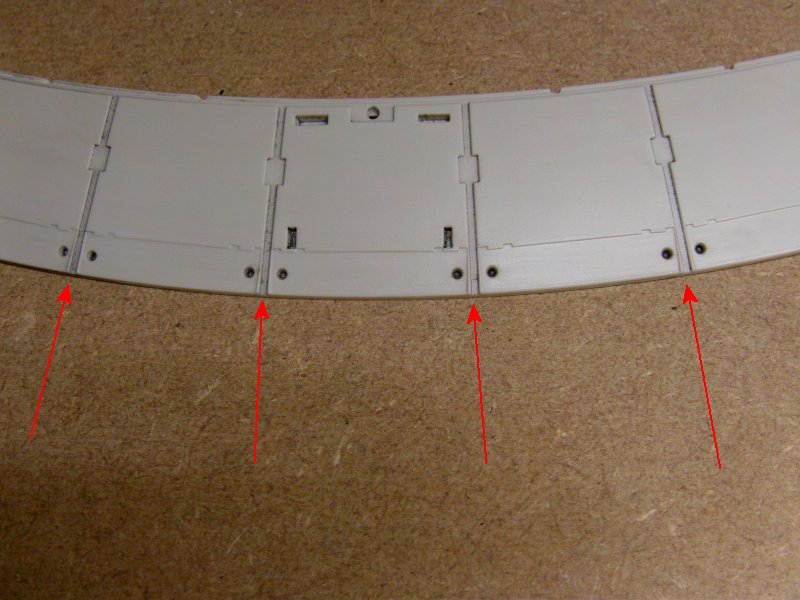
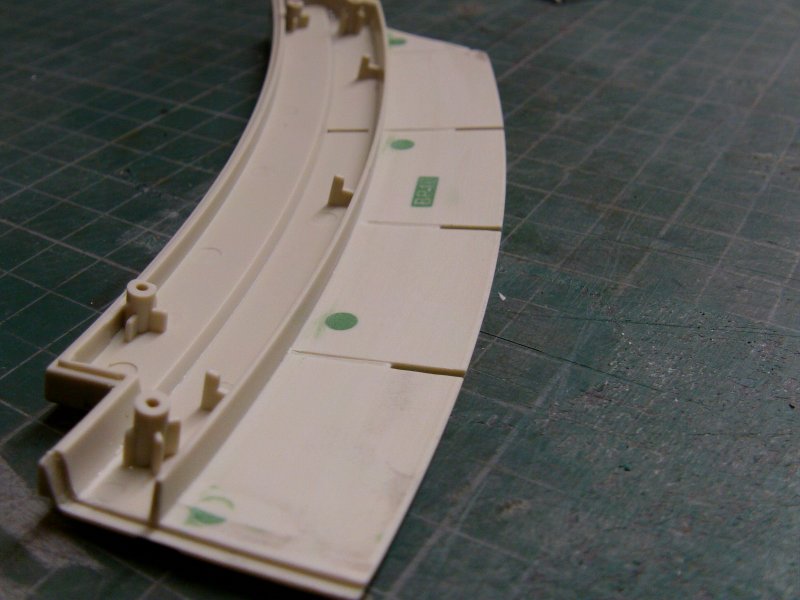
So a shift of the holes with a bit of drill and file action got those sorted.
The original slots got filled in with a tiny bit of styrene strip.
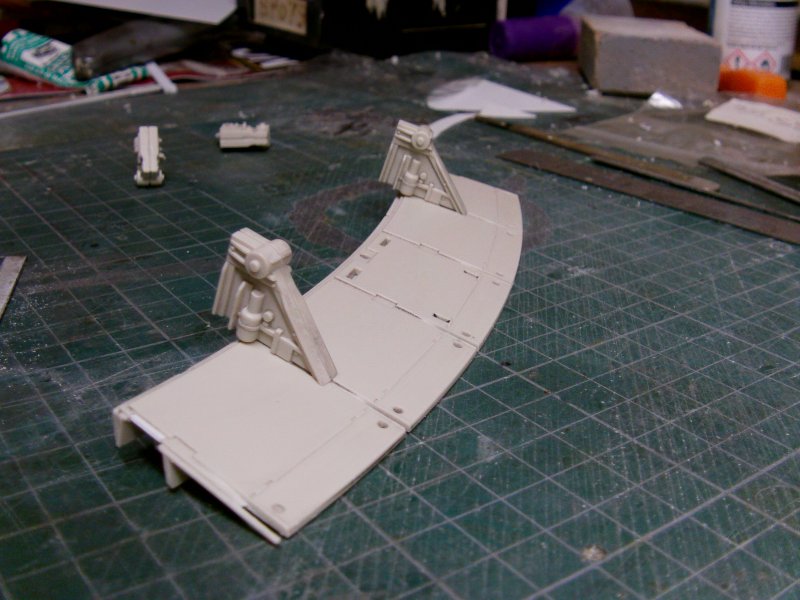
That done, onward with the fitting of the vector bits and the final bottom plates.
Those along with BP-30 & 31 with the center detail parts added as per the instructions in issue 47.

A quick comparison shot of the full on and OOB build with the placing of the triangular detail bits.
The inside surface of the vector plates got a lick of primer for a looksee.
So then, since the full on build is going to be the 'A New Hope' version,
some sodding about with the forward belly plates is on the cards so outward to page 14 with thee.
Page Number