
DeAgostini Part Work
'Build The Millennium Falcon'
Possibly Studio Scale Model.


 Page Number
Well more like page eight and three quarters as it's not all to do with the Falcon build as such
But it is Something To Do With The Geezer Who Flies it
Whatho gang!
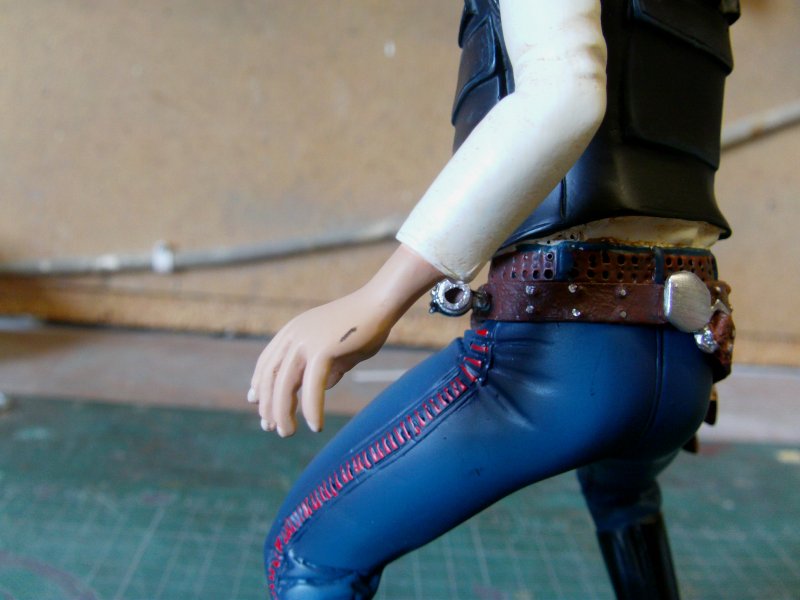
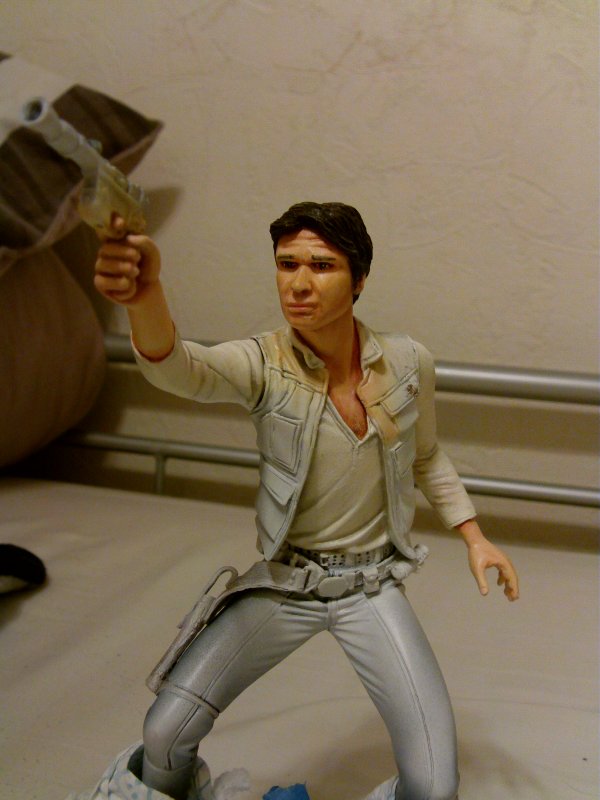
Right then, this is just an additional thing to do with the limited edition Han Solo figure us subscribers do get.
He stands about 7 & 1/2" tall on the base.
This is the figure in question.
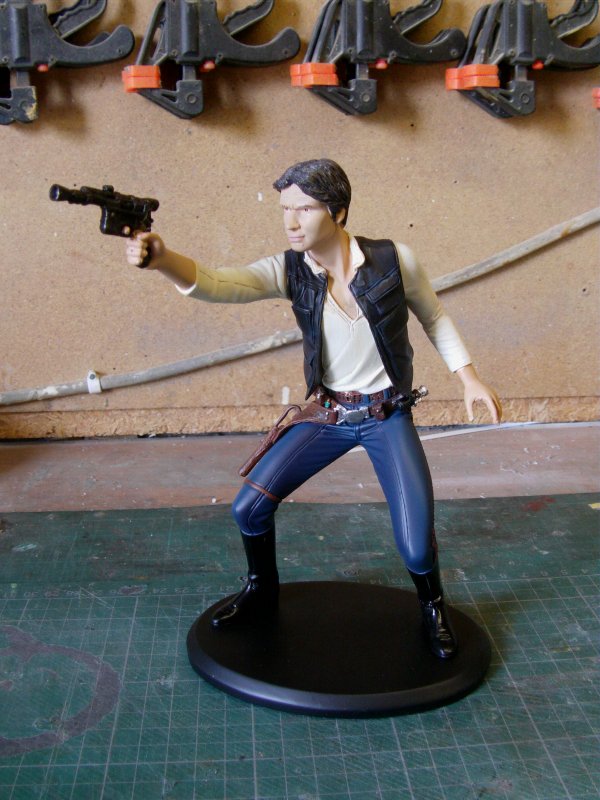
Not too shabby for a collectable but them i'm not a collector as such.
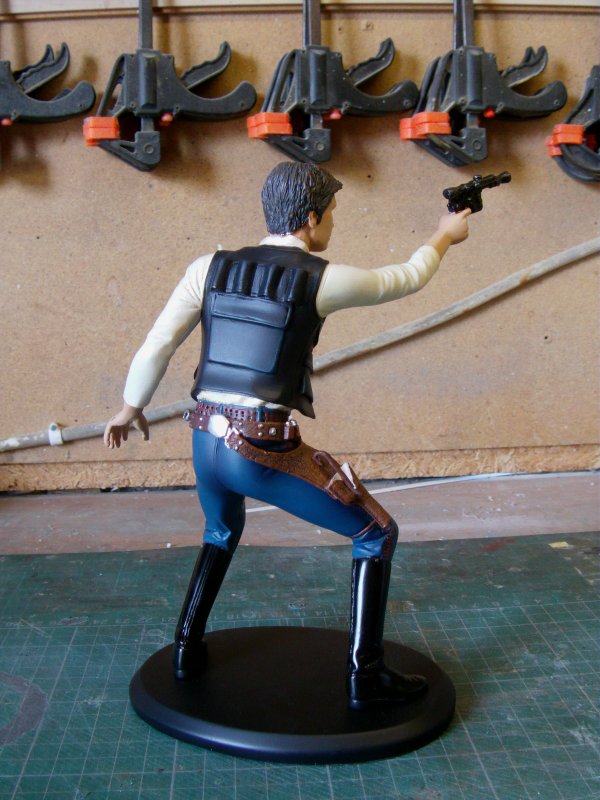
Seeing as i've knocked a few figures together in my time, a closer look and here's where the problems start.
At least for me.
There are a few paint errors.

Ok, sometimes that's just par for the course but sorry Deagostini,
it's not good enough for me but then i'm bloody awkward like that.
Just incase you hadn't noticed like.
Some of the paint divisions are none too clever so that will be getting addressed,
The damage as it came also.
Like this.
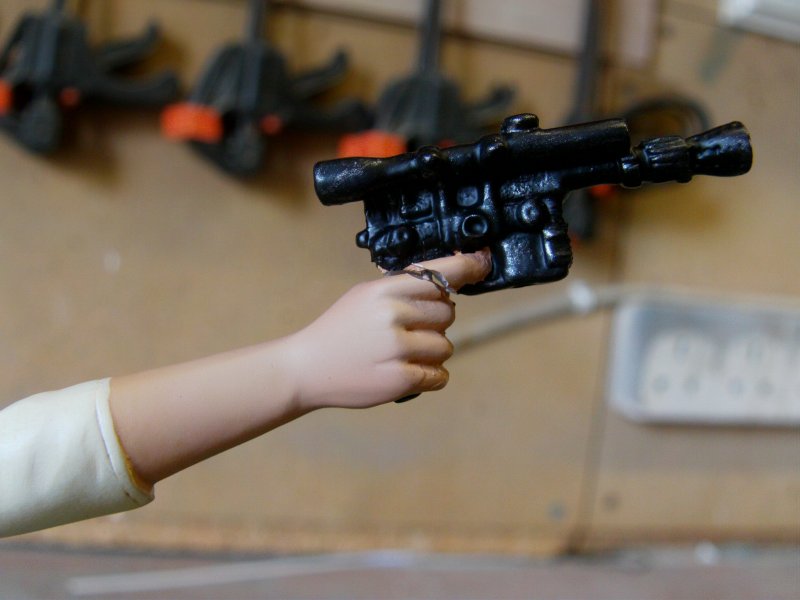
That's unfortunate but it's sometimes how it is and to be honest, the packaging wasn't bad so
ya win some, ya loose some but it's nothing that can't get sorted.
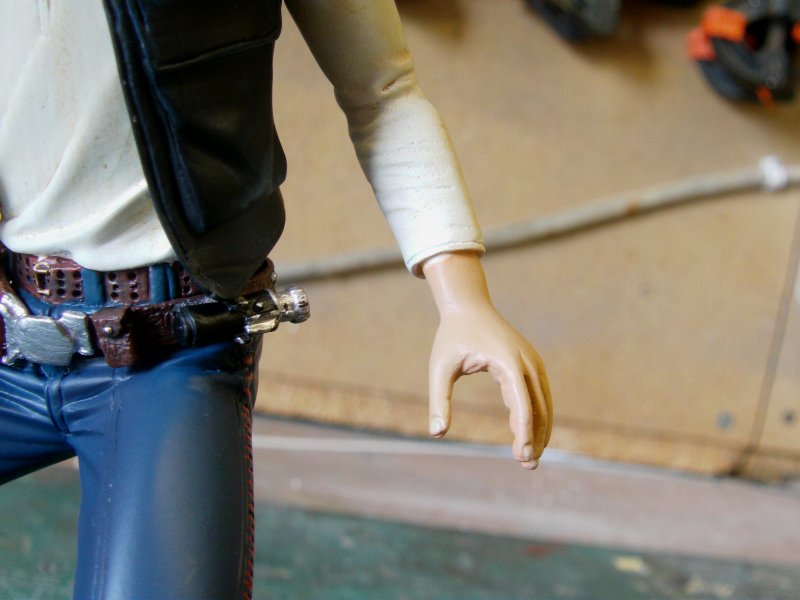
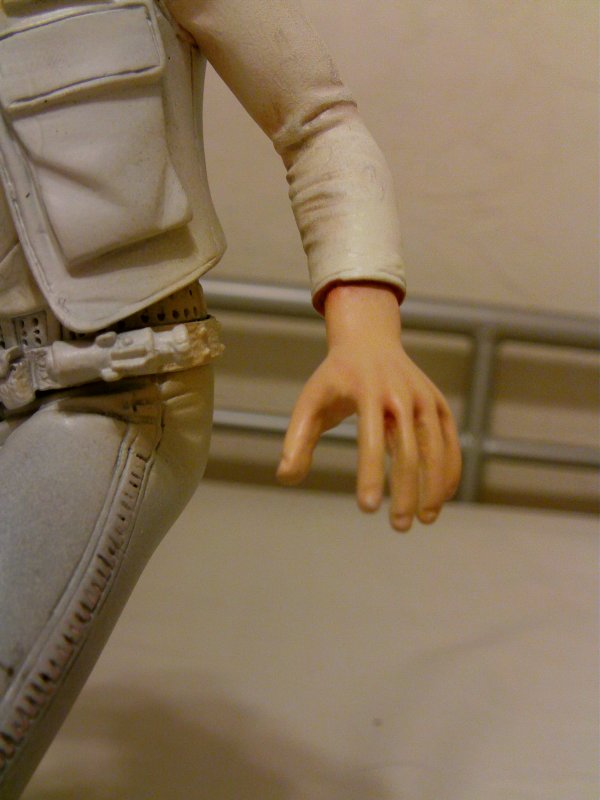
One thing that did kinda rankle me a smidgen, the bottom of the holster doesn't join the lariat around his thigh.
Well as it turns out, the holster and belt part of it is made of soft metal.
As I found after I warmed it up mit der hairdryer, gave it a nudge to get in to the correctish position and then
drilled and pinned it with a short length of steel wire.
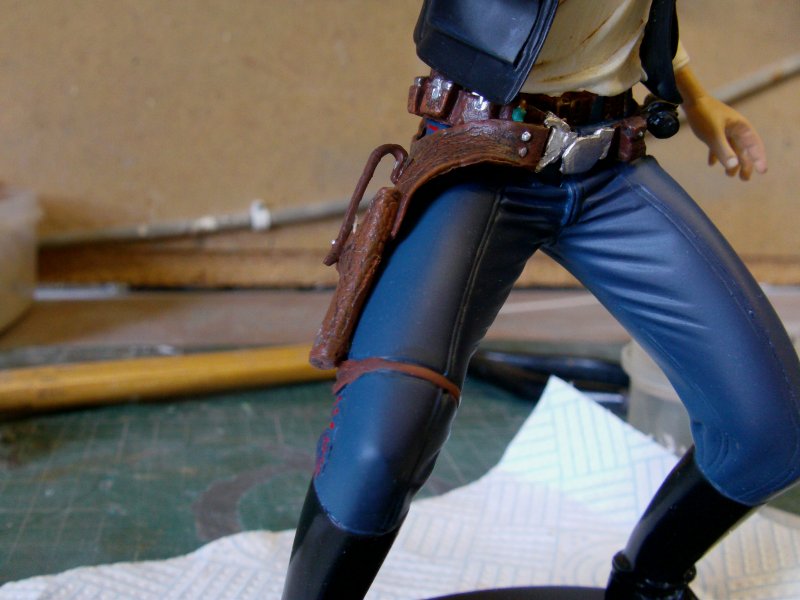
Much better!
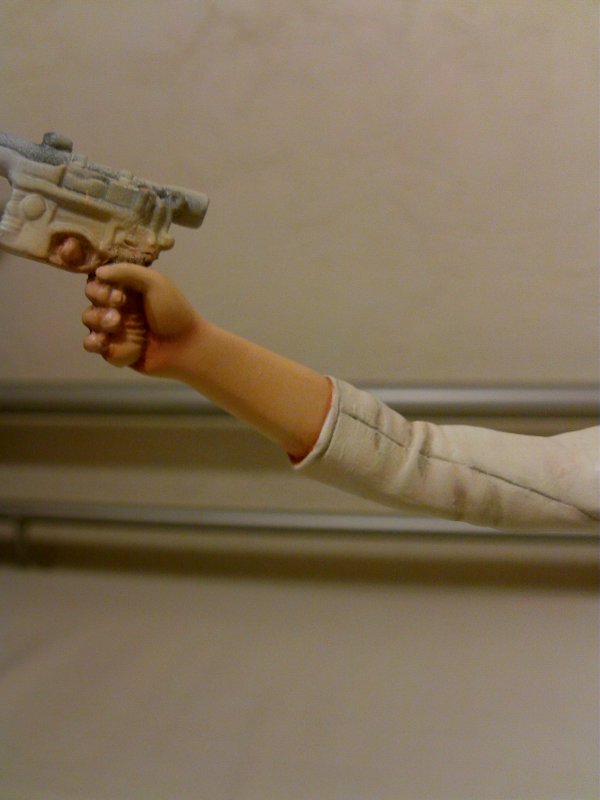
So then to the clean up and repair of various bits which didn't take long.
Just reseated the gun and glued up with a bit of Apoxie Sculpt added to the bottom of the holster to make sure it met the lariat.
Ran a scriber around where the shirt sleeves ended and the arms come out to sharpen those area up.
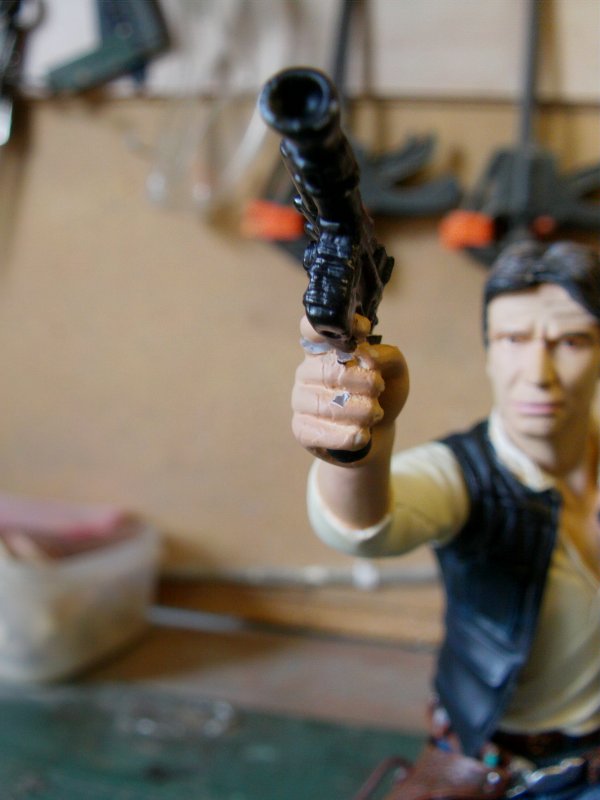
A spray of Tamiya fine white primer then to the paintwork.
Which sorts looks like this at this here point in the proceedings.
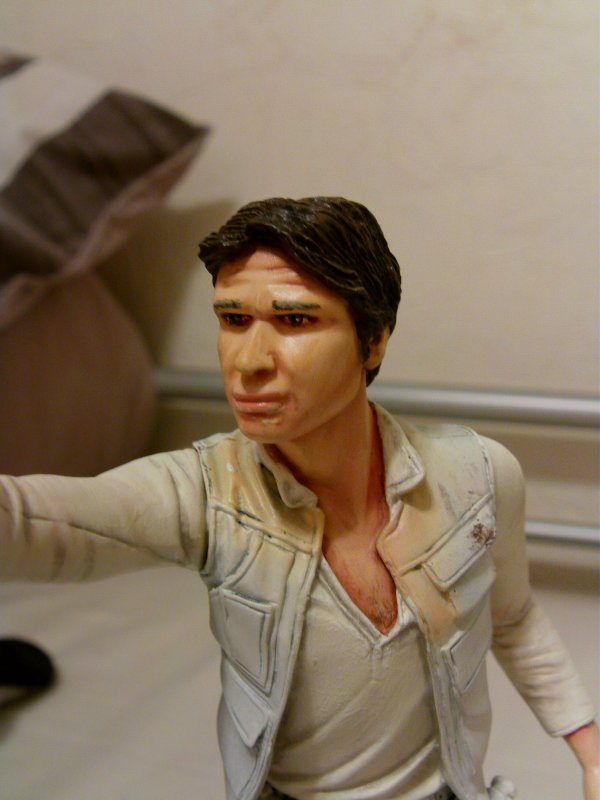
Nothing more elaborate than Vallejo acrylics both brush and airbrush applied with some pastel shading
but starting to shape up even if the face sculpt is less than spot on.
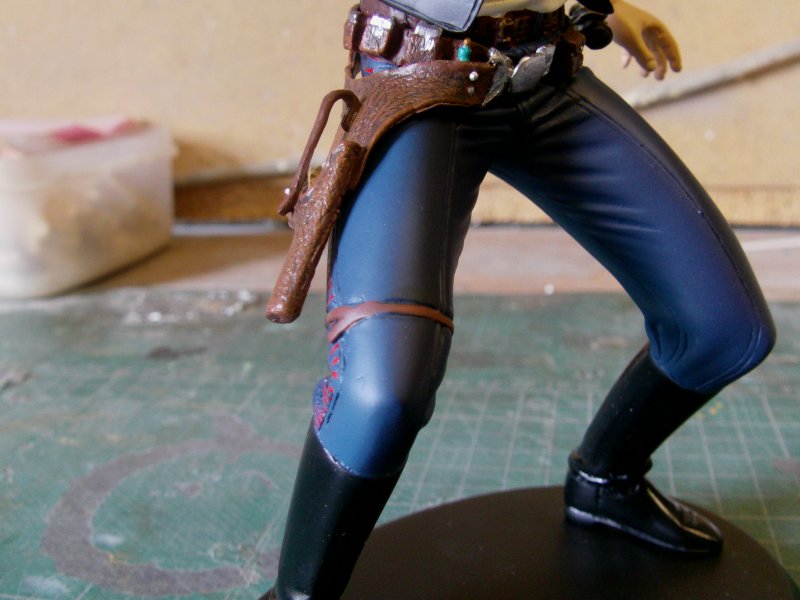
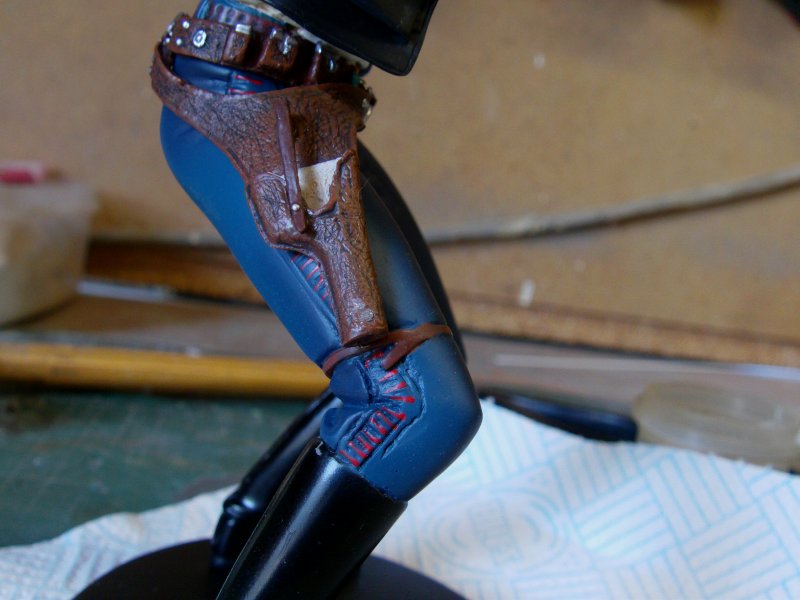
So to cut a long story short, it continues with the waistcoat and trousers for which acrylic black
and enamel blue (as it's the only decent blue paint I had at the time) got used respectively.
Then came the shade and dry brush routine.
Detail work on the trousers with the red markings down the sides.
Then to the belts and holster thingy, again, just acrylics with wash and dry brush doo-dads.
A goodly coating of acrylic matt and then to the non-matt belt buckles and associated silvery stuff!
A lick of glossy black on the boots with a smidgen of shading and we be done!
So the before and after pics as it were.
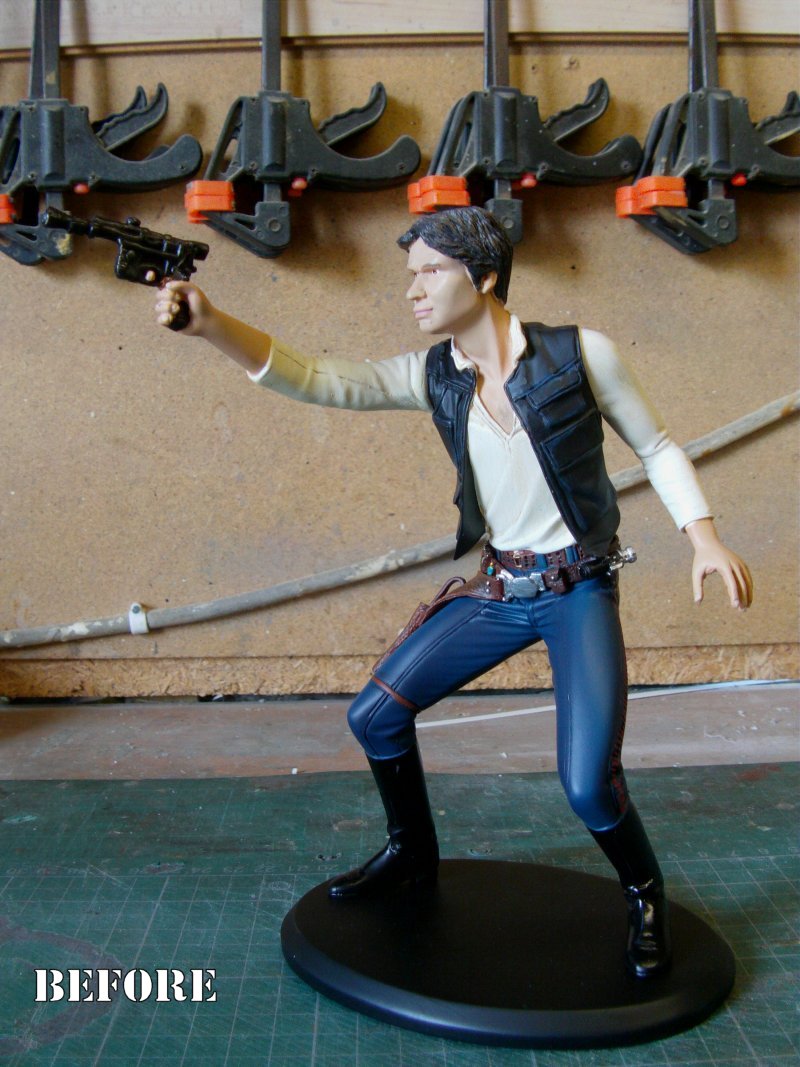
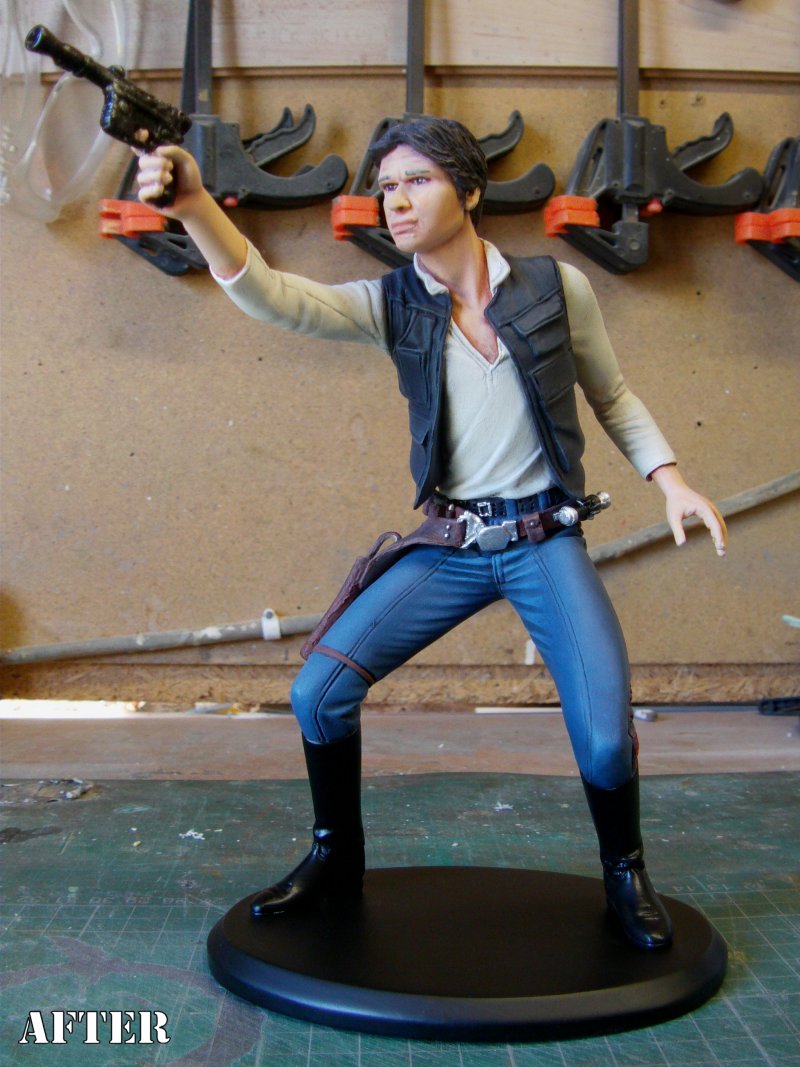
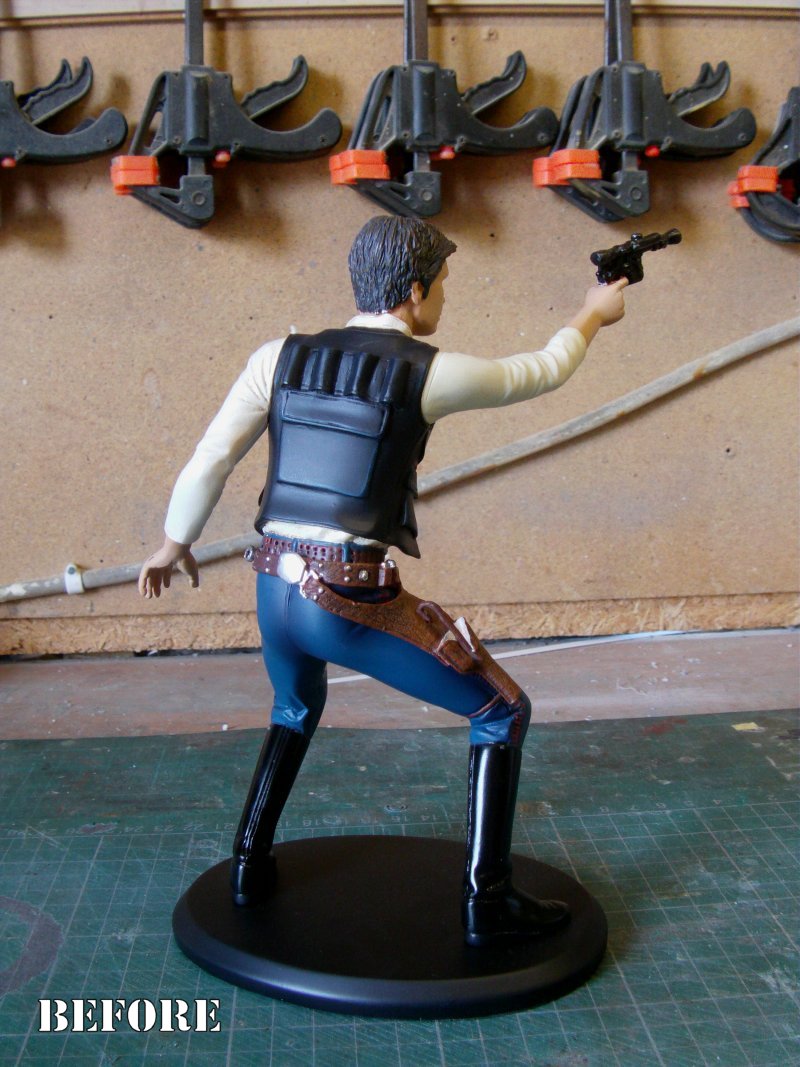
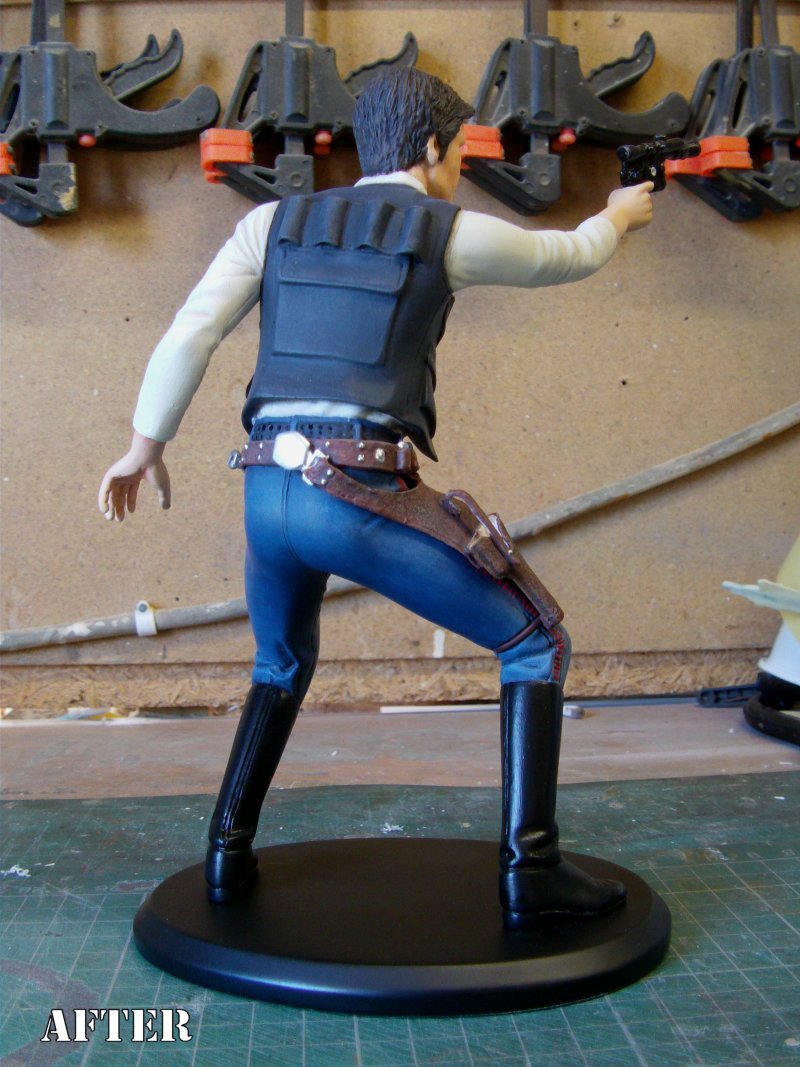
And that fits the bill for me!
I may shove a gallery proper up in the figures section
even though it's been flogged off on ebay but for now...
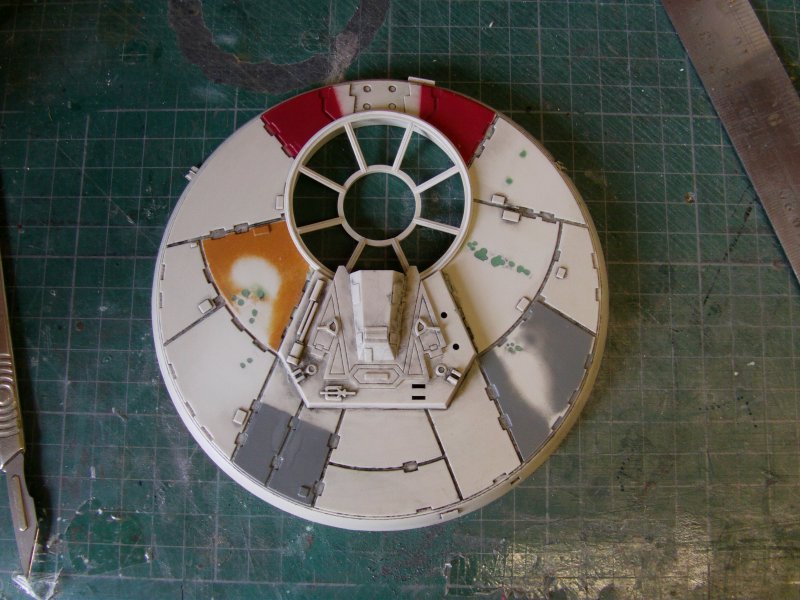
it's cockpit time!
Ok, going short and sorta sweet with the OOB build stuff.
Going along with the right instructions but not necessarily in the right order,
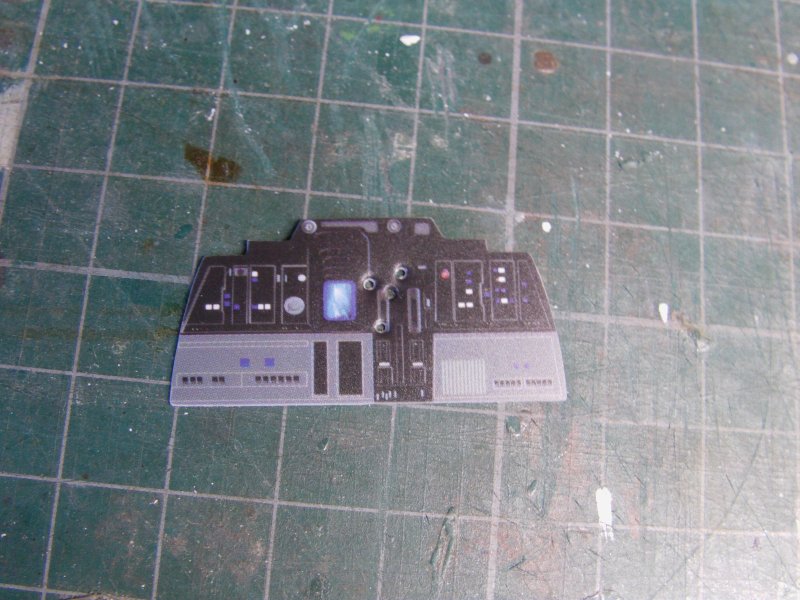
the front instrument panel.
Consists of a plastic bit and a sticker with some holes in.
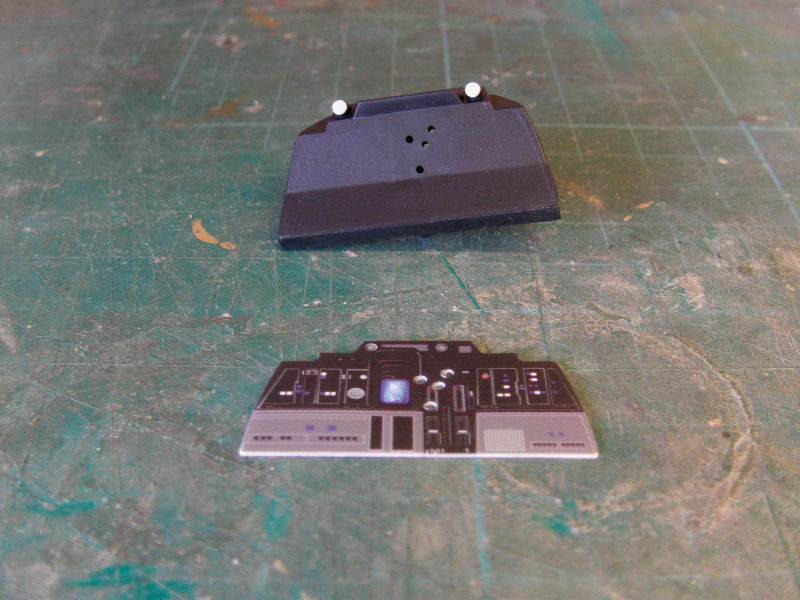
Now the surface the sticker has to go on is a bit matt in finish
i've heard tell that some folks have had the sticker...well coming unstuck and that's not the plan.
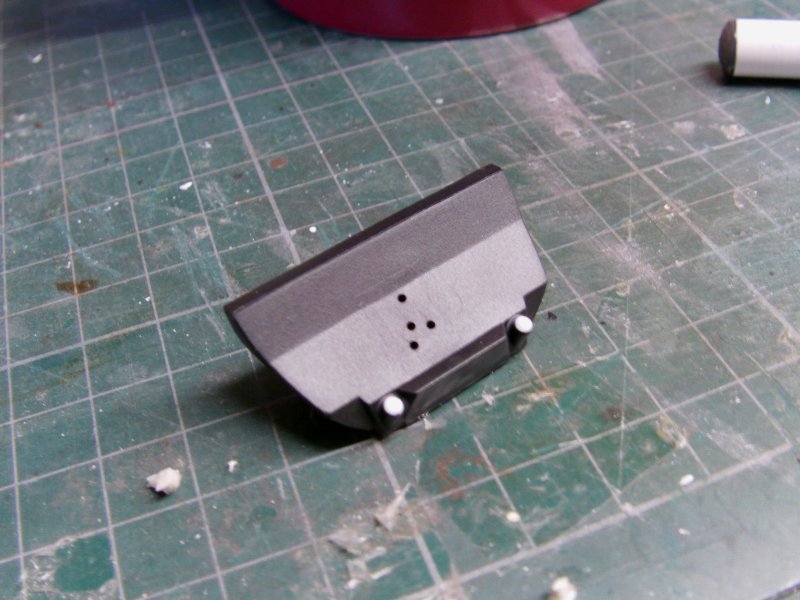
A quick rub down with a 3000 and 6000 grit polishing pad imparted a slightly
smoother surface and a rub down with alcohol to make sure it's as clean
as a whistle should help matters one hopes.
To further help I hope, the sticker got a slight crease to conform a bit better.
The sticker is no thin material either but with luck, the bugger should stay put.
Backing peeled of and placed more or less where it should be.
Wasn't too crazy about the white edge around the sticker so some black paint got slung in it's general direction.

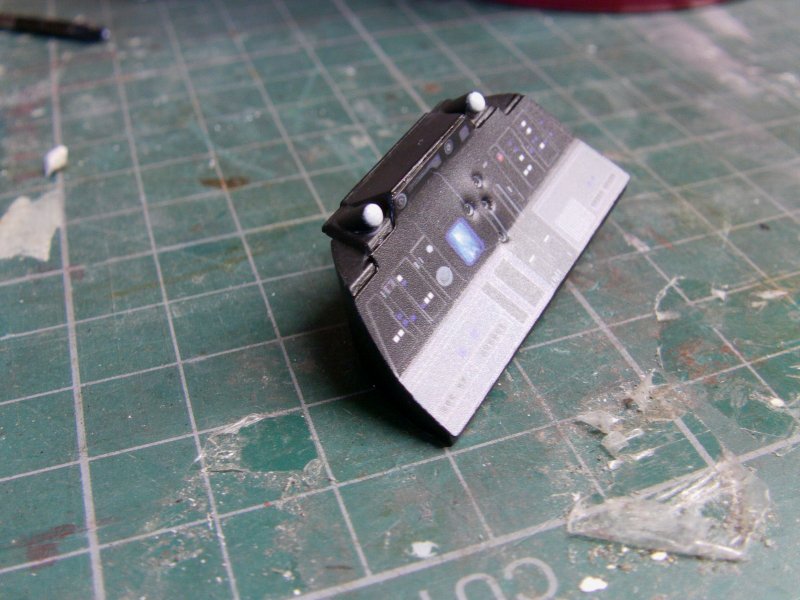
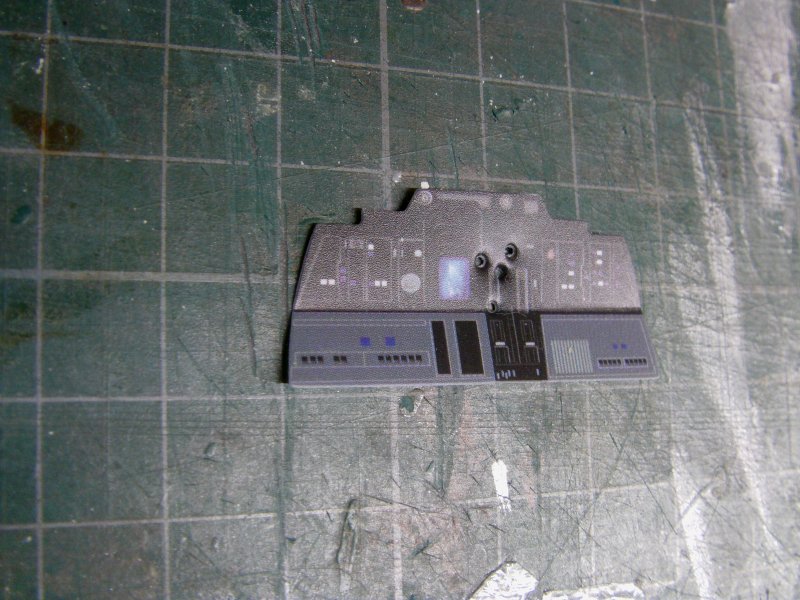
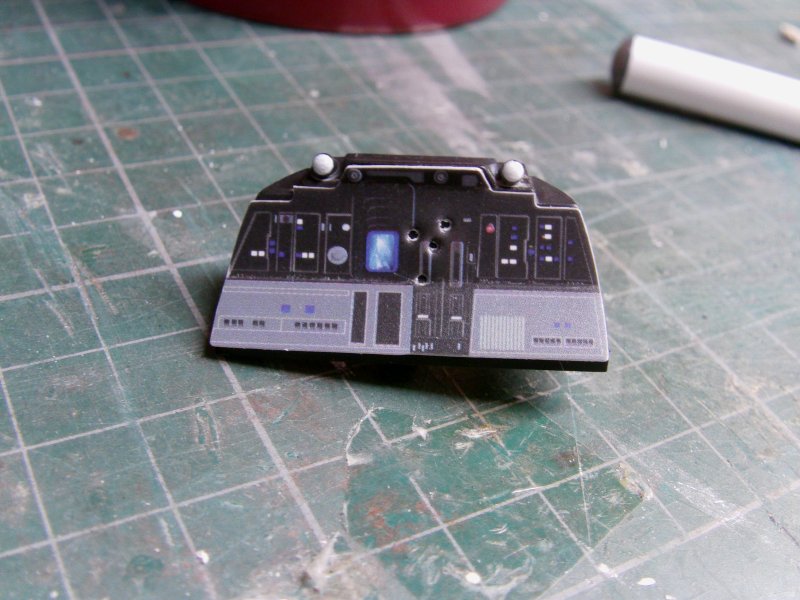
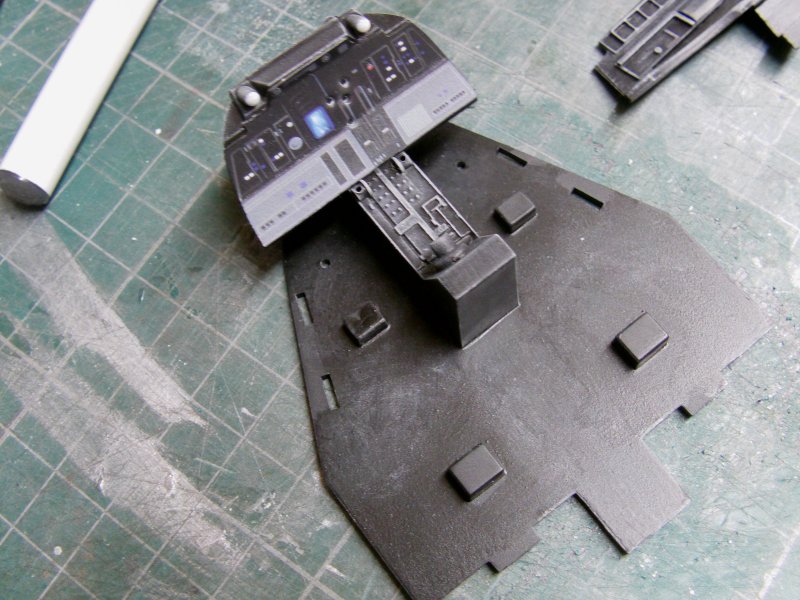
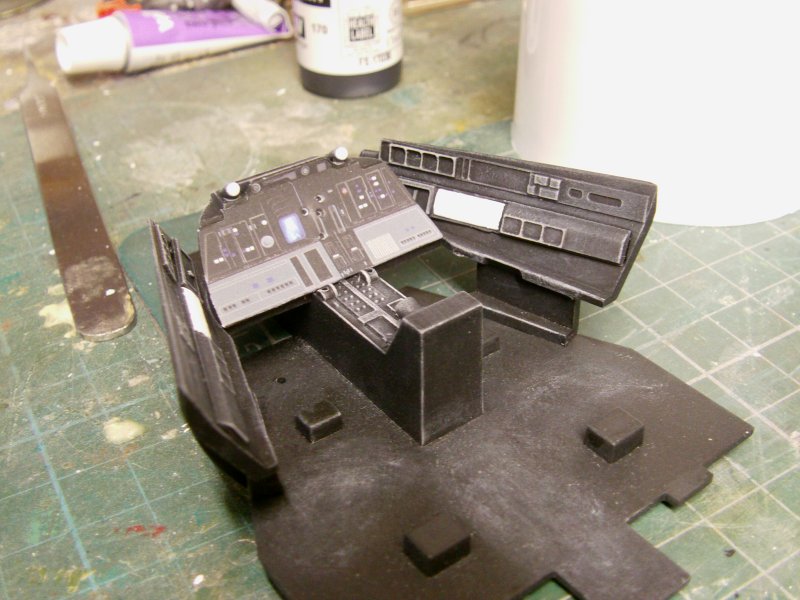
And so 'twas attached to the cockpit flooring, the front detail piece was fitted
and lo, there was much acrylic matt black applied.
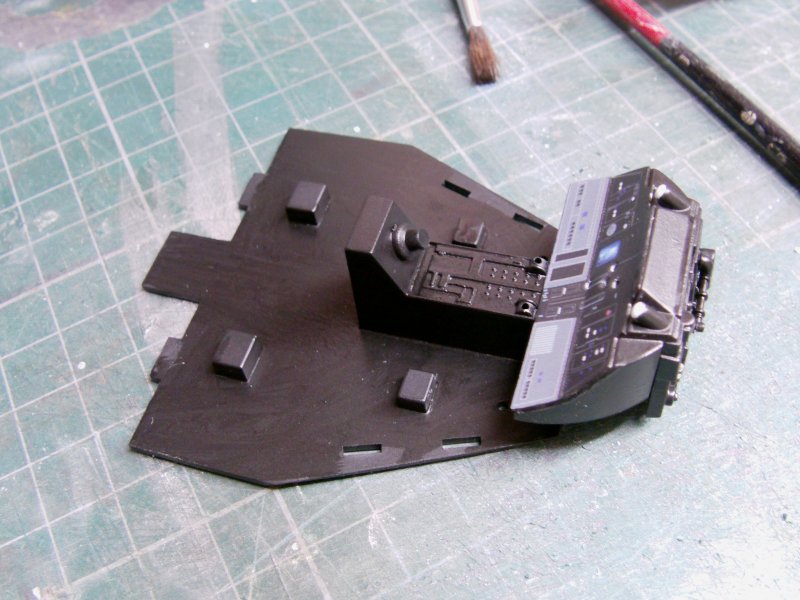
After which came the blessed multi shades of grey dry brushing.
and it was good...
Well it looked reasonably ok at least.
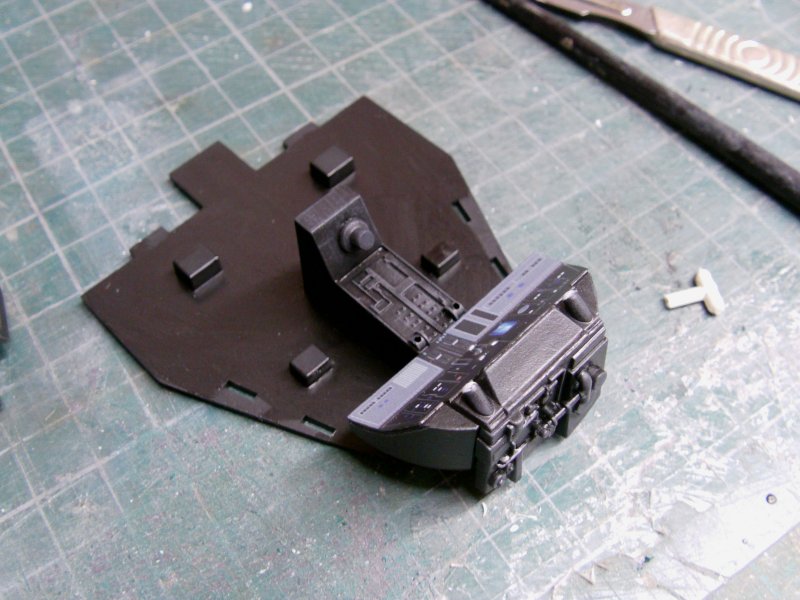
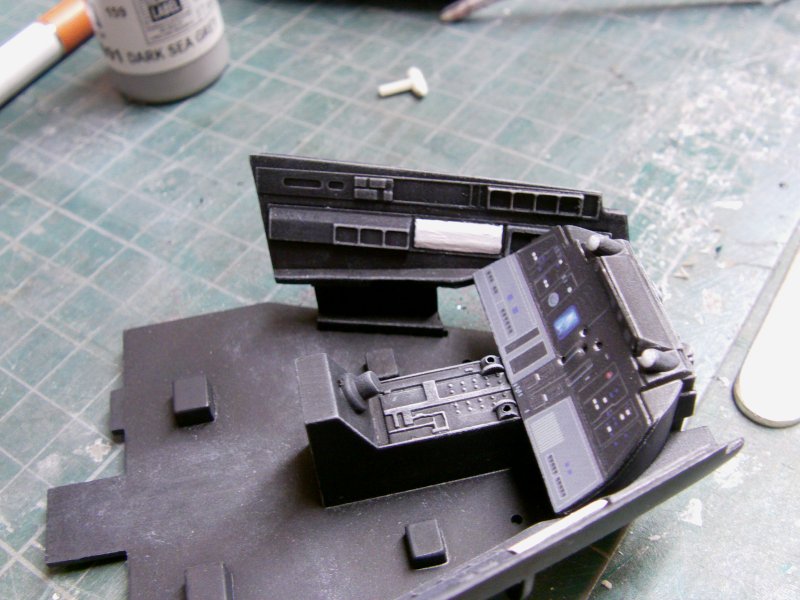
The side panels got much the same paint pandemonium forced upon them.
From raw to dry brushed niceness.
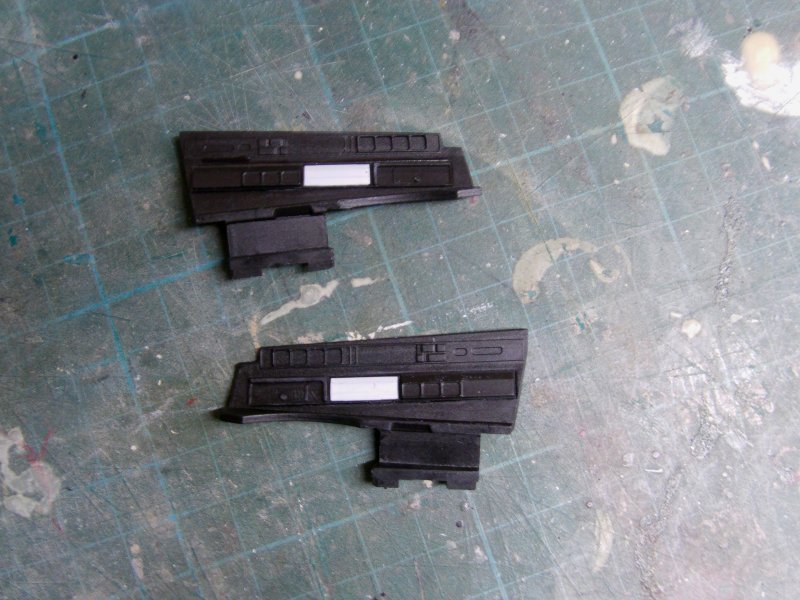

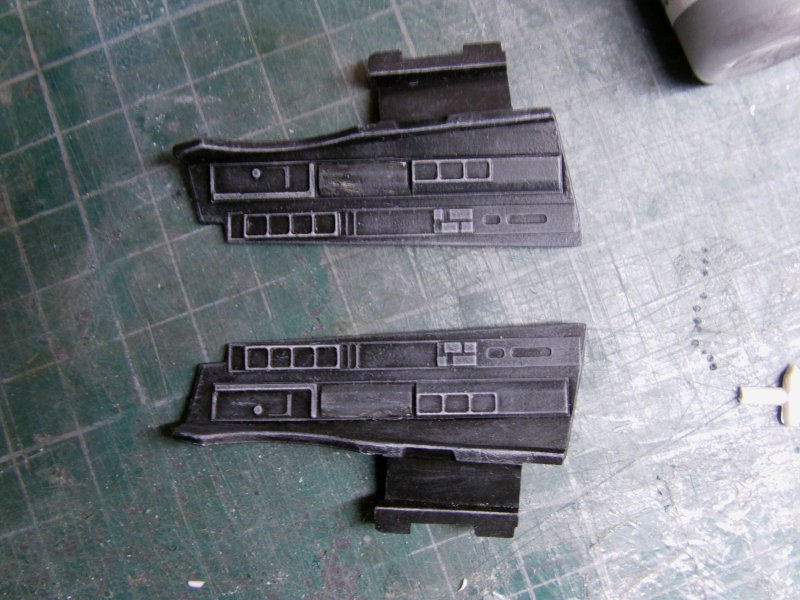
The white bit repainted and panels placed.
A small amount of final highlighting and that little bit sorted.
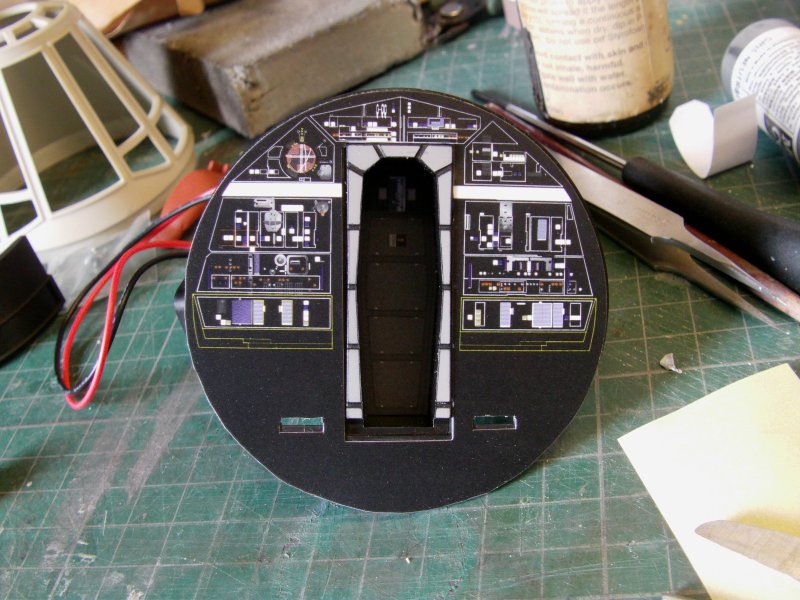
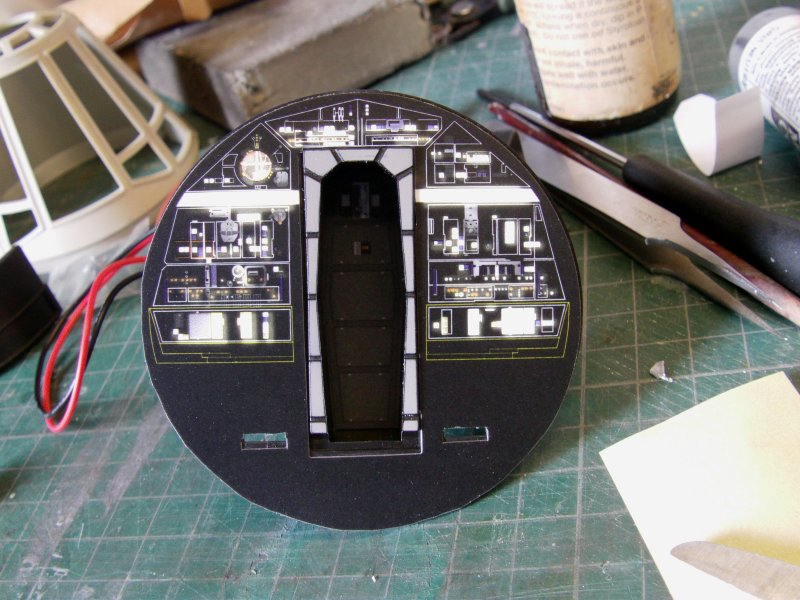
So to the back wall.
The middle sticker and left hand round thing mit der holes in this pic.
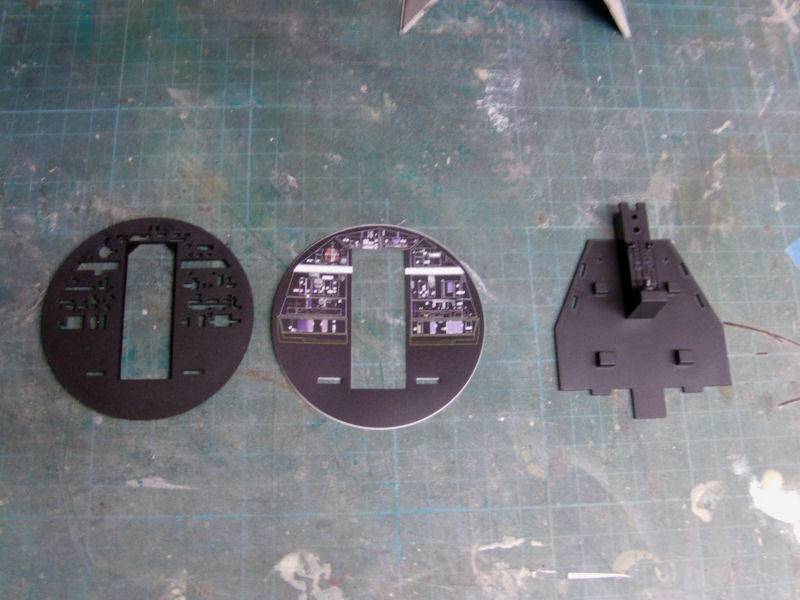
Sticker peeled and placed after the same polishing routine with the front panel part.
The door frame and closed door sticker placed as per the destructions.
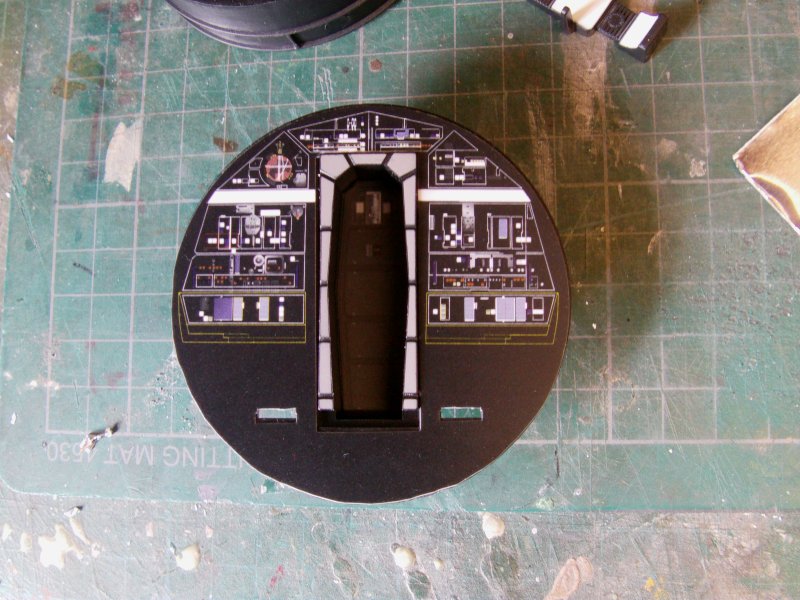
The lighting for this bit done by the supplied board of six surface mount LED's.
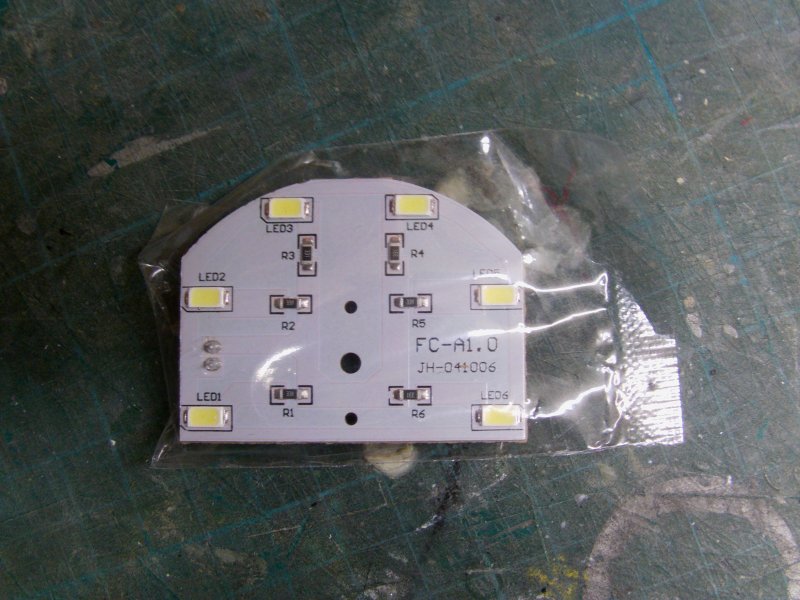
This screws to the back of the closed door.
Now this is supposed to just stay there and you get narrow strips of black sticker material which is put on the inside
of the cockpit tube to stop light bleed through the plastic.
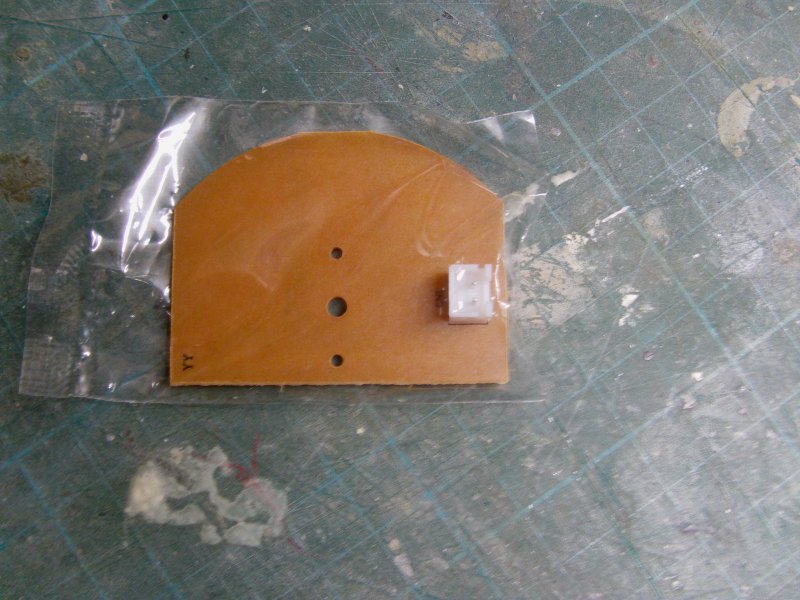
Well one change was to enclose the thing in a shroud of self adhesive
aluminium foil tape to do the same thing with less fuss.
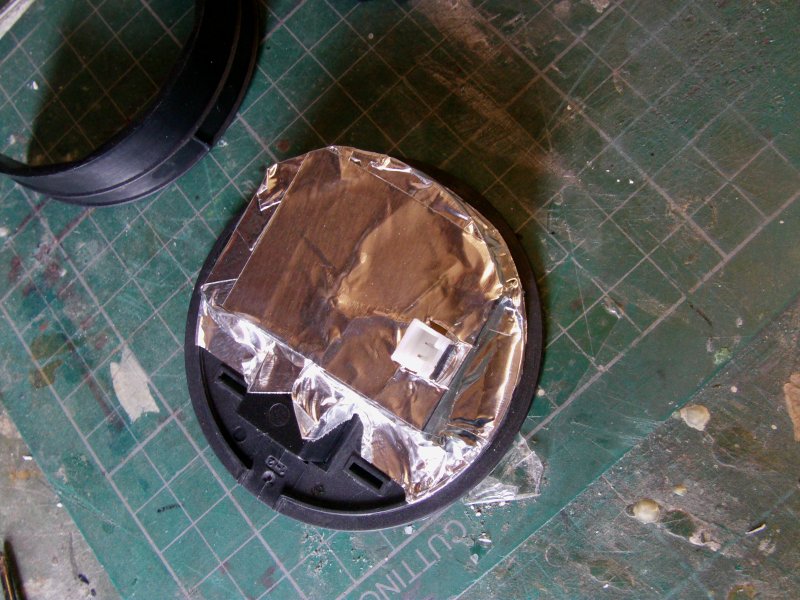
So the lights off and on pics.
And ya know, that don't look too shabby at all so onward.
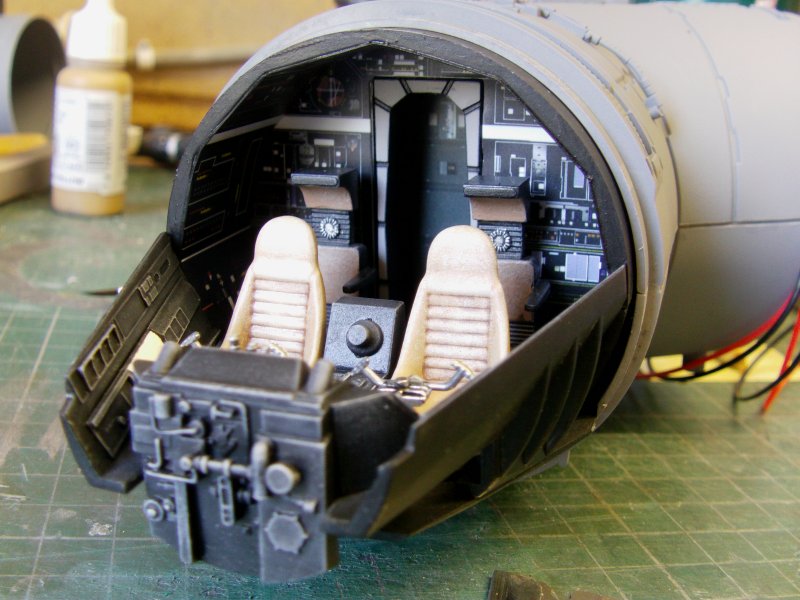
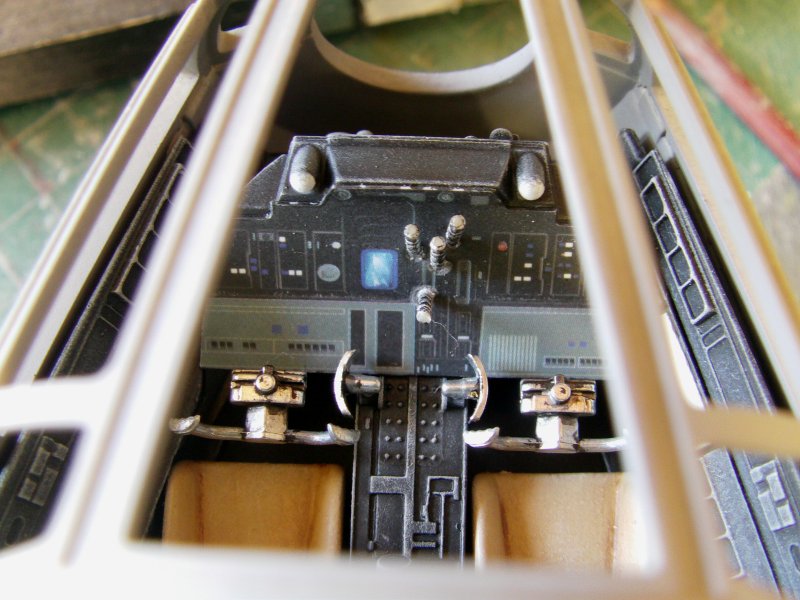
Seats next and the rear seats are just moulded in black with white cushion parts.
A smidgen of a repaint later with matt black, grey dry brush, a dab or three of matt dark earth,
a touch of dark brown very lightly sploged on
and some silver small brush work to finish got something I could use.
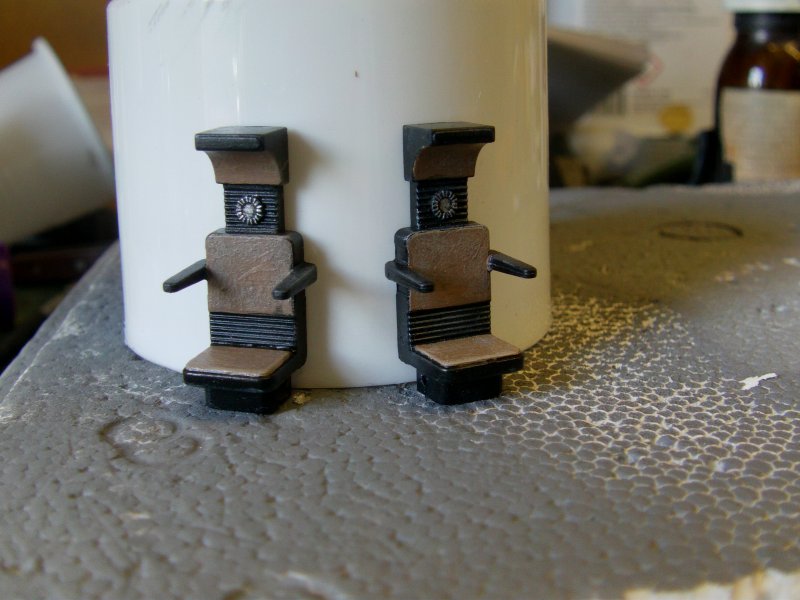
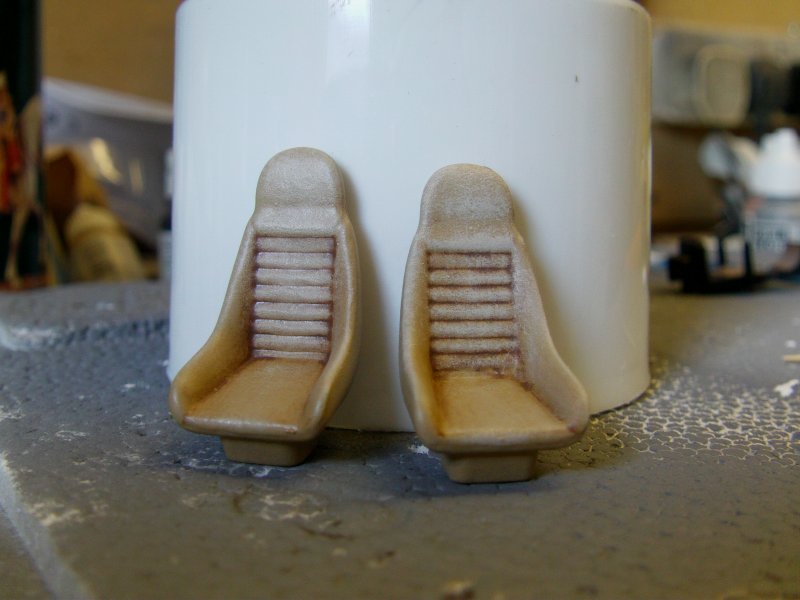
The front chairs are painted in a reddish colour but a going over in light brown,
some sand weathering wash and dry brush in the light brown
with a touch of white made them look a bit more like I wanted.

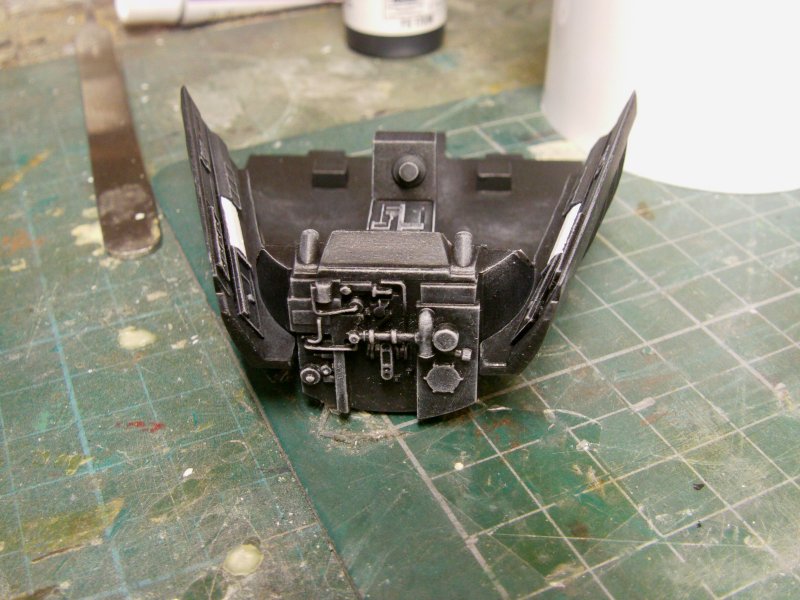
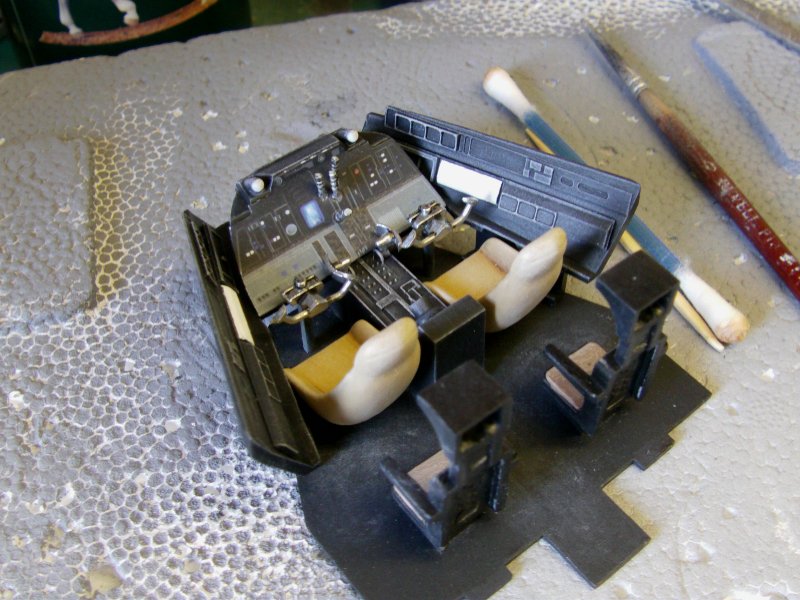
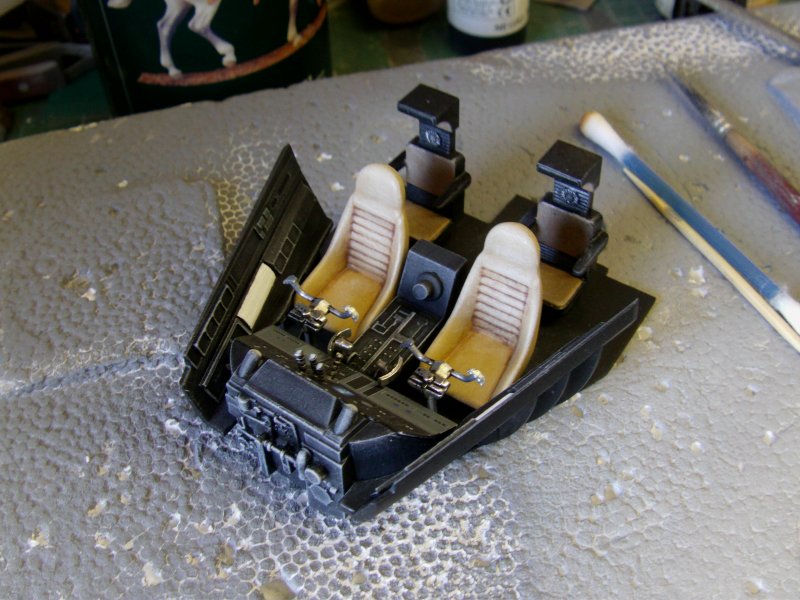
So those and the cast metal control thingies got placed where they go according to the destructions.
A smidgen of black wash on the metal parts and it was a rather spiffing thing.
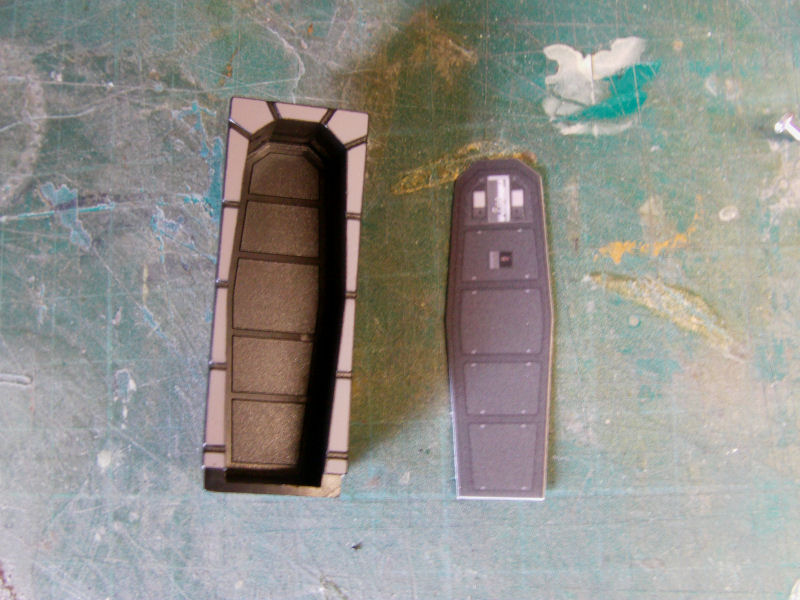
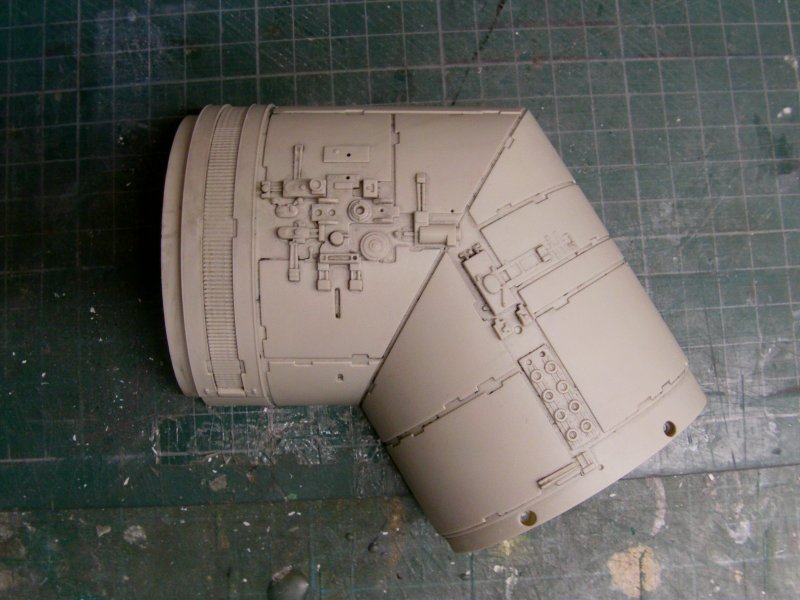
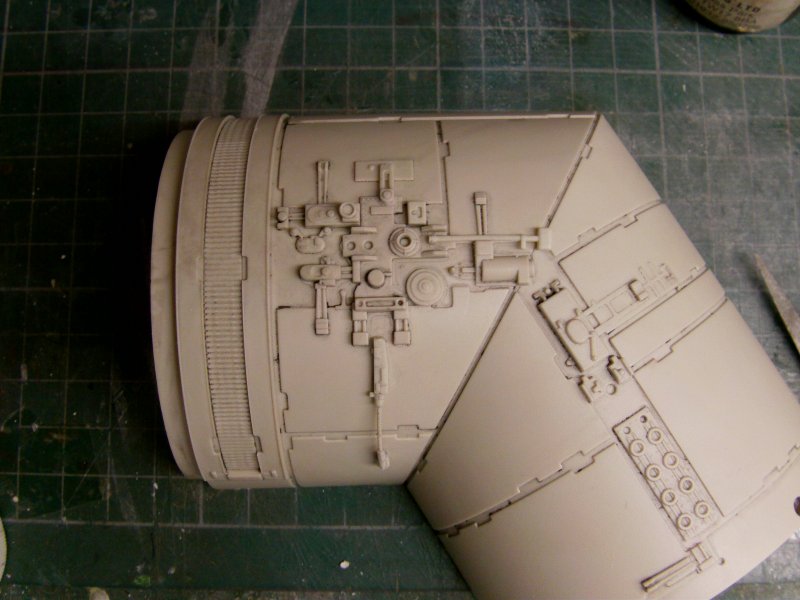
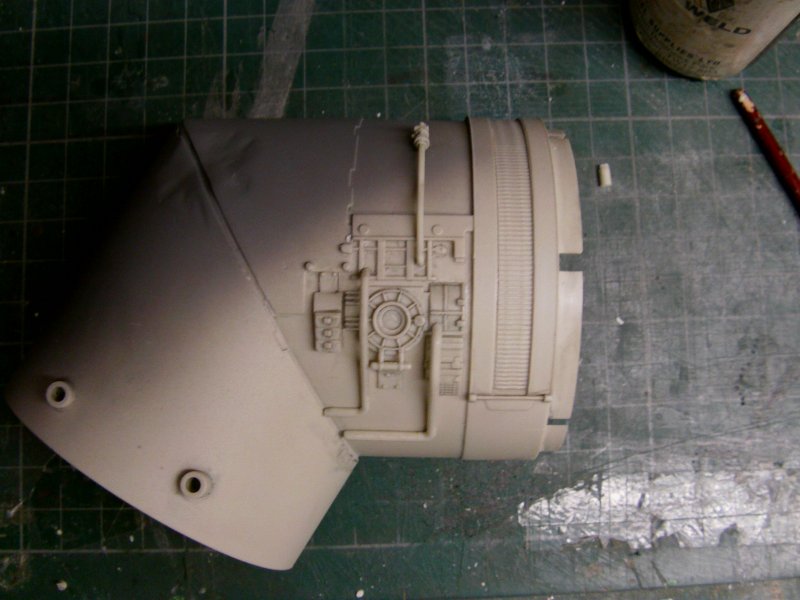
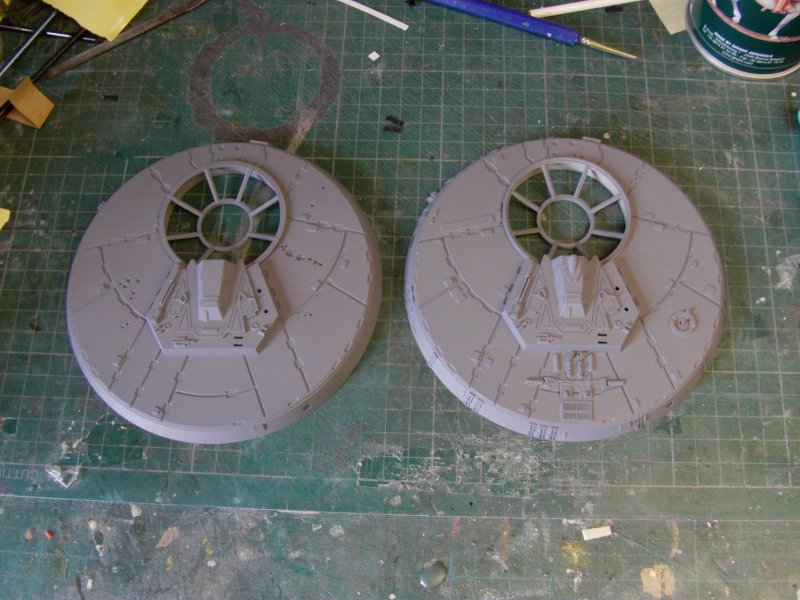
The top and bottom of the cockpit tube needed a seeing to next up.
i'm afraid I just couldn't live with the damage hole like thing moulded as is
in the bottom tube part.
Granted the below pics are the part for the full on build but the procession is pretty much the same.
Shove some Aves Apoxie Sculpt in and let cure,
sand to smooth at the edges then lay about it with
a grinder in a mini drill set to stupid revs.
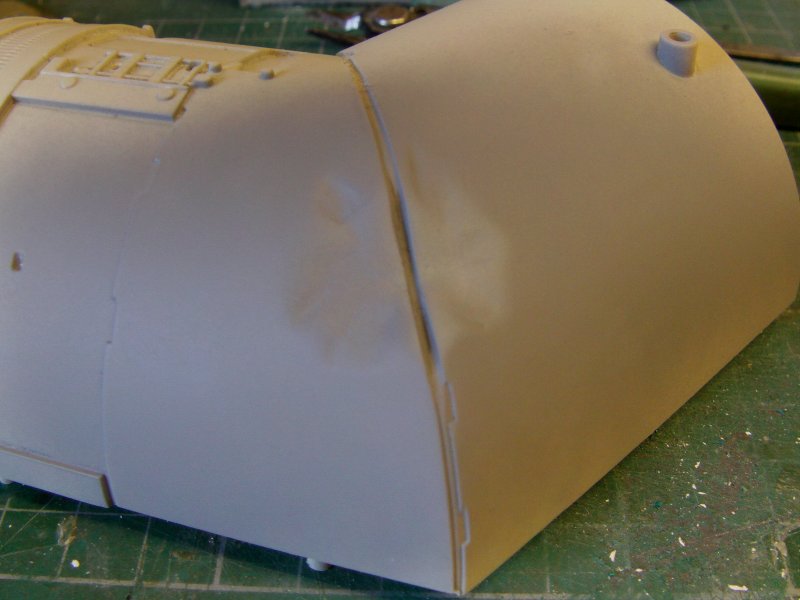
Scrape away all the stuff not required, sand and primer.
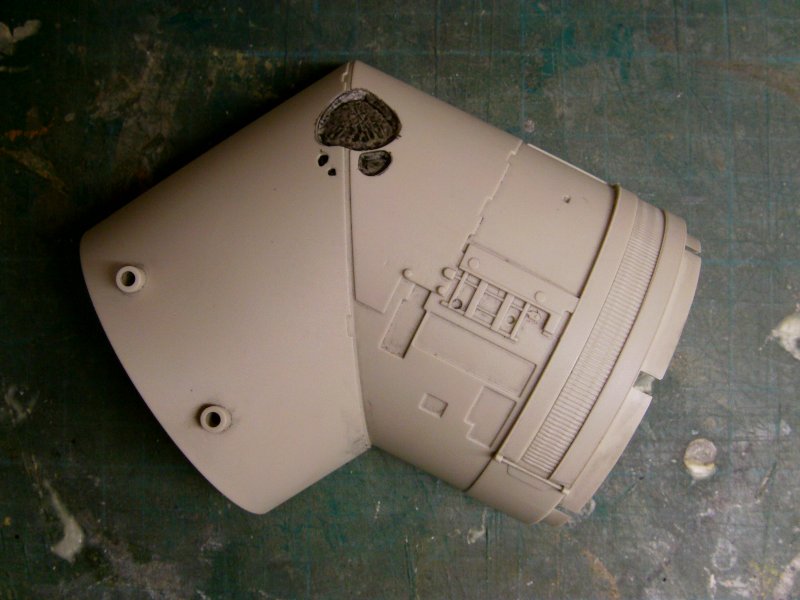
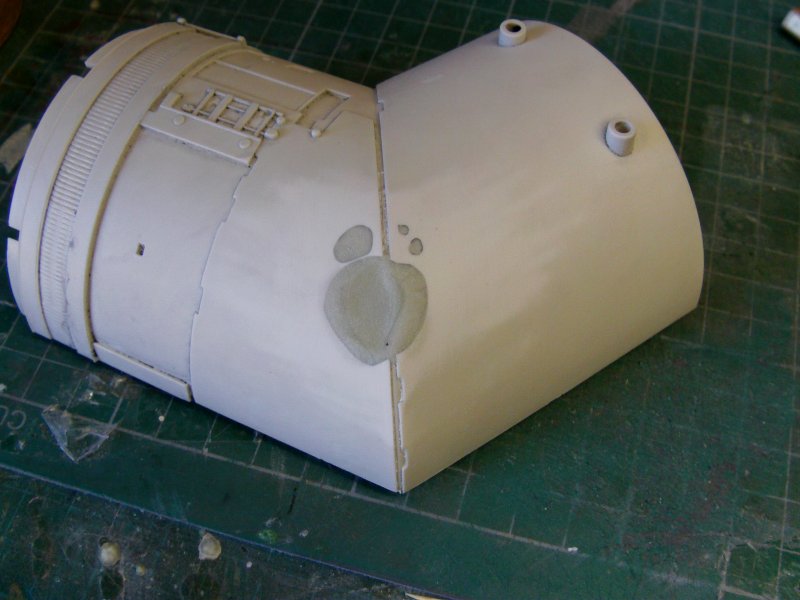

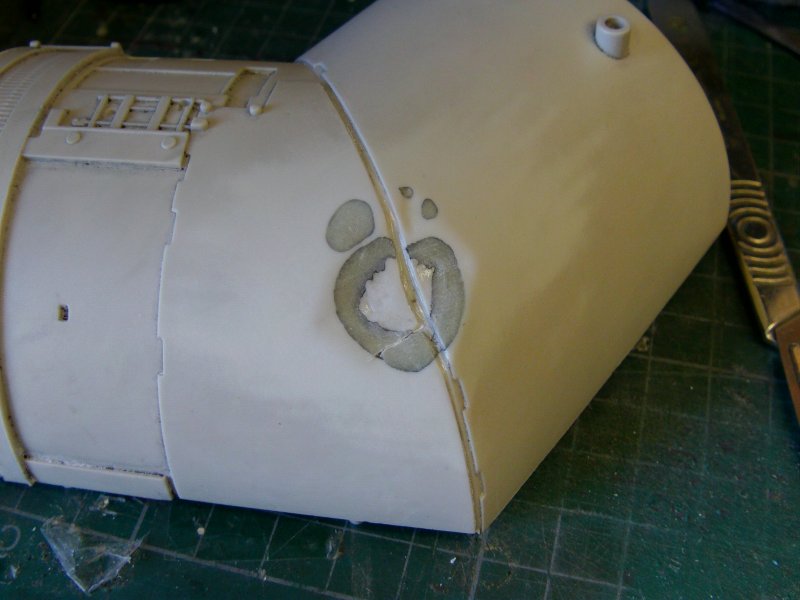
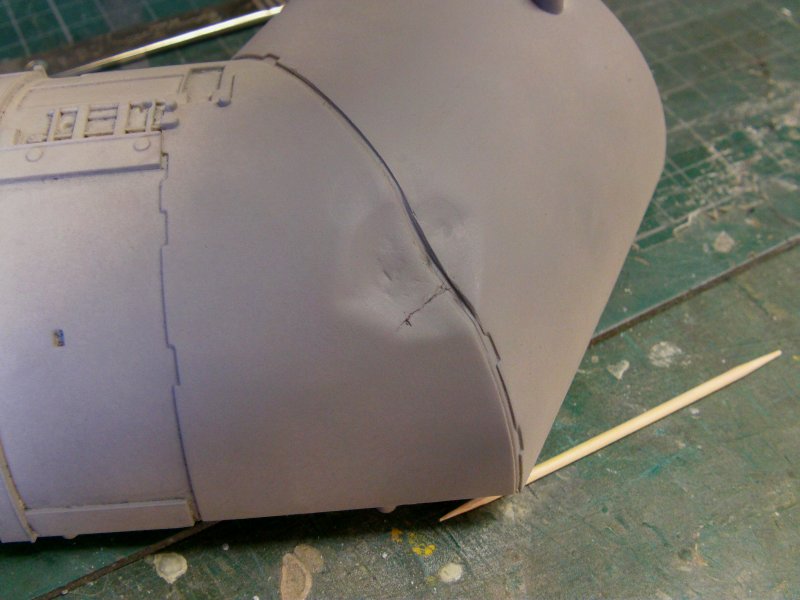
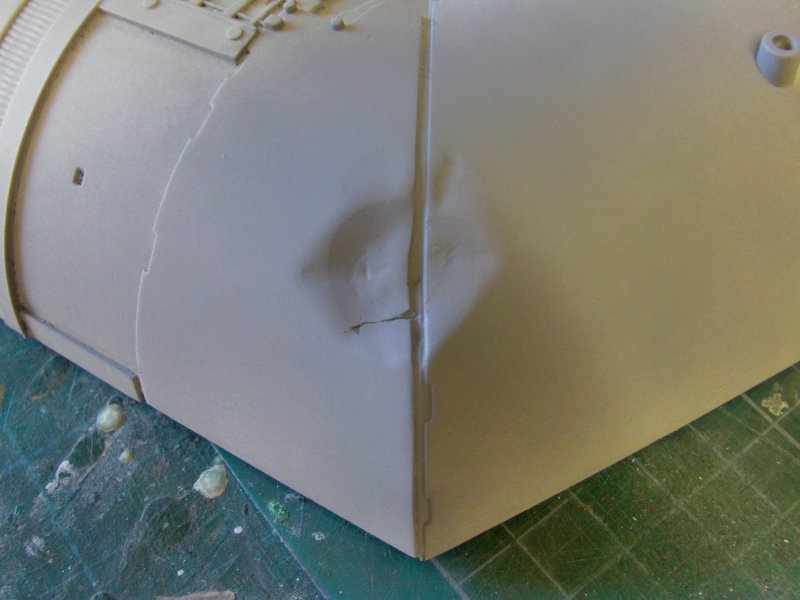
The plating crack was almost an after thought but I think it'll work.
The slightly smoother one pictured below is for the OOB build.
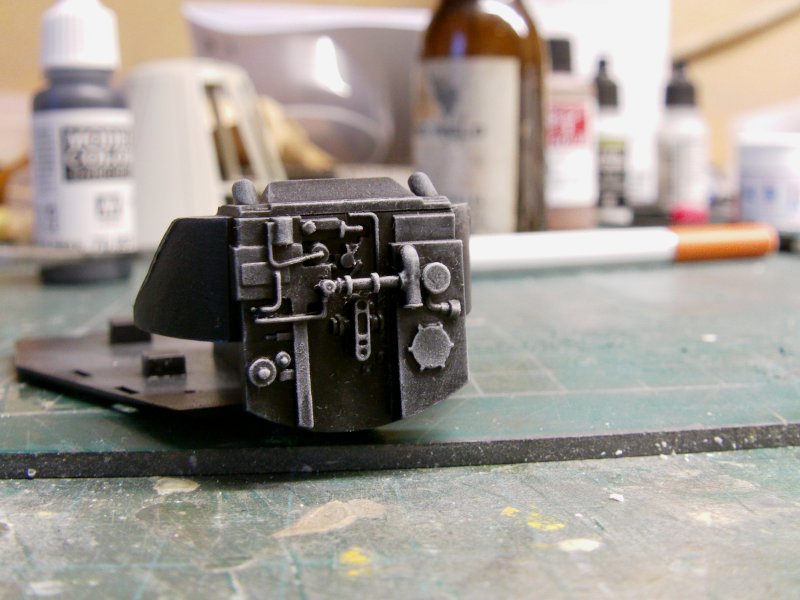
So to the supplied detail greeblie parts which are very nice.
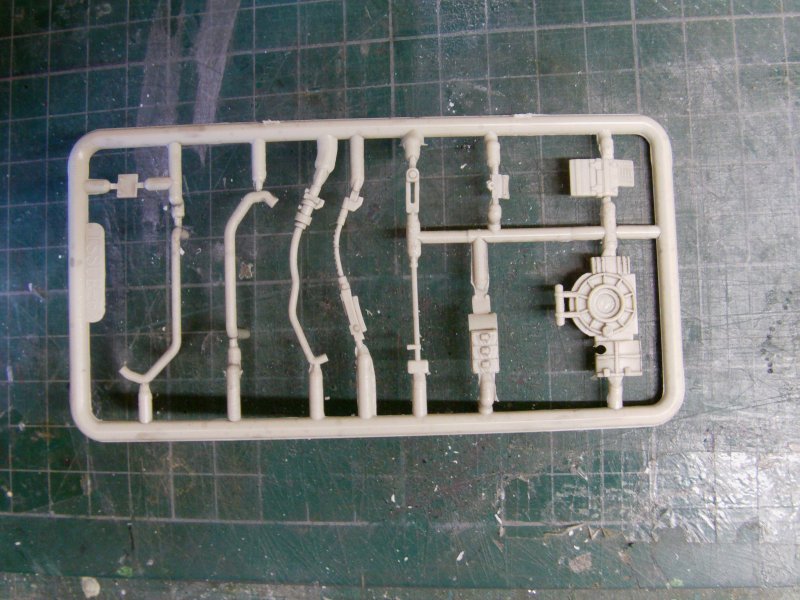
Removing from sprue, clean up seam lines and assemble as per instructions order.
Top tube part before and after.
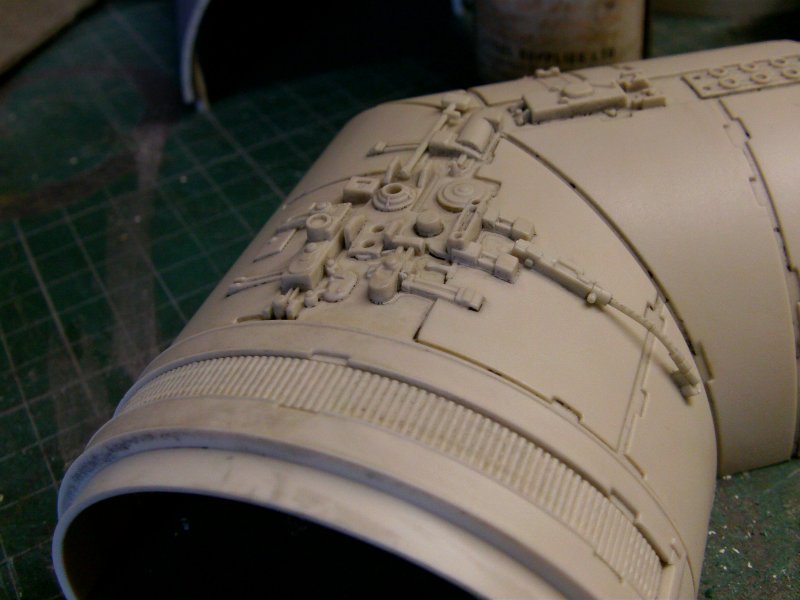
Nice!
The tube bottom now and the same deal.
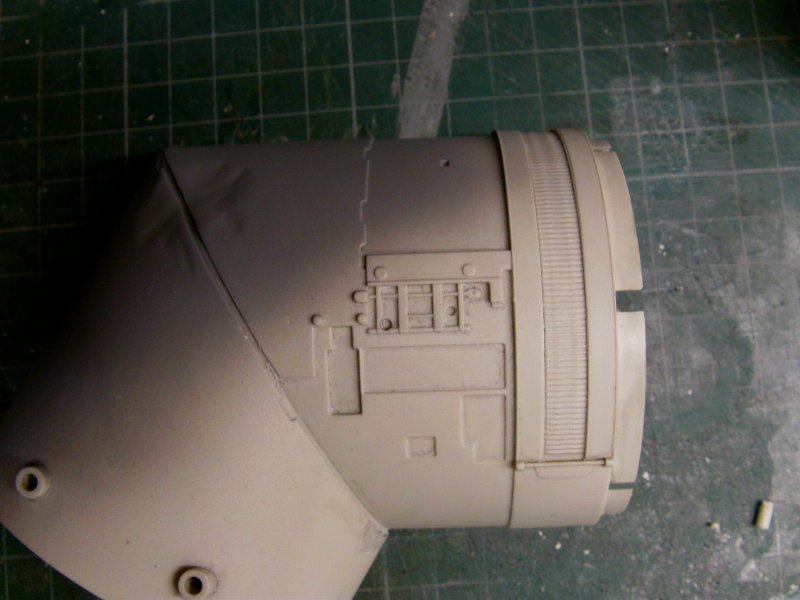
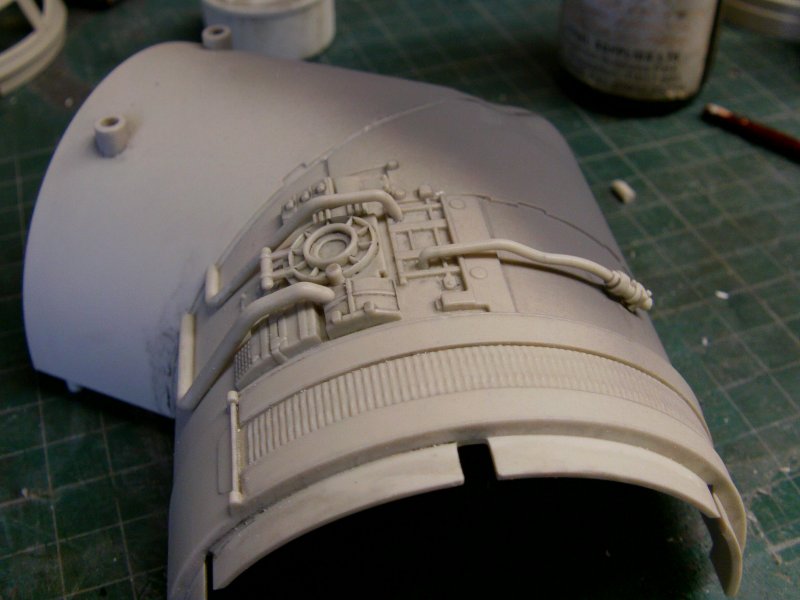
Sweet!
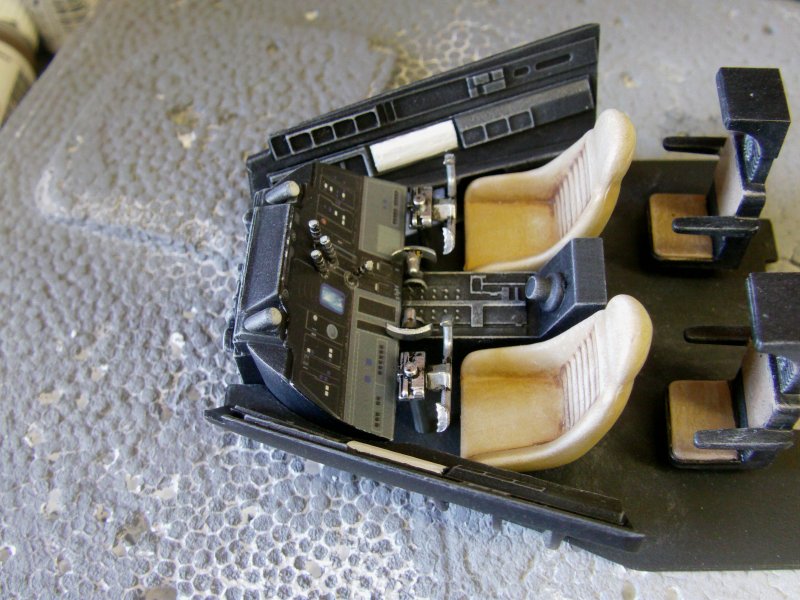
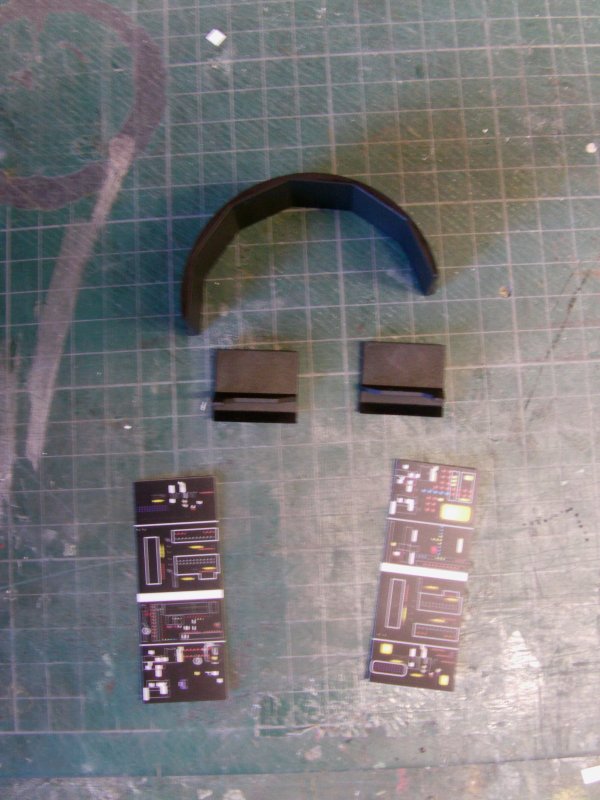
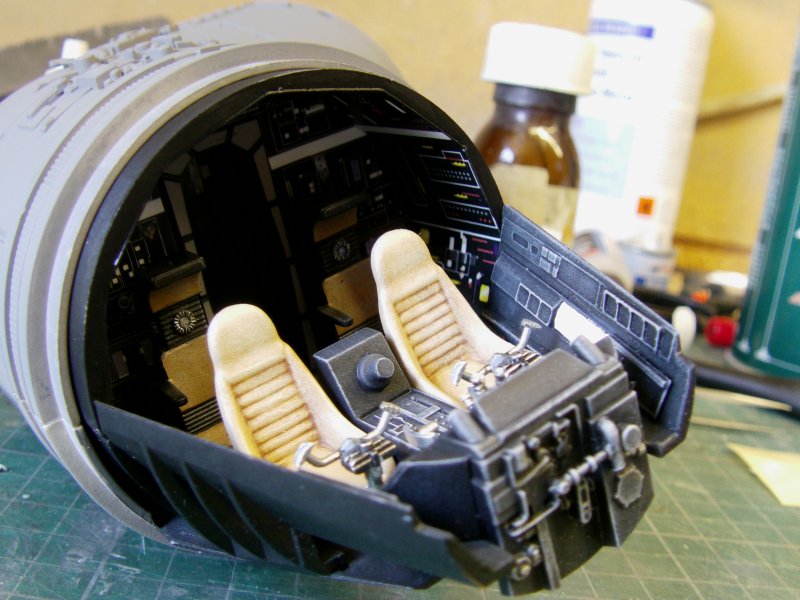
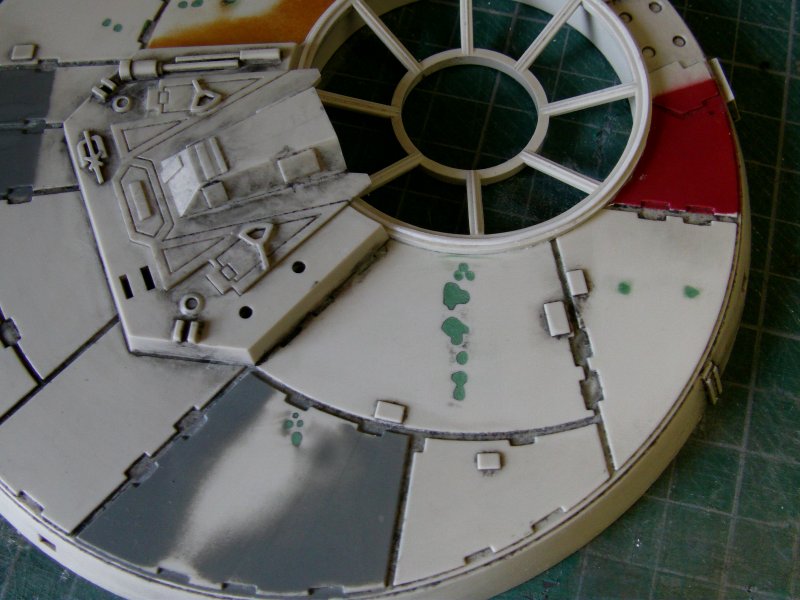
So the next thing was the side and ceiling consoles.
Nothing more involved than three bits of plastic and two stickers
which look exactly like this.
Both the top and bottom cockpit tube got well primered up, then following the destructions to do with the
overhead panels with the fold, peel, stick and place routine,
this and the cockpit base and back wall got stuck where they should be.
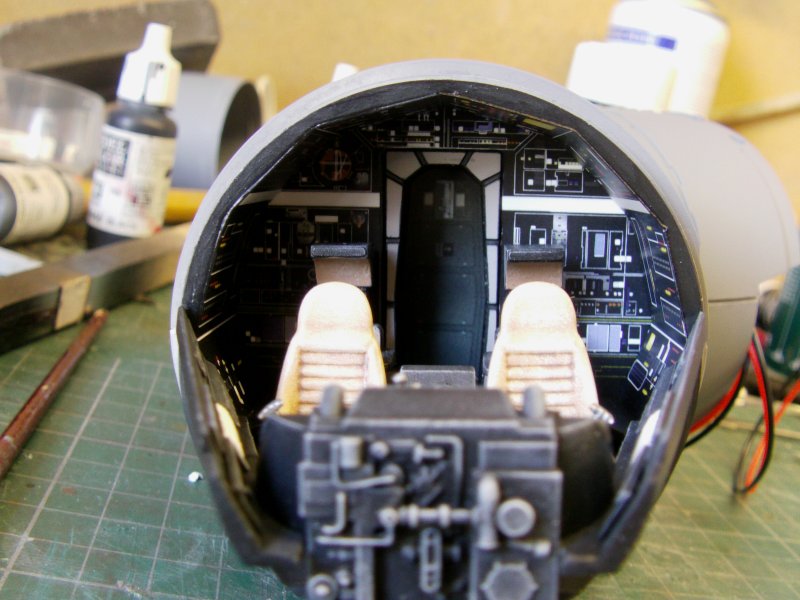
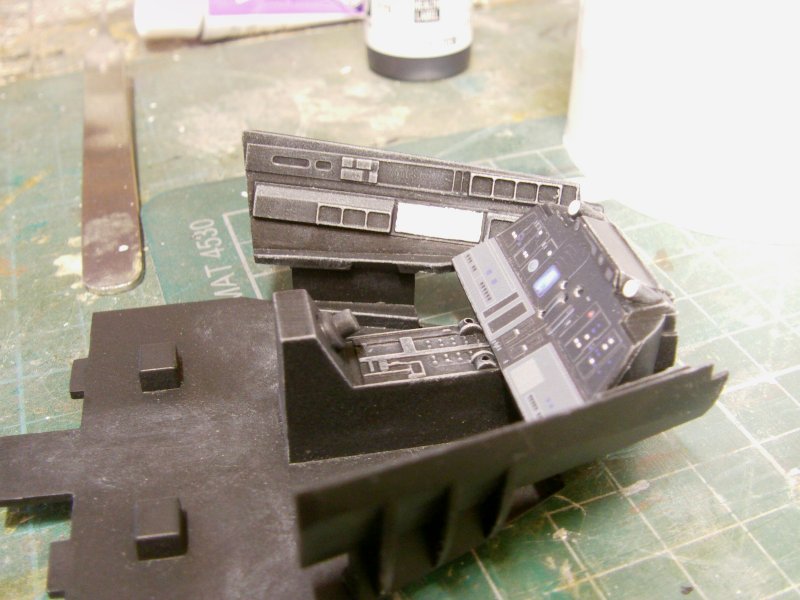
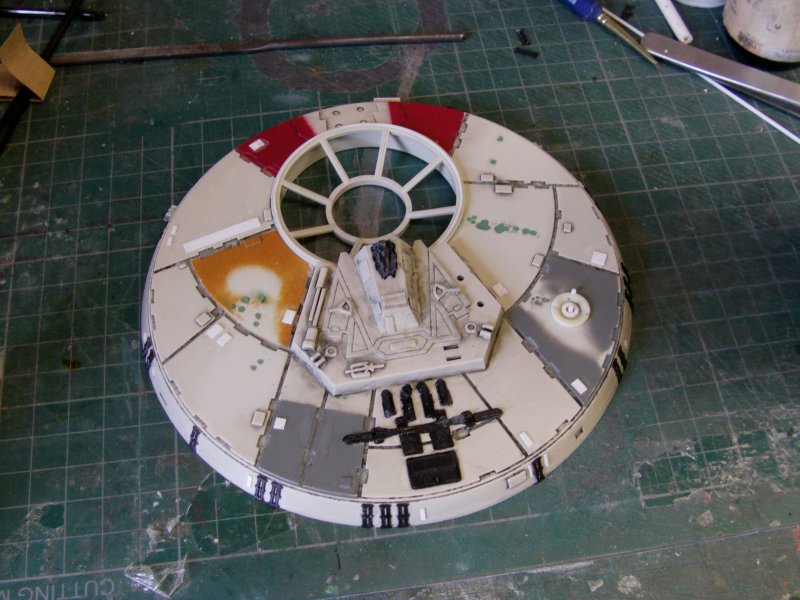
The cockpit cone was hastily assembled and given a light primer coat,
then shoved in to place for a look see.
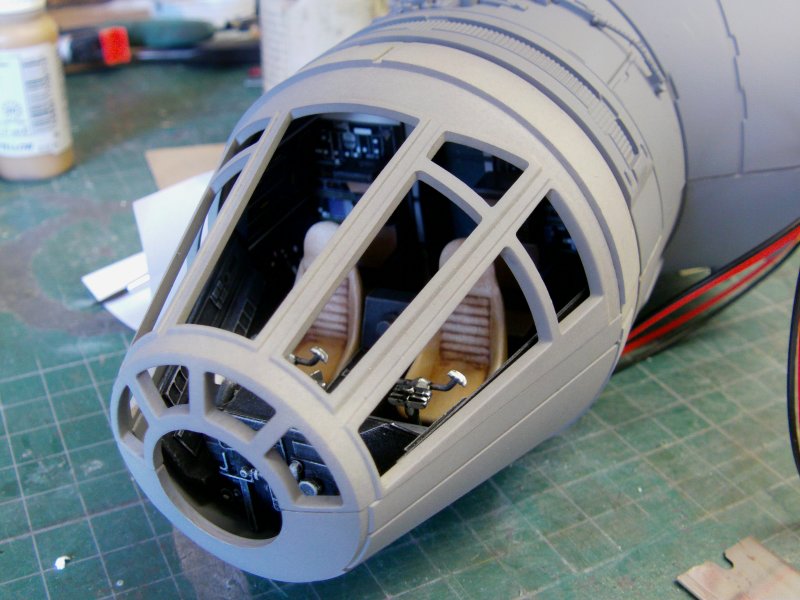
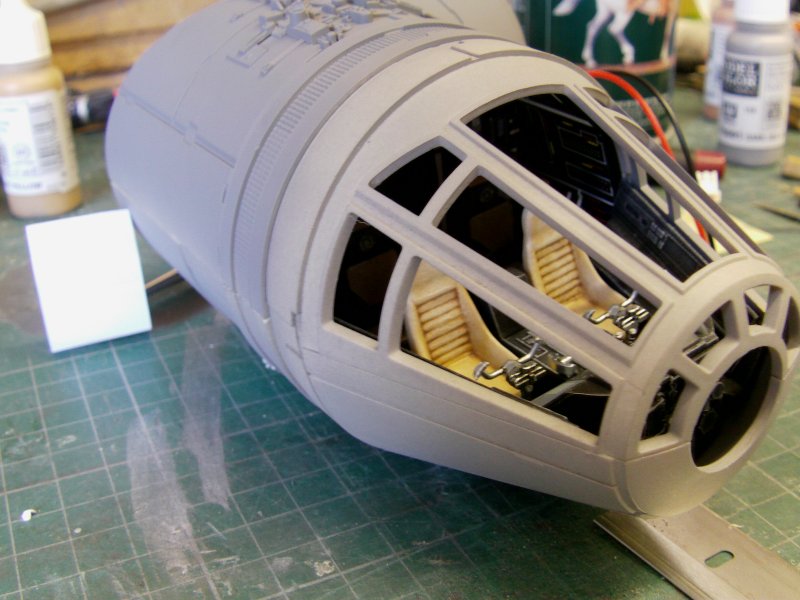
And the lights on thing.
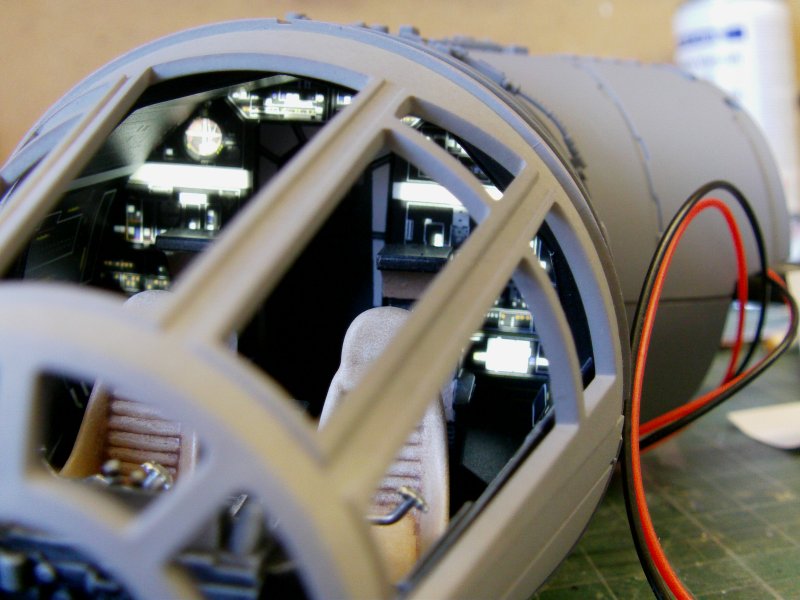
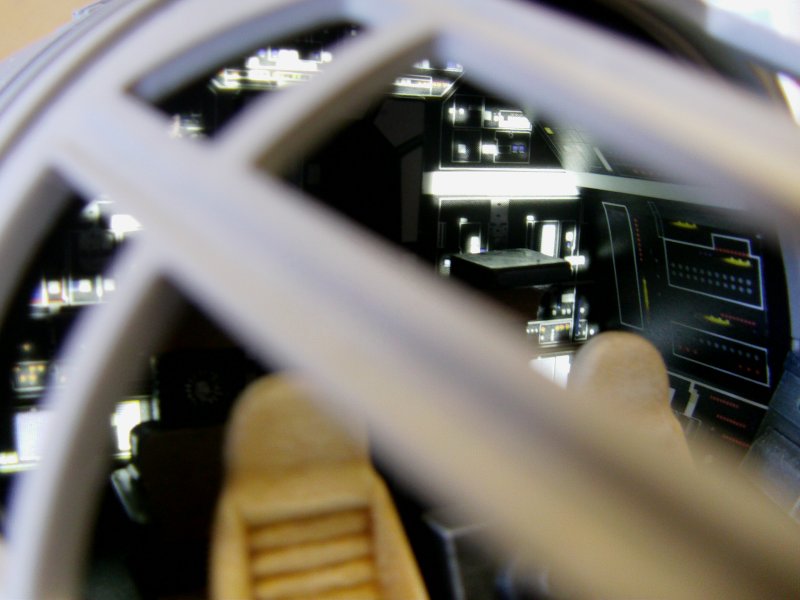
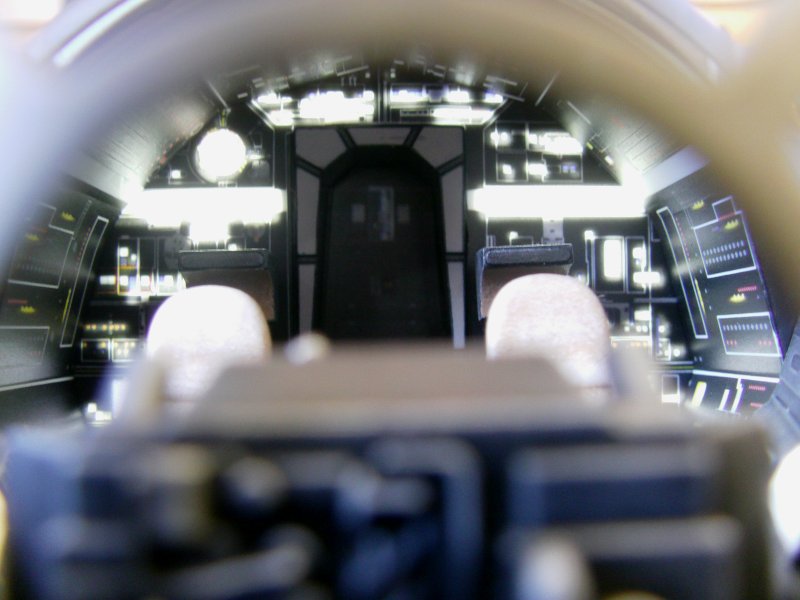
And overall, it's not a bad piece of work really.
Very little fuss and bother and a done thing in about a day
which from a time perspective is not too bad either I have to say.
So that's that done and done as much as needs be untill the time the
supplied glazing is issued and I get some figures of mine or someone else's origin.
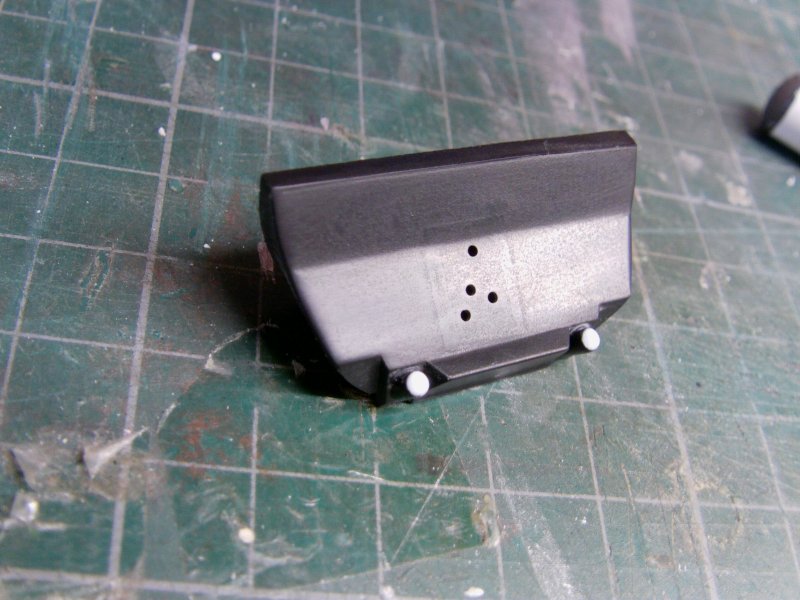
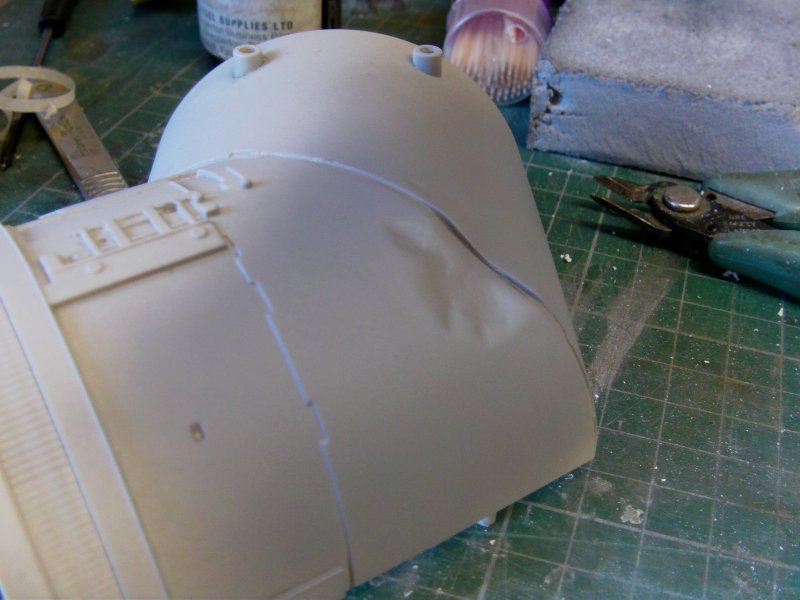
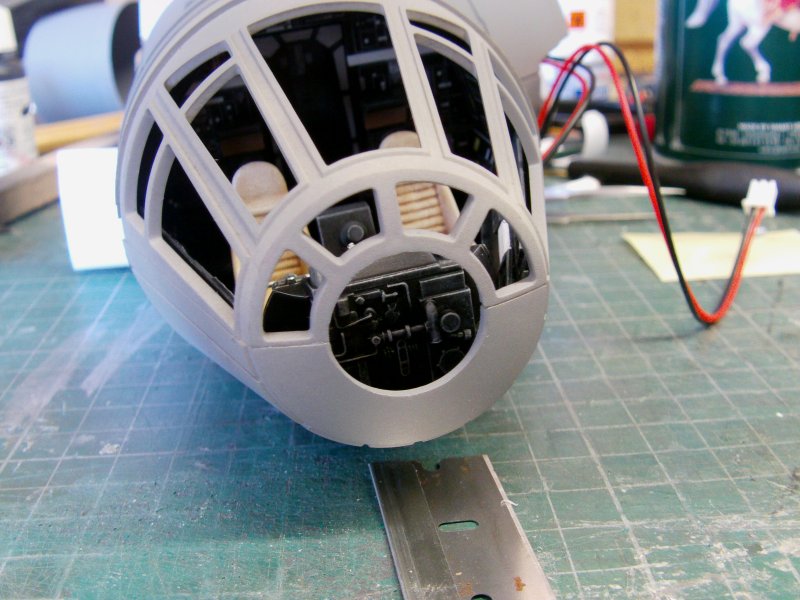
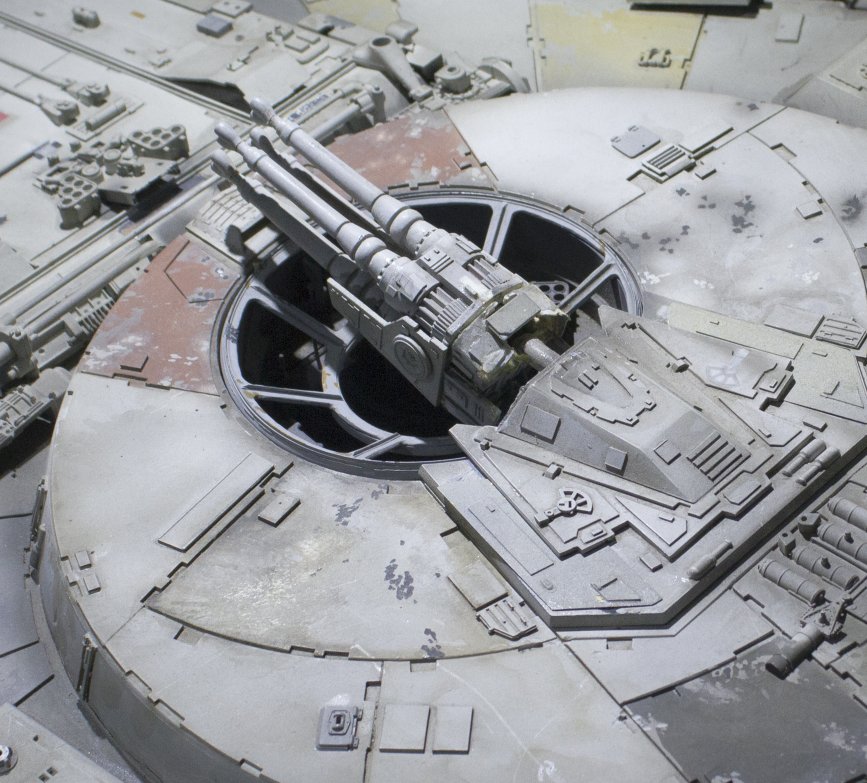
One last little bit for this turnout, I had a fiddle around with the main gun turret parts.
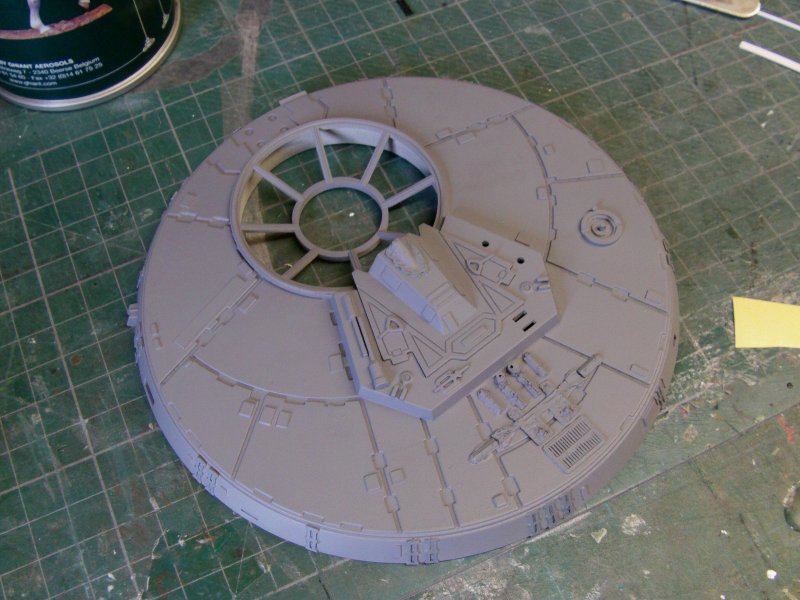
This is the thingy as is.
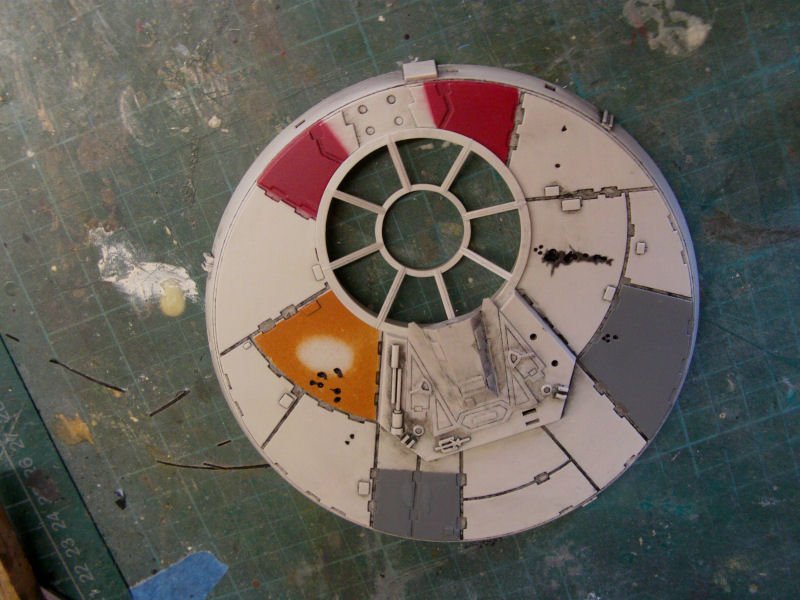
Now granted the window orientation is wrong, should look more like this on the 32".
And like so on the 5 footer.
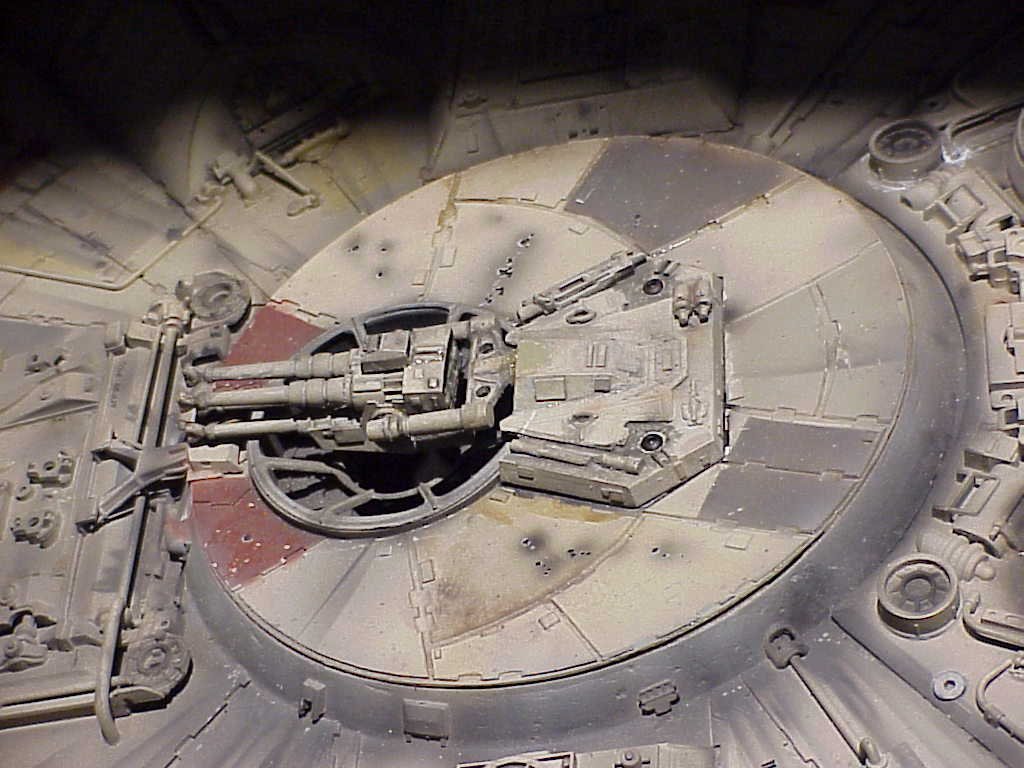
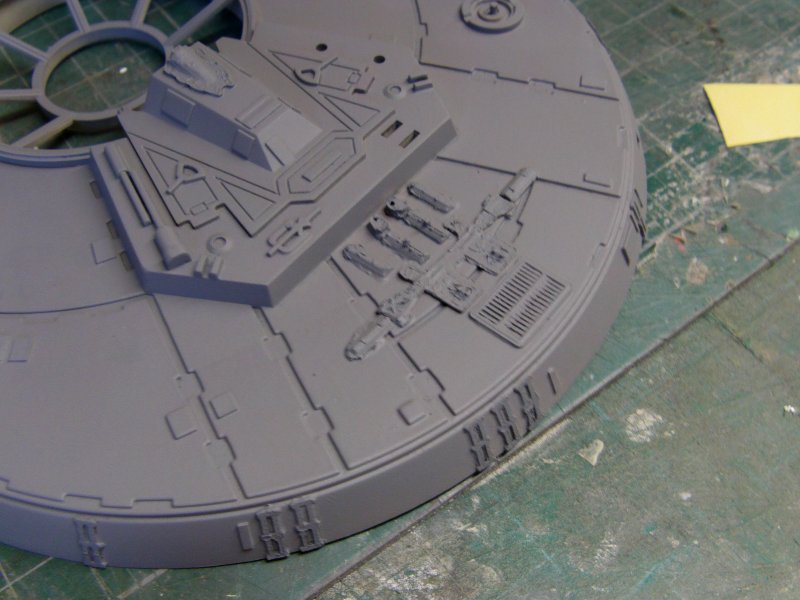
So then, going by what others have found out, a bit of scrape and lever to the underside seam where it's
glued in to crack the join and it came away pretty cleanly.
Take off the little lug on the bottom that helps assist it being assembled in the factory,
rotate, glue the bugger back down, done and done!
Now for the OOB build, this part will be just painted and the extra greeblies to come added when they arrive.
The full on is a little different.
I don't like the blast damage holes as such for the real deal so those got filled and sanded,
the window got a little but of shaving down and a styrene ring added
for that slightly more 5 footerish look I have in mind.

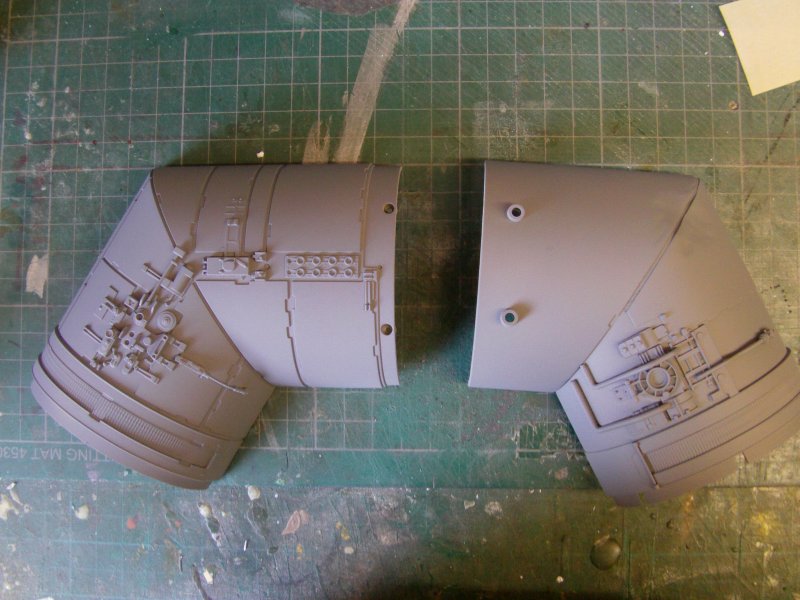
Then some basic 3D printing of parts for the detail parts that sit at the
rear and around the edge along with a resin/plastic greeblie plus a styrene chip or several.
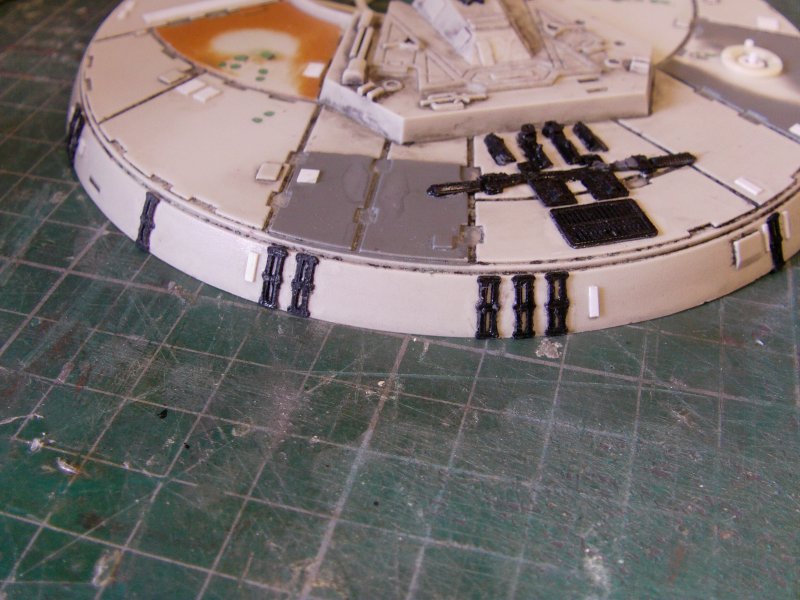
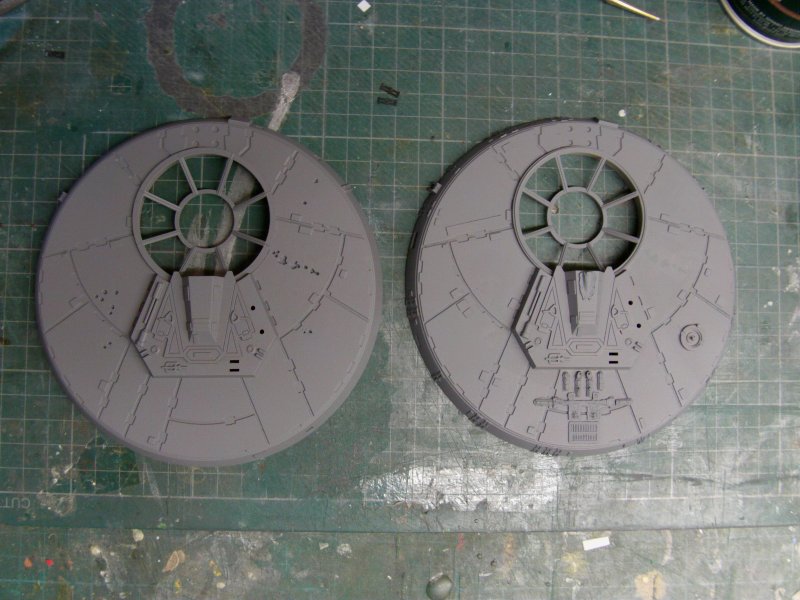
A splash of primer later gets this.
More than acceptable for what I have in mind so far but still some tinkering to be done with the full on part.
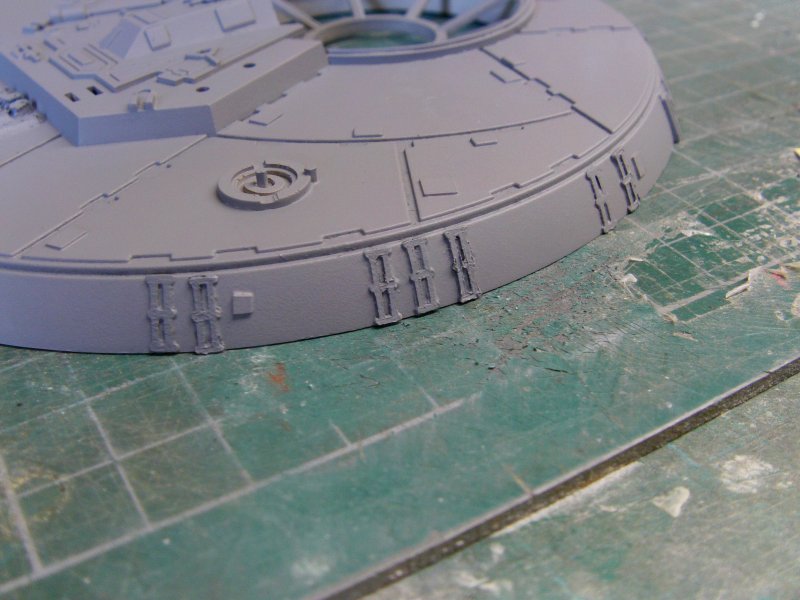
And the final shots of this one and the OOB one also in primer.
And that's the lot for now, next up I will be doing the rest of the OOB build for
the hold corridors, framework and getting the powered ramp sorted out.
Which should be the usual laugh riot it always is.
You merry mob take care out there now!
Page Number