
DeAgostini Part Work
'Build The Millennium Falcon'
Possibly Studio Scale Model.


 Page Number
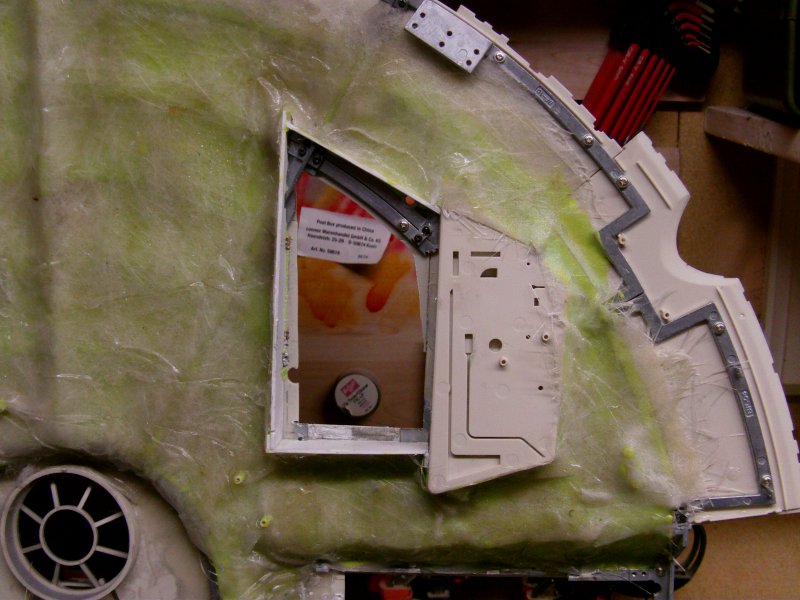
There are times when things get a bit messy and sticky
This Would Be One Of Those Times.
Whatho gang!
Okedoke then, onward with a bit of boxing and reinforcement work so to speak.
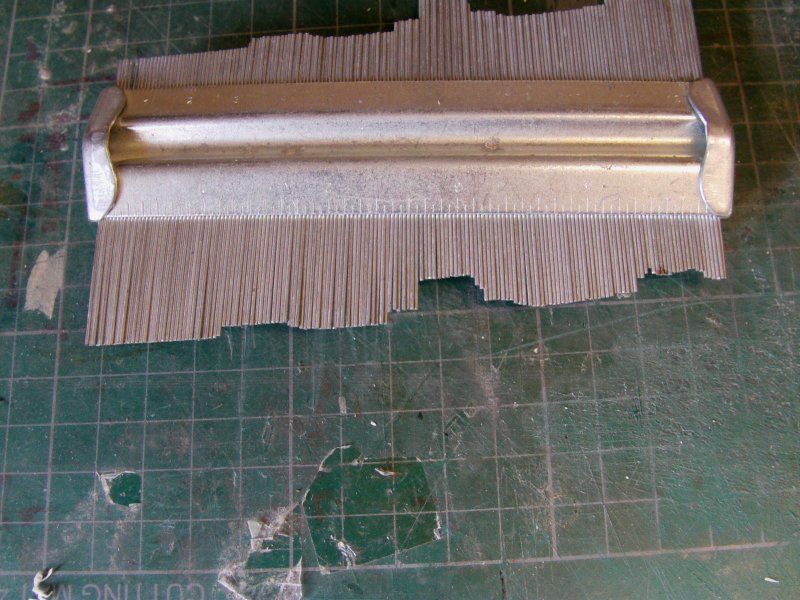
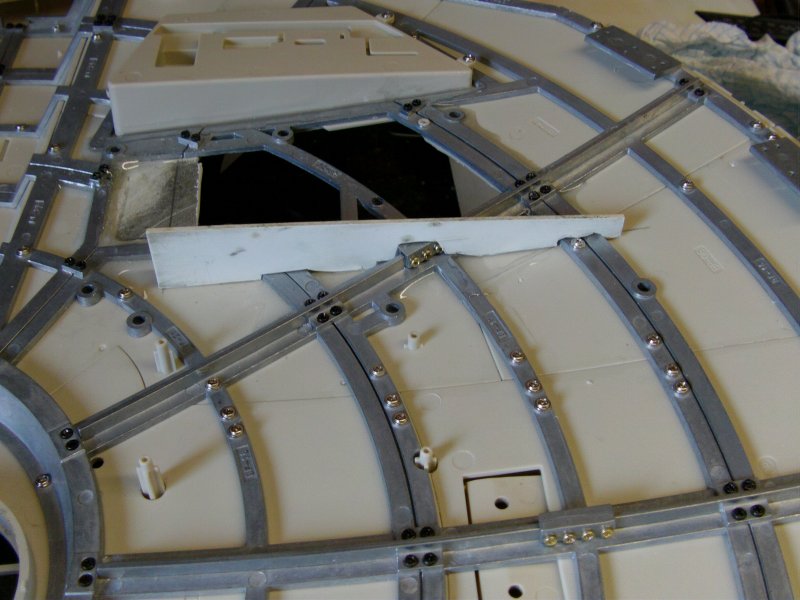
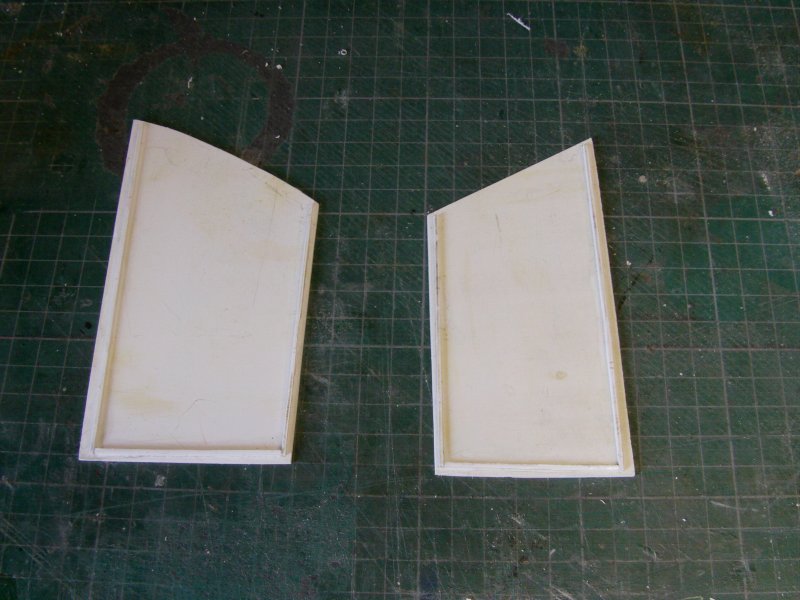
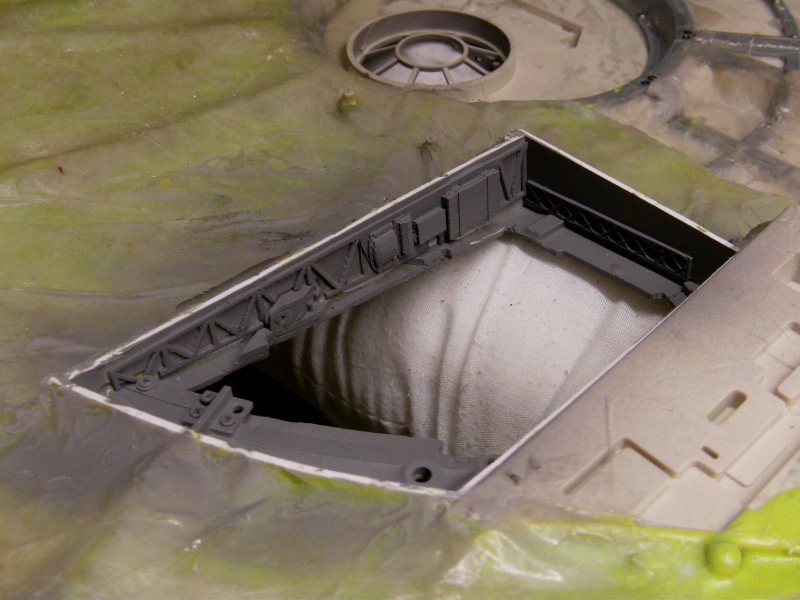
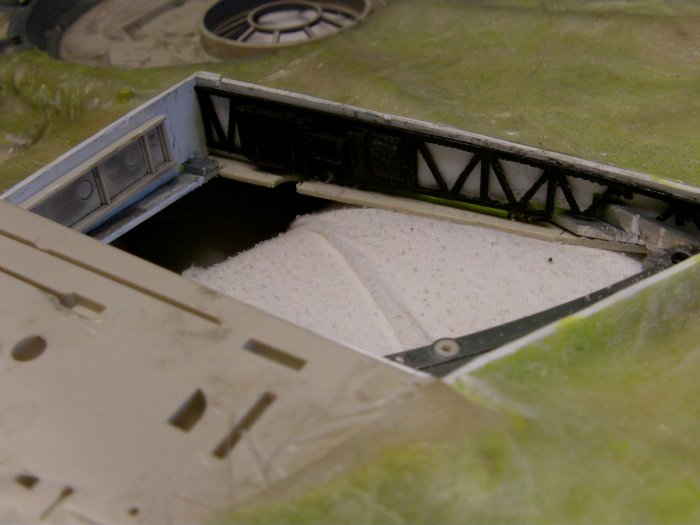
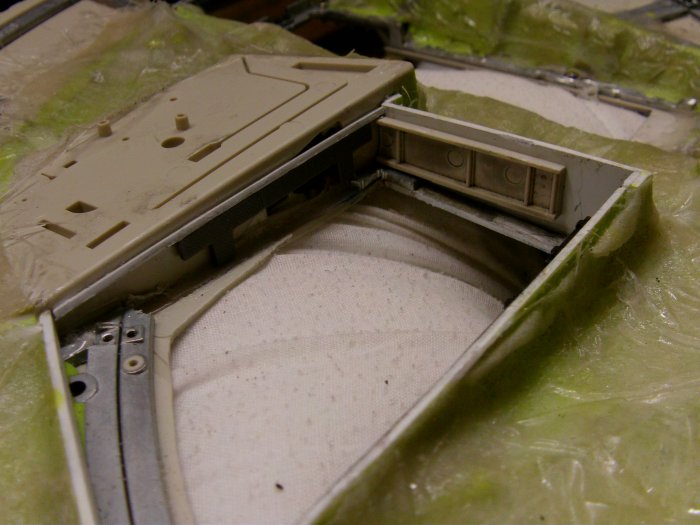
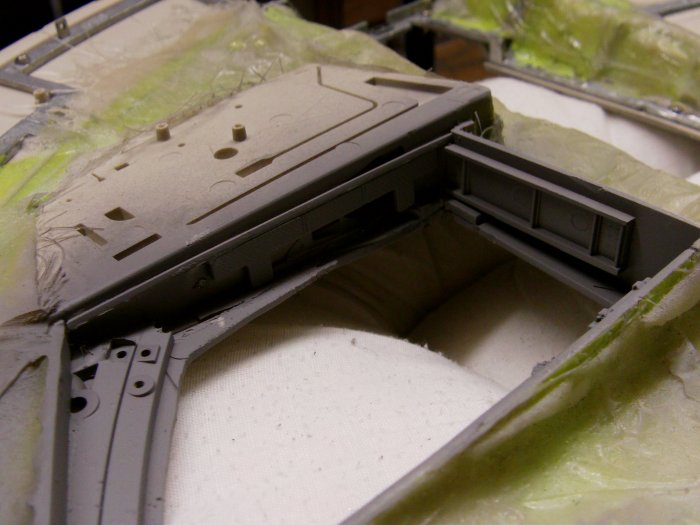
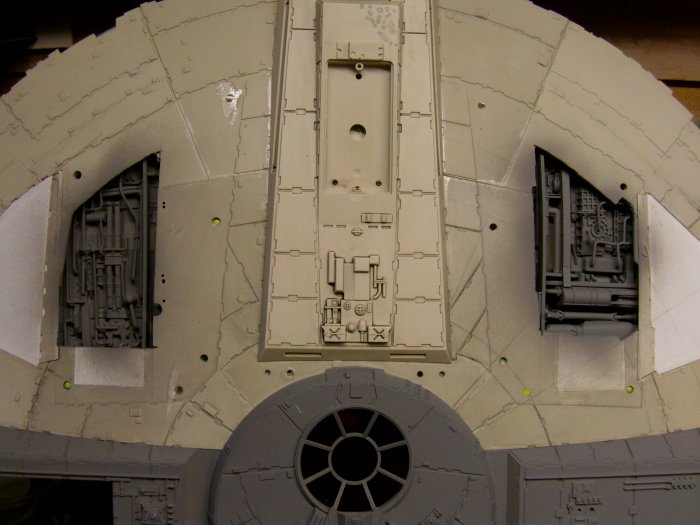
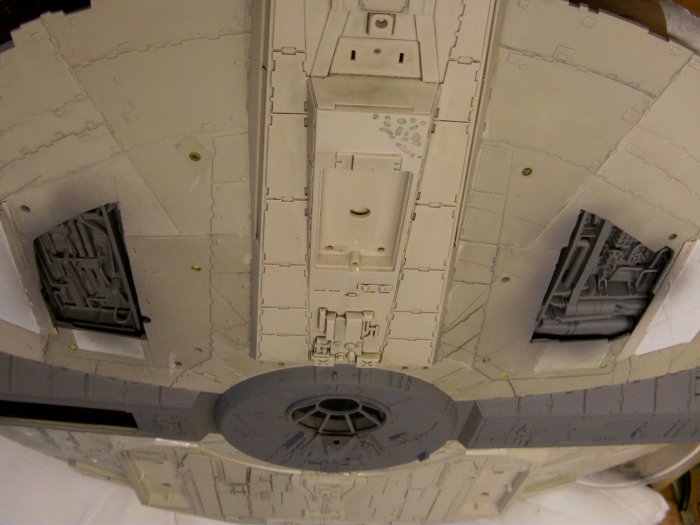
The front underside machinery pits need a surround so a teeny bit of pencil scratching required.
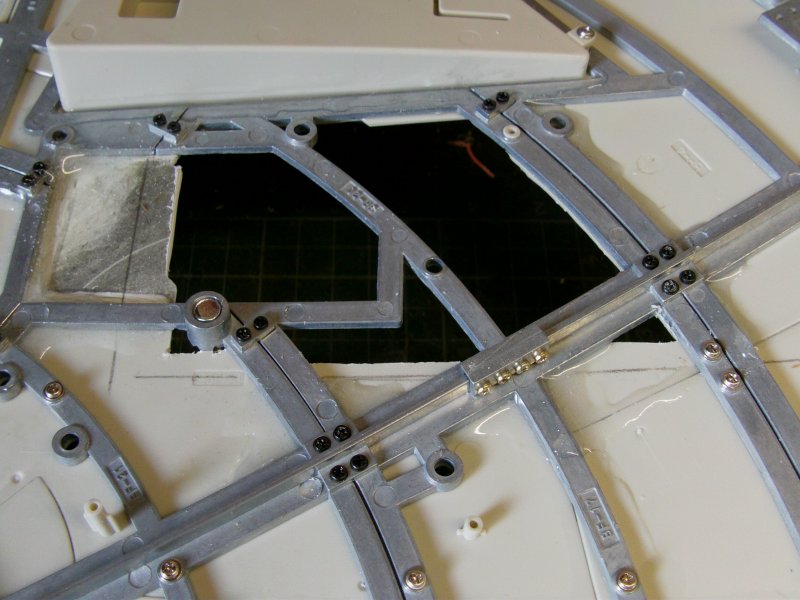
Now to do the surround to fit over all the framework without too much fuss,
a profile gauge got dragged out of hiding for this.
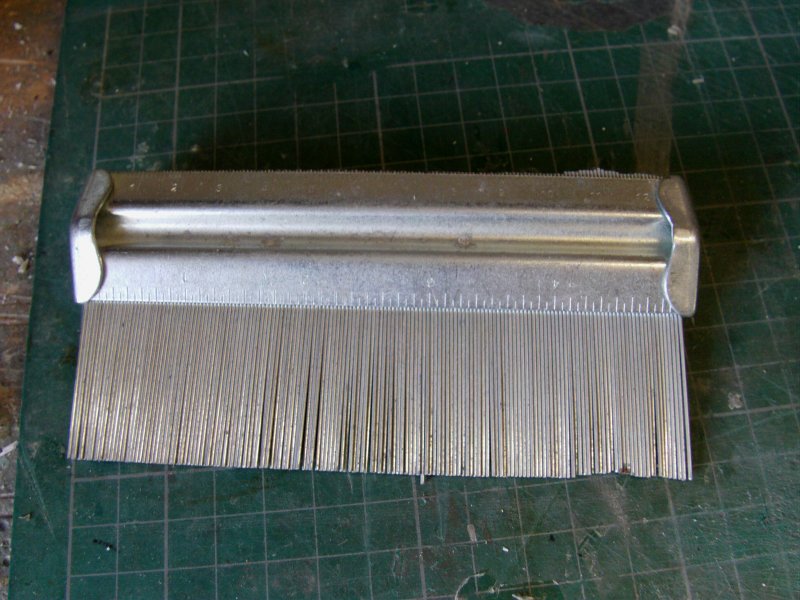
Just locate roughly above the line and press down.
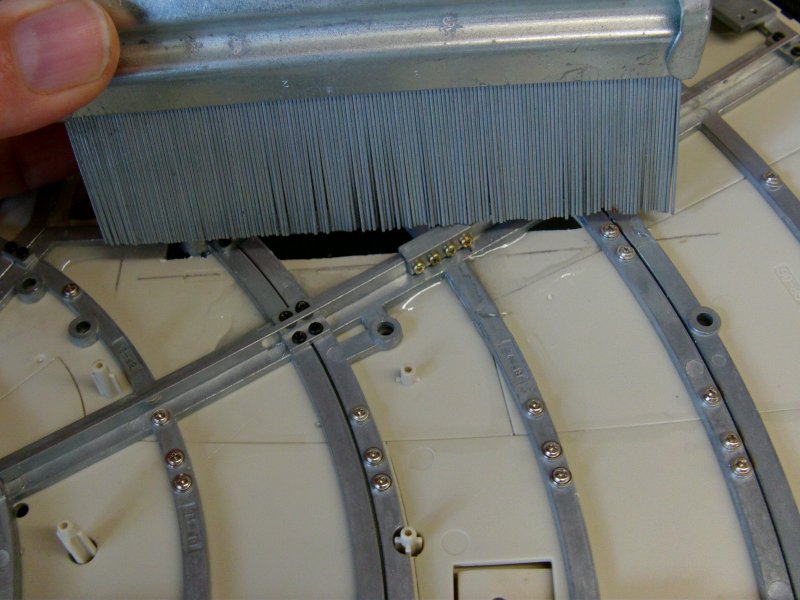
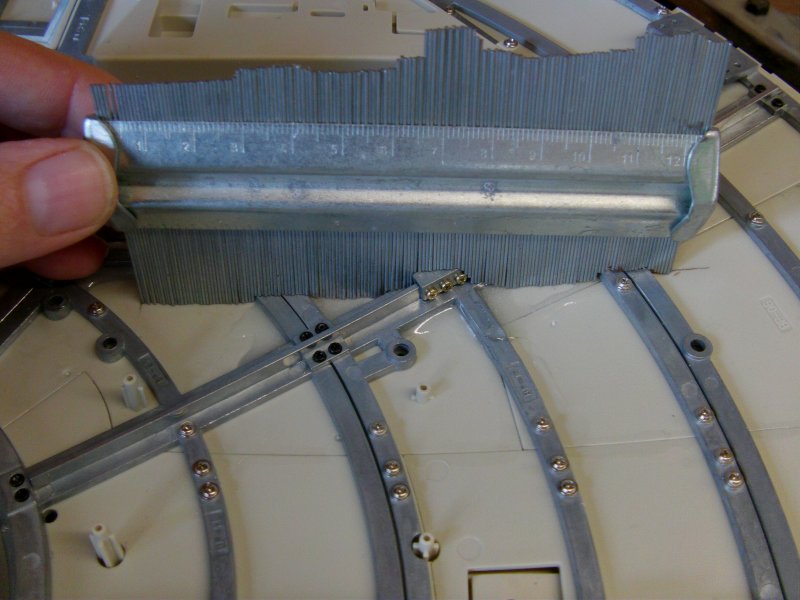
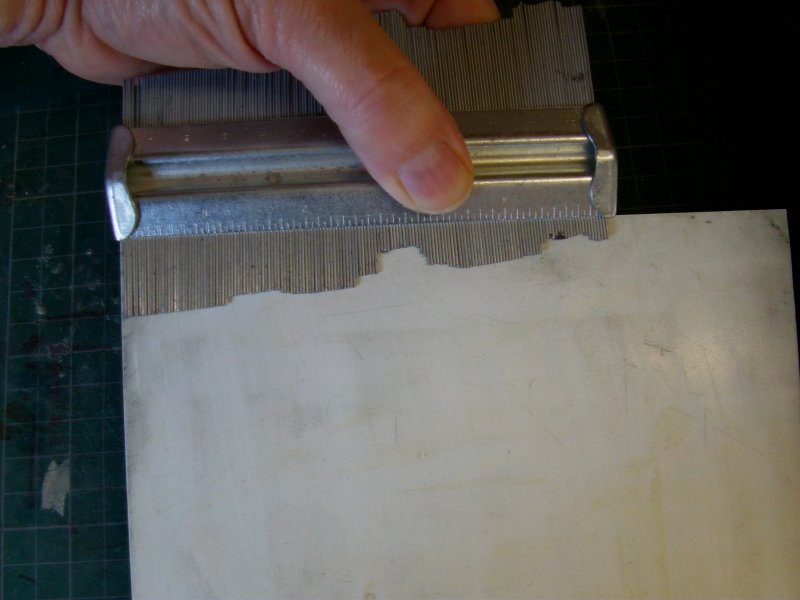
Match this up to a lump of styrene, 2mm thick in this case and go at it with a pencil.
Once done, the chop up dept. gets called in.
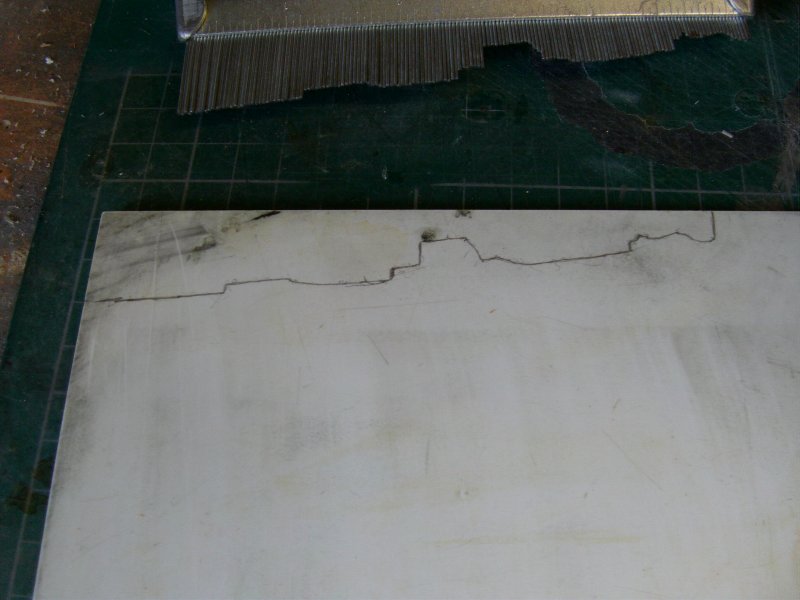
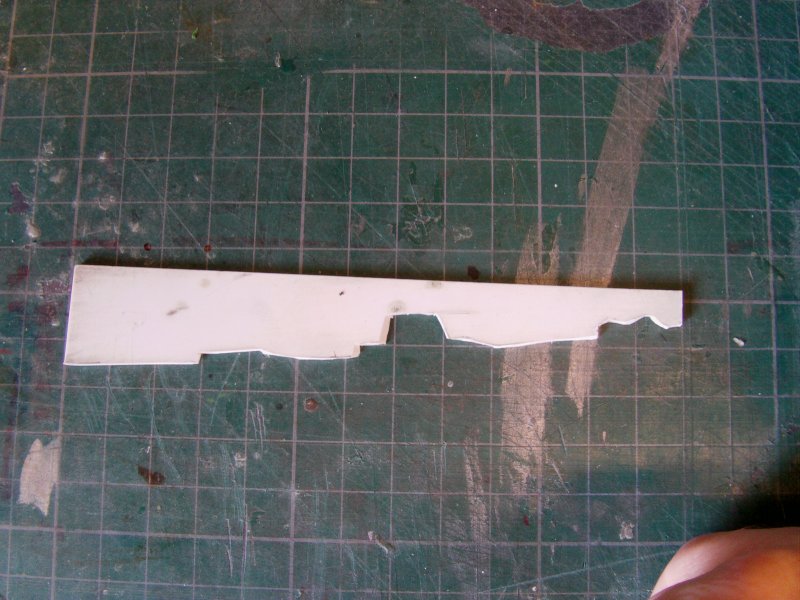
it's not a totally exact fit bit it's not required to be.
This was repeated for the other pit surround so a test fit and the same kind of deal
with the gauge, pencil and hack up deal for the rest of the required stuff.
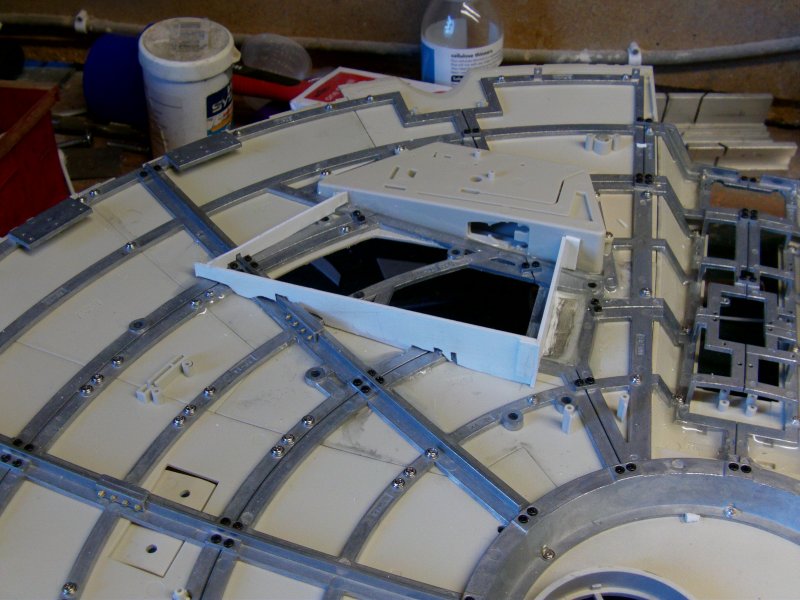
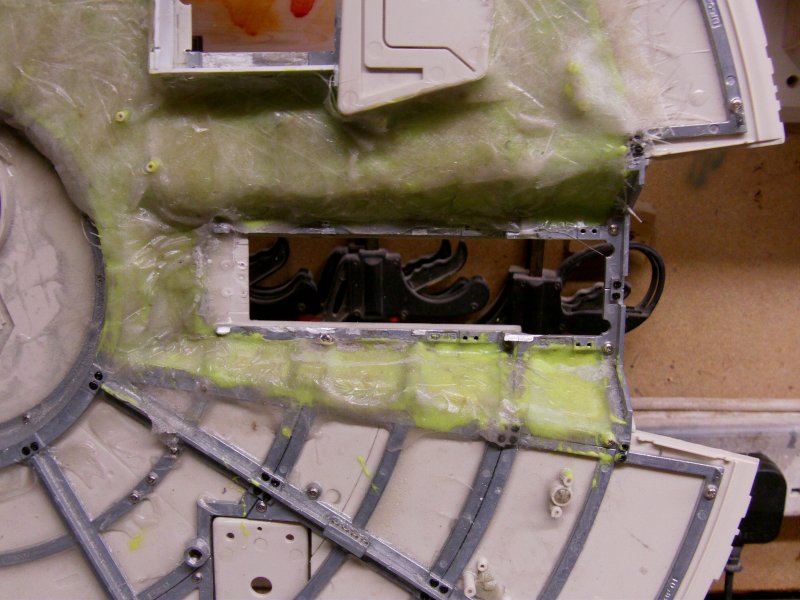
So that dealt with and all glued in to place,
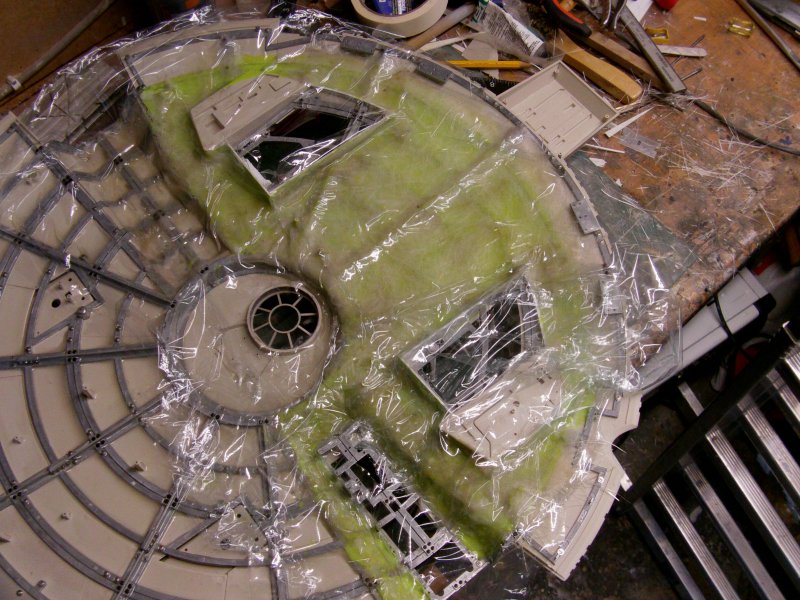
a layer of epoxy gel coat got slapped on in the areas required.
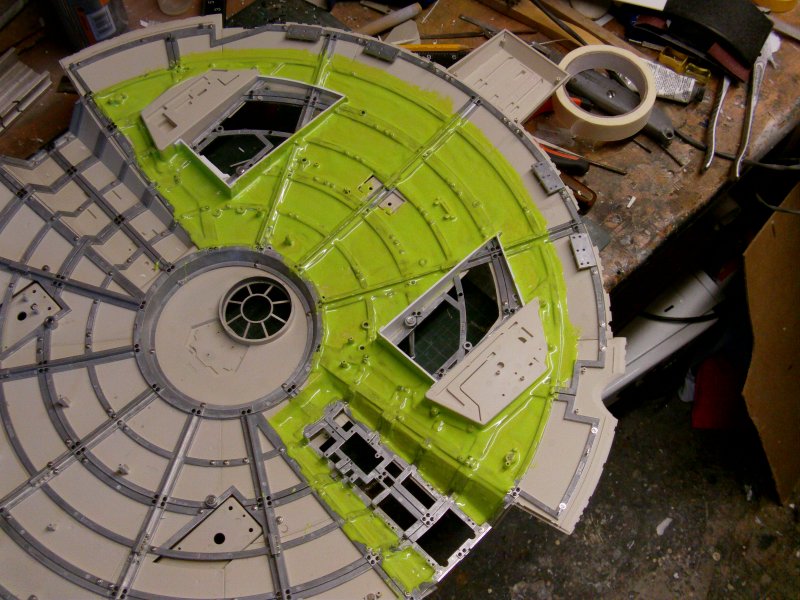
Left this alone for about 30 mins then pressed on some chopped strand mat and surface tissue.
The gel coat got a grip of this just nicely so in with the resin.
Any left over resin got brushed on to the rest of the framework so everything is going to
be very solidly anchored to each other so no worries abut the strength of the underside here!
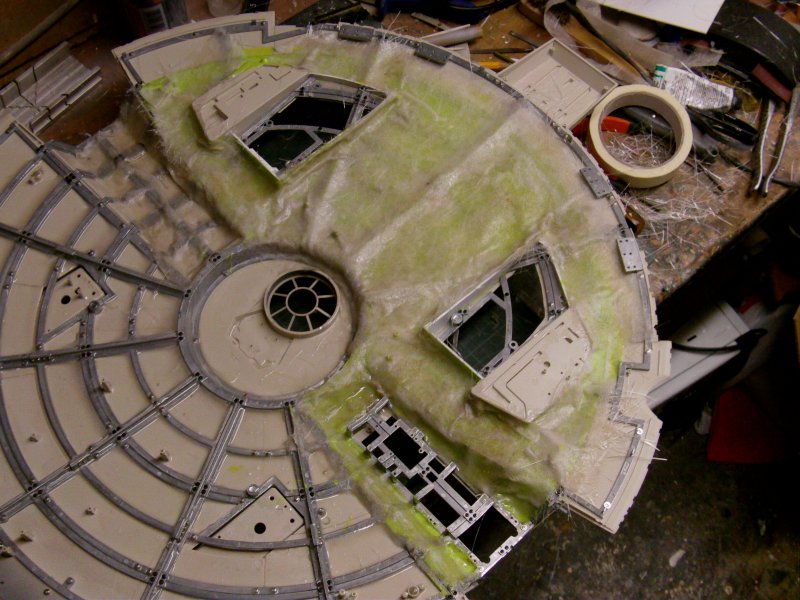
The fiberglass laminate got some plastic film laid over it.
This was pushed down to squeeze as much air out as possible to ensure
there are no weak points with large air bubbles in the layer.
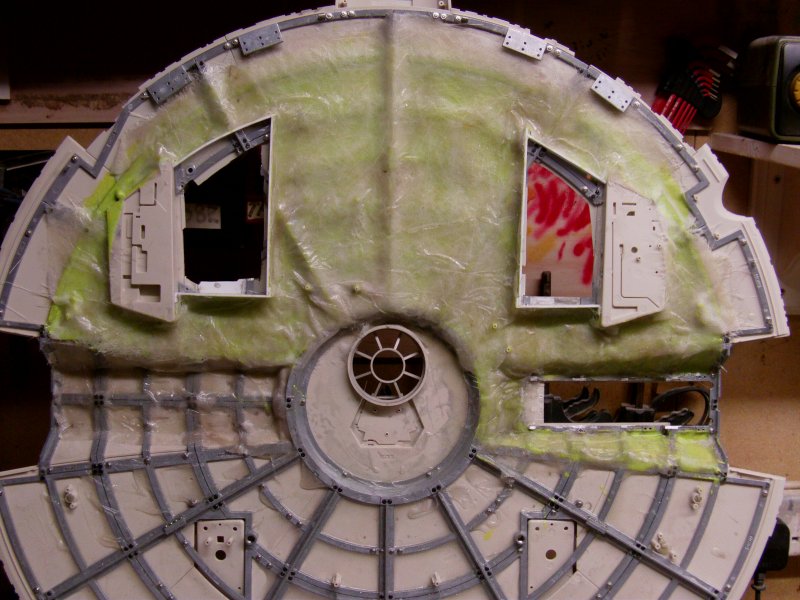
Left over night to sort itself out then the film peeled off.
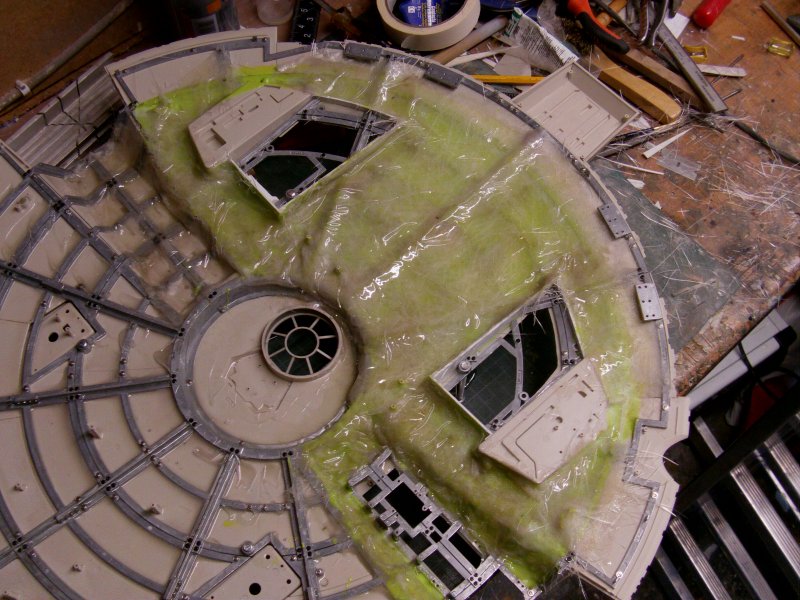
This was left to settle for a day and any excess fibers and the like got trimmed.
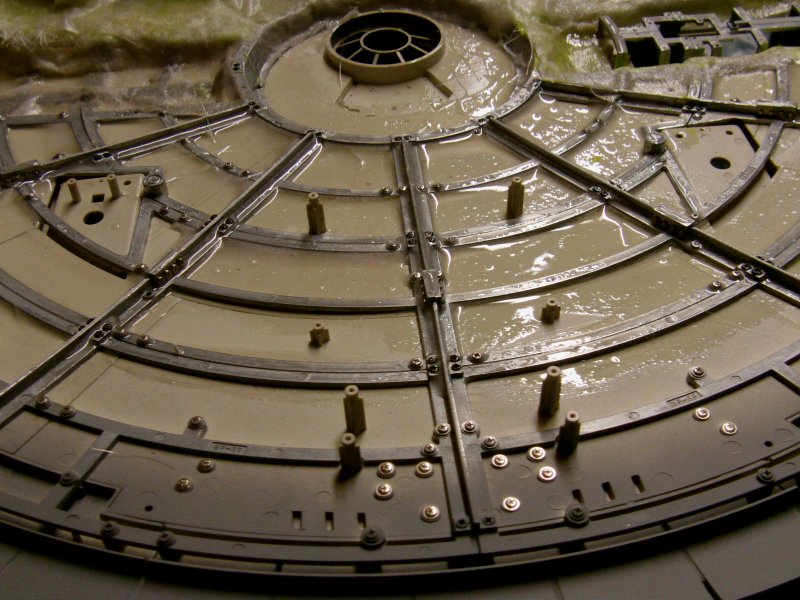
Then came the whizzy metal cutting thing once the join plates and screws not required got removed.
And lo, there was much gritting of teeth and flying of metallic lumps about the place.
And it was good.
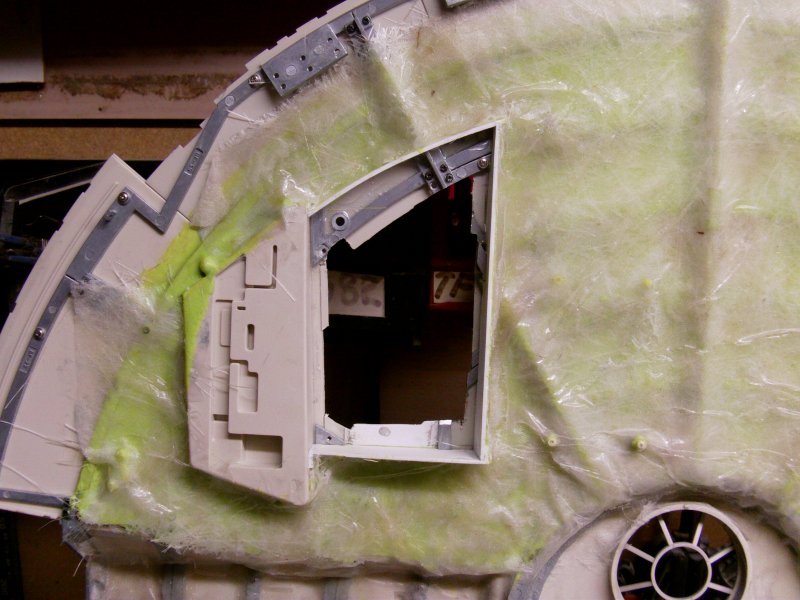
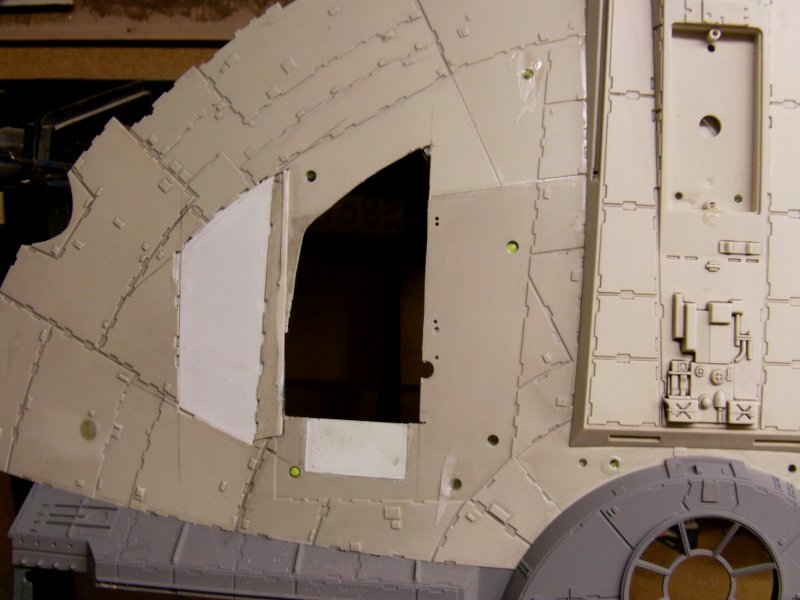
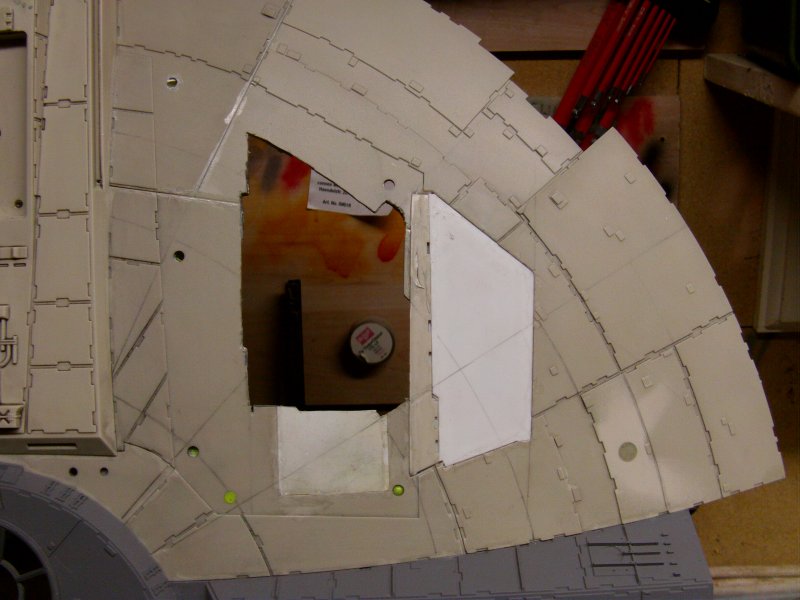

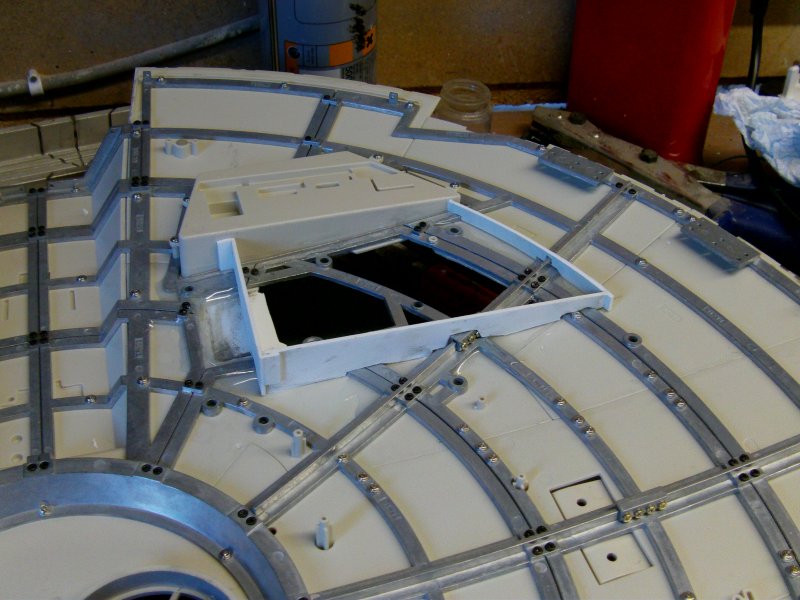
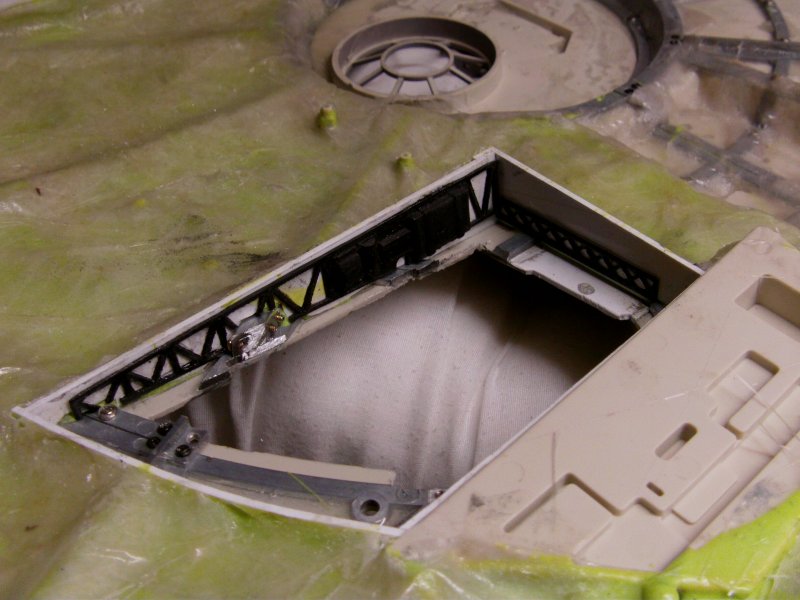
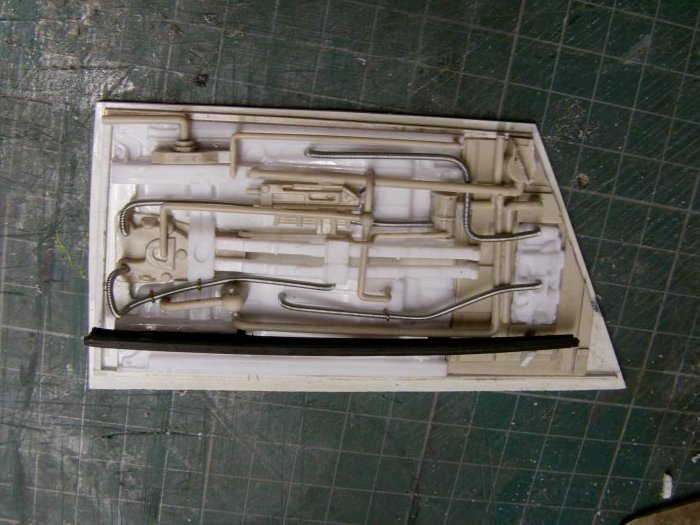
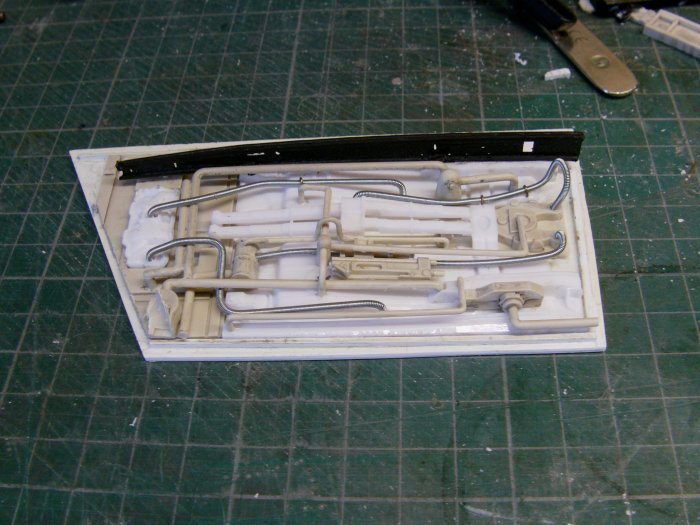
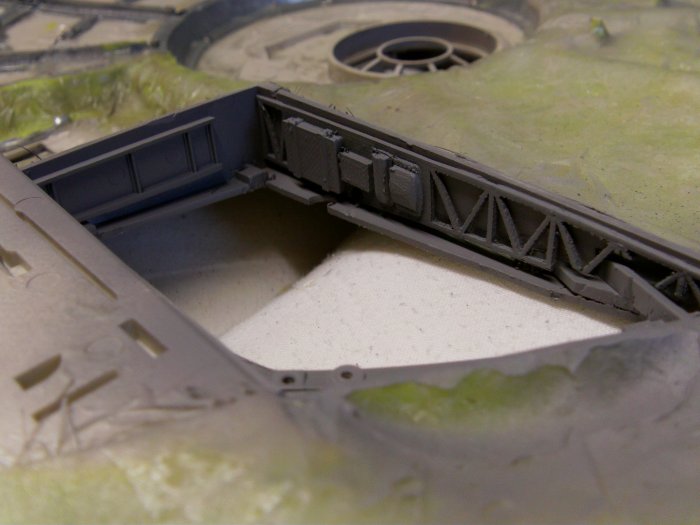
A little bit of clean up here and there then on to getting the large plates to cover the pits sorted.
A last bit of styrene strip cut to make the lip surround that the plate would be glued to complete.
Some measuring and hacking up later got said plates, with an added step to locate them a bit easier
and a good visual clue of where to stop with the detail doo-dads so it all fits just right.
Sorted!
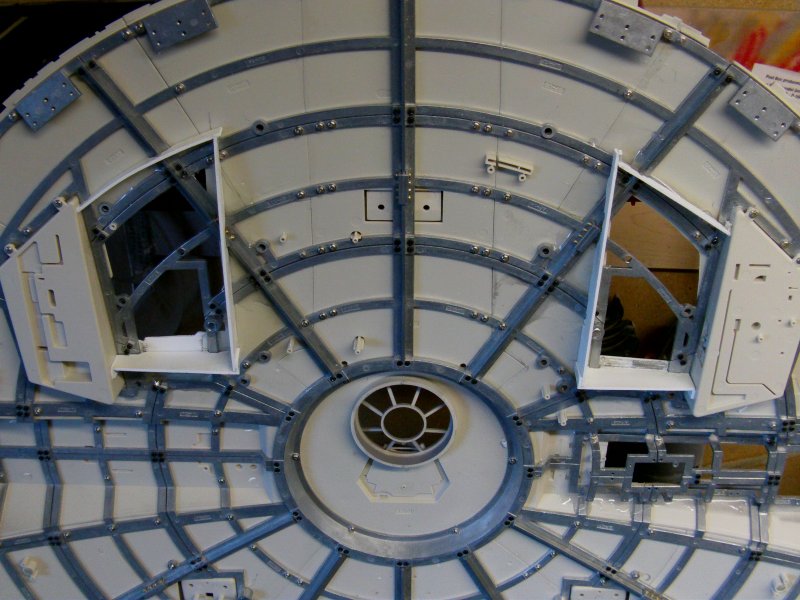
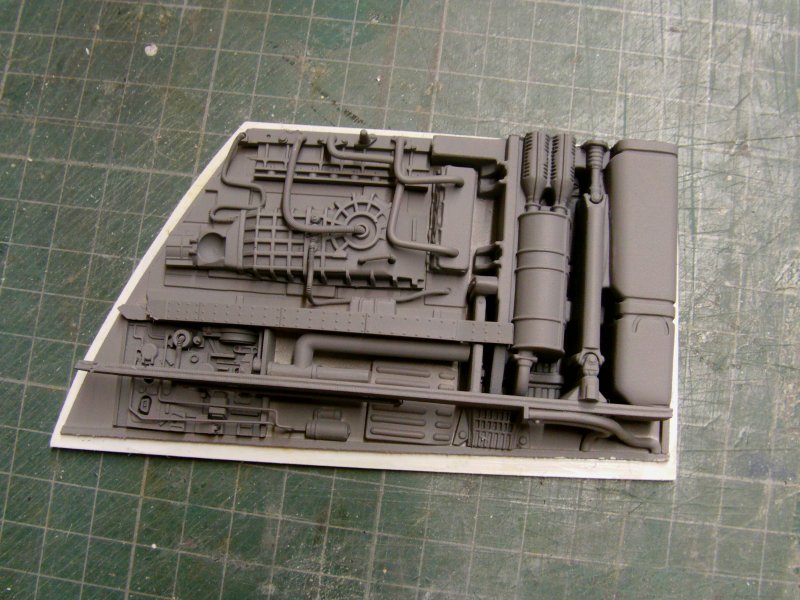
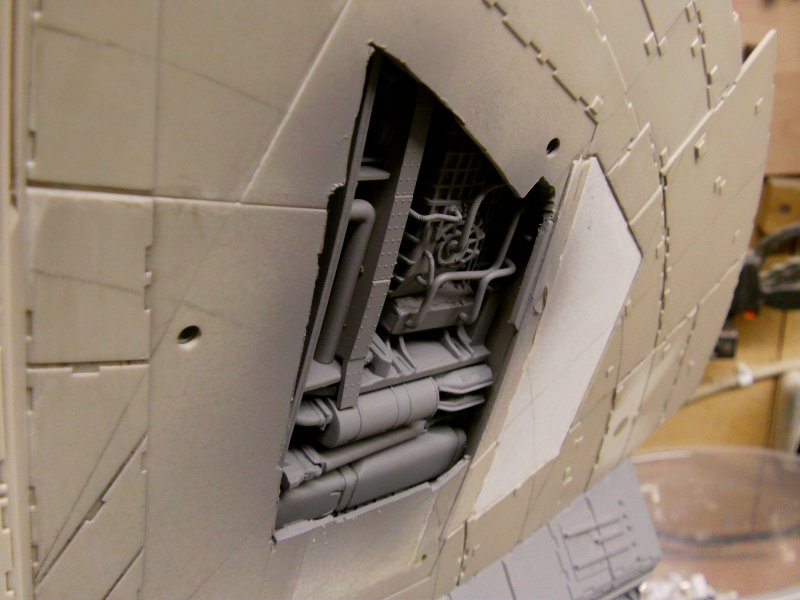
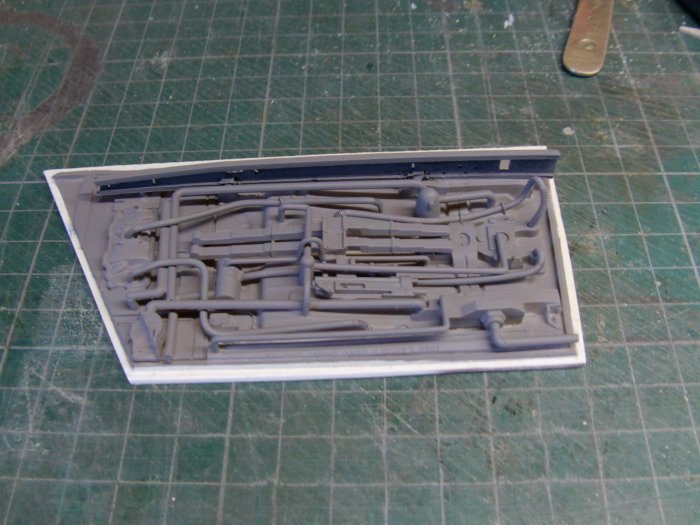
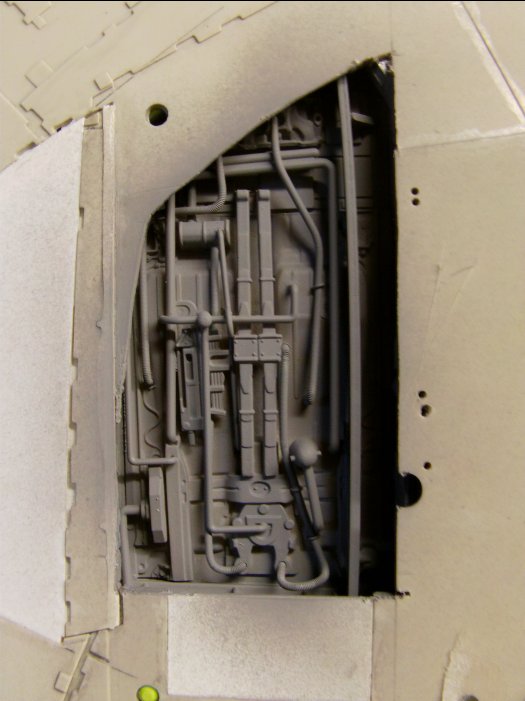
So then, the greeblie dept. turned up so let's get to it.
A combo of kit parts, resin castings, brass wire, printed bits and left over stuff from the DeAgo issued sprues.
So greeblies applied in stages with the odd check for fit and it was about sorted.
The left hand pit first.
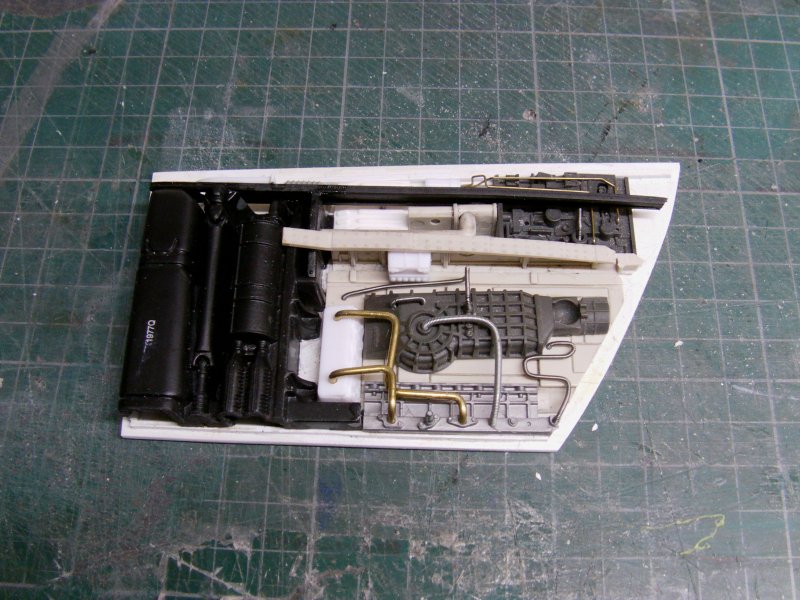

Not truly screen accurate but info on the proper parts used is more than just a
little thin on the ground out there so close enough will have to be good enough.
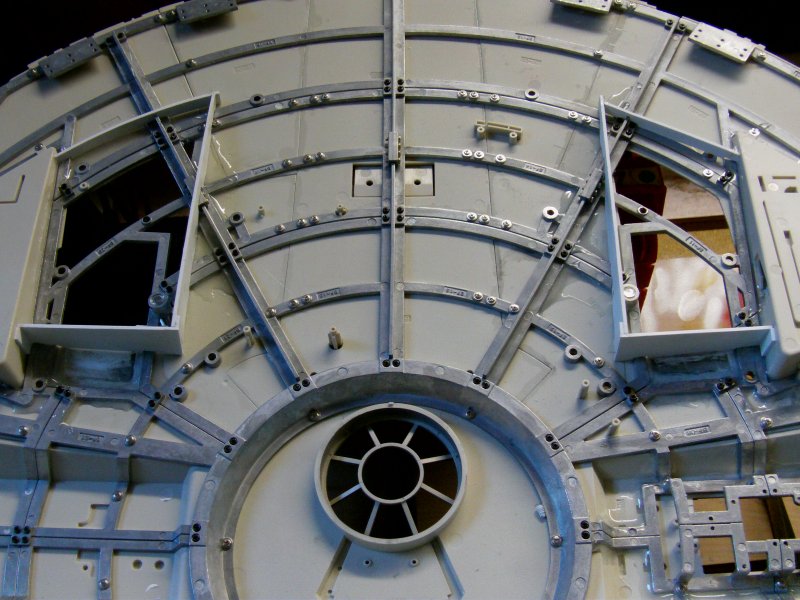
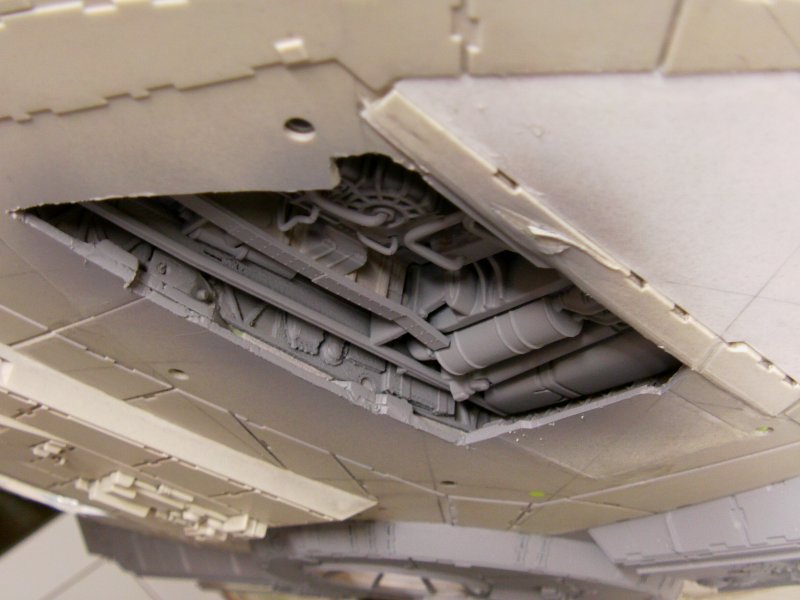
A lick of primer and a proper dry fitting look see.
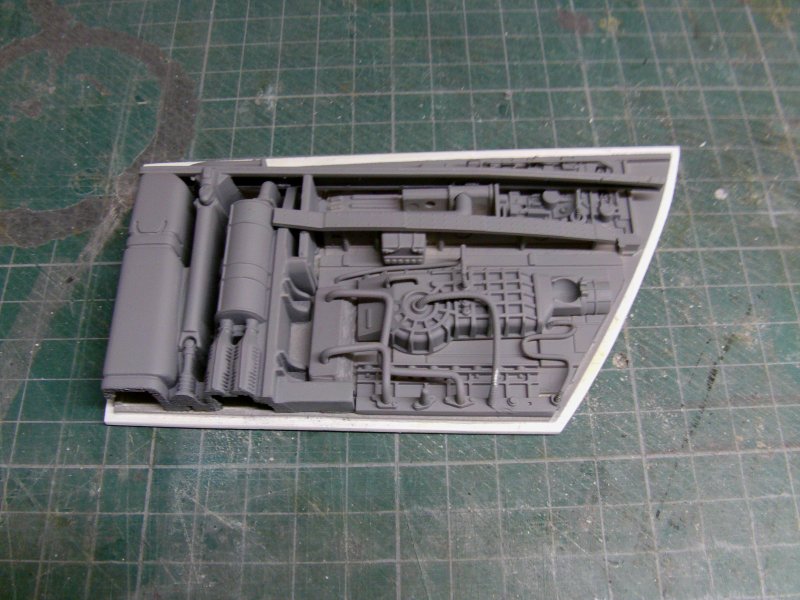
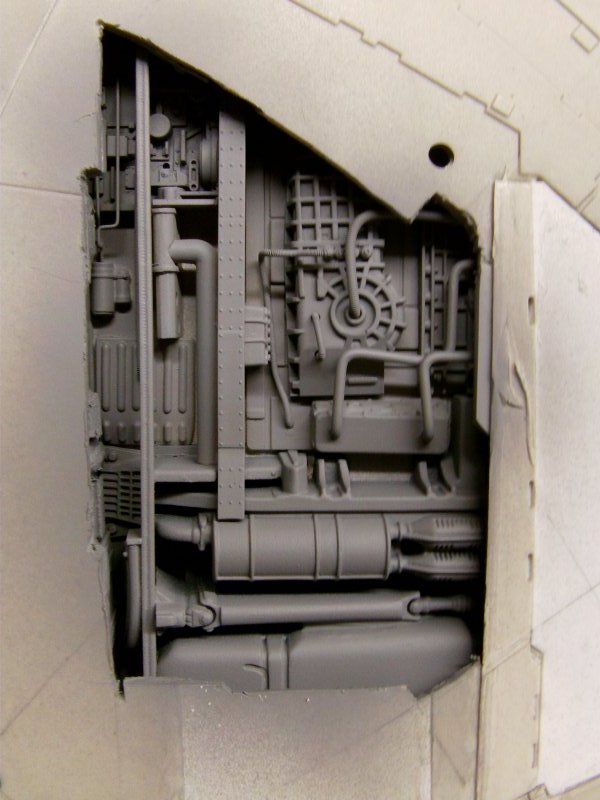
Same deal for the right hand pit.
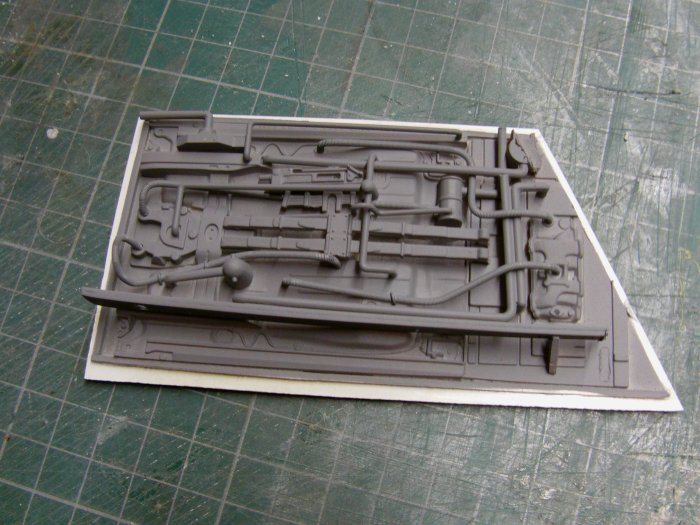
And the dry fit look see and I like what I see.
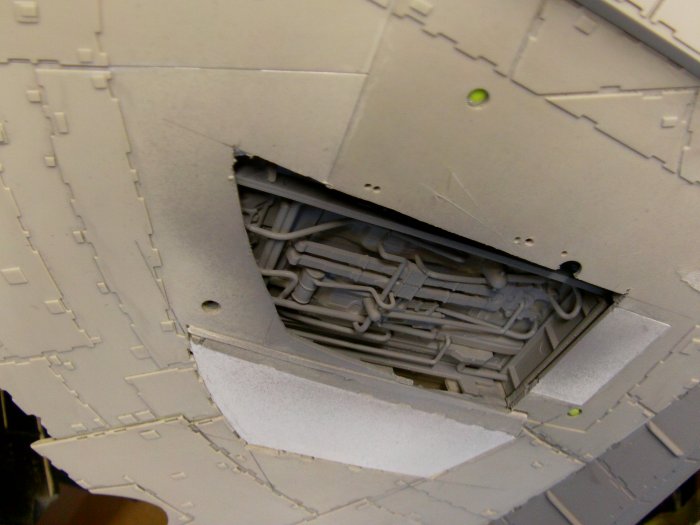
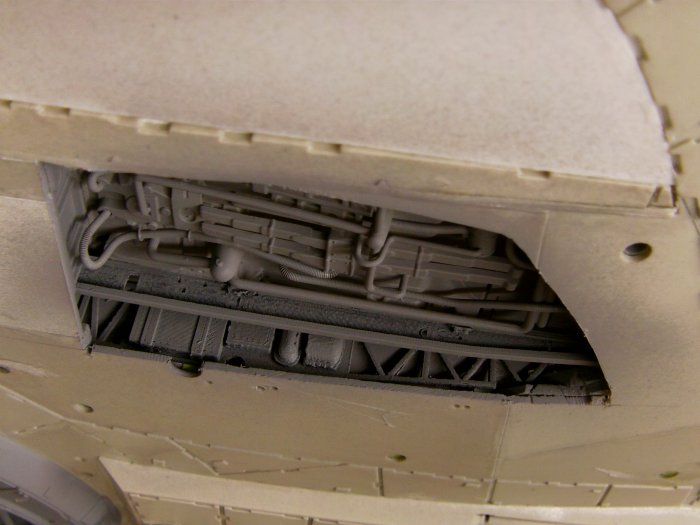
And both in temporary place.
Well i'm happy with that hoo-ha.
Next up will be the exterior plating deal...
which probably will not be pretty but slightly perverse fun for you lot to watch.
That's the lot for this update, you merry mob go easy out there now!
Page Number