
DeAgostini Part Work
'Build The Millennium Falcon'
Possibly Studio Scale Model.


 Page Number
On the home stretch.
So i'll Try Not To Stretch it Out Too Much.
But no guarantees.
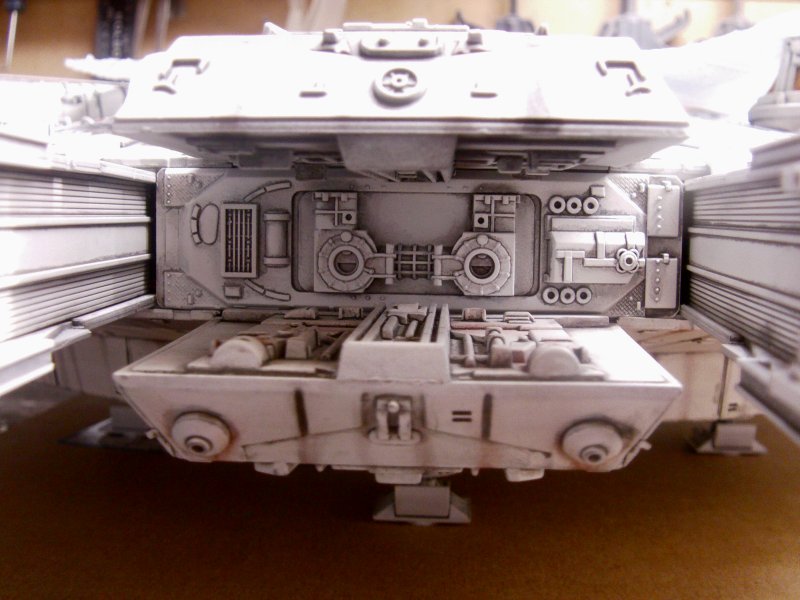
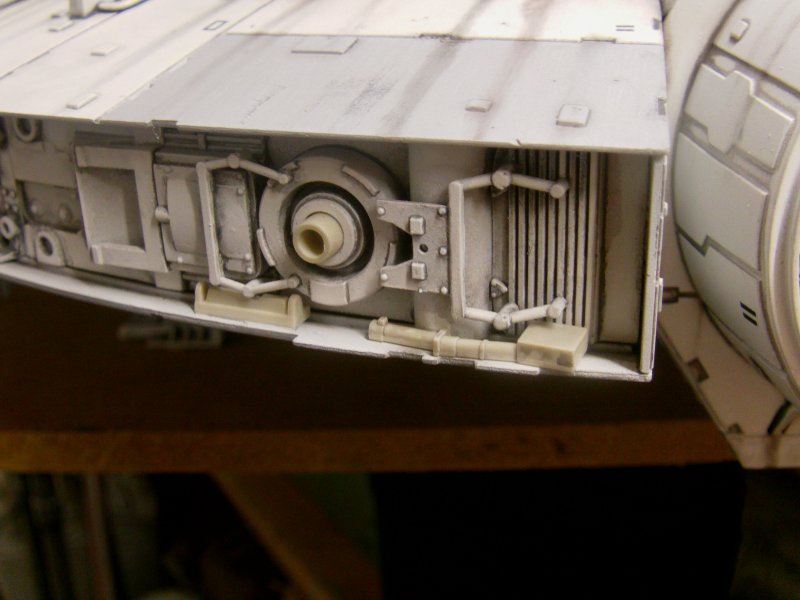
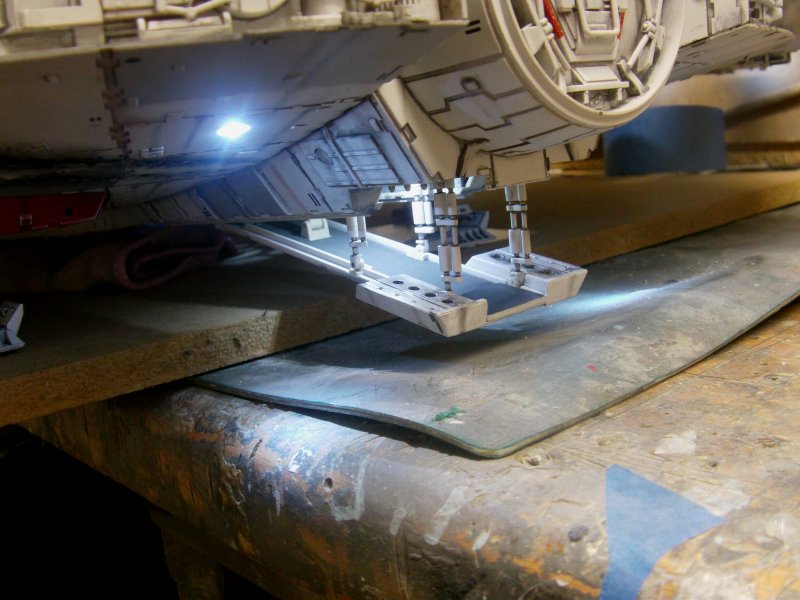
Ok then, almost the last bit for the underside, fitting the mandibles.
As per destructions and surfaces cleaned of paint overspray,
Epoxy stay put gunk jammed in, screws done up and 'twas a sorted thingy.
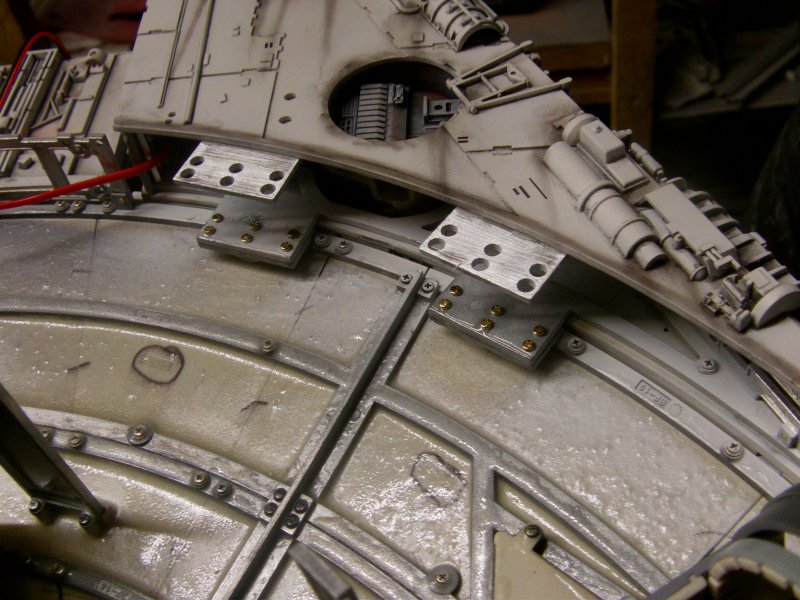
Now we're getting somewhere.
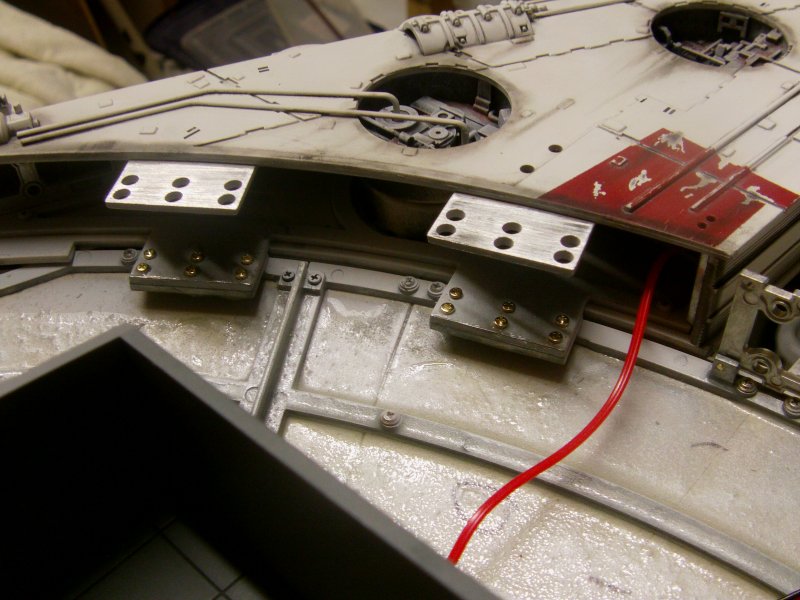
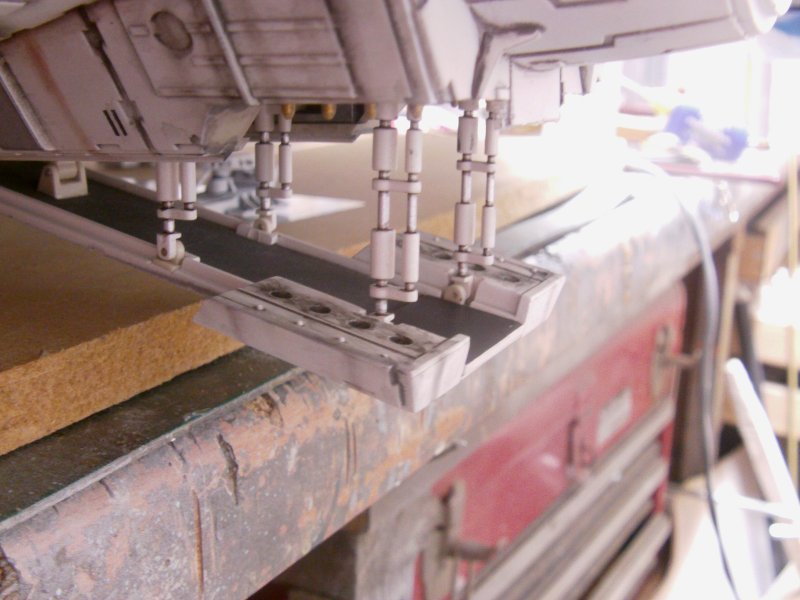
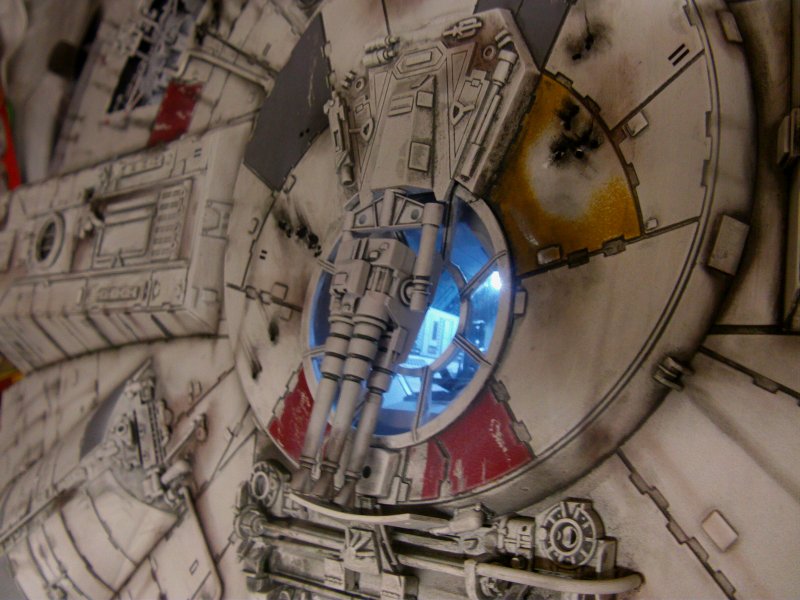
Wiring plugged in and a quick test showed that all is well in the lighting side of things so finally...
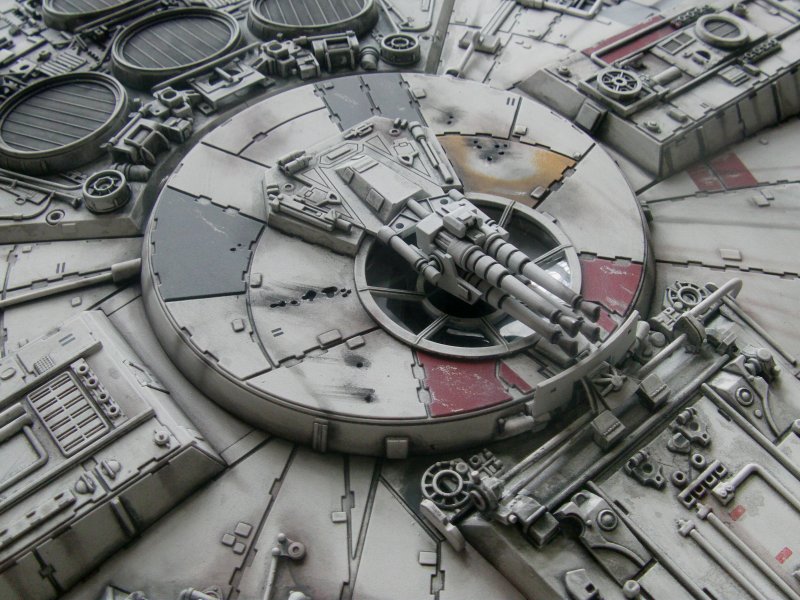
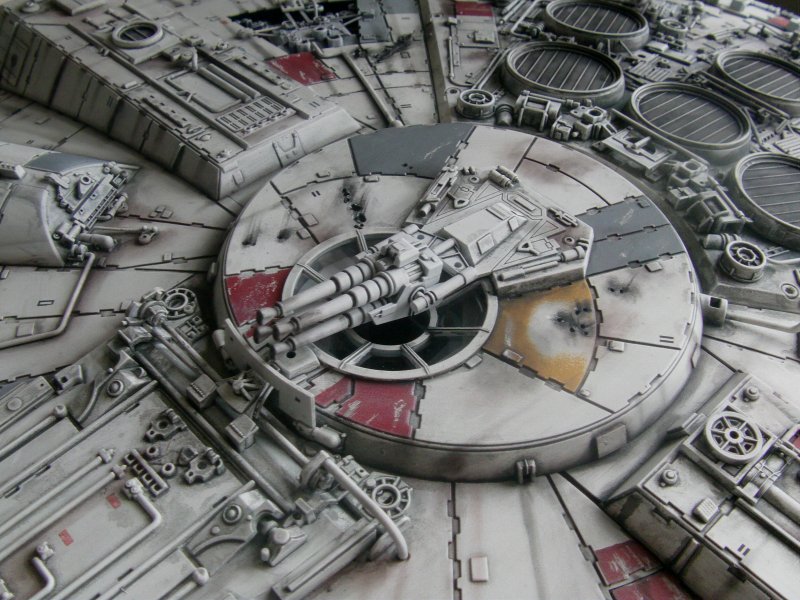
quad guns cleaned up and painted.
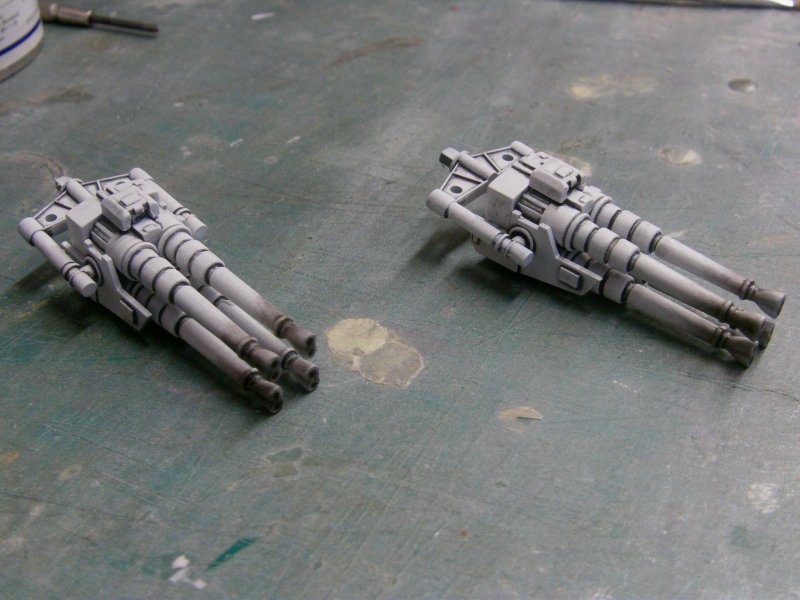
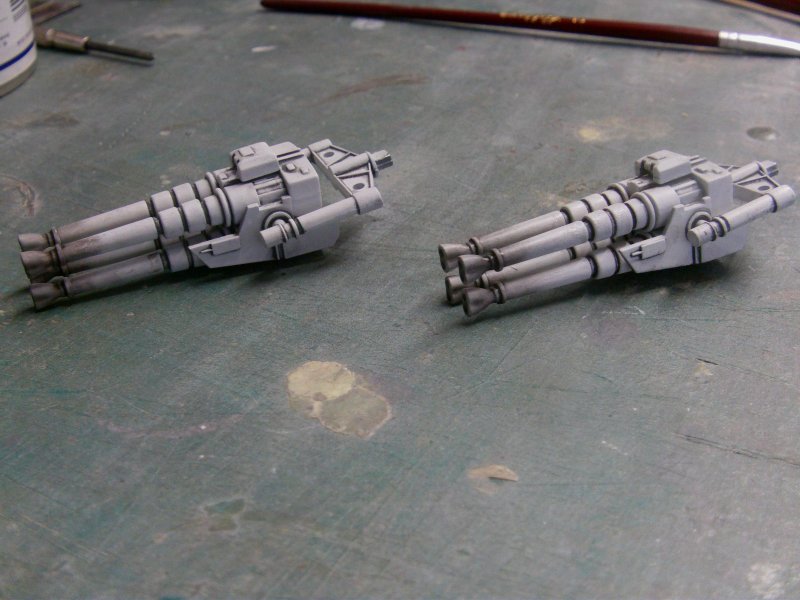
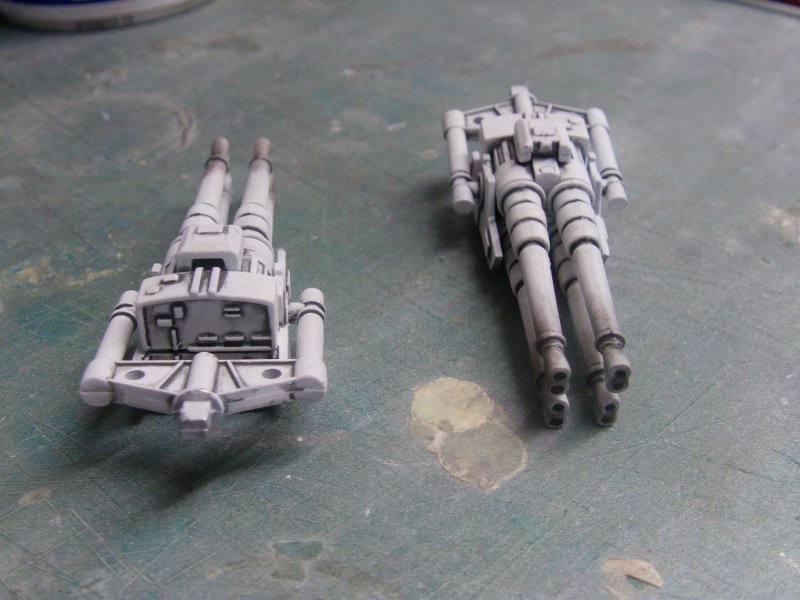
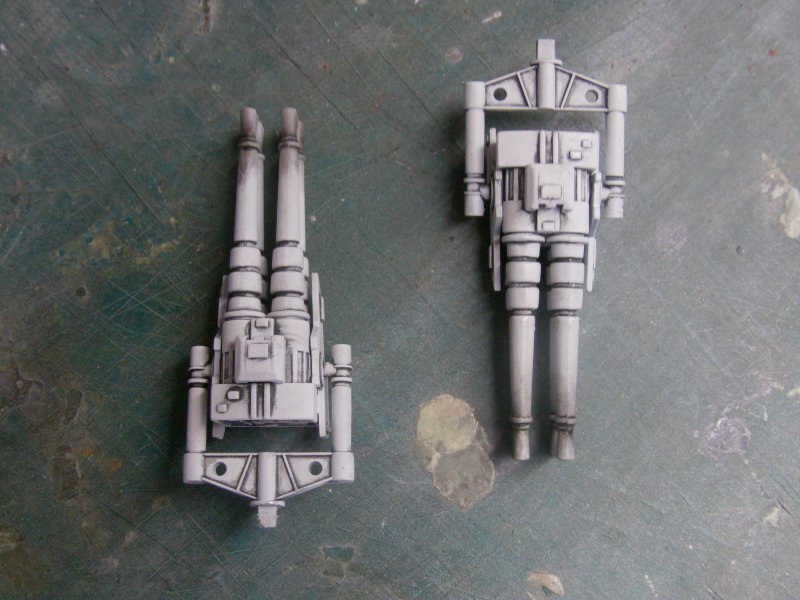
With only a very small amount of shoving with a bit of epoxy stay put gunk,
the bottom gun mounted in permanent fashion.
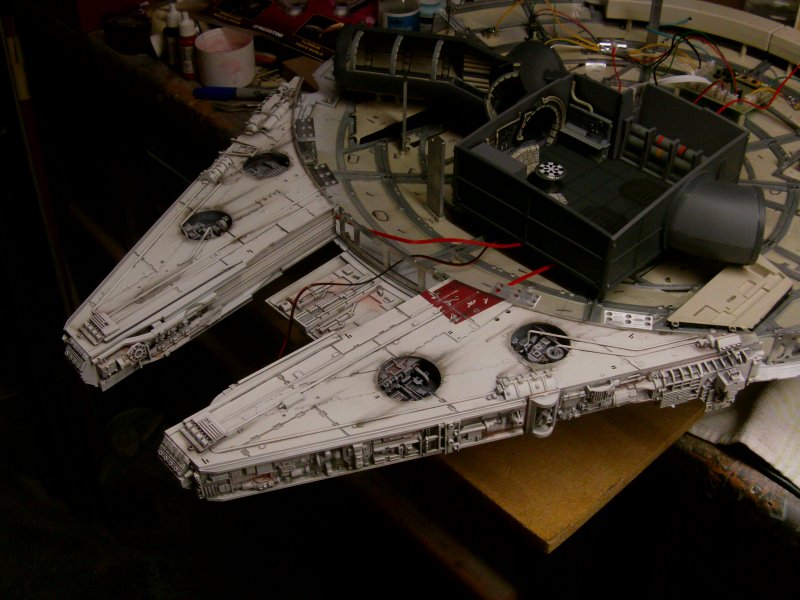
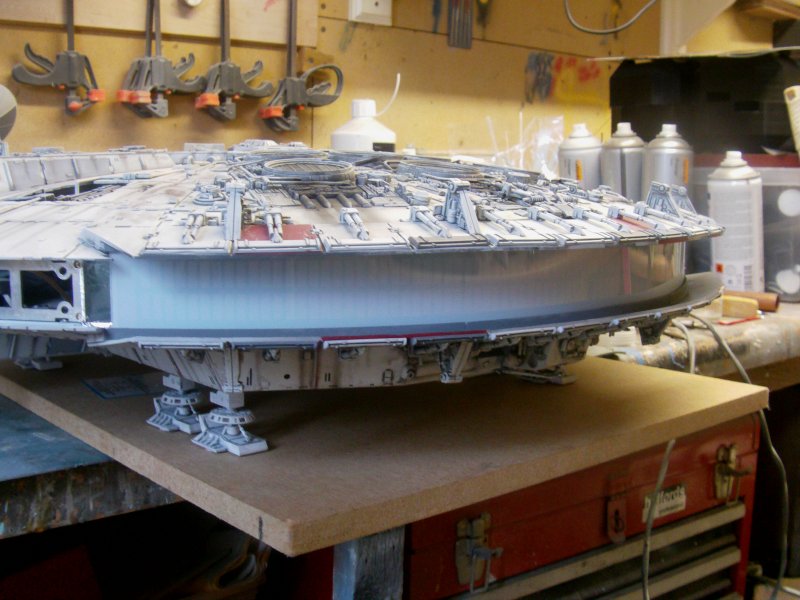
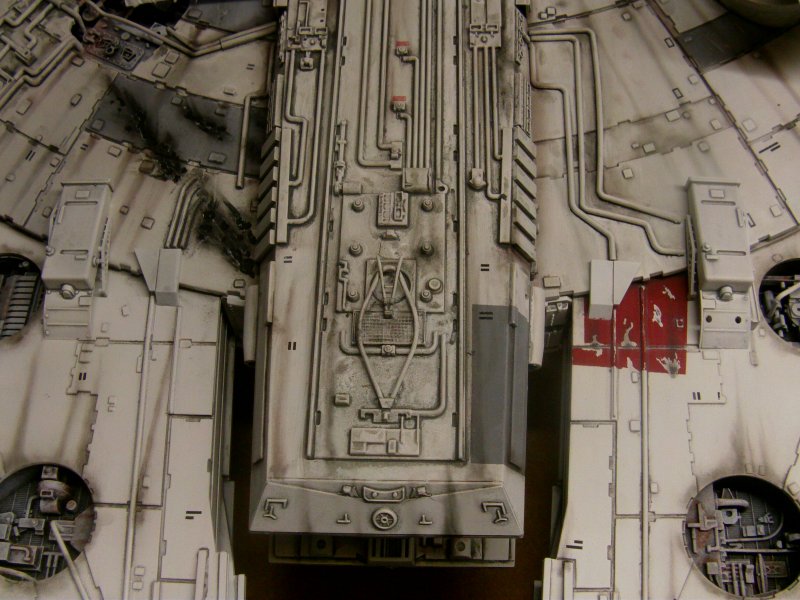
And that does it for the underside!
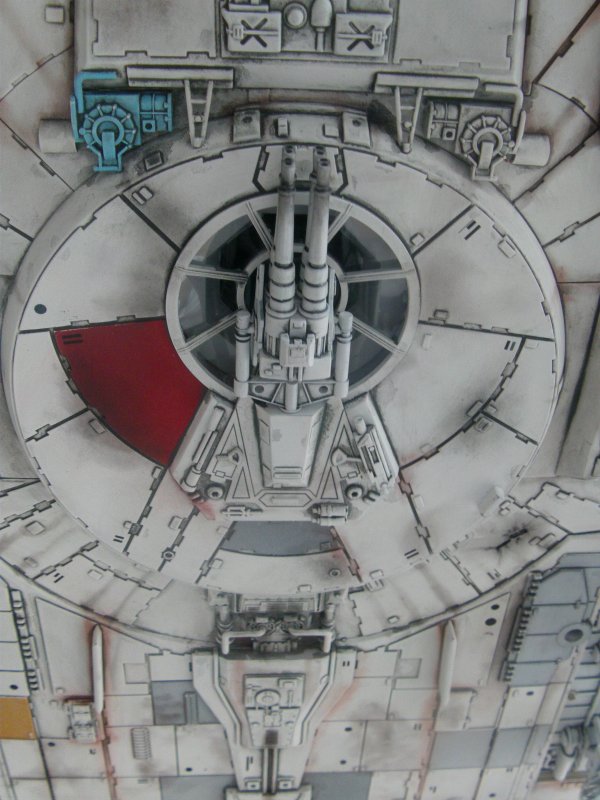
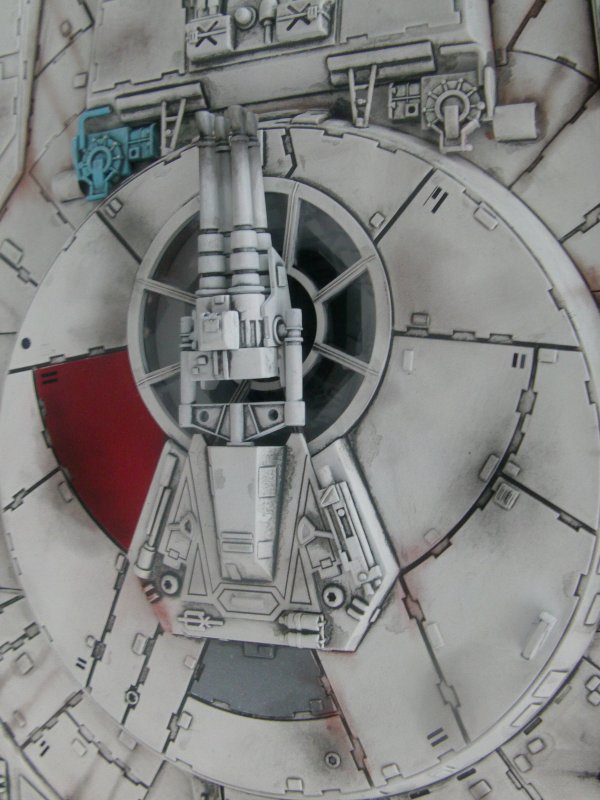
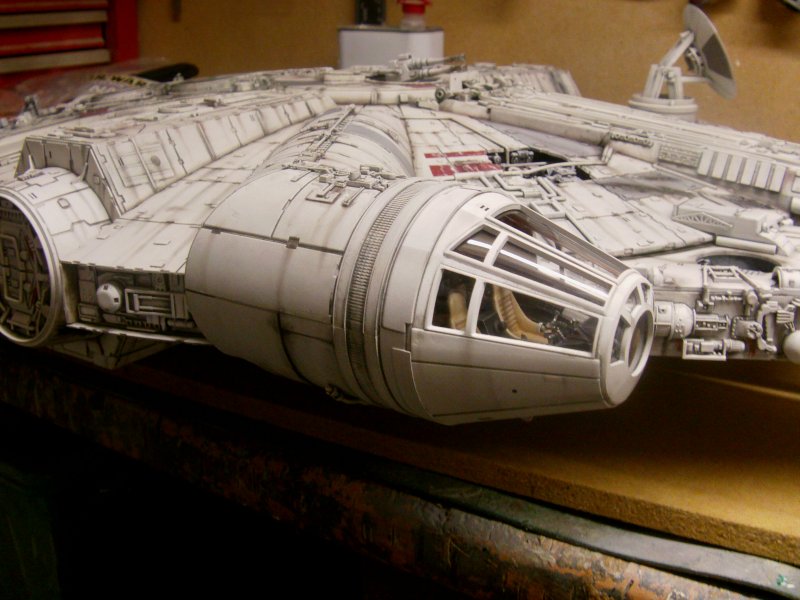
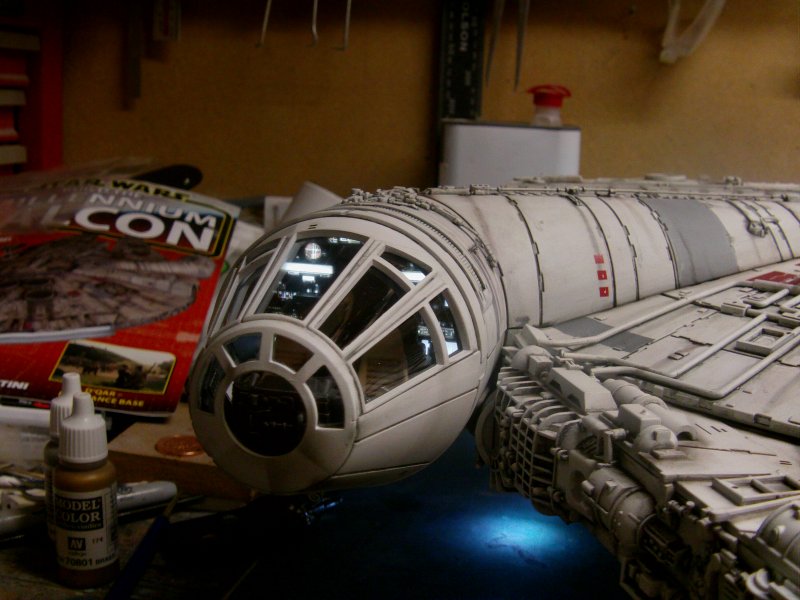
Sameish hoo-ha as above with the interior, glazing and the like for the top gun turret.
Speaking of the top...time to fit!
Ladder between the gun turrets not used as you just can't see it,
extension cable for the battery pack linked up and ready.
Wire from cockpit lights also at the ready.
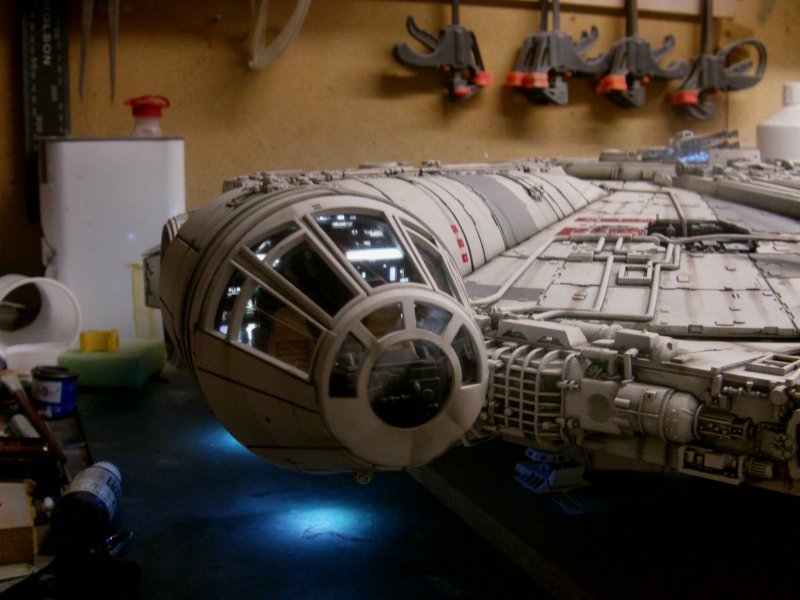
Cockpit cone shoved where it should be...
And place making sure the on/off switch is somewhere I can get to it!
A small amount of shoving about and it's lined up.
Screws inserted and done up tightly.
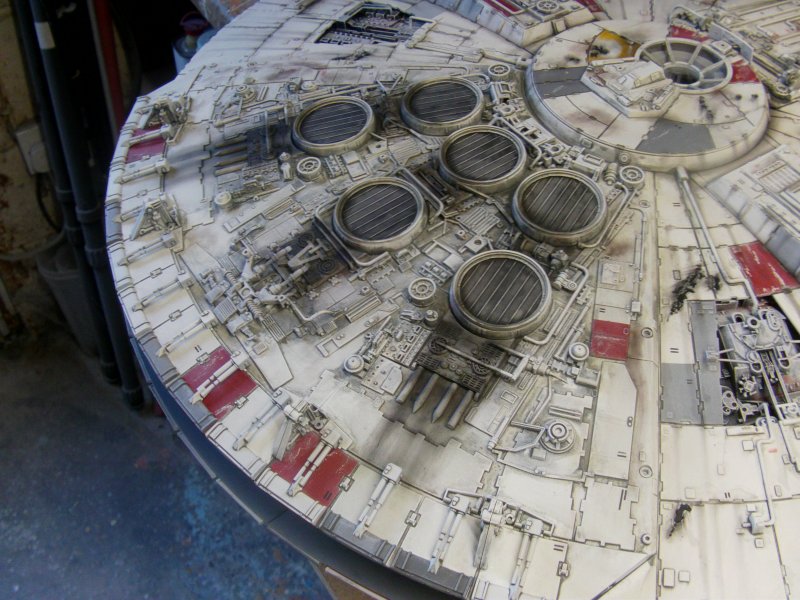
More foil tape to seal in the engine lights, light diffuser in place and engine deck set back where it should be.
Battery pack secured and top jaw box fitted back in to place.
To make this easier, I left out the two front screws holding the top gun turret down.
Just a simple matter of putting one side under the turret part and rotating the deal in to place.
The magnets do the rest and it's done.
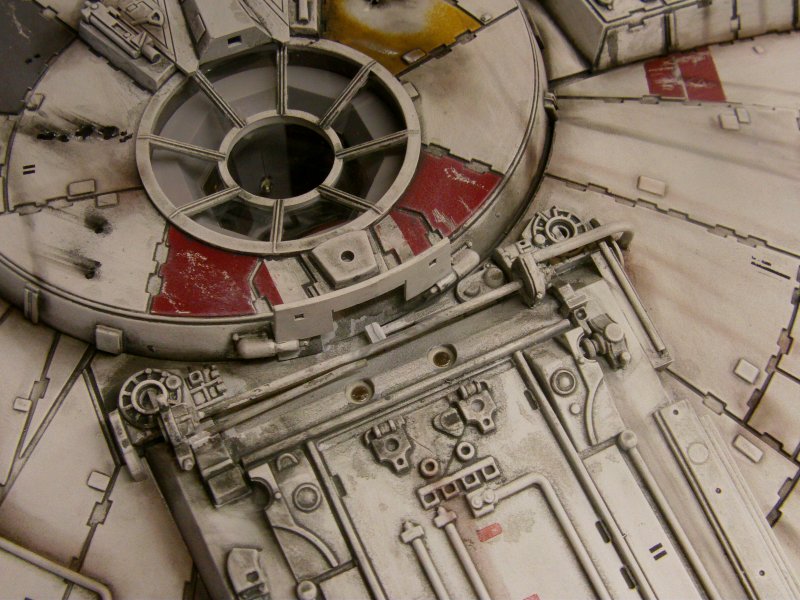
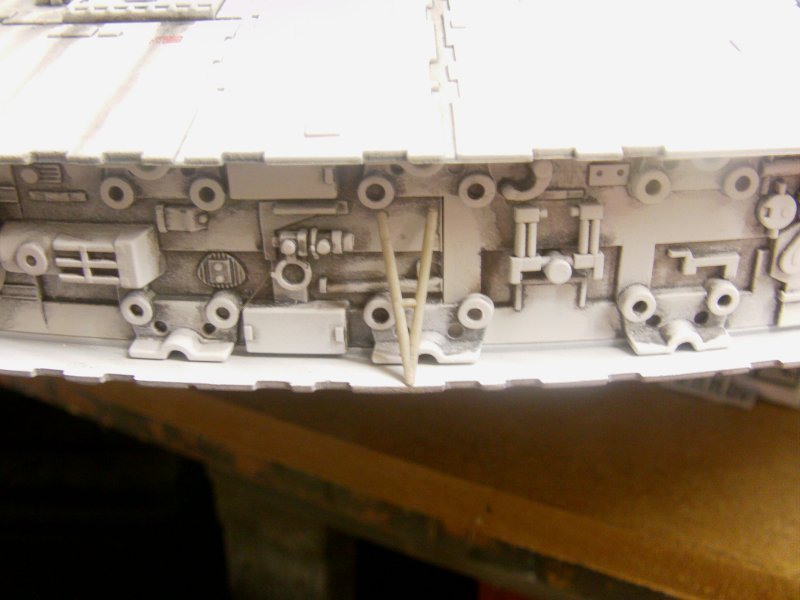
Side detail plates/docking tube ends pulled from their hiding place.
Sides and switch fitted.

Oh yes!
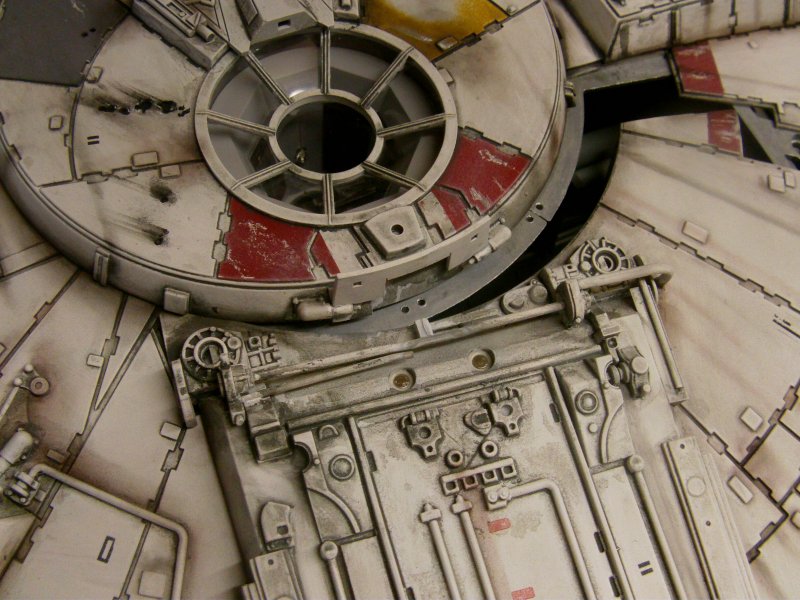
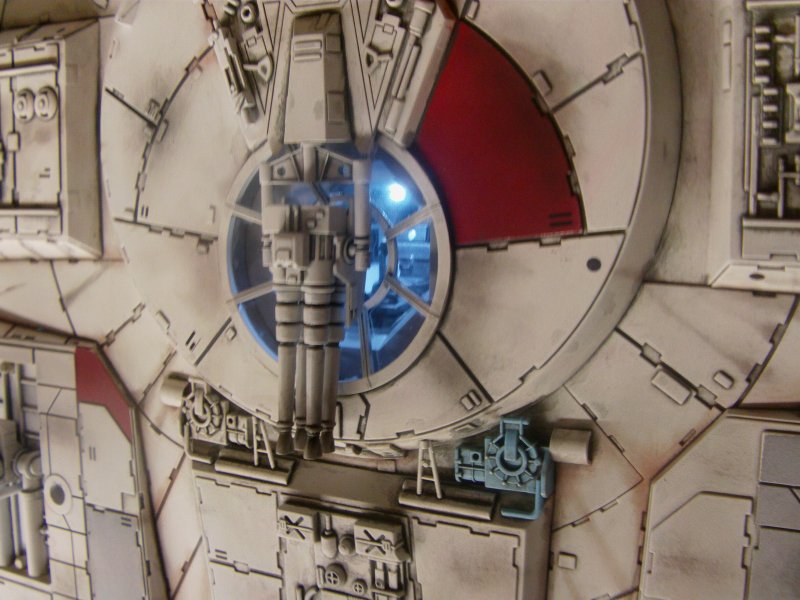
Extra detail parts fitted more or less where they should be
and a touch of painting/weathering/dirtying up to do here and there.
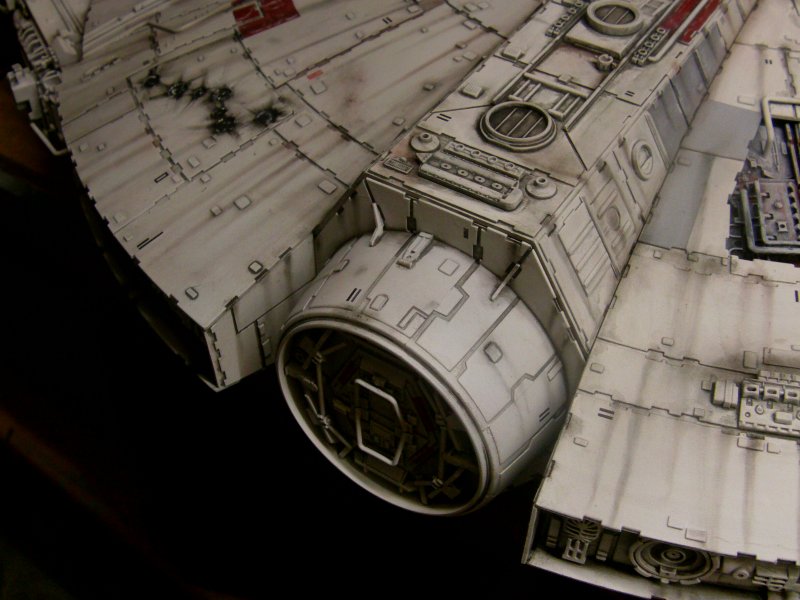
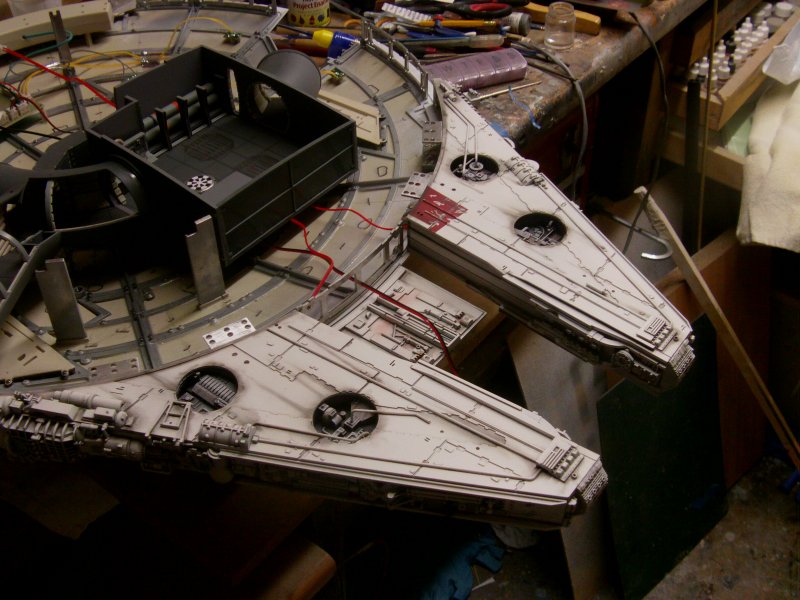
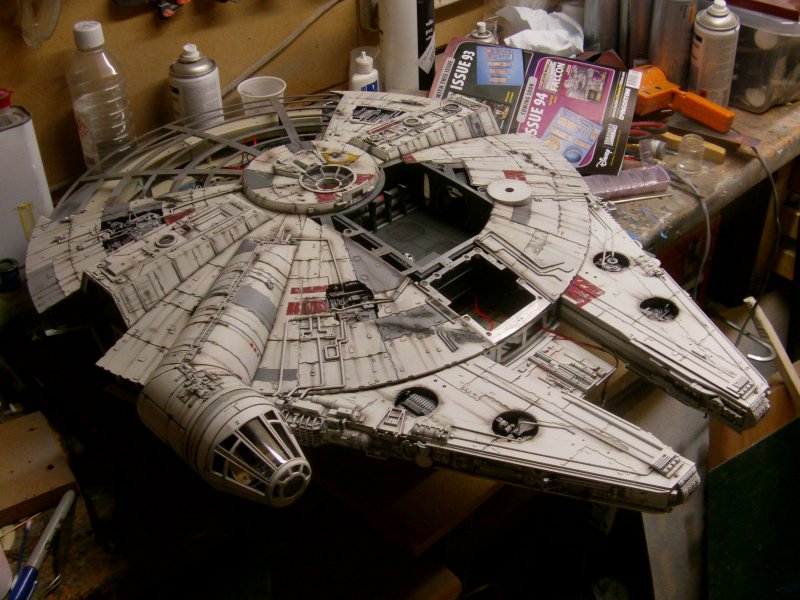
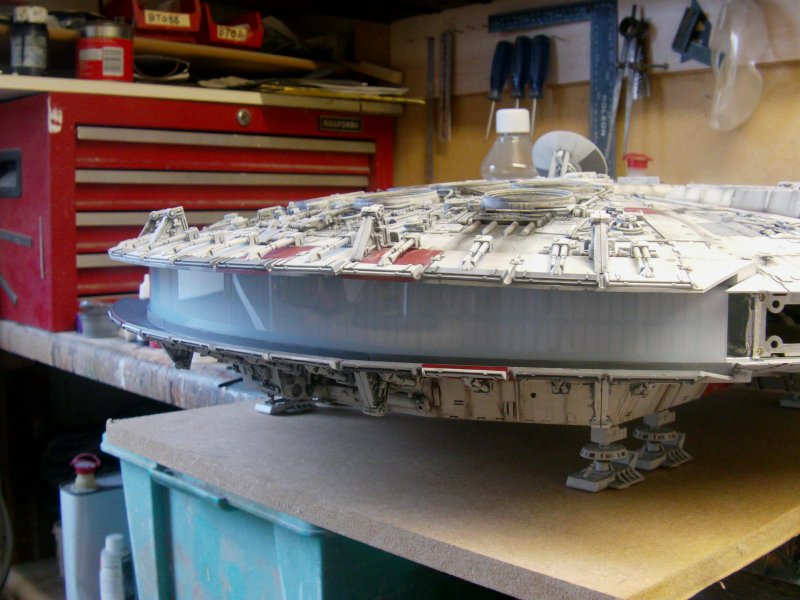
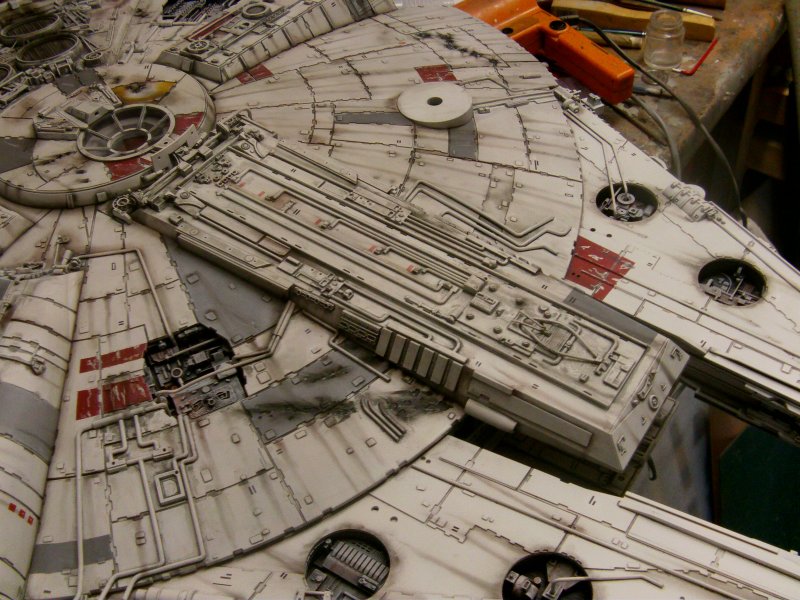
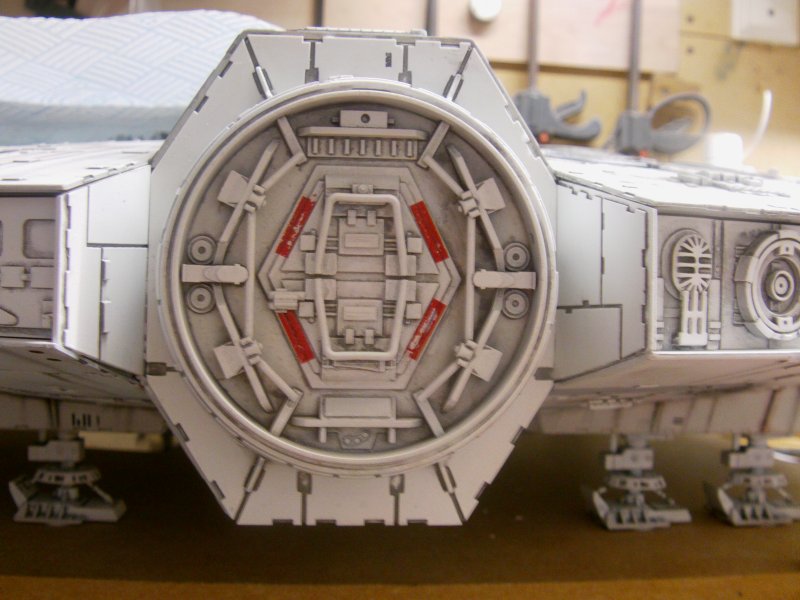
Fitted the rectenna and top guns so time for a proper all round look see!
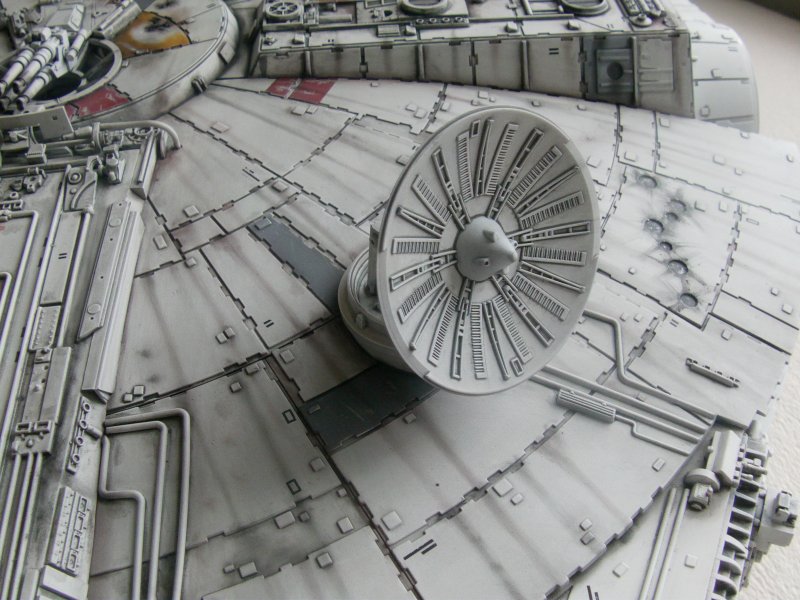
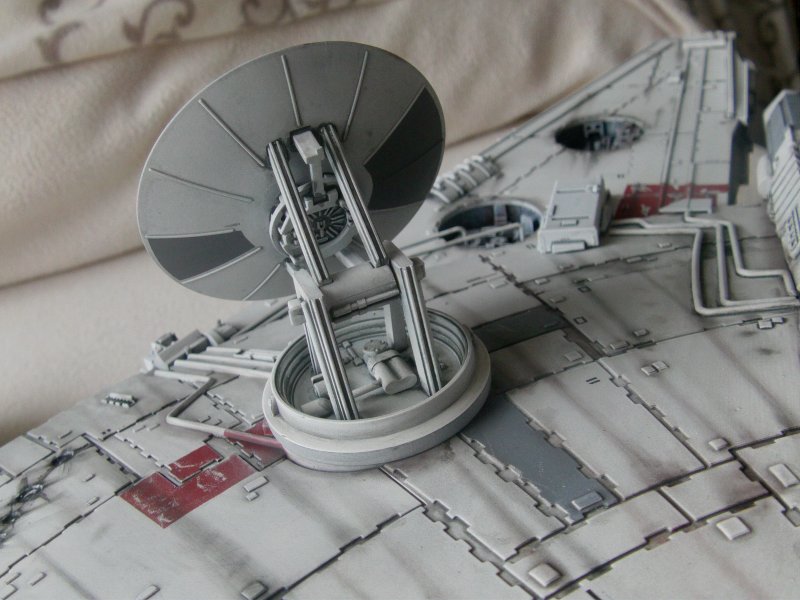
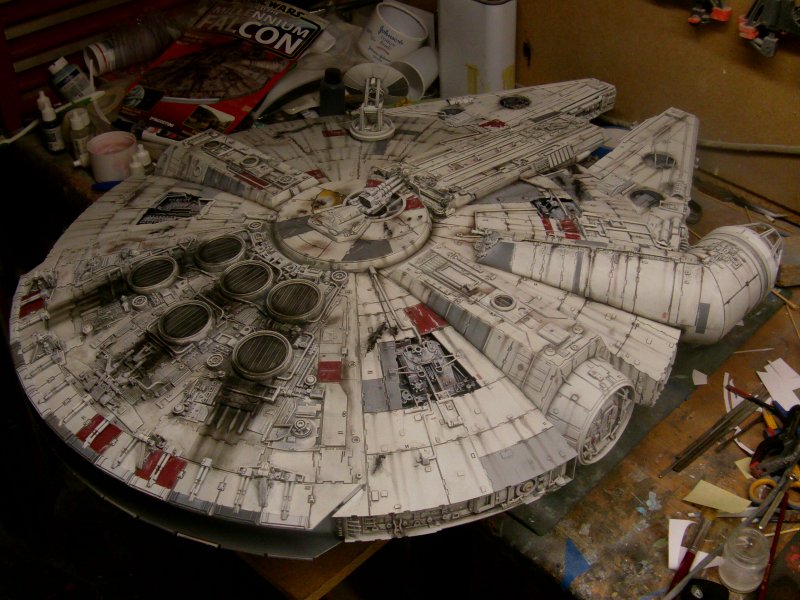
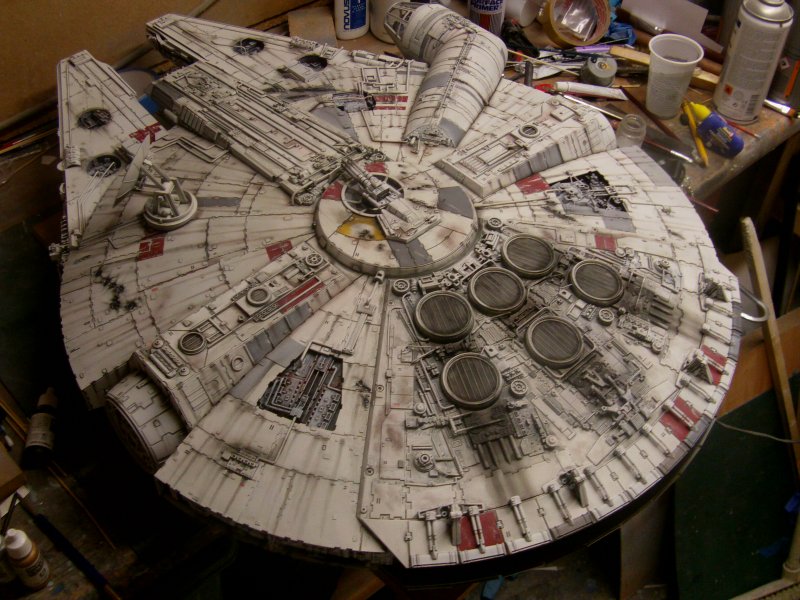
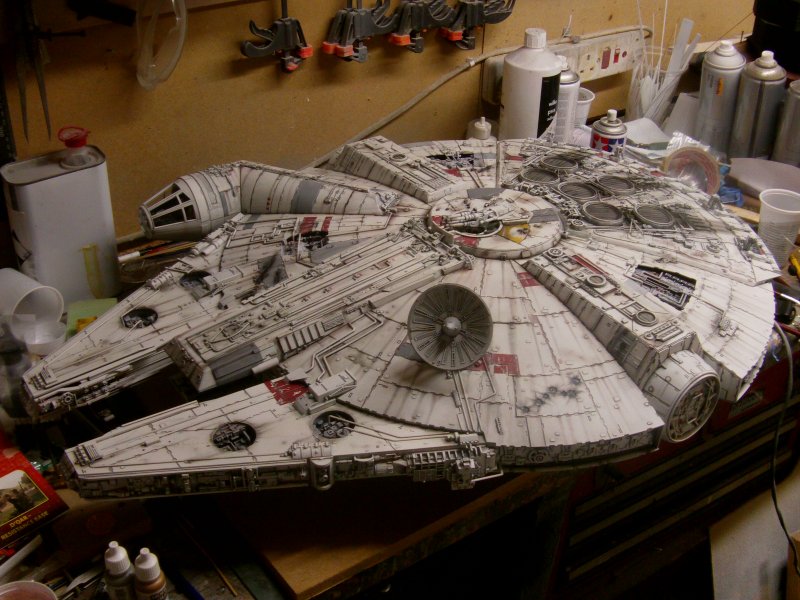
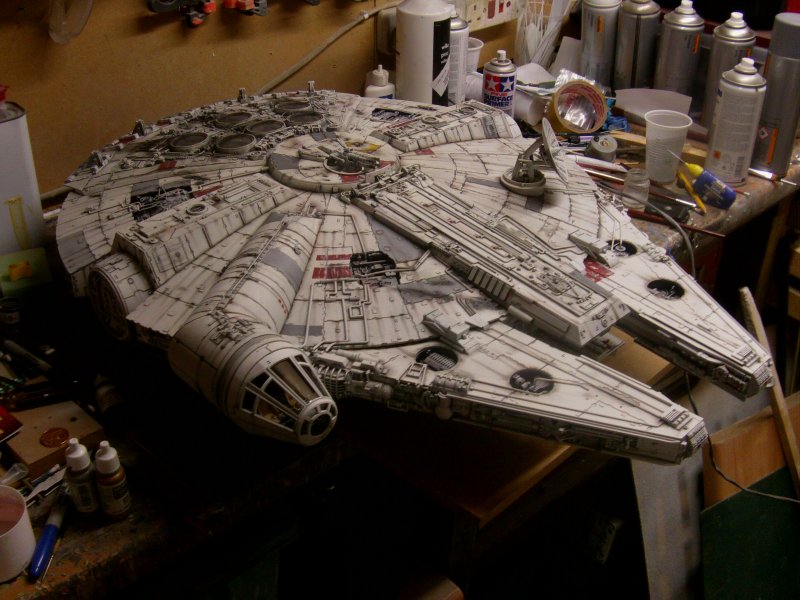
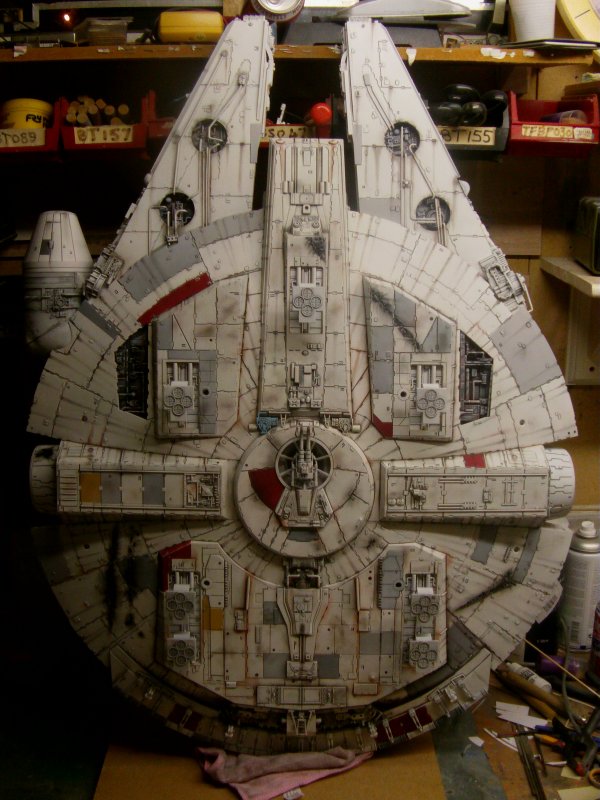
And I think I like what I see.
Lighting check!
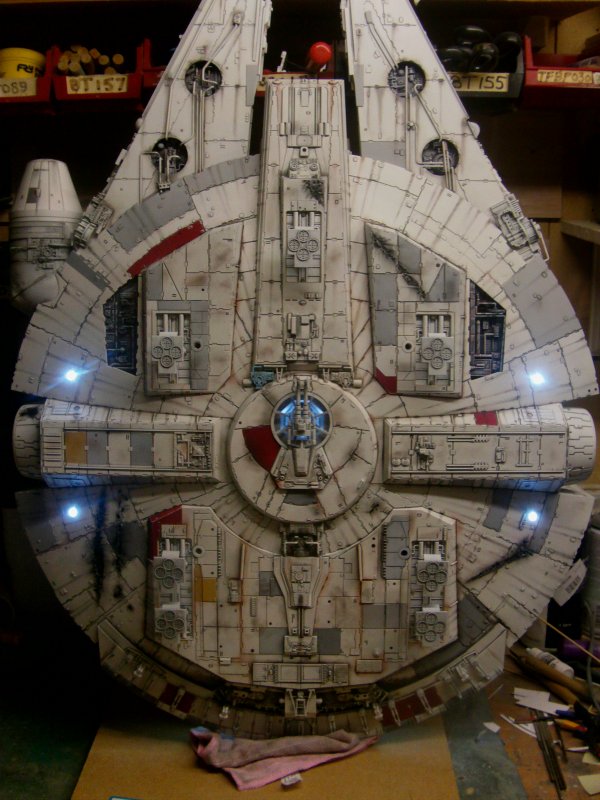
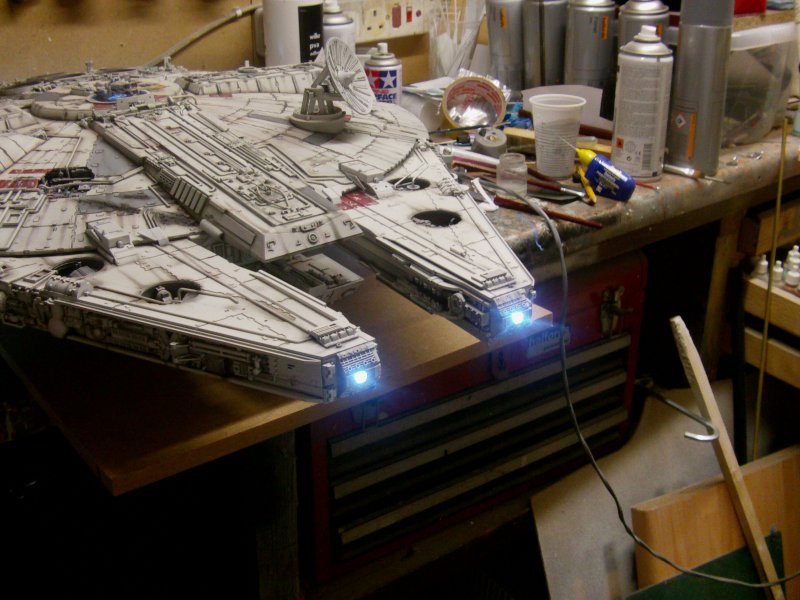
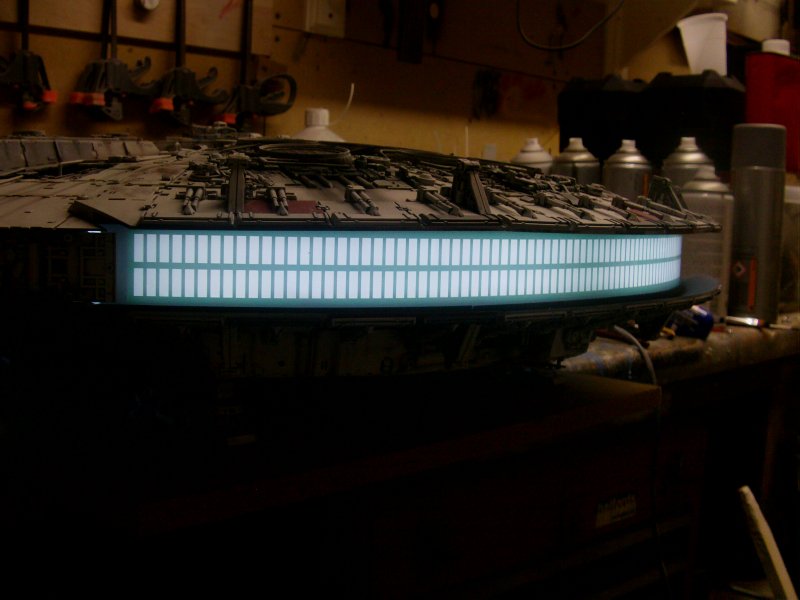
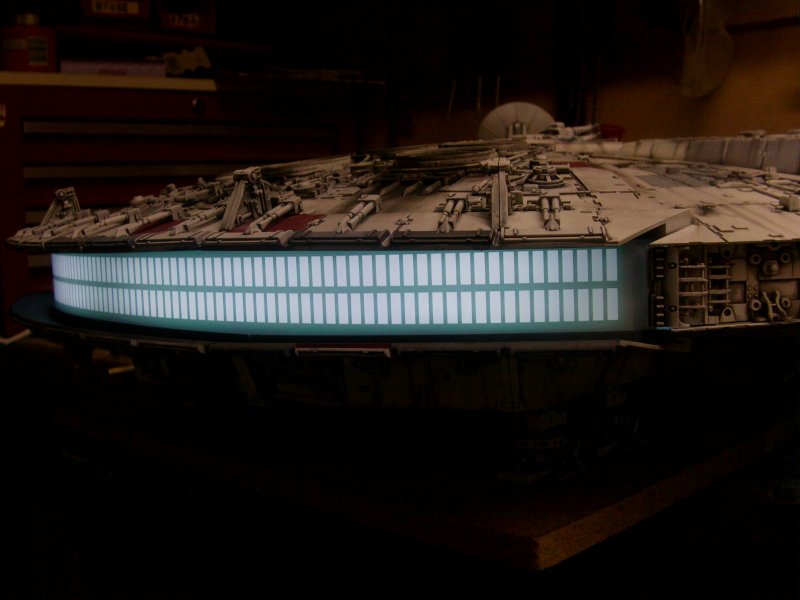
Aye, that'll about do it.
And so...
The required link to the finished model gallery pic link page.
60 pics for your viewing pleasure so enjoy!
And to the last bit...
Final Round up, Meandering Musings And General Waffle
For The 'Out Of The Box' Build Thing!
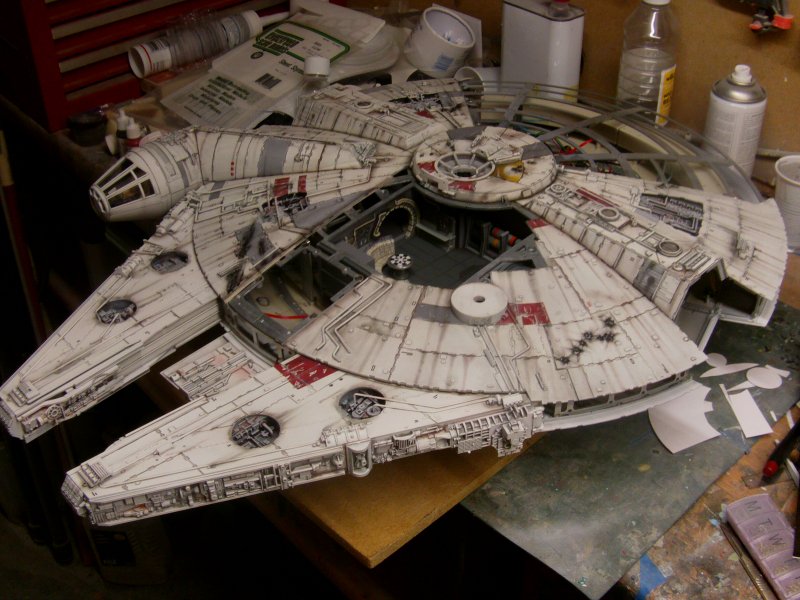
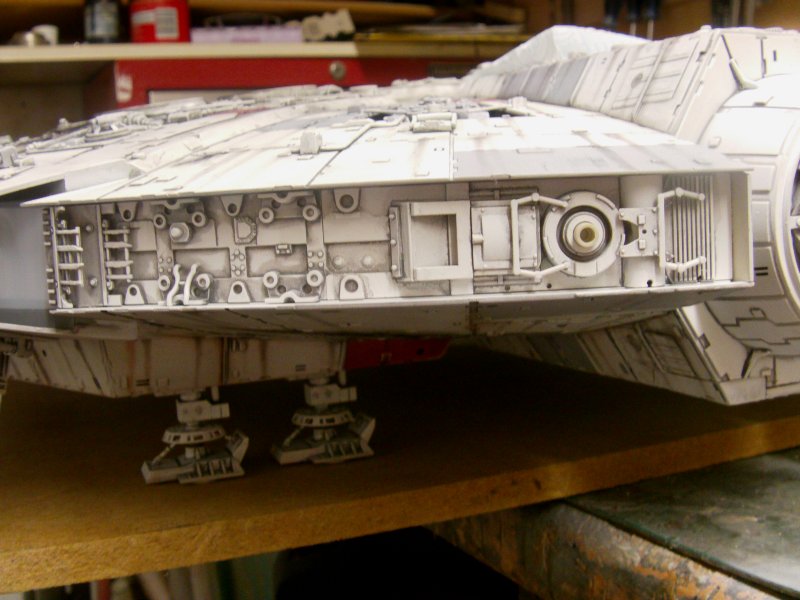
So then, that complete's the OOB build version.
To all intents and purposes,
this is the kinda thing you can get with some grunt work,
a fair bit of paint, the odd head scratch and some messing about.
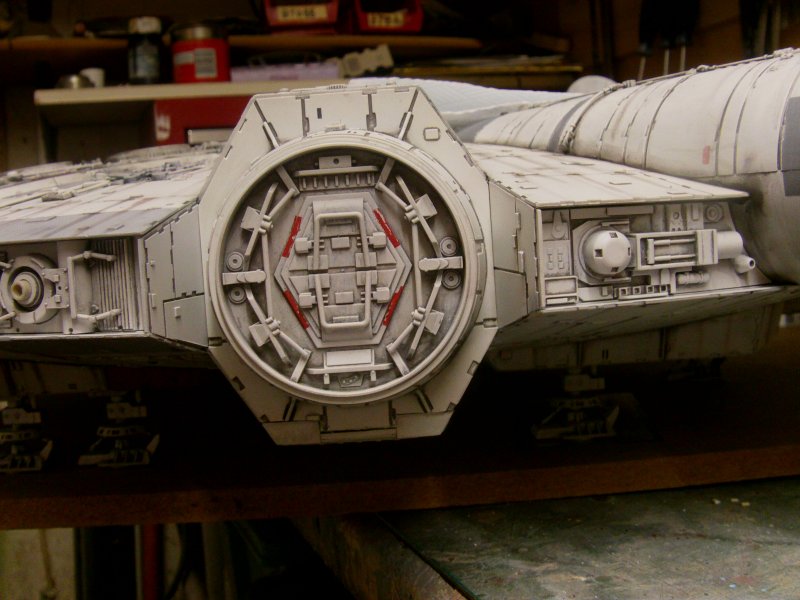
Now as to how good or otherwise it is, well that's up to you dear readers.
Speaking for myself, even without the multitude of extras available out there for this beast,
it can build in to rather an impressive big assed model of the Falcon
and I for one am rather happy with how it's turned out.
But for the sake of argument, i'll be as objective as I can for the following:
There's no real dispute that the engineering is rather good on this thing.
The parts fitting is overall excellent with only a few hiccups but easily solved
if some time is taken and above all, patience and care exercised.
As far as accuracy is concerned, well that's a matter for much and continual debate
but it depends on your expectations and requirements.
if you go by the official blurb on their Official Website, it states that
"With its unique molded metal and resin construction, this is the most detailed Millennium Falcon model ever.
Your 1:1 scale movie prop replica is 808mm long, 596mm wide, 192mm high and it weighs 24 pounds.
it has pre-painted hull parts,
with working electronics and removable panels to view the interior.
it's just like the prop from The Empire Strikes Back."
As such what they say is correct...to a point..but i'll get to that in due course so moving on...
"The exterior of your model includes a number of fully articulated parts that can be moved into a variety of positions."
in basics, all correct.
"Your model includes internal wiring and switchable LED's that can be connected to an internal battery or external low-voltage power source."
Spot on at face value and cannot really be argued with.
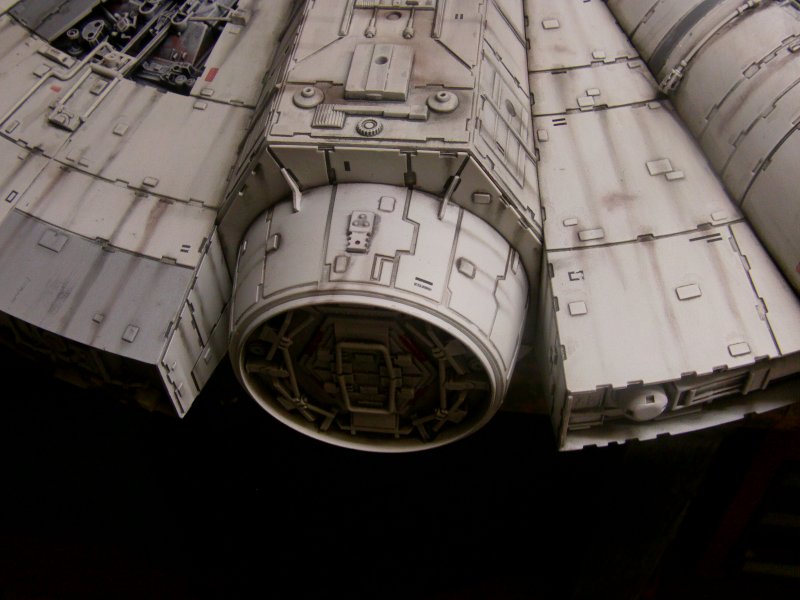
"The large scale of the model means that the cockpit is approximately 101mm long and 76 in diameter with a fully detailed interior."
All true on the face of it so moving on.
"While the outer shell of the Falcon is exactly like the prop used in the movies,
it also features removable upper panels that reveal finely modeled parts of the interior."
Got no prob with the removable panels and interiors bit but stating that
"the outer shell of the Falcon is exactly like the prop used in the movies"
is another matter.
Now here is where it comes down to expectations and no two people have 100% that same so....
if you are wanting the exterior of your Falcon to
look 'exactly' like the 32" VFX model used on screen,
it will not exactly do so just using the parts provided.
Now I have shown some of the differences in pages on this build log so far
but if you are really going for a full on accurate rendition of the VFX Falcon miniature used in the movie
then you will have a bit of work on your hands tracking down some
plastic kits to get the parts that are not present.
Of which there are more than a few small parts required.
I can't give you a full list as I know of only some
so you'll have to look about for yourselves to find them.
On top of that, a lot of the details molded in will need reworking/replacing to a large degree.
Some of the inaccuracies are addressed by parts available on Shapeways for example
but by no means do I know if what's available...
at least at this time of scribbling...
is fully comprehensive enough to assist in making a bang on accurate Falcon.
Now this model was based very heavily on the Master Replicas 32" Falcon,
which by all accounts is a top notch collectable but lacks some
of the parts that were missing at the time MR did all their work to make their model.
This was just due to age and handling of the real deal 32" Falcon over the time it was
in storage and being carted about to exhibitions all over the world.
The DeAgostini one was supposed to have those parts so making it even more accurate
to the VFX model used for filming.
They did exactly that so one up for DeAgostini.
Sadly they left a hell of a lot of small detail parts out so a large one down for DeAgostini.
So overall, what do we have here?
Well a large model of the Millennium Falcon obviously but beyond that
one could ask how does it score over the competition?
Well the Master Replicas Falcon is really the only contender apart from some offered resin kits out there.
I would say the resin garage kit is one route to go but unless you are an experienced model maker
then best to avoid so that really leaves us with just the DeAg and MR one in the running for a 32" Falcon.
With both, there's parts to get to bring them up to the mark of the VFX studio Falcon
so it's an evens deal there from what I can see.
One has to ask oneself what one wants in a 32" Falcon and/or what you would be happy with.
From a purely collectors point of view, that's up to the collector
and I am in no position to pass comment as i'm not a collector.
Of course the DeAg scores over the MR with the internal details, working ramp and so on.
Also the cost may be of consideration to some.
The MR one, when you can get one as they are not being made anymore,
can run to several thousand pounds depending on whether it's a standard or
signature type which usually adds some more money on top.
With the DeAg one, about 900 UK beer tokens (pounds) for the full set of issues.
With the MR if you have that kinda cash to spend,
buy from wherever you can get it, unpack, display and it's a done thing.
The DeAg, buy the issues on subscription,
one or two years to get it all depending on what kind of deal you have in your part of the world,
assemble, paint as you wish, display and it's a done thing.
Granted all the above is rather simplifying it but that's it in a nutshell.
All I can say on a personal note is the above OOB Falcon was almost 1000 quid spent and two years to complete.
That said, if you remove the time between waiting for issues to arrive and so on,
I would reckon about 300 hours straight worth of work for me all told, give or take a few hours.
Well that's it for one build, the 'full on build' will be another matter...
Full gallery on this build ASAP but
more on that at a later date so you merry mob go easy out there now and
have a top notch Christmas/holidays/eat/drink/be merry or whatever you do at this time of the year.
Have a top notch one!
Page Number