
DeAgostini Part Work
'Build The Millennium Falcon'
Possibly Studio Scale Model.


 Page Number
Aaaaaaaaaaaaaaaaaaaaannnnnnnnnnnnddddddddddd...
We're Off!
Welcome back one and all, always good to see ya.
Right then, issues 4 and 5 are in my grubby mitts but i'll get to those in a bit.
Thought I may as well get stuck in to a few things proper.
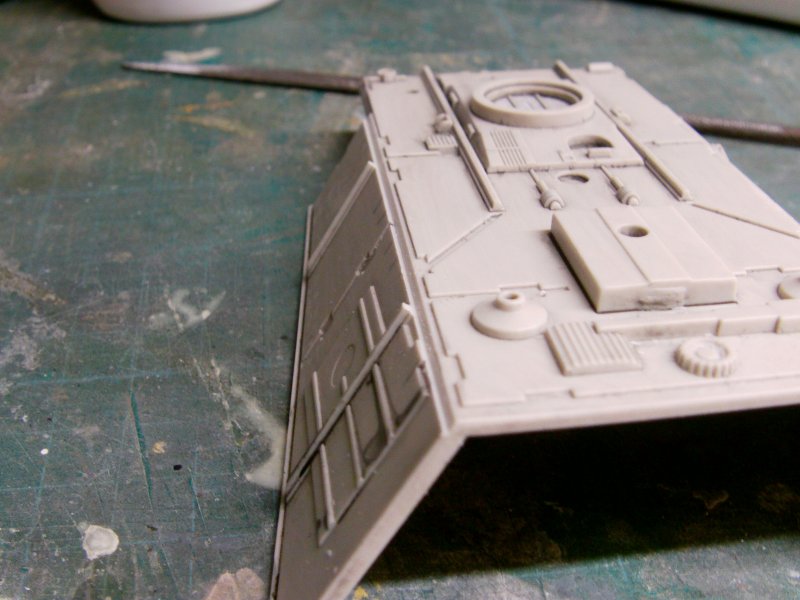
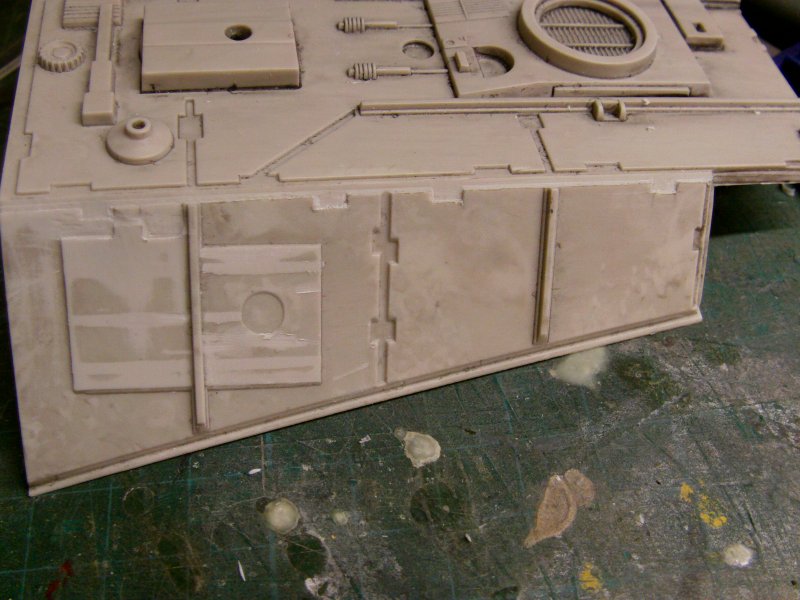
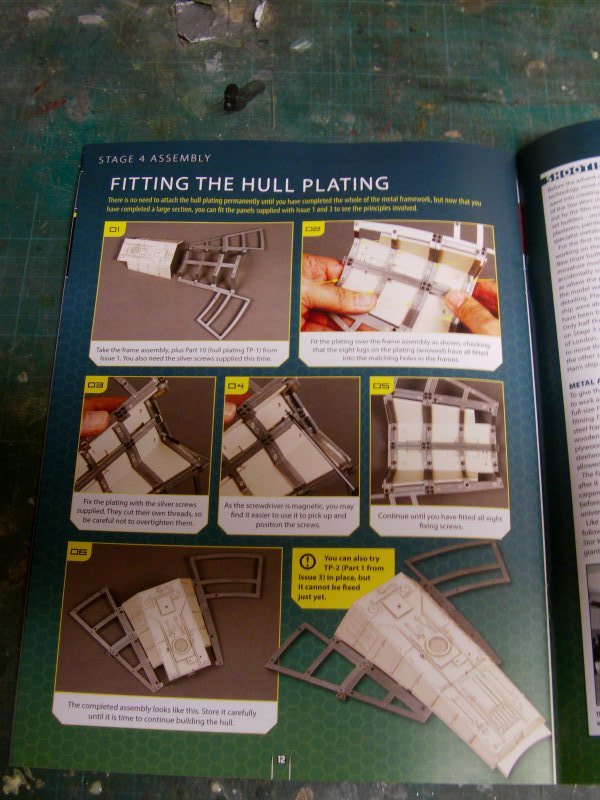
Now the notching in the armour plates thing up first.
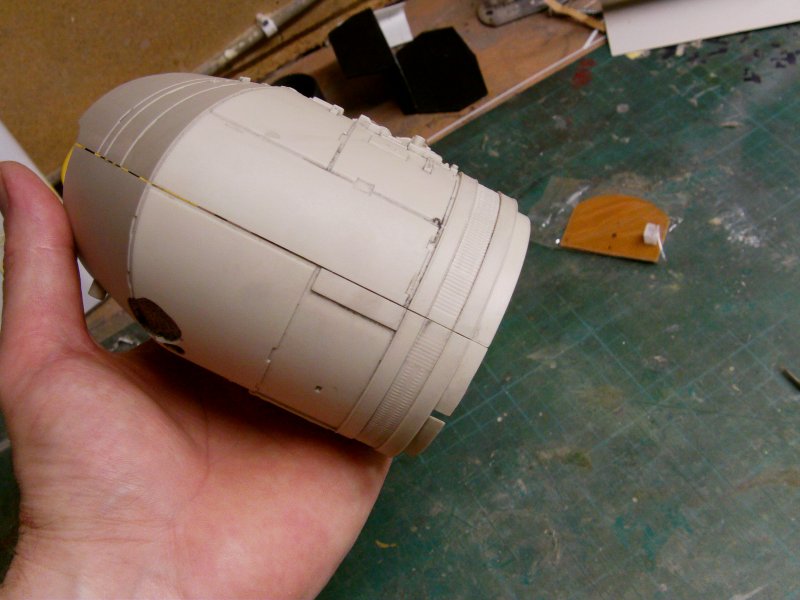
Granted that there may be some argument here but as shown on page 5,
The line where the sloping side meets the top flat on this...
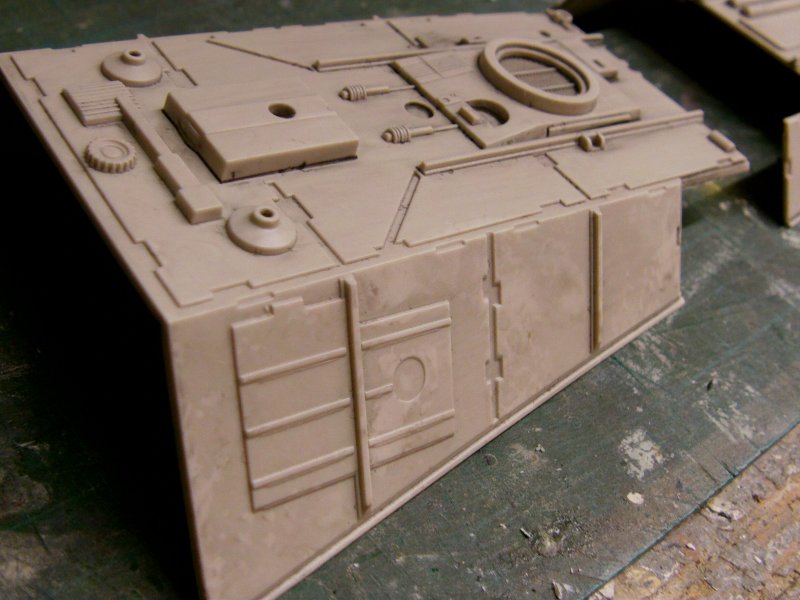
Does not quite match the 32" studio Falcon in the same area.
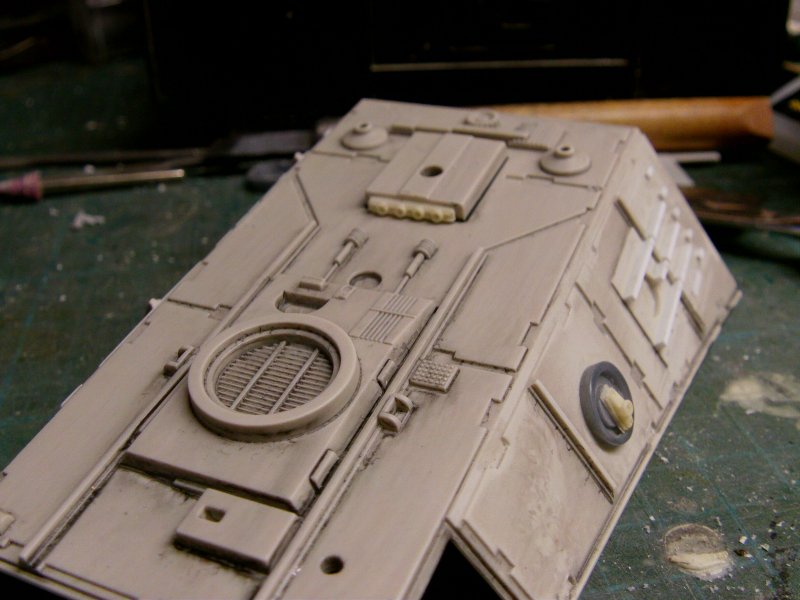
The line of plating and notching is here as denoted by the scrawled red line on the part is level with the top surface...

But should be more in the vicinity of the hastily daubed green line in this pic to my mind.

Now i'm not going to get in to the 'Yes it is' and 'No it isn't' accurate thing.
i'll just say to my aged peepers, it's wrong 'as is' on the part and leave it at that.
So what to do to correct?
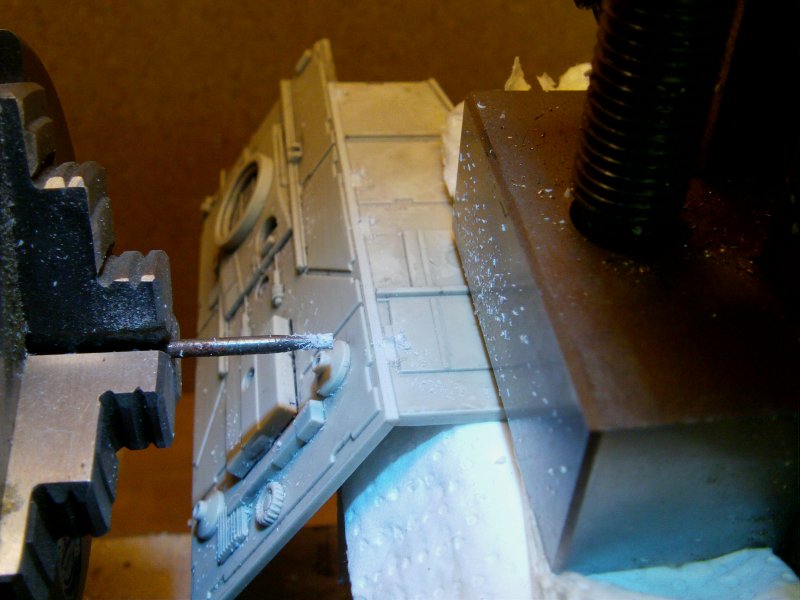
Enter the slide vice and milling bit in the lathe.
After a bit of measuring and faffing about, set to the approximate line and depth of cut required.
A slight test cut to make sure.
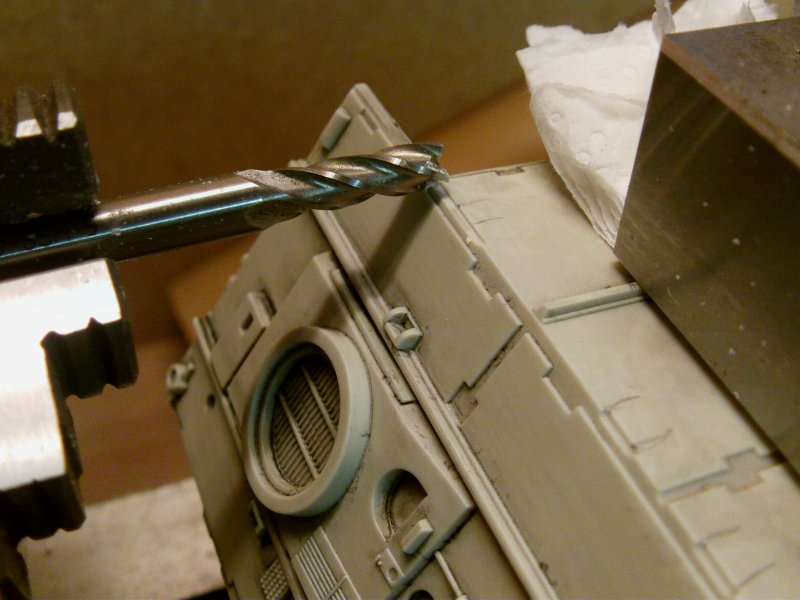
Looks good so run the bugger up and do the slicey, dicey, oncey, twicey, thing.
As one does on more than this occasion.
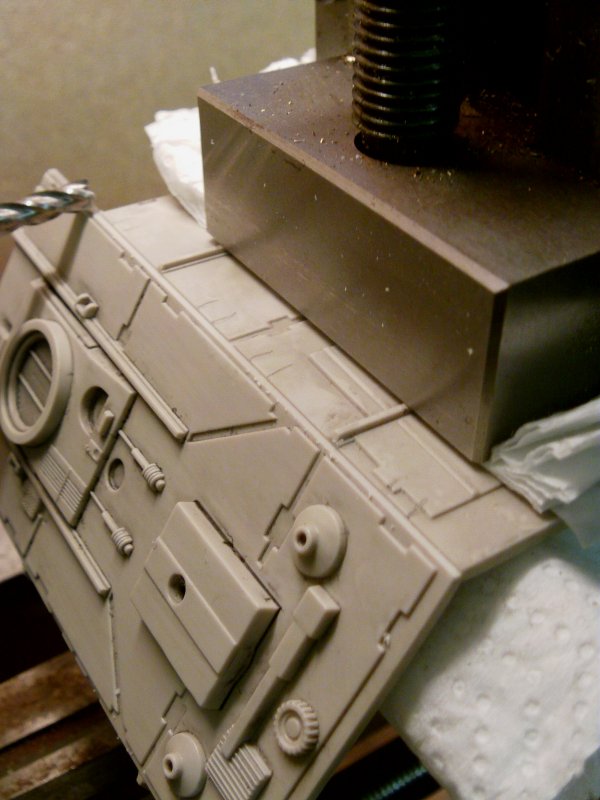
The other side also sorted.
Likewise on the next hull plate part and a slot together to see if I got the run right.
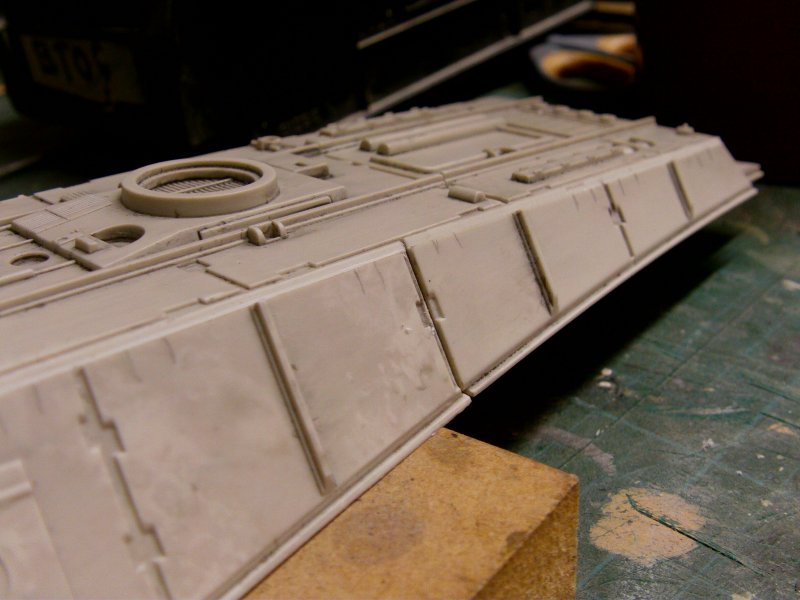
And it turns out I did.
Bit of a shock here but onward anyway's.
Decided to try taking out some of the meat of the plating for the notching thing,
smaller milling bit and some back and forth whathaveyou.
So needed to sharpen up the corners of said notching.
3mm width chisel brought in to play and some digging did occur.
Once done, a lick of 400 wet and dry with mucho water to take off any surface nasties.
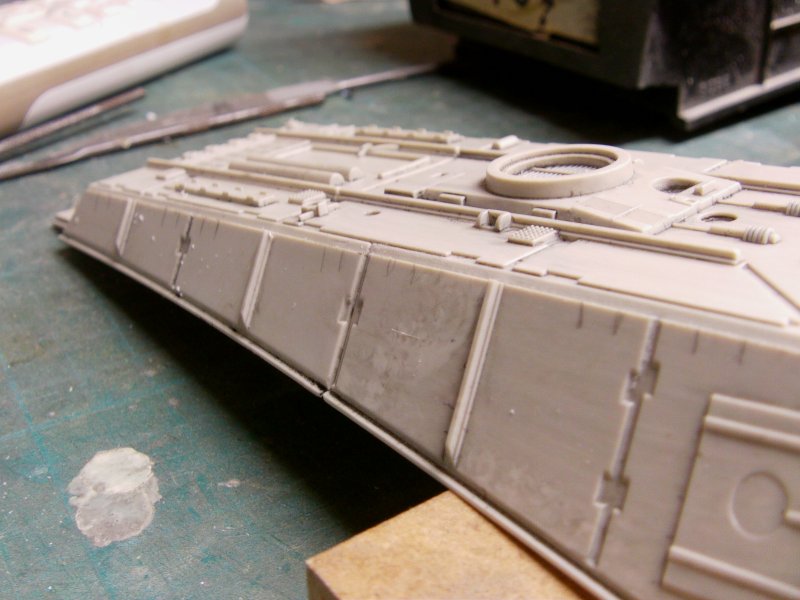
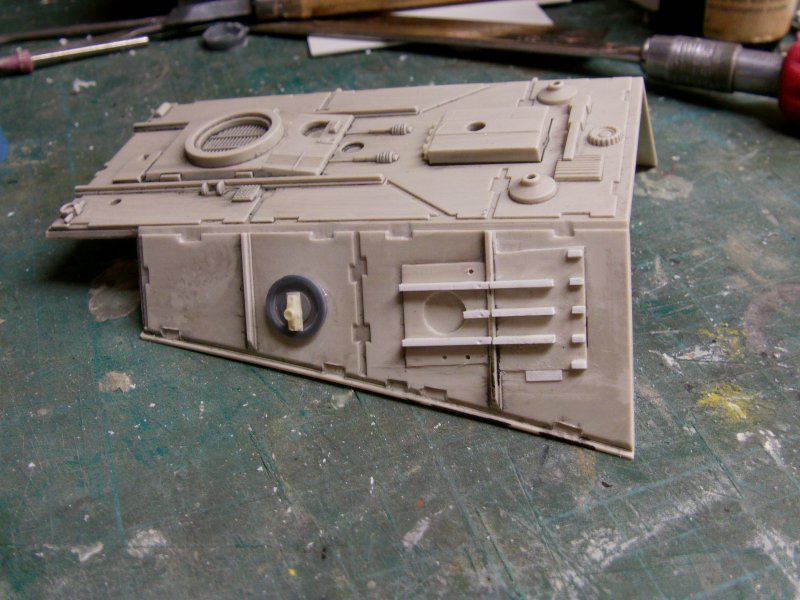
The result.
OK, not too bad for a starter.
Yes, I did take the ridges off of the raised plate on the sloped side.
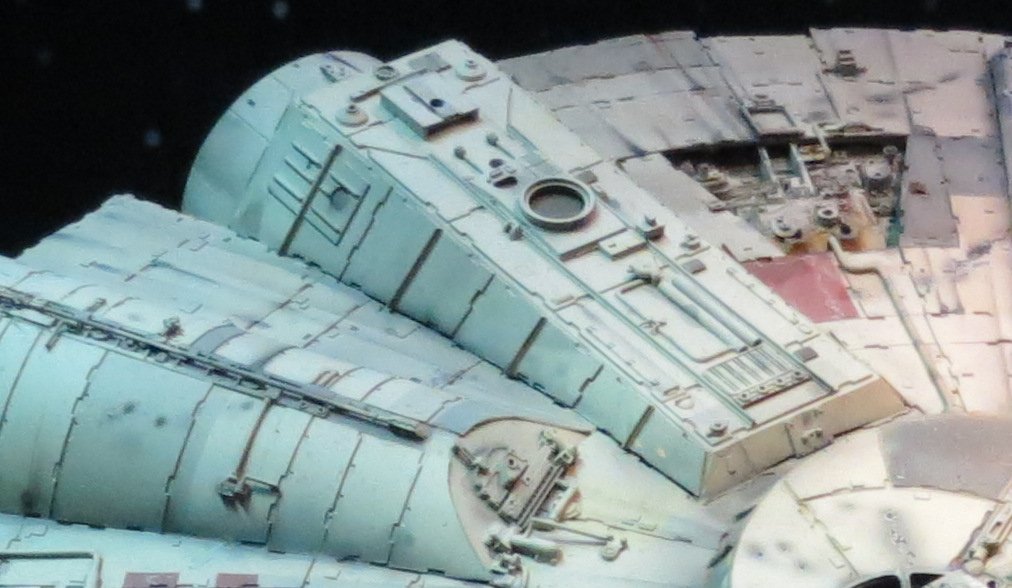
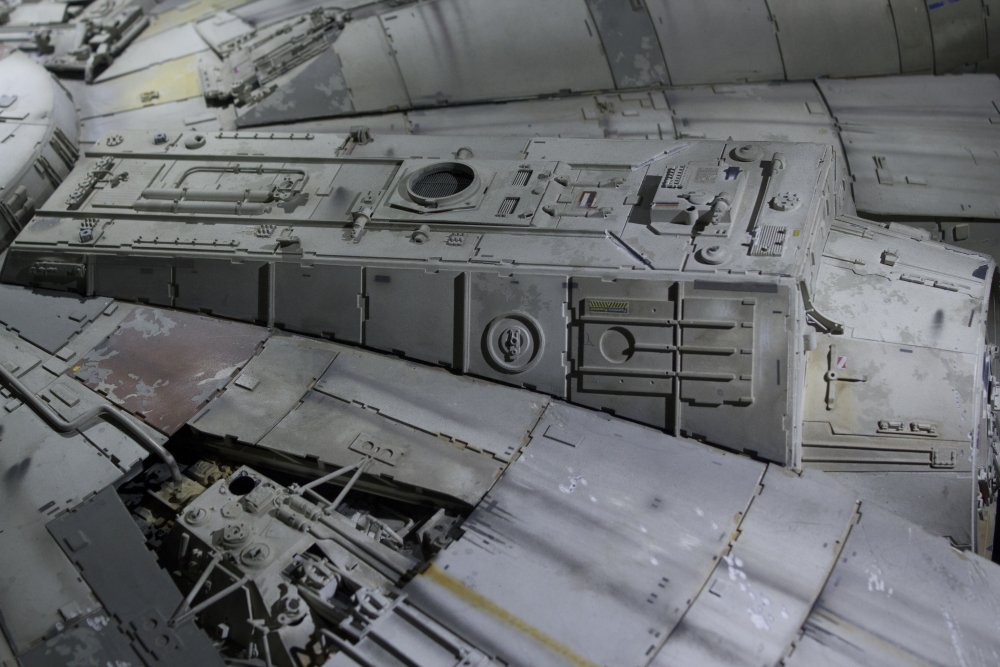
Reason for this being that I wanted to replicate some of the detail from the 5 foot Falcon.
Because that's what one is after when one can slap it on dude.
Said detail on the 5' looks like this...
So, some styrene strip cut from 1mm thick sheet,
each strip being some 1.8mm in width.
The hole in the part made a little bit bigger.
Some trimming to the styrene strip and in like a maniac with the MEK.
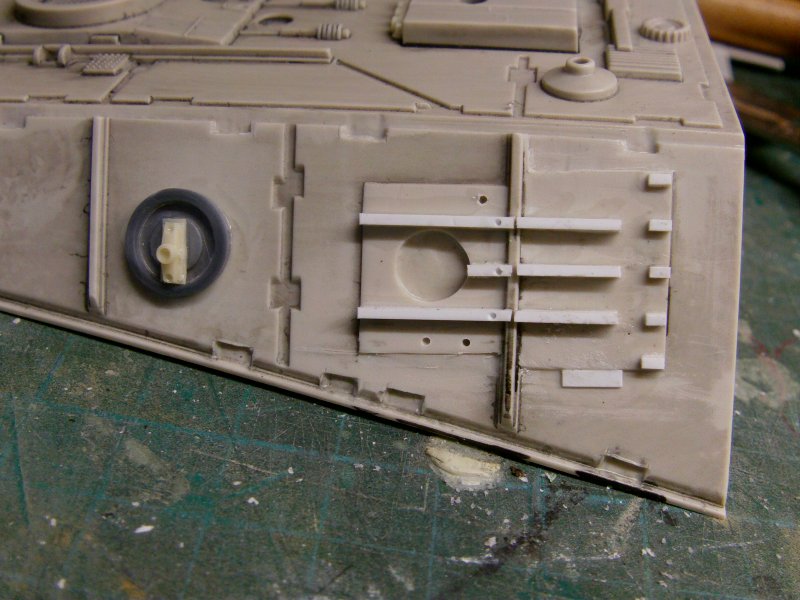
A few holes drilled and done.
Circular greeblie thing done courtesy of a hacked up kit part and resin cast bit from
the Fine Molds Falcon greeblie's I have a couple of pot full's of.
The lower notches in the plating also done.

Lastly, the box on the top near the outside end on the 5 footer, has some extra detail on the flat surface.
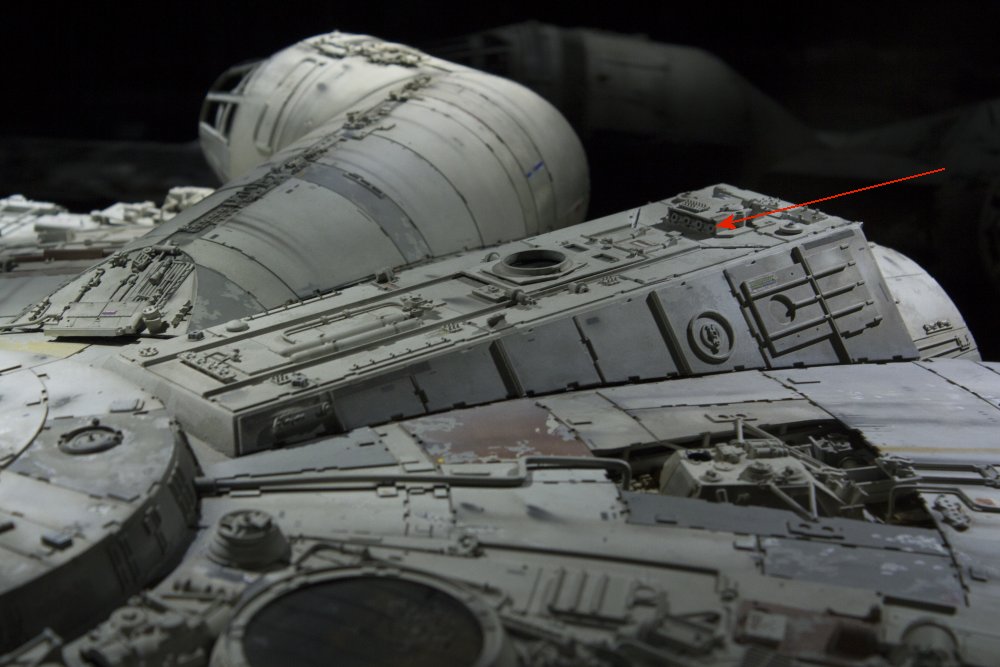
And the closest I could get was, again, a bit of the FM Falcon greeblage.
None too shabby so far, more to do so one will be cracking on with that for the
next update but here's the issue 4 and 5 hoo-ha.
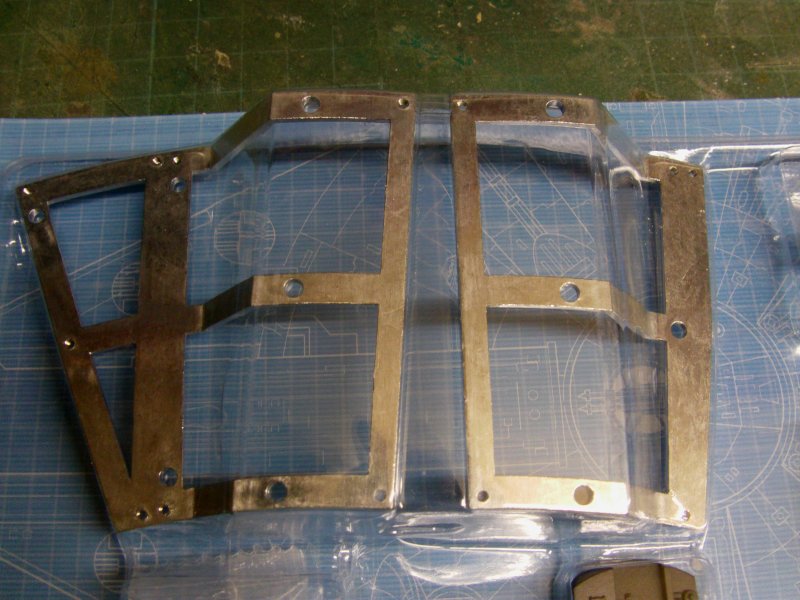
issue 4 with the usual magazine and parts.
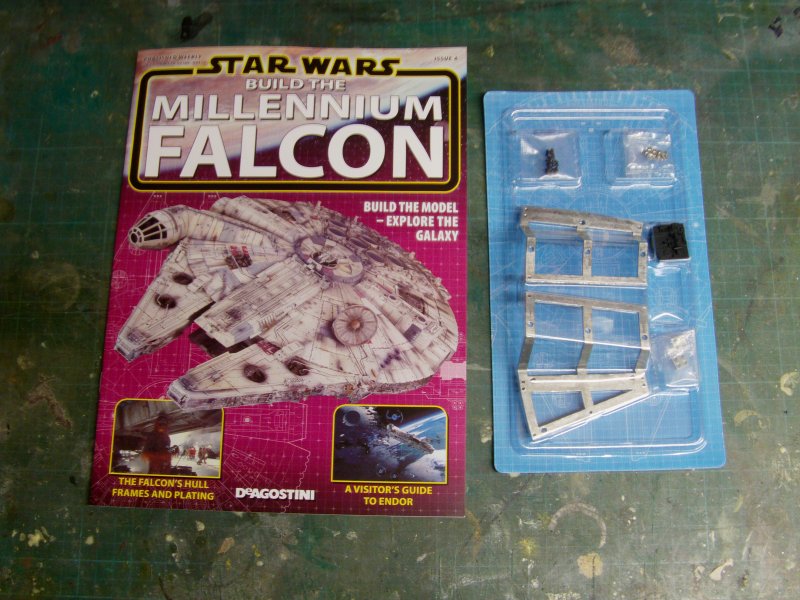
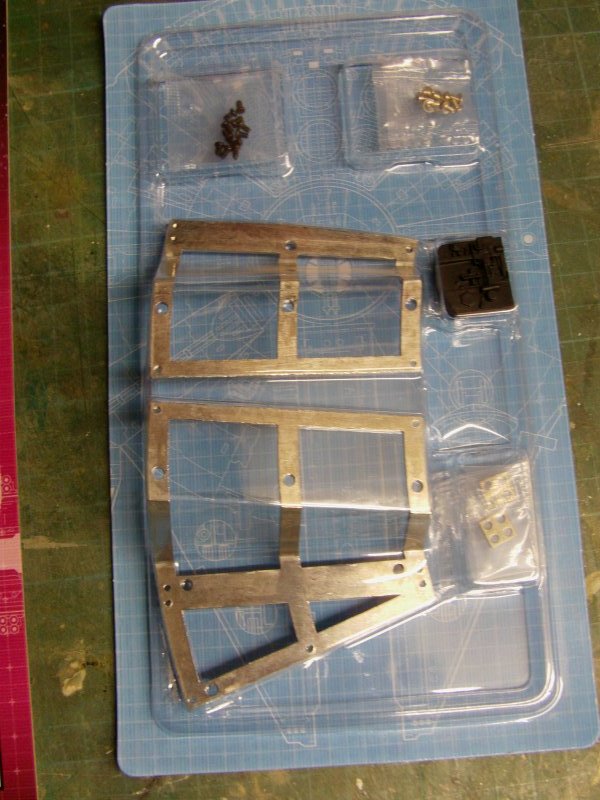
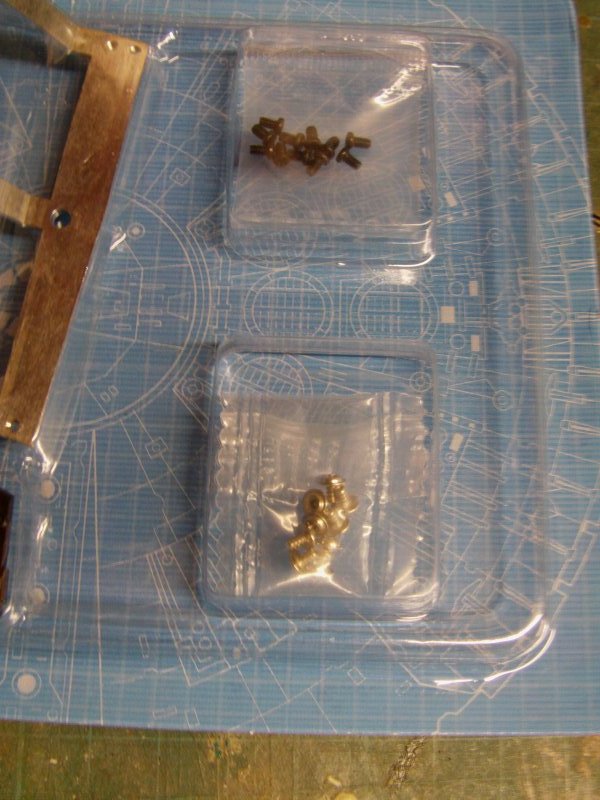
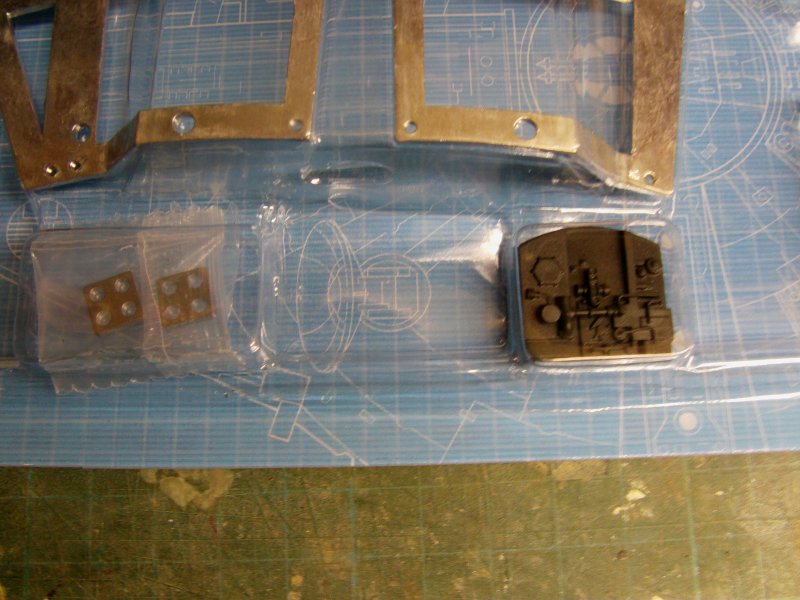
Metal framing, screw packs, join plates and a greeblie bit for the front of the cockpit console.
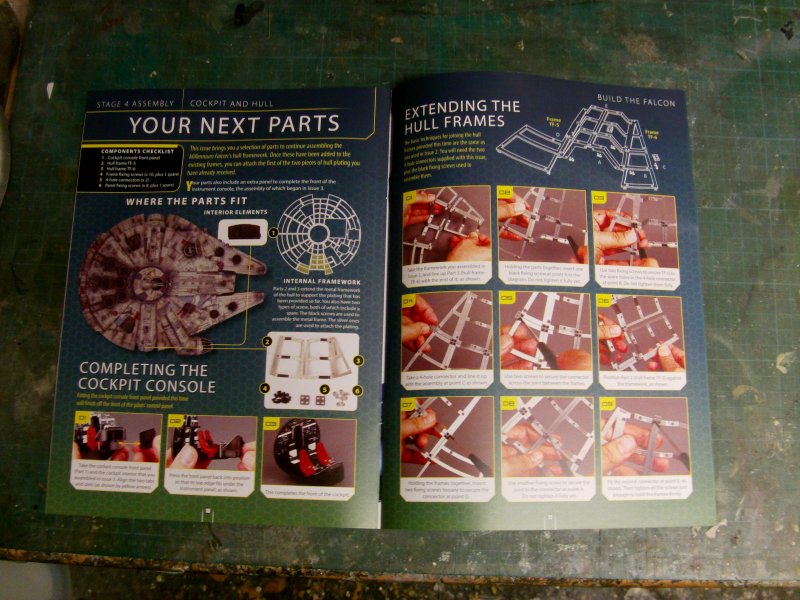
The ever helpful assembly destructions and the what's to come in the next issue pages.
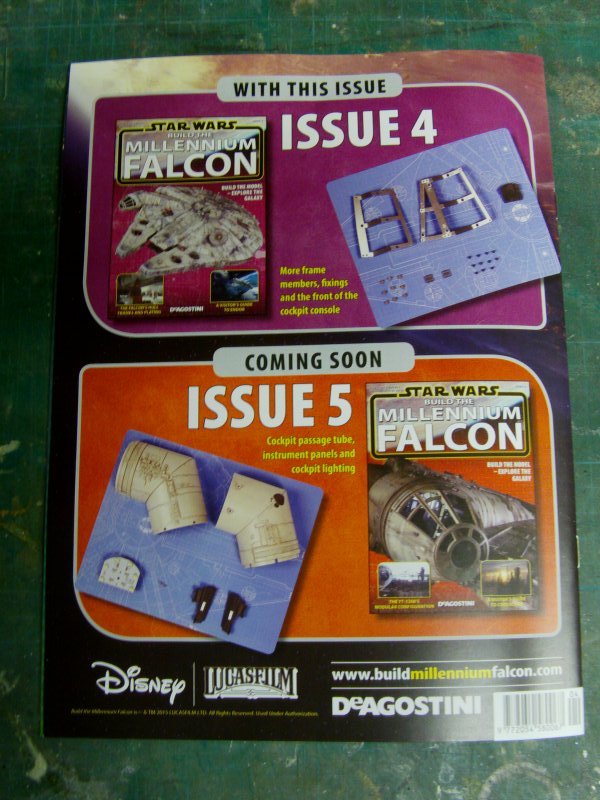
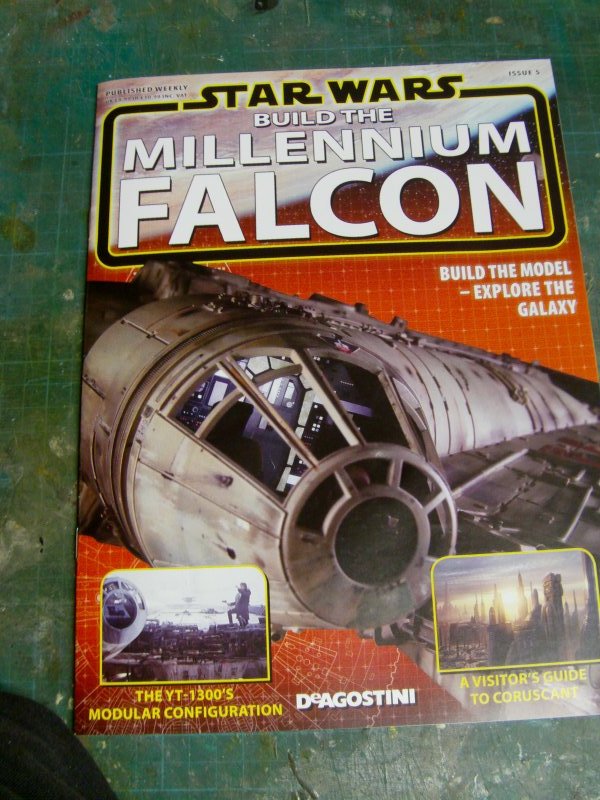
Speaking of the next issue...

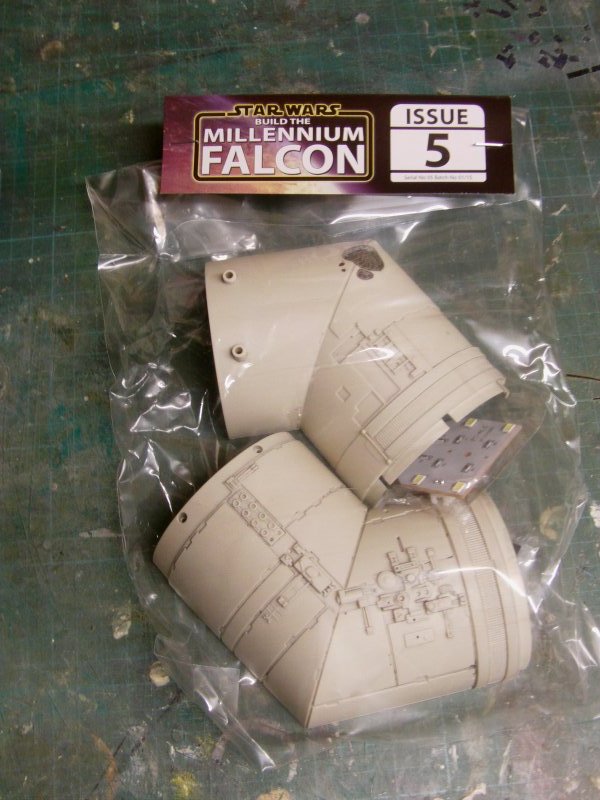
Not that impressed with the bag packaging but the parts are all okedoke so onward.
Standard destructions and what's to come pages.


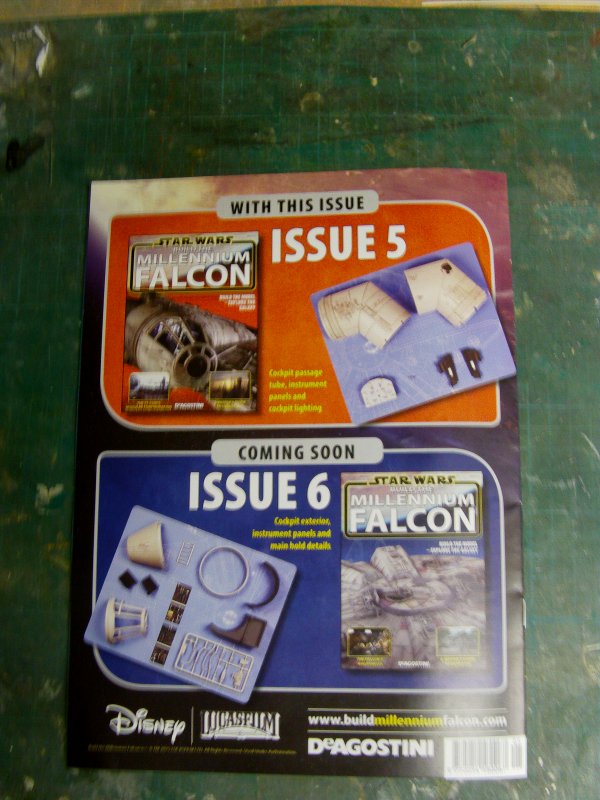
So issue 6 appears to be almost there with all the cockpit interior parts
which will be nice and some of the beginning parts for the cargo hold so looking
forward to seeing what they be like.
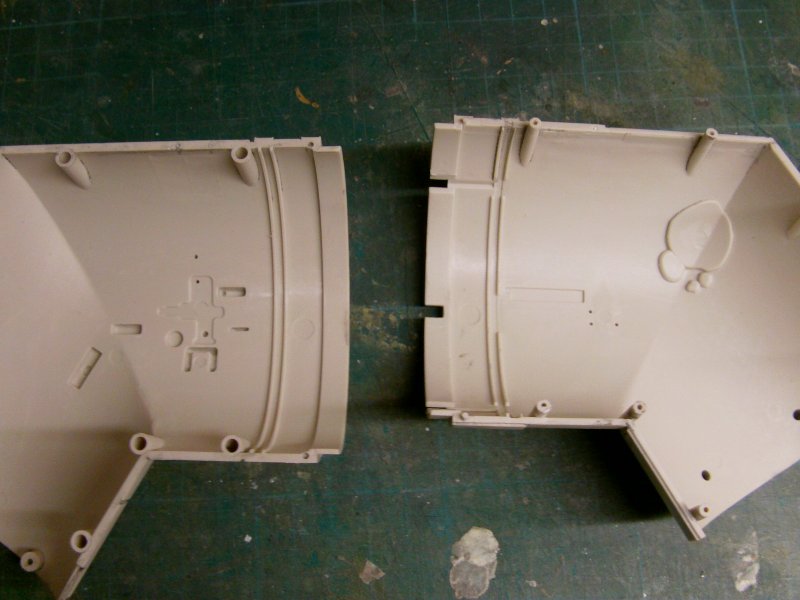
Parts in issue 5 being the top and bottom of the angled walkway tube to the cockpit,
cockpit interior front side panels and the
lighting plate for the back cockpit wall.
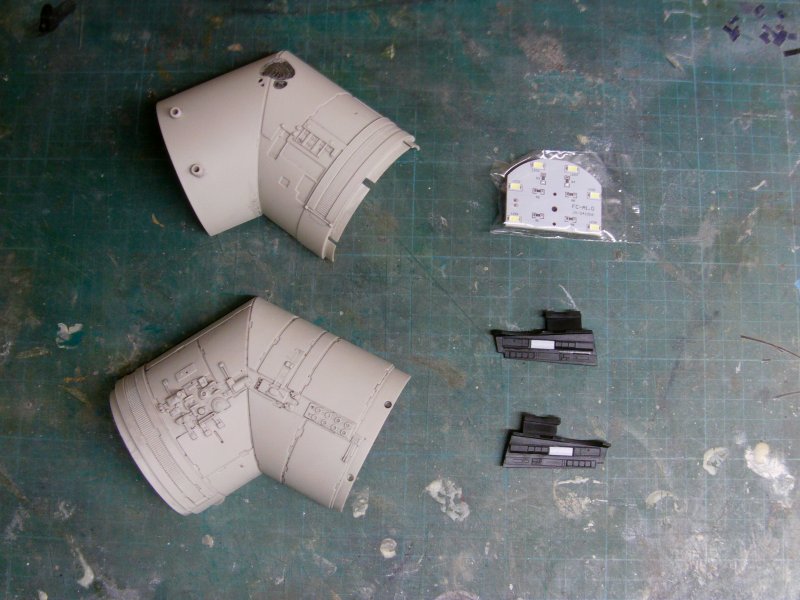
A slightly closer look at said parts.

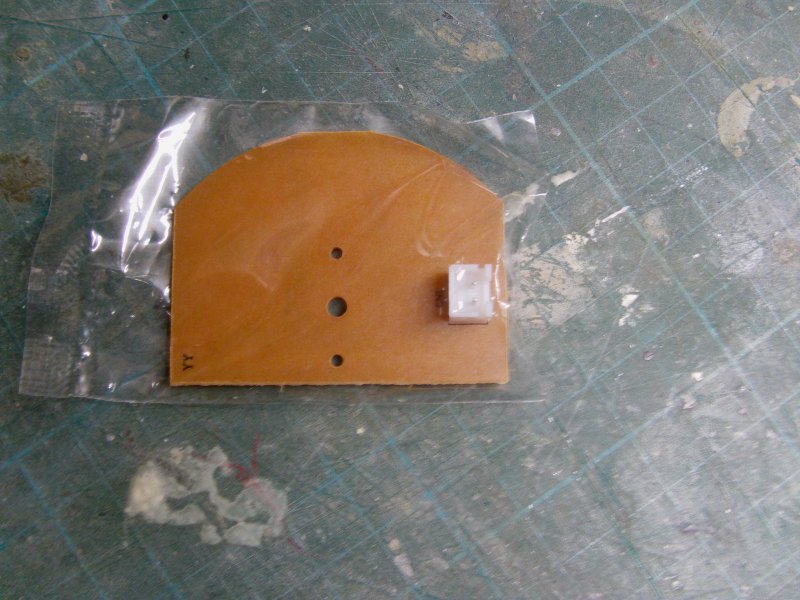
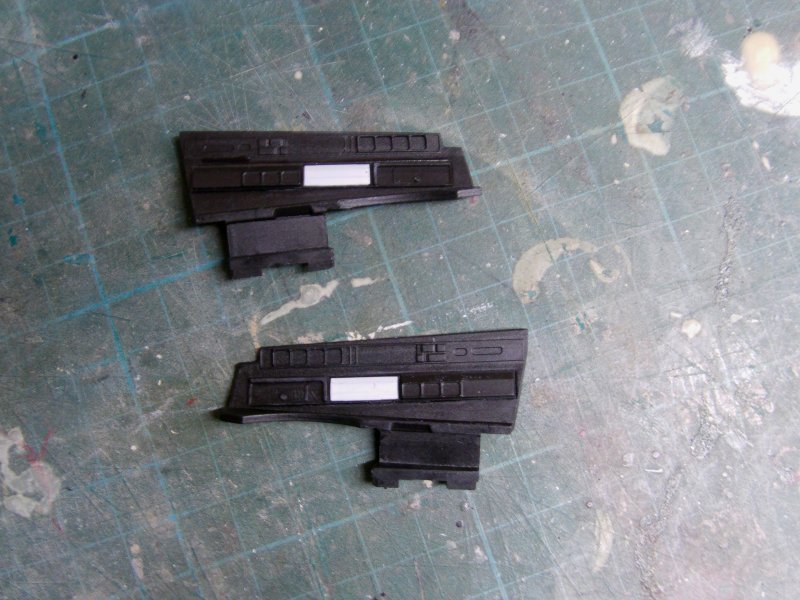
The parts for the tube are crisply done and the telltale holes for extra detail parts are in evidence so all good there.
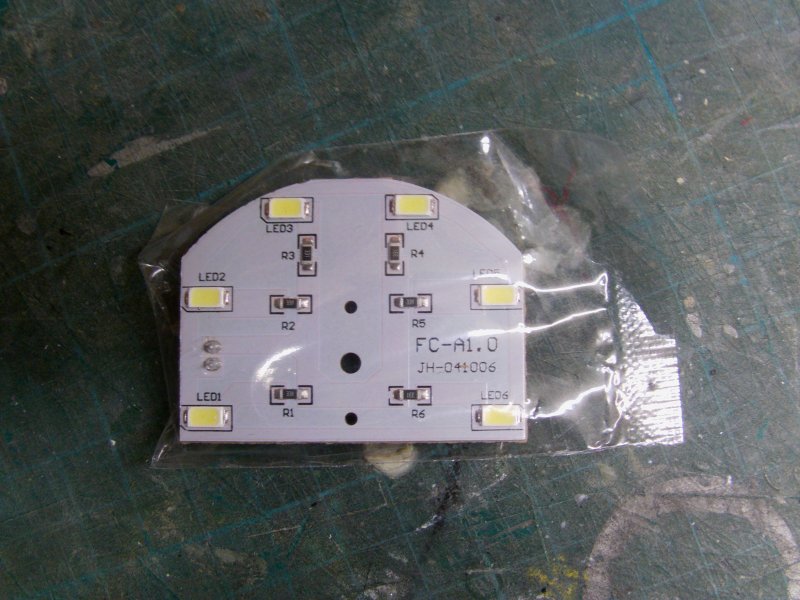
The lighting plate seems to be of good quality but probably won't get used in my build.
The set up is to fix that to the back of the closed door part on the rear wall
and that will do the lighting there but I intend
to have the door open and scratch up the interior to complete the tunnel from cockpit to the interior parts yet to come.
The lighting i'll get in to when time comes for sorting that bit.
Ridges are cast in for the back wall fitting and it all looks like it will be more than secure enough.
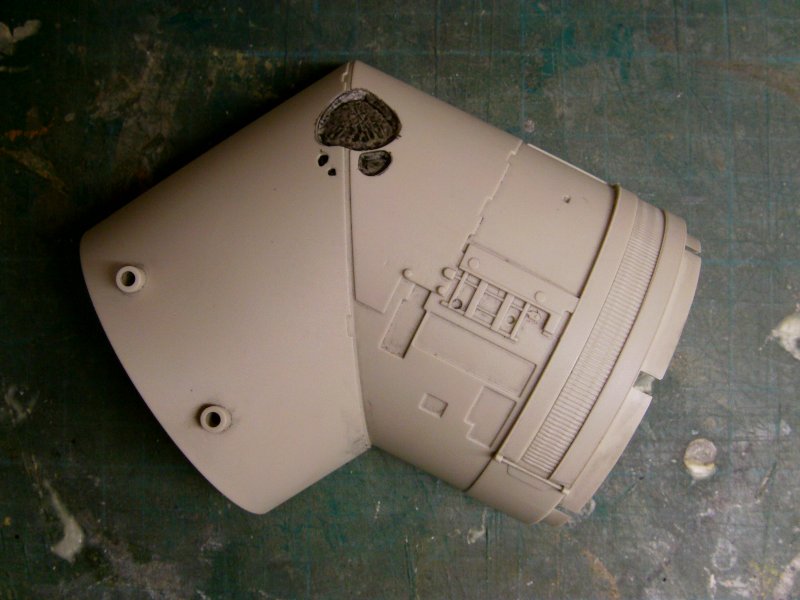
So last for this update, just slotted the tunnel parts together for
a quick look see and it looketh the part thus far.
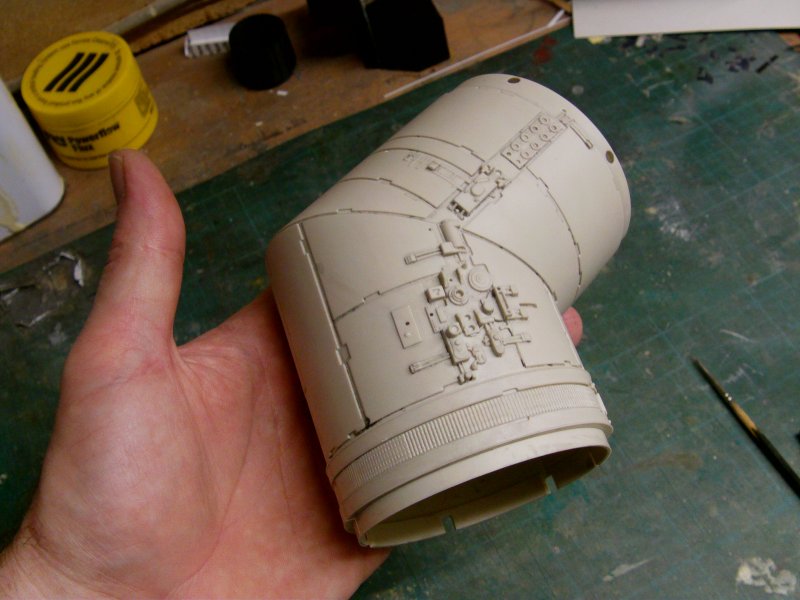
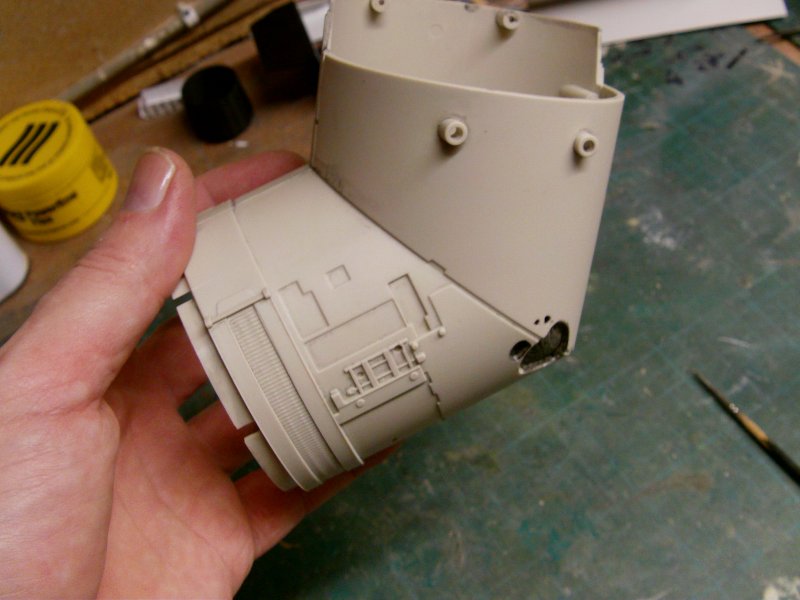
Not that crazy about the damage hole but that like everything else will be addressed as I plod along.
So that's it for now, more construction and farting about
coming up next so i'll see thee then.
Go easy out there you merry mob you!
Page Number