
Polarlights Enterprise 1701-A Refit
1/350th Scale


 Page Number
Windows...And We Ain't Talkin' Microsoft.
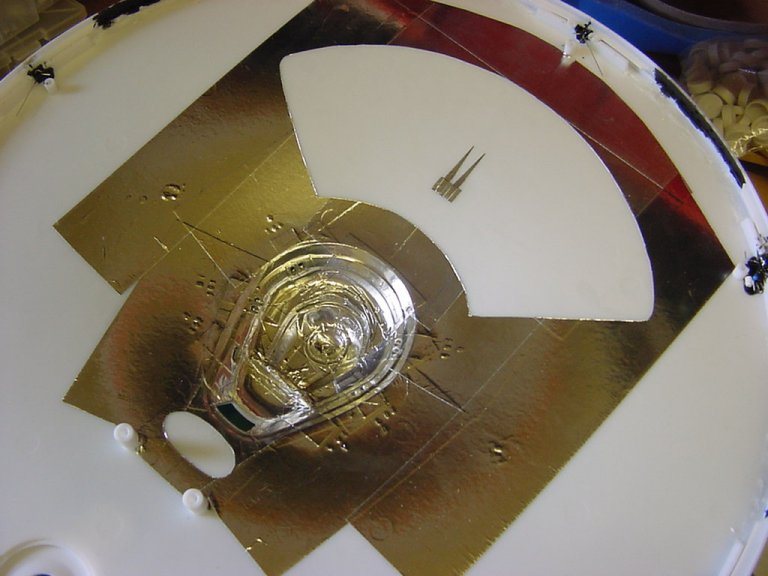
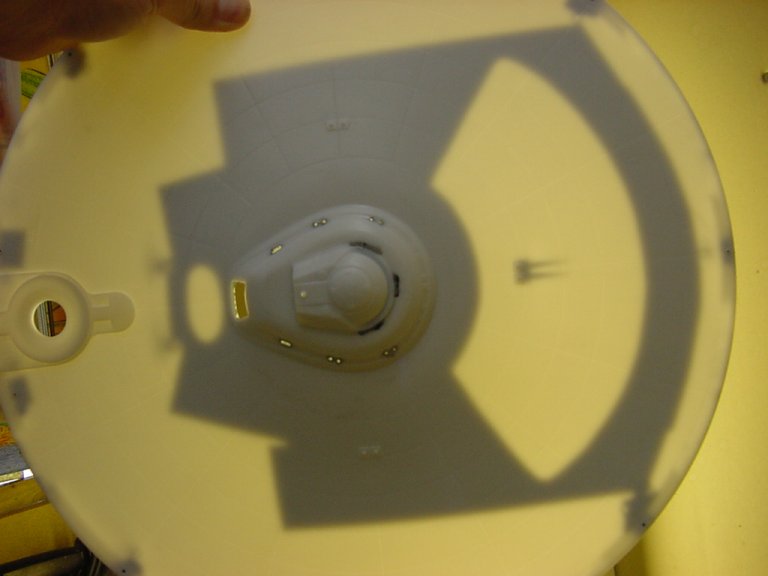
Time for the foil and window bit on the top saucer part.
Now all joints are set onto the next part of the decidedly dodgy plan which is as follows :
Once all the foil malarkey was taken care of,
the said foil was broken in the relevant spots for the windows,
this is where the black paint helps.
Where the foil is broken you already have some light blocking going on.
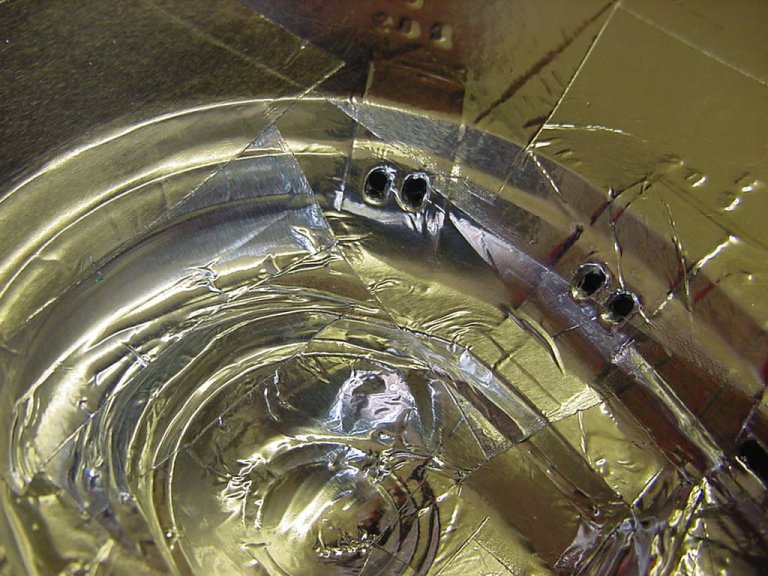
Once all windows cleared then in with the silver paint for a final clear up.
So after liberal application of the enamel silver, we are left with nice portholes and the only place light comes through is where you want it to.
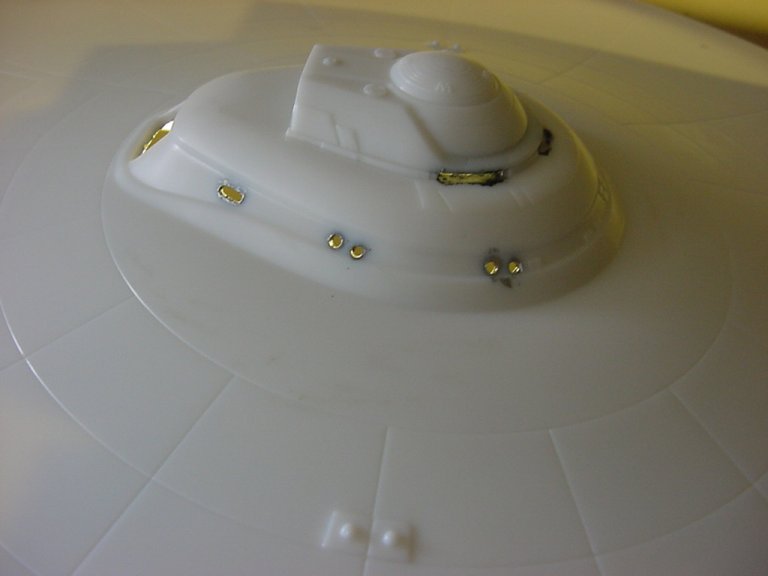
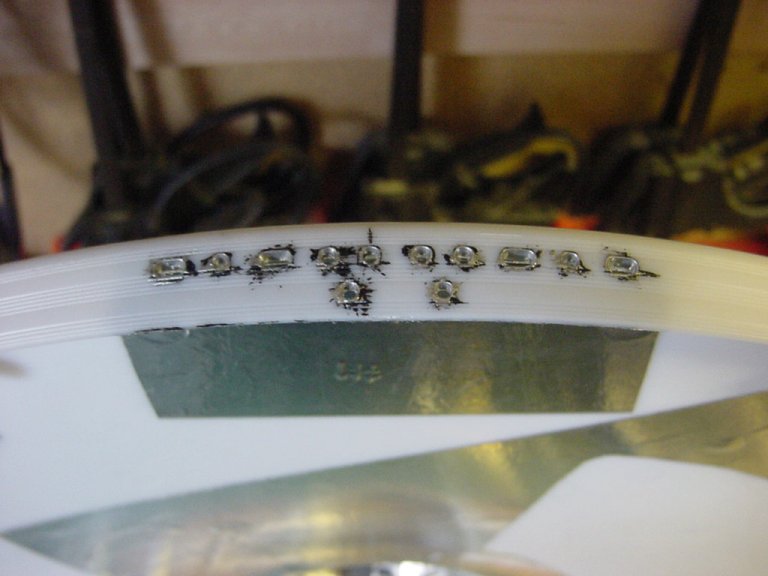
Onto the side windows now. Simple prep with the removal of anything that's gonna get in the way.
So with saw, scalpel and small carving chisel the deed was done.
This done then time for the all purpose, at least it is for this project, matt black enamel.

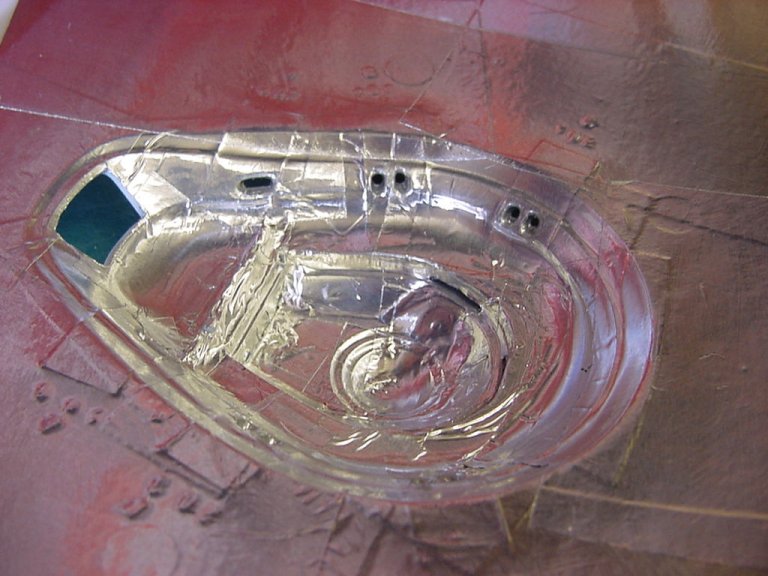
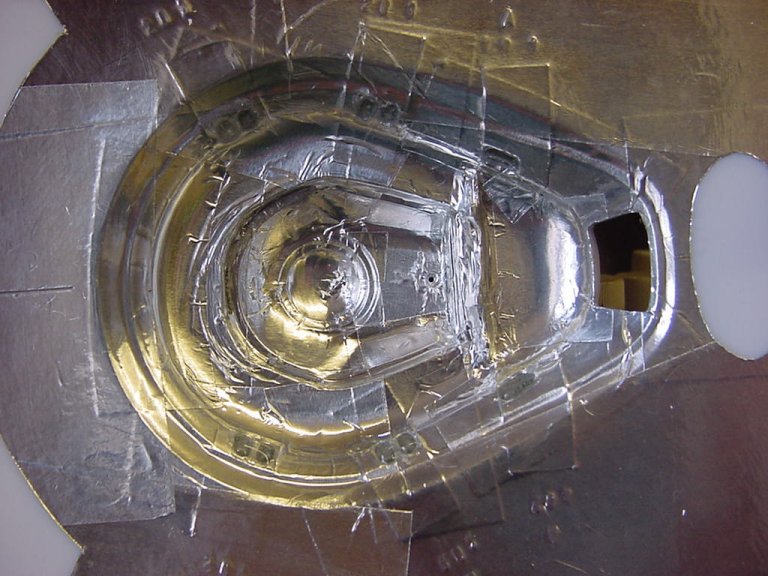
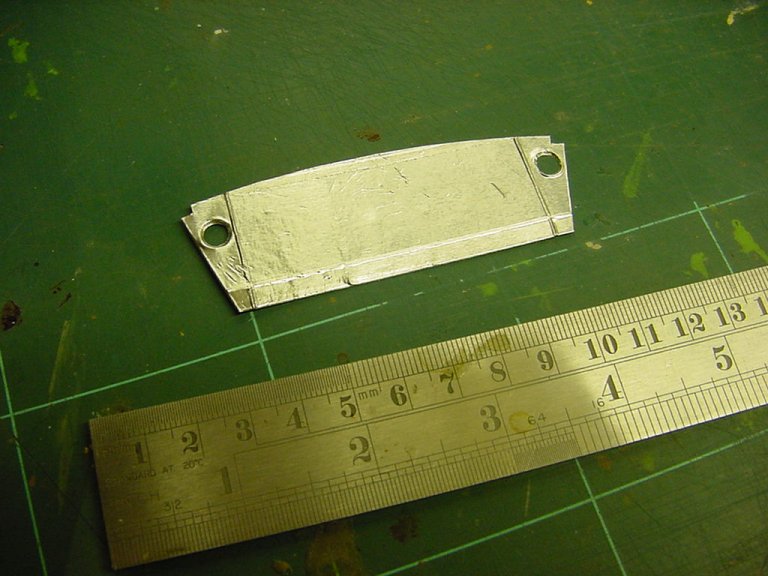
While that was drying off, onto the foiling for the front and rear spotlights.
Just the same paper template thing for this as with the lower saucer part not forgetting the shadow for the phaser bank.
The shadow is shorter than is on the lower saucer but then the supposed light source
is coming from a higher angle so a bit off the top so to speak.
Top looks good so that will do.
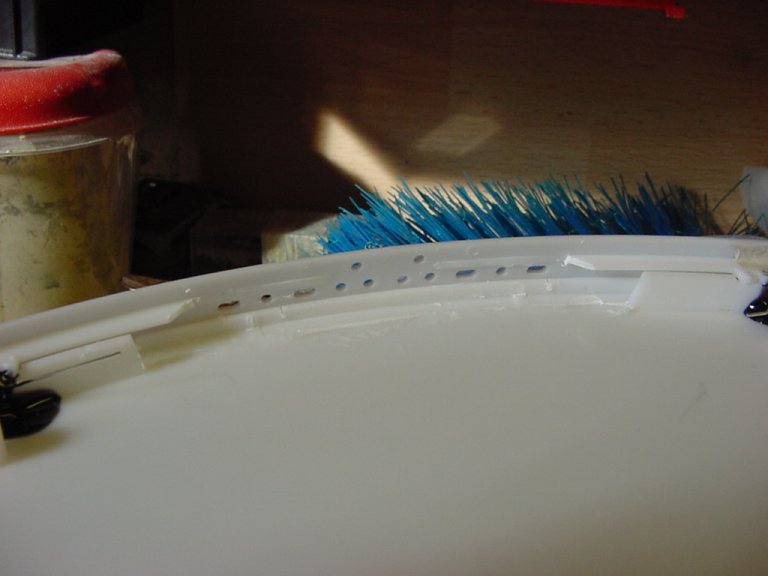
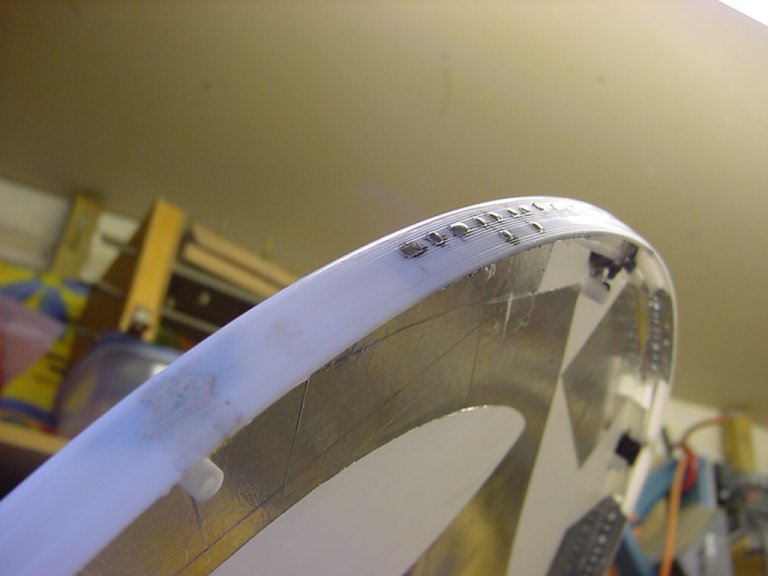
Once all the black on the side windows had cooked nicely, then in with the foil and poke out the spaces with the redoubtable
cocktail stick and silver paint applied generously.
looks a bit messy but after cleanup when the saucer is assembled,
it will be all ship-shape and bristol fashion.
Now back to the windows.
No real easy way out on this deal that I can see, either lots of masking during the paint process or leave the stuff
out and do it after with, to my mind,
a much increased risk of paint overspray going inside and messing up the lighting or interior detail
or ruining the paintwork slingin' epoxy resin about the place so the lesser of two evils, at least for me.
Ok then, first off the ports on the B/C deck part.
Some clear epoxy glue, it's a Loctite 90 second curing variety.
This was cut during mixing with about two drops of cellulose thinner to make sure it is workable for a few moments longer
and goes into the ports and fills completely.
Now I did try one shot with tape over the outside of the ports but this caused the odd annoying air bubble to form.
So just as an idea, I tried some out without tape.
Lo and behold, the surface tension of the resin did it's job and I got a good fill out every time.
Saves me some aggro and the resin came out just about right, after a light wet and dry treatment, this should do the trick.
The resin filled windows in this pic were still uncured when I took this.
One thing, if your gonna try this, do it on a test piece to see if the resin your using will do
as it does for me just to be on the safe side as I can't guarantee what type you can get where you are and if it
has the same properties as the stuff i'm using.
And that's all for now folks, more haphazard hellhole happenings later. Go easy gang!
Strike that last comment...
To quote Michael Caine in a certain movie...
"'ANG ON FELLAS...I'VE JUST 'AD AN IDEA"
I was just having a muse over how to sort out the lighting for the windows on the saucer edge when something I thought
of a while back sprung back to the forefront on my mind...short journey.
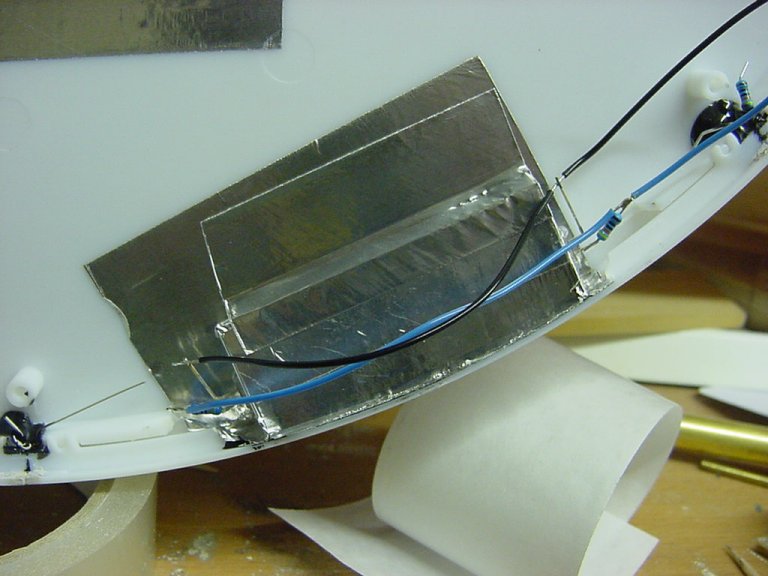
Light boxes, for want of a better term.
So off to the hellhole we go with a sheet of A4 in tow and plaster both sides with foil tape.
When done I then set to work on a template, your kinda fold here and glue there variety with
nicely stiffened paper courtesy of said foil tape.
This was the result...
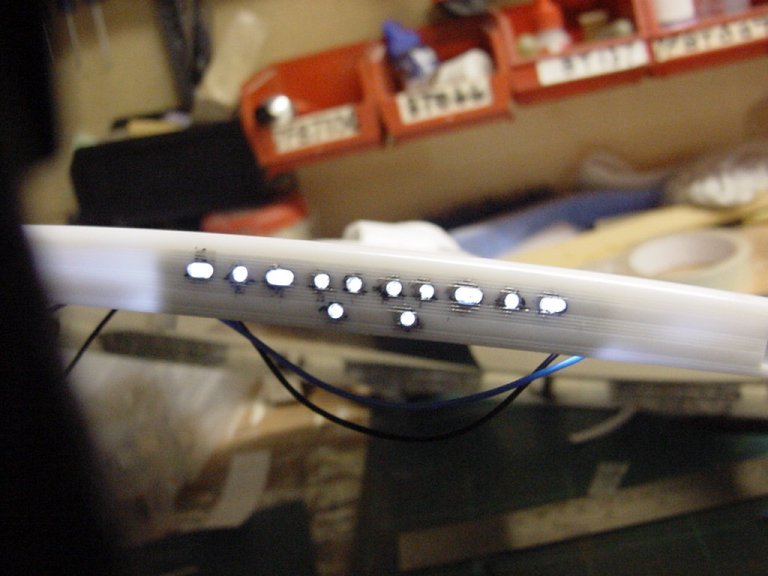
I wanted to see if just 2 LED's could be used instead of 3 so taking 2 from the pile and letting them have a coat of frosting,
namely Tamiya flat base with a fair dollop of thinner added then left to dry
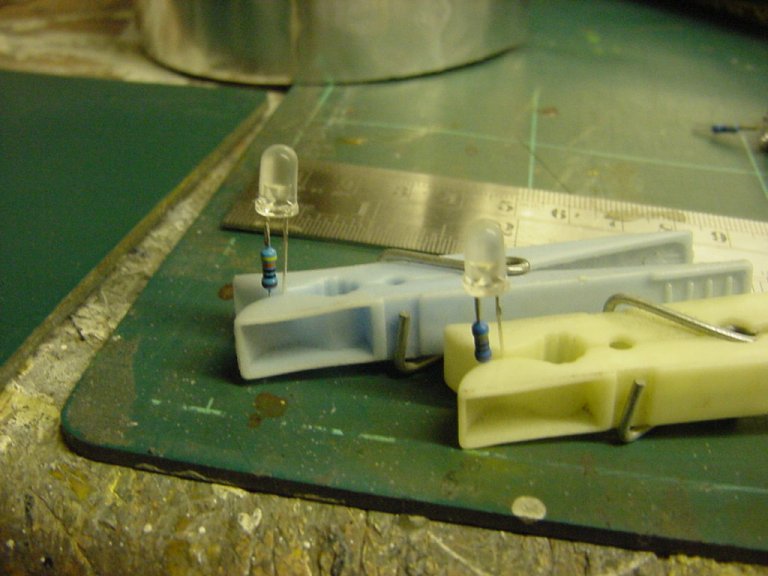
Right, that done then fold said template prototype and tack glue LED's into place. Stuck some foil around the edges in prep to secure the wee beastie.
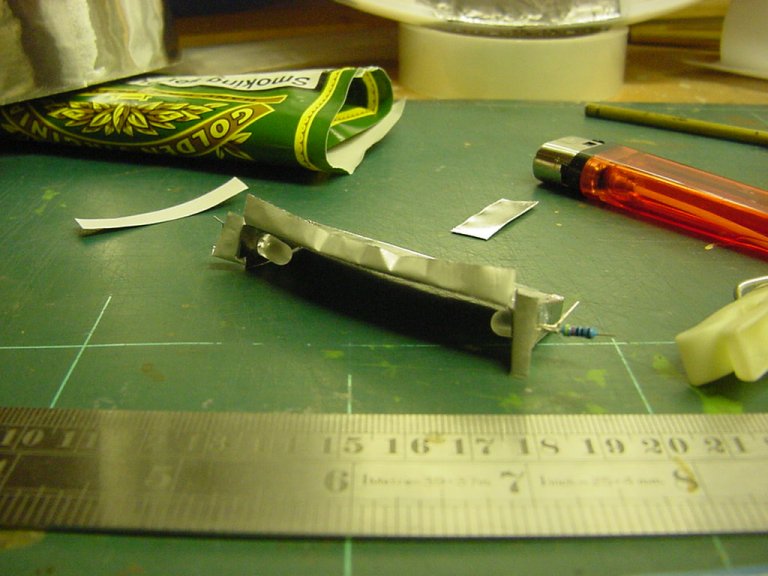
Well set and sorted in position then just some wiring soldered quickly on and add 1 9v battery...
...as a test it bloody well works for me !
Well that's tomorrow night sorted, building the light boxes proper and installing.
And that truly is it for today, i'm off in search of a coffee, you lot take care !
Page Number