
Moebius Models Flying Sub With Extras
1/32nd Scale


 Page Number
Not so much turning it inside out...
But Some Work To Start On The Outside
Welcome back all!
Just a short update 'fore we get to the big deal of bringing it all together.
so a couple of things to be dealt with first.
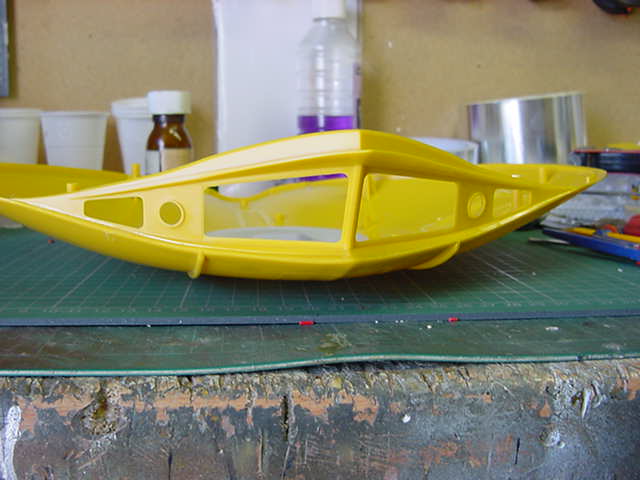
And that first thing is getting the front bulkhead on.
Clamped into place and a fair amount of MEK laid on.
Also the bottom docking ring piece shuffled in to position and likewise got the MEK treatment.
Once cured, the forward light guards were removed and the surround cleaned up.
These will be replaced with soldered wire like the last build.
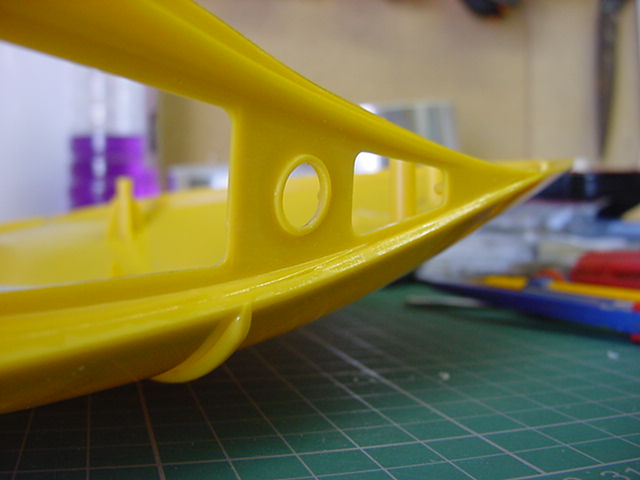
All the belly outer panel lines will be filled in as per client request so a bit of re-enforcement required.
The plastic around the panels is thin and will probably not stand up to filling and sanding too well without help.
Some long strips of 5 thou plasticard glued into place.
So all set and sorted, the top docking ring cleaned up and attached.
Now then...
An additional bit that the client had expressed an interest in but hadn't as yet fully decided upon.
As it would happen, the fine fellow did email about this when I was in the middle of sorting it out.
I just thought, well why not, do it anyway.
It'll be different.
The bit in question being making the top hatch and open/shut kinda thing.
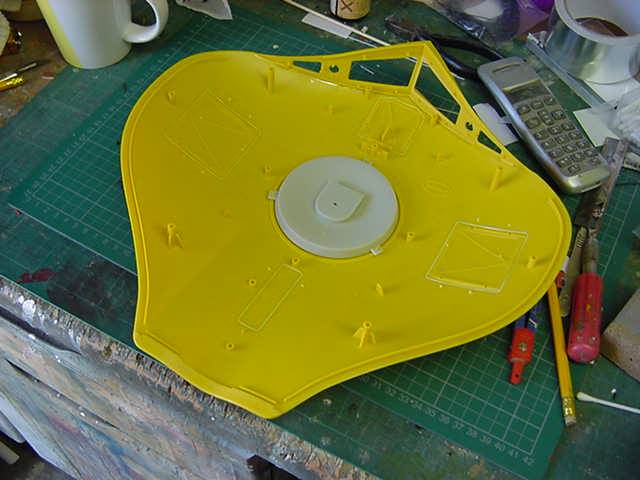
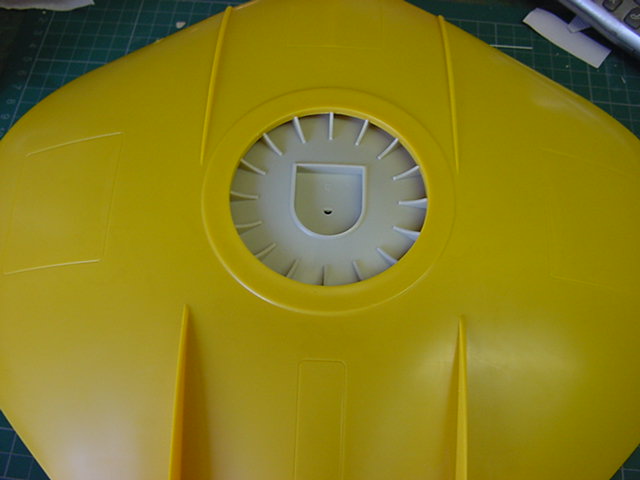
So first things first, a hole marked in the top docking ring just a smidgen less in diameter than the stock hatch part.
A ring of drilled holes and a slice out, then clean up and make good.
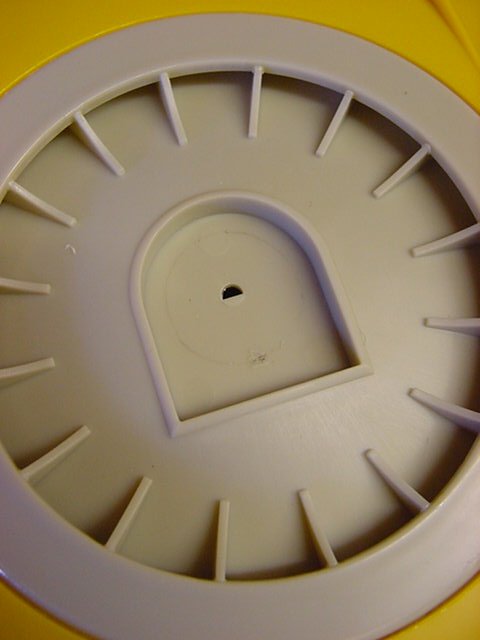
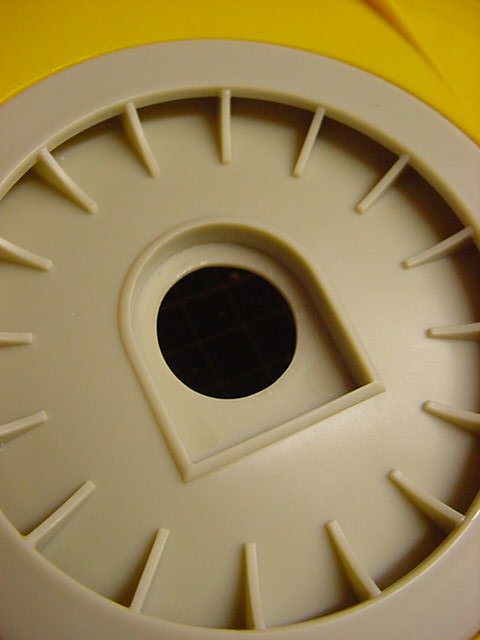
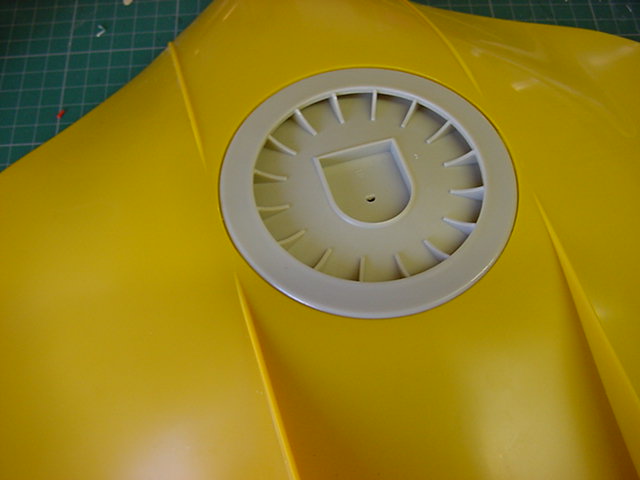
So not to the hatch.
Here's the stock kit part.
The bottom mounting pin got removed and a line drawn on for an outer edge lip sort of thing.
So out with the grinding bits and the motor driven rapid rotating device.
Otherwise known as a mini drill to some.
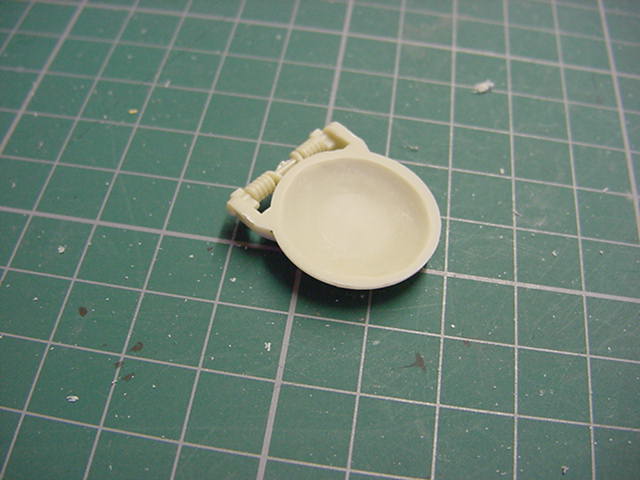
Using a cylindrical milling bit to make a about a 1/2" diameter width and just short of 1/8" deep round dip in the middle.
Then to a conical grinding bit to take away material around the dip out to the lip.
Then finally a ball grinding bit to shape it all out to a shallow bowl.
A quick run across the wet & dry hard sanding block to smooth the lip out.
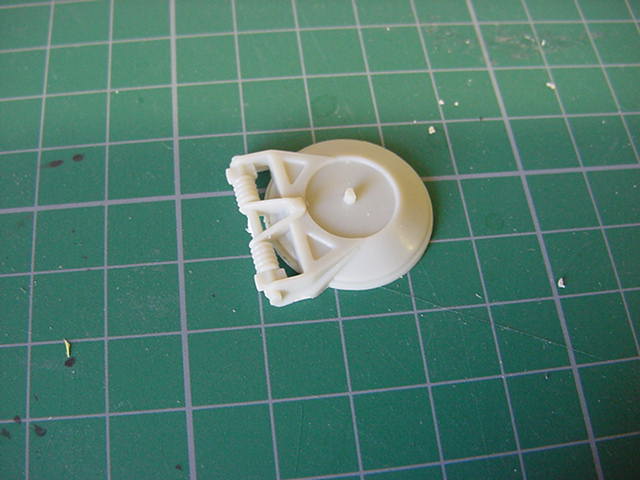
Into that bowl, a short length of 2mm styrene rod.
This made the center to glue some 1mm square strip to the bowl shape.
Once all glue cured, trimmed and sanded.
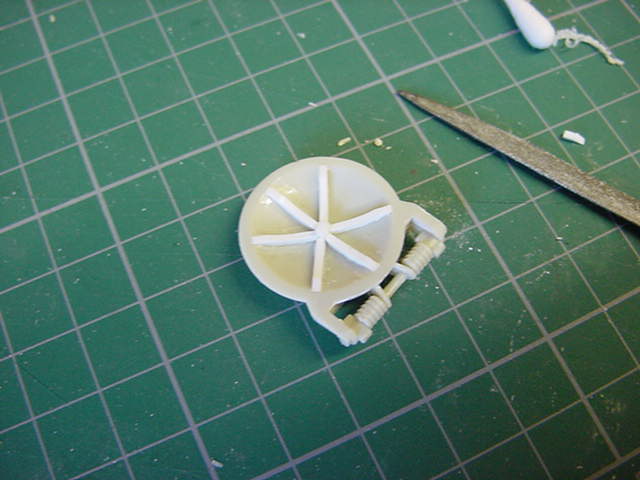
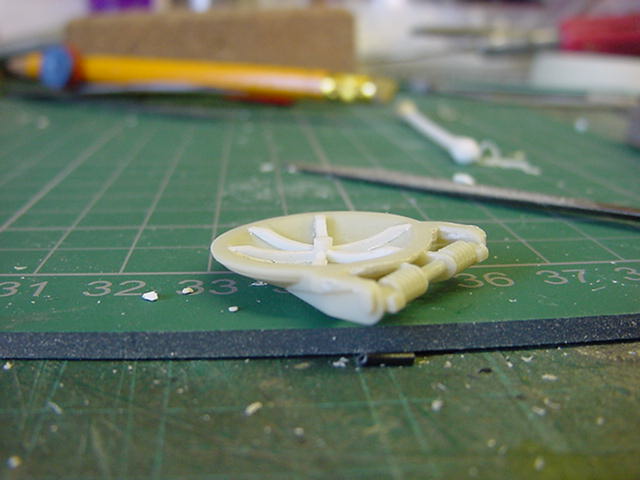
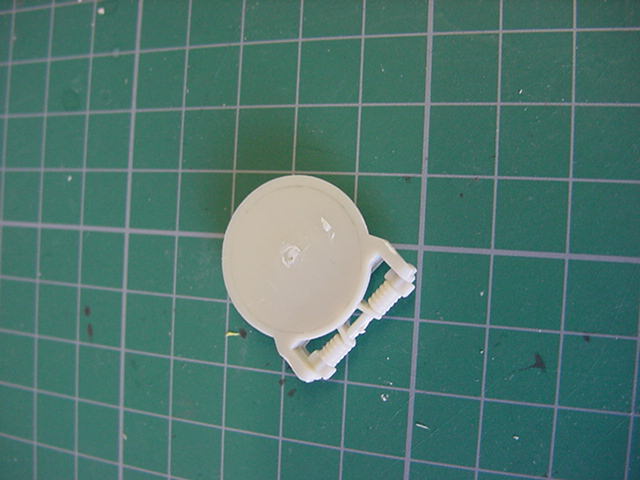
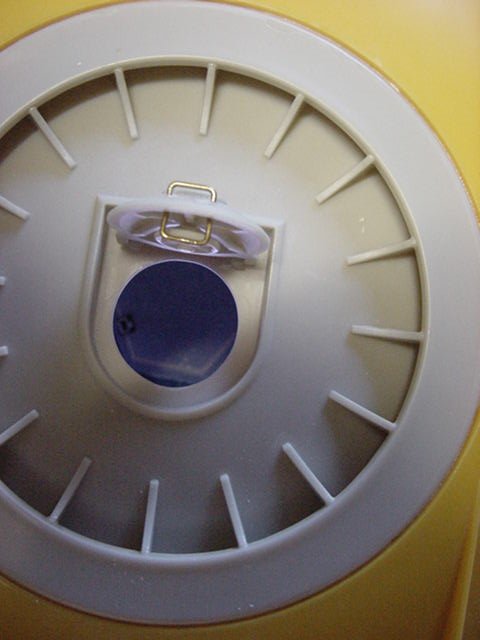
So a looksee from the outside and inside.

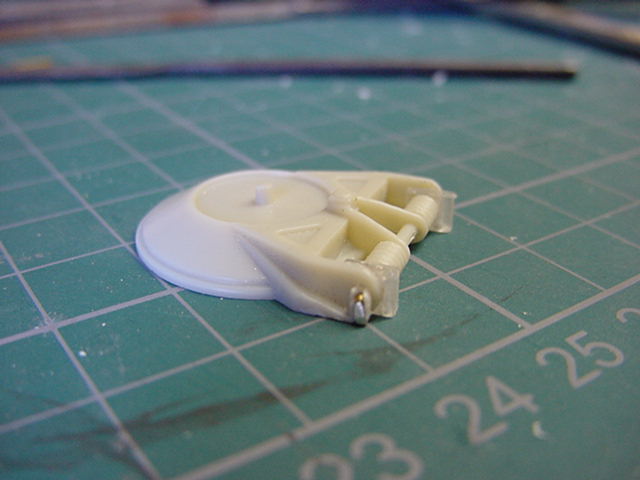
So now to getting the hatch hinged.
First stage was to drill out some of the left and right hinge to accept a brass pin in each side.
Then the two block like things at each end,
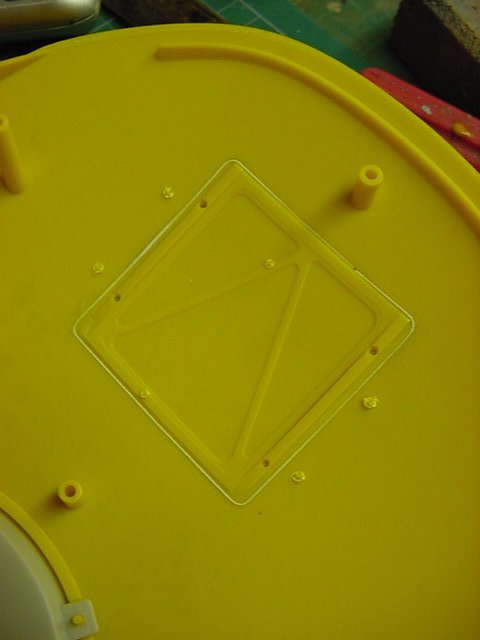
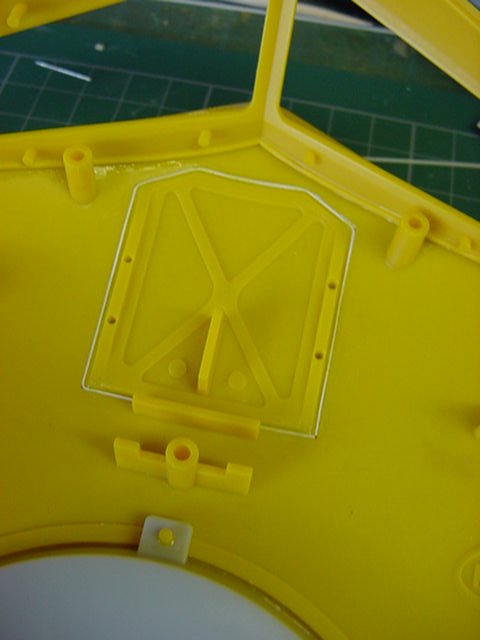
These bits...
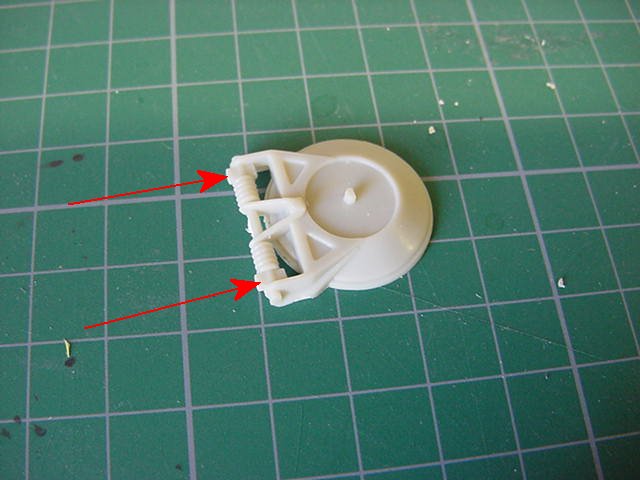
Got sawn out and replaced with some 2mm hard clear styrene.
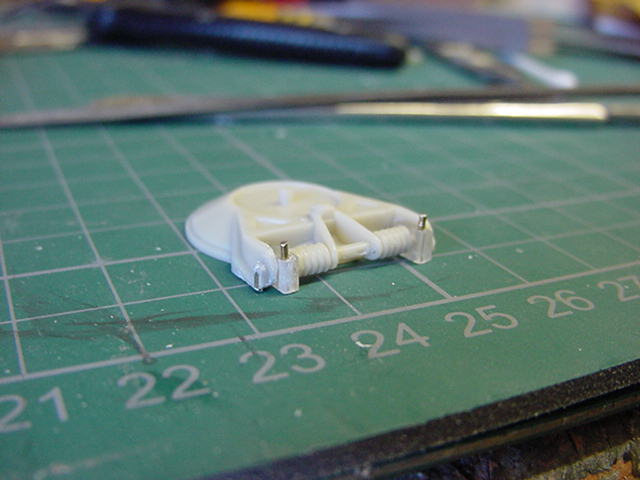
Some drilling out occurred for the hinge and fixing to the docking ring pins.
The pins on the hinge made permanent with cyano.
The fixing pin holes to the docking ring re-drilled while temporarily held on the top docking ring.
Two small brass pins cut for that and ready to dry fit.
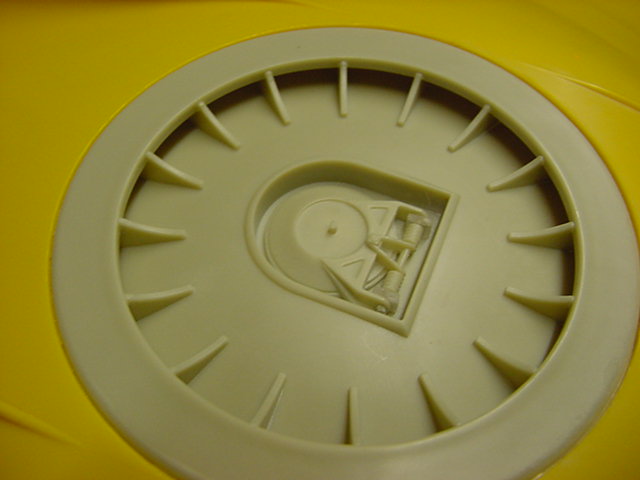
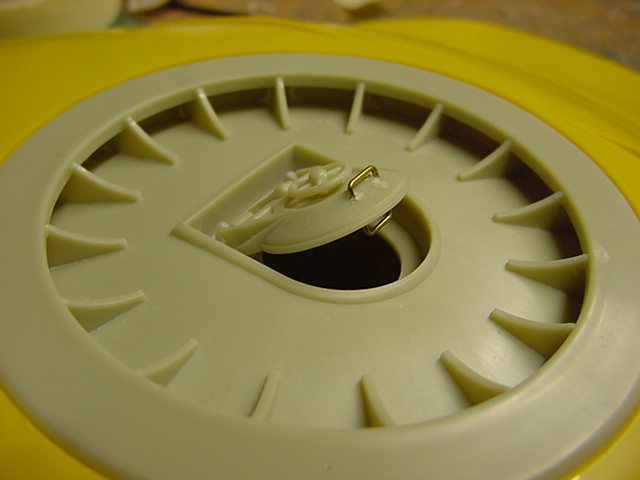
Hatch placed in position, pins pushed through.
The stock hatch wheels fitted to the inside and outside.
Lastly some brass wire bent up for inner and outer grab handles and holes drilled in the hatch to take them.
Glued in and we be sorted.
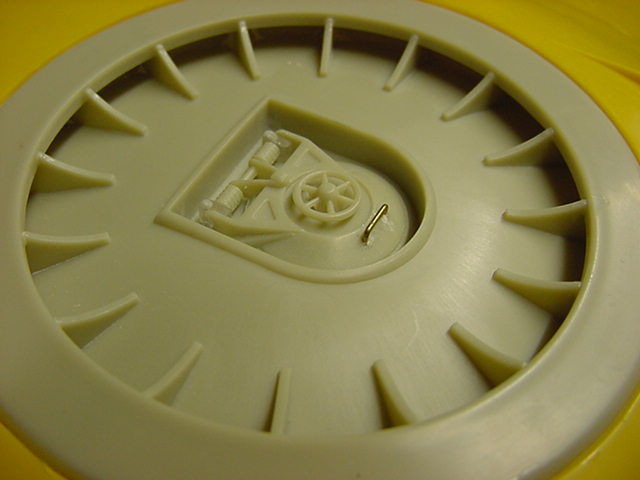
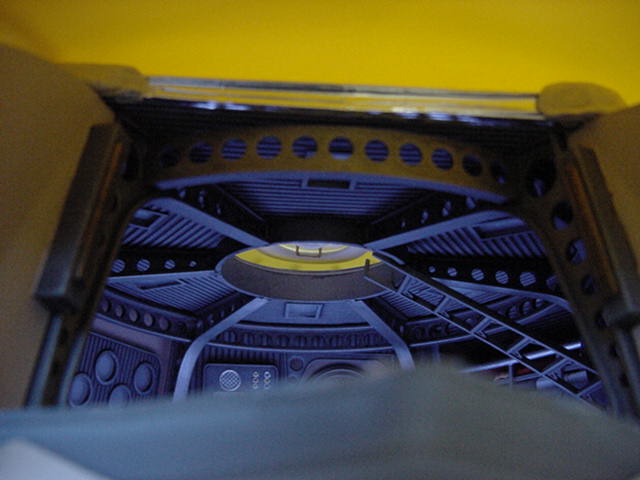
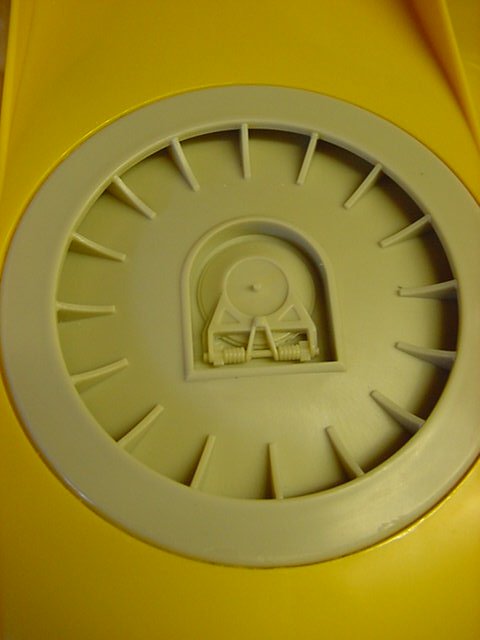
So does it all work you ask?
Well let's take a look see shall we?
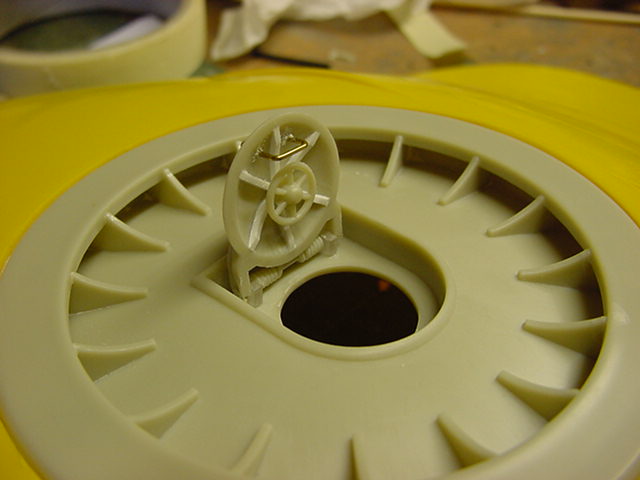
Well i'd say that's a yes to be honest and looks kinda cool too so a winner at this stage.
Well that's all for this update turnout.
stay tuned for more silliness...there's always more trust me.
Go easy out there troops and troopettes!
Page Number