
Moebius Models Flying Sub With Extras
1/32nd Scale


 Page Number
Micro-Sol, foil tape, scissors, water bowl, epoxy glue, cuppa...
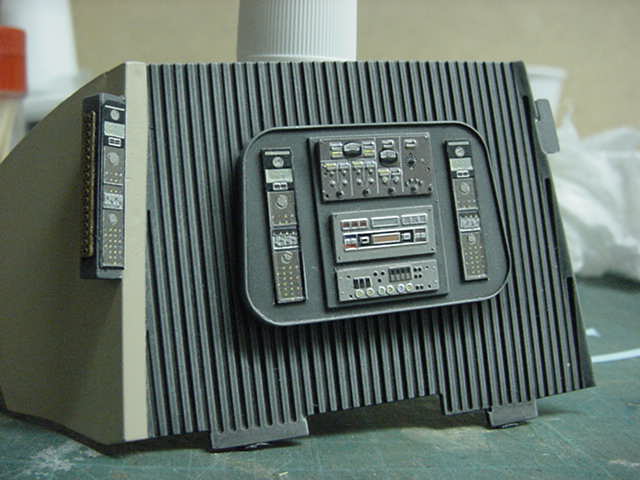
Time For The Pre-Lighting Panel Prep.
Some Wall Decaling Doo-dad's in There As Well!
Greetings gang!
Right, now them two sublime Solarwind sweeties are out the door we back to this.
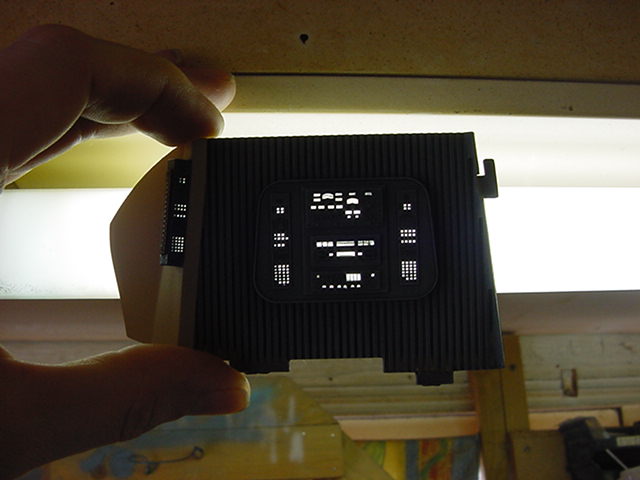
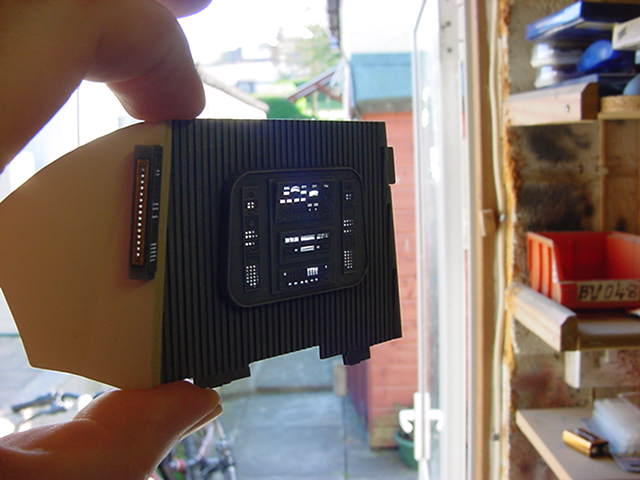
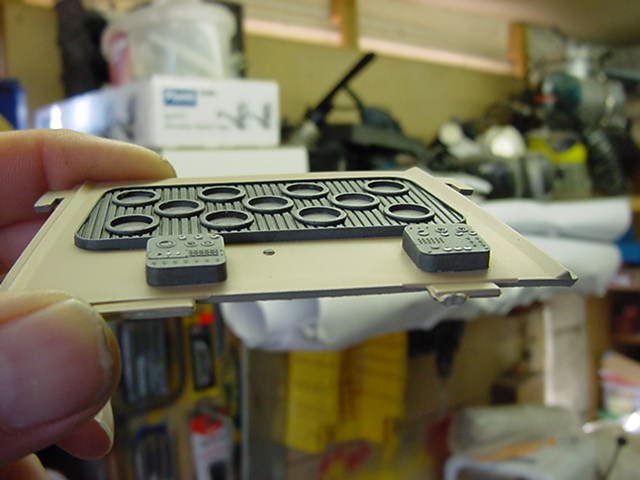
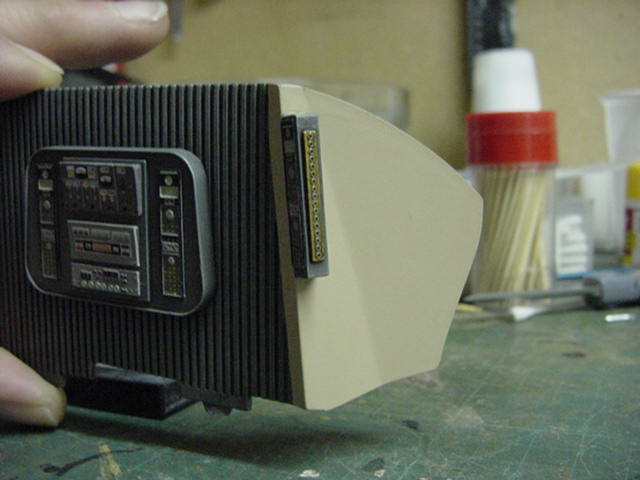
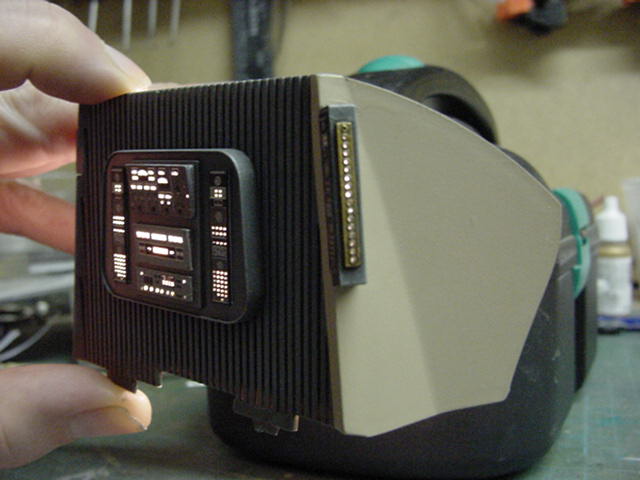
First things first, the clear part for the reactor wall.
Nice enough as is but a bit of light diffusion lark required.
Step forward the Plastikote glass frosting spray.
A clean up of the part in the raw and a squirt of two of the goodly stuff later...
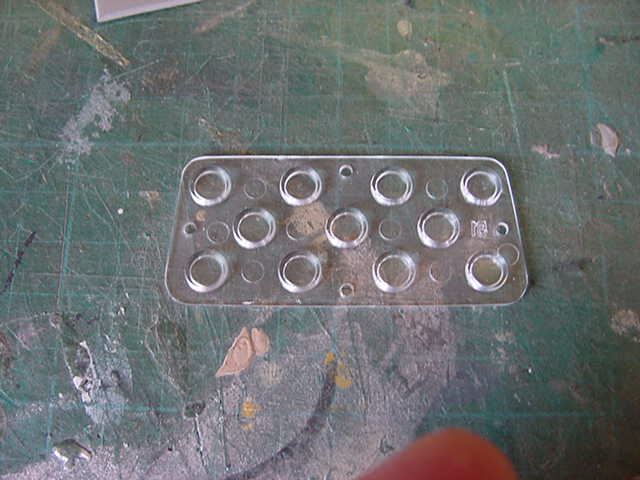
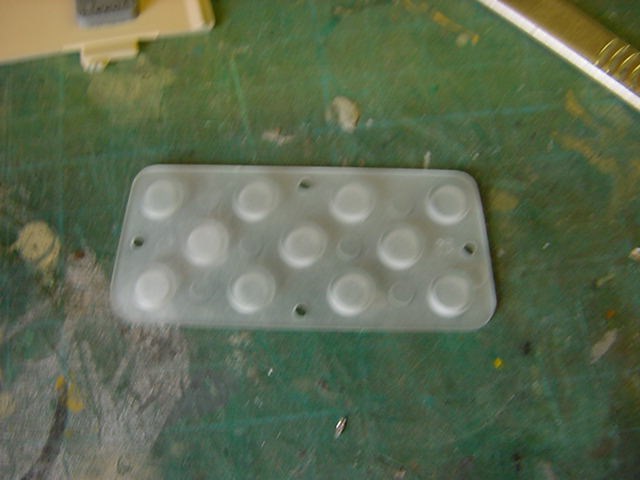
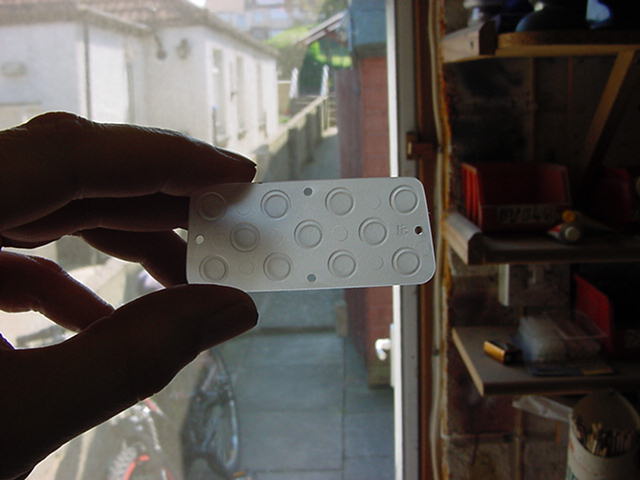
Nice.
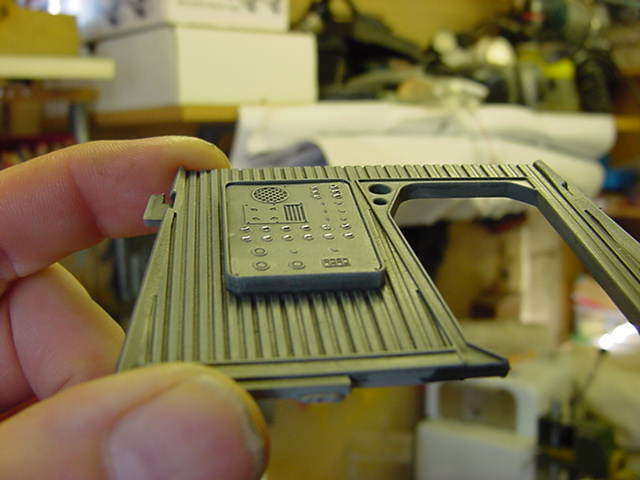
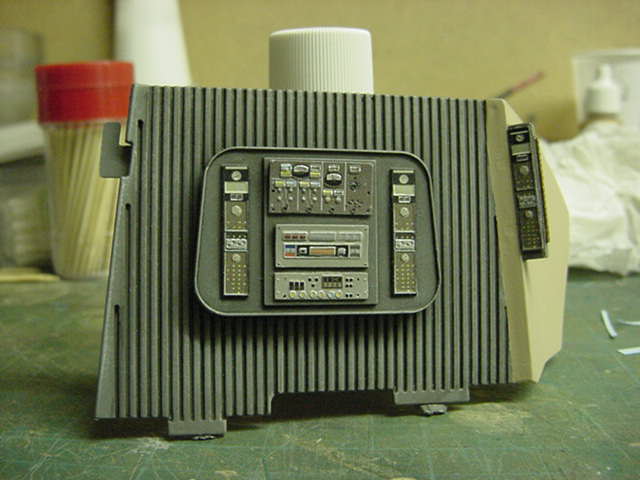
One last bit of paintwork.
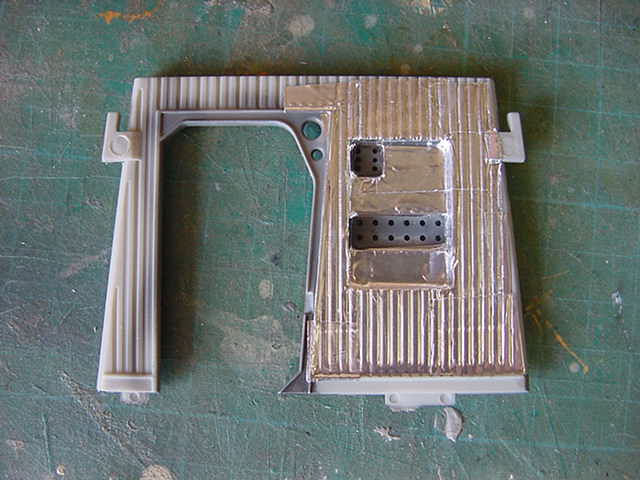
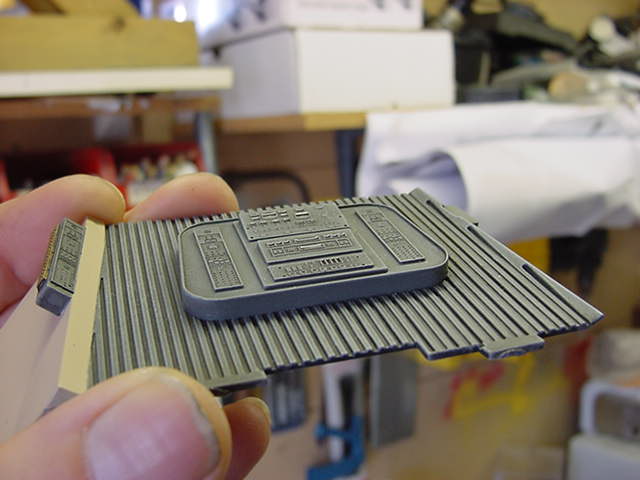
After wandering through the ref materials I found myself reminded that the vertical line of lights,
The ones down the box panels to the sides of the pilot seats,
are a brass colour.
Nothing that a lick of Vallejo brass and some dark dirt wash couldn't sort.
And sorted they were.
Done and dusted.
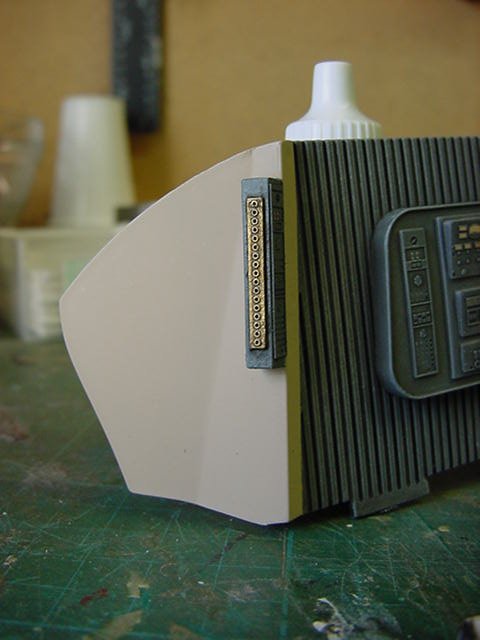
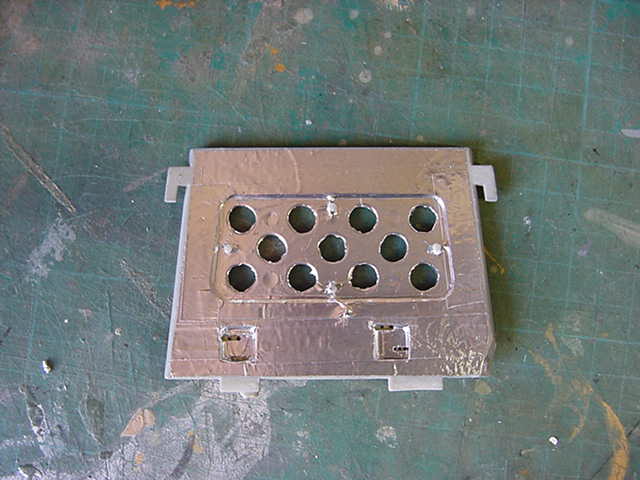
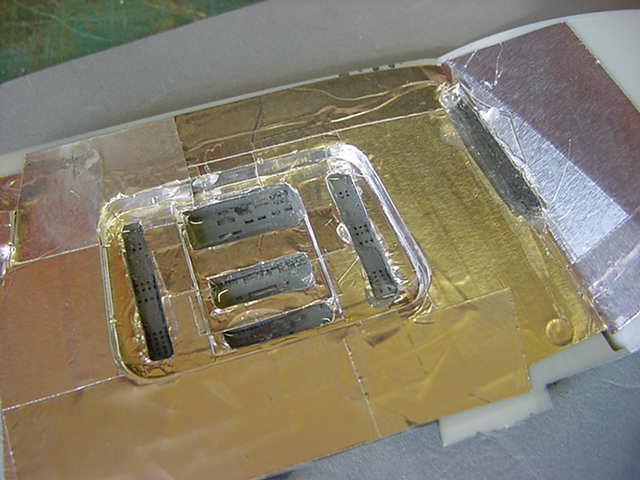
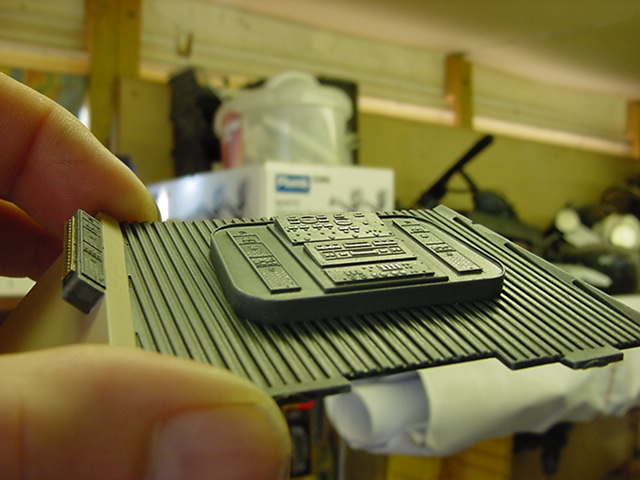
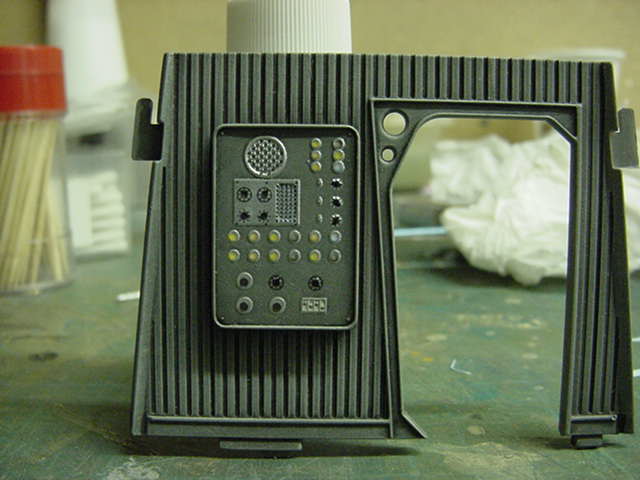
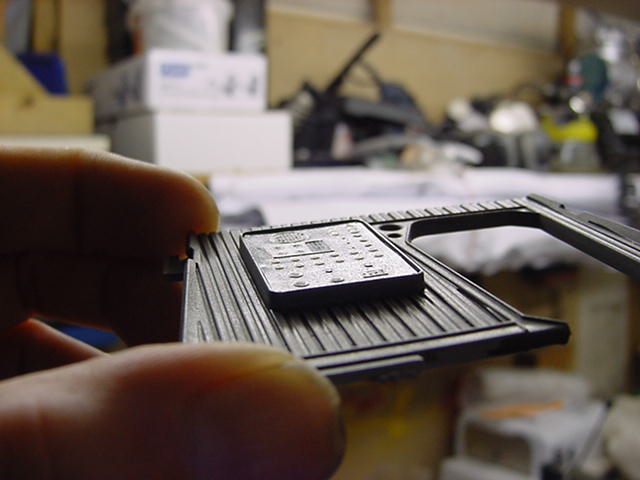
The pre-lighting prep now and there was much slicing and laying on of the goodly shiny foil sticky tape.
And the diffuse panel to the reactor wall fitted and secured.
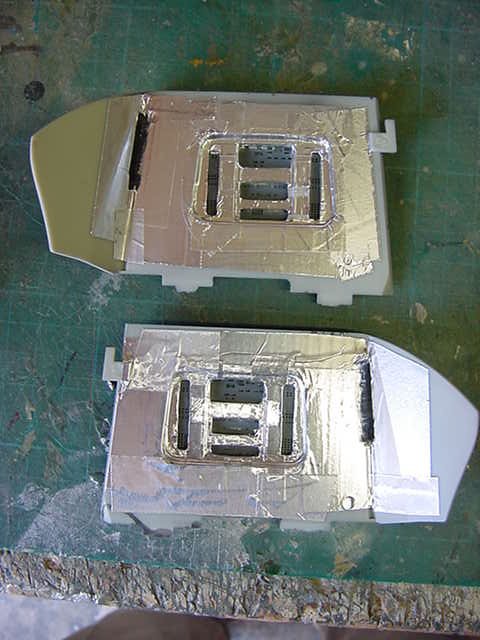

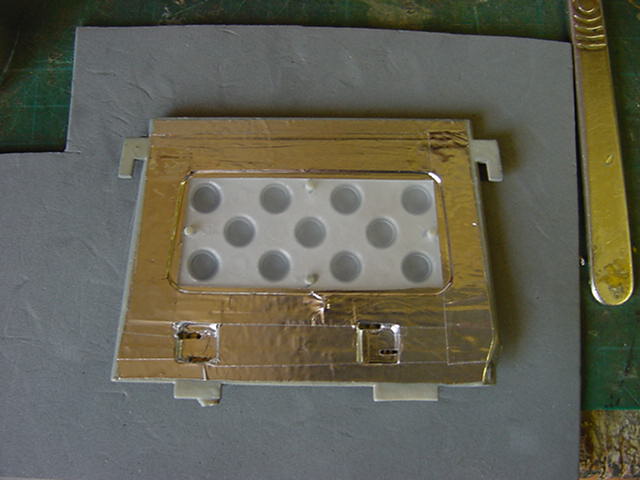
Aye, that's the stuff!
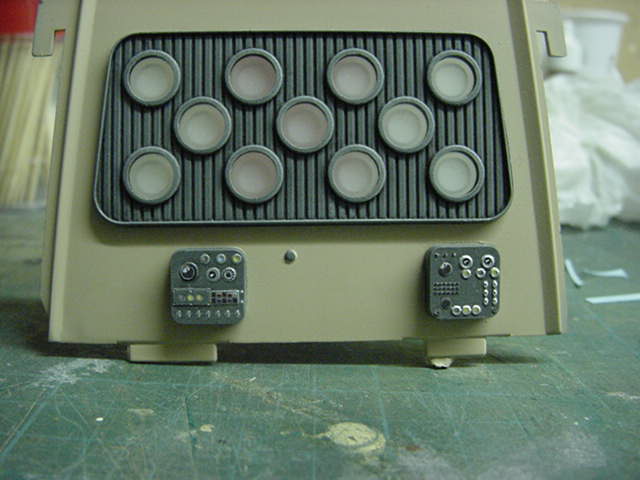
Next dastardly deed, get stuck in with the clear epoxy glue...so to speak.

This gunk fulfills three rather important tasks.
in no particular order:
1) it helps transfer light so it comes out evenly where it should.
2) it means that the PE stuff isn't going to fall off in this or possibly the next lifetime.
3) Most important, the surface tension in the glue fills out the light holes in a near perfect fashion.
So makes a flat surface for the decals to go on clean.
Like this.
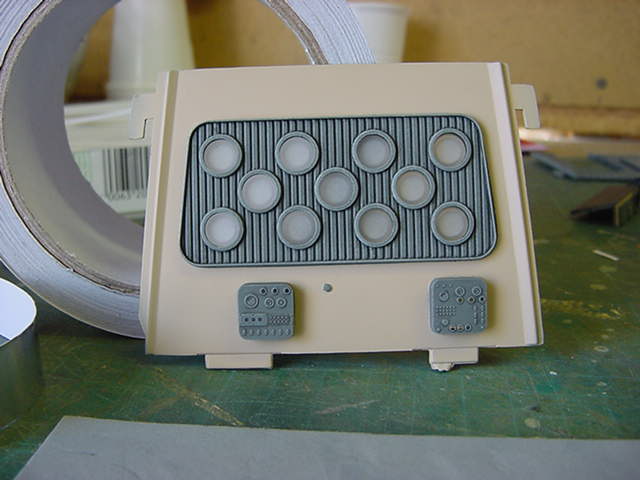
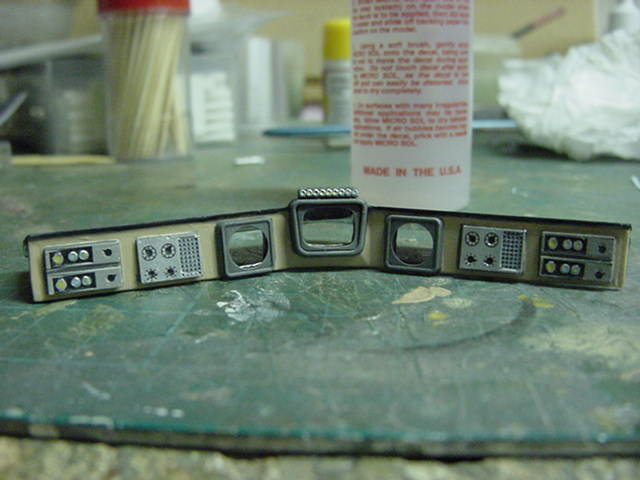
Speaking of decals.
Beautifully printed on ridiculously thin decal film.
Trust me in this case as ridiculously thin is good.
Much trimming up while a coat of gloss varnish was curing on the decaled areas to be.
The decals are printed on a continuous film so trimming is needed.
But the thin film does mean that going all the way to the decal edge is not always required.
Went on without argument and a single lick over with Microsol, a dab over and gentle squeeze and they conformed in a most pleasing fashion.
On each application, I did have to do a slight shuffle about to get them aligned correctly.
But this was little more than a simple matter of getting decal on,
holding up to a light,
a wee bit of a nudge here and there and sorted.
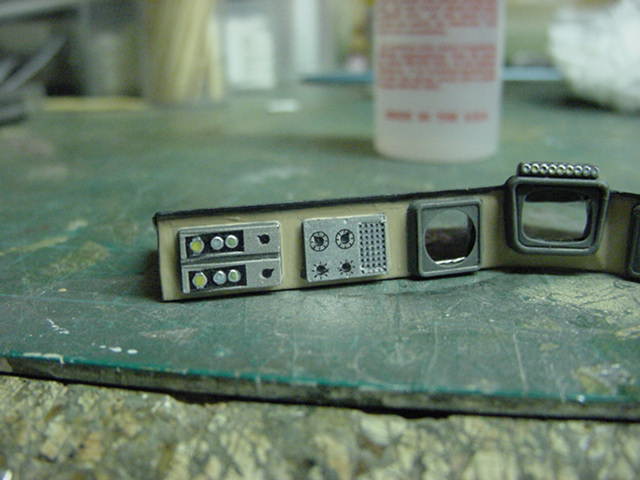

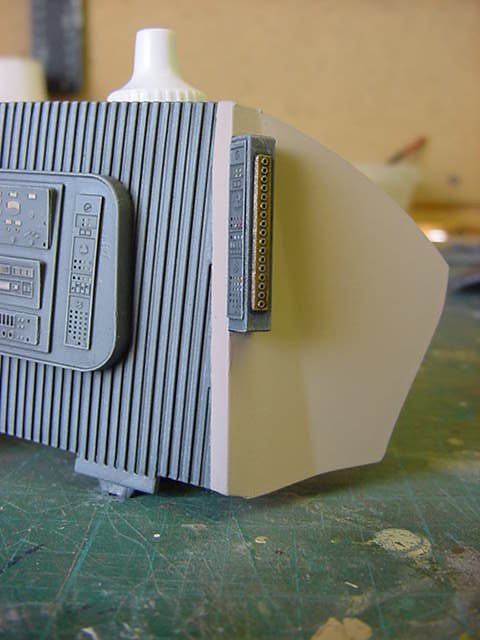
And to finish off this particular update, a swift light test as it were with one side panel.
With the help of a battery torch I have laying about.
First no lights.
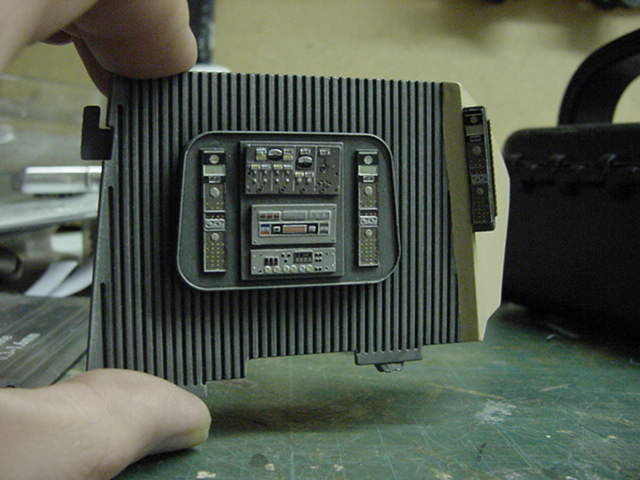
And with light.
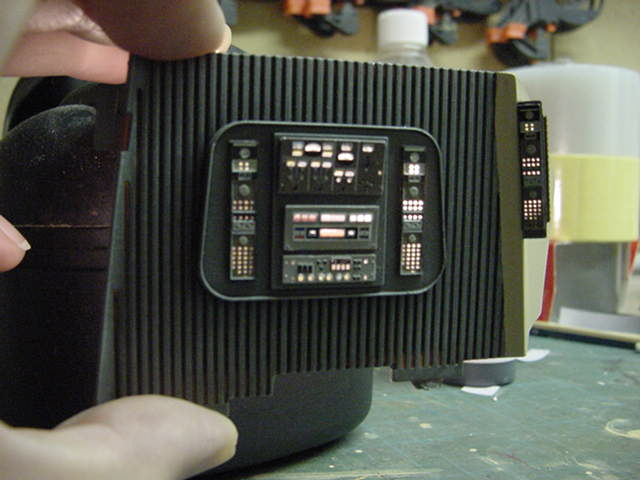
Yep, that'll about do it.
So the decals were left to sort themselves out while I got on with some deck plate action.
That's for the next update gang so you merry lot go easy untill then.
Take care all!
Page Number