
Moebius Models Flying Sub With Extras
1/32nd Scale


 Page Number
Ok, so not the final update page yet...
So Let's Just Call it Page 21 And To Quote A Certain Scottish Starship Engineer...
"Aye Sir, i'm Workin' On it!"
Welcome back all!
Sorry that this isn't the final page but a few hiccups here and there have caused delays.
But should be sorted within the next few days or so.
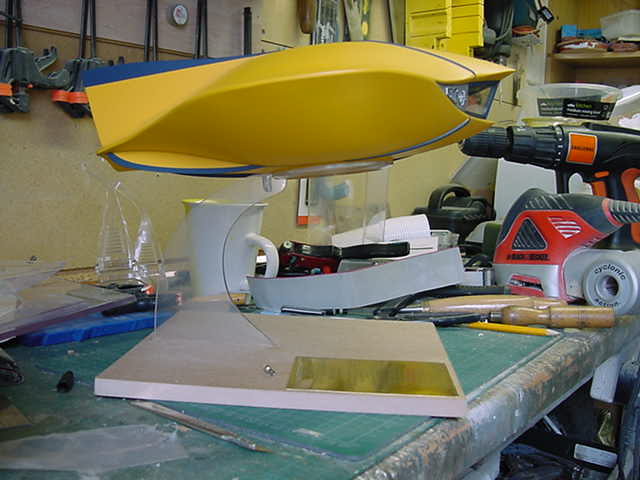
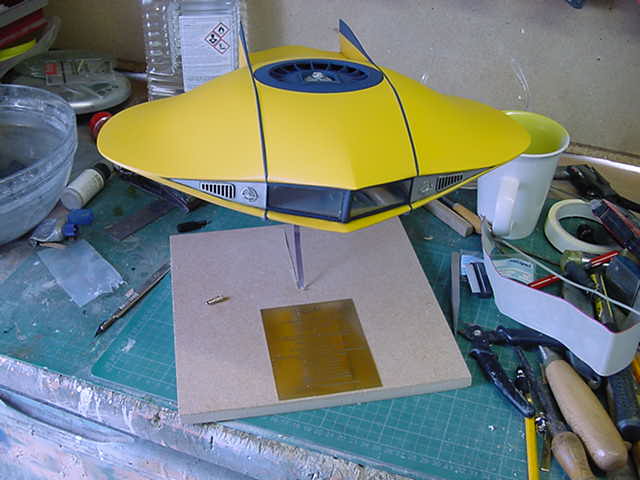
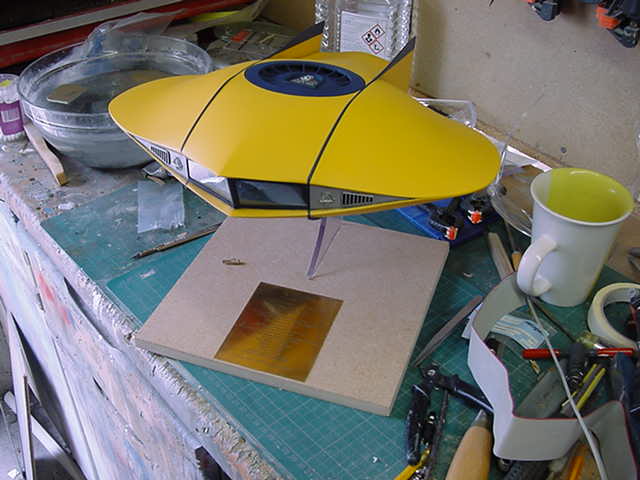
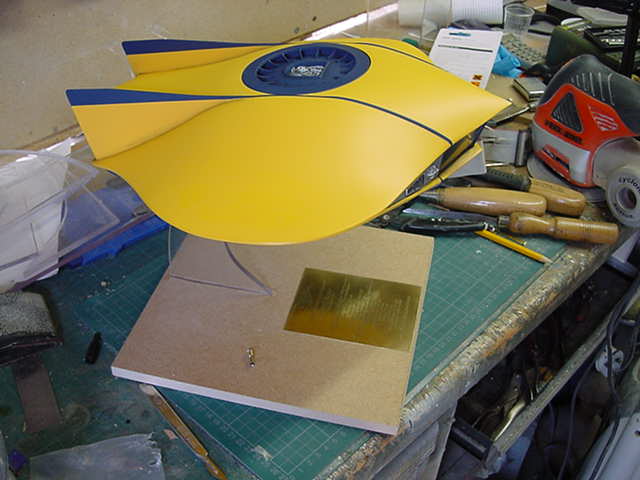
Untill then, a sort of finished model thing and start of the stand hoo-ha.
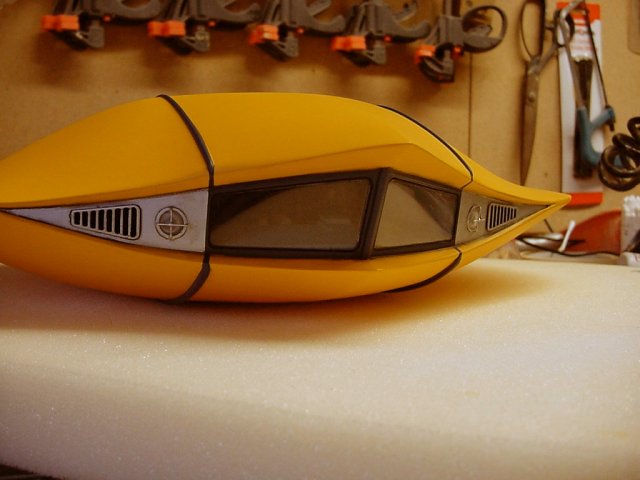
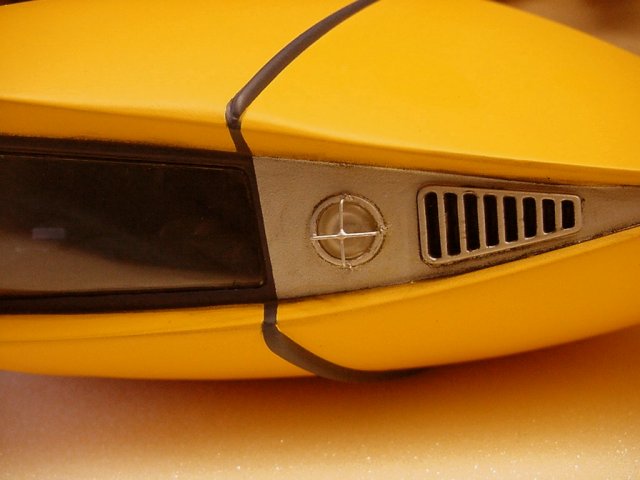
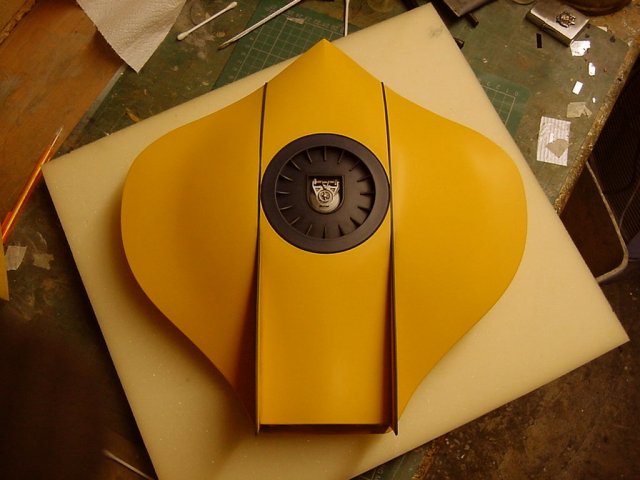
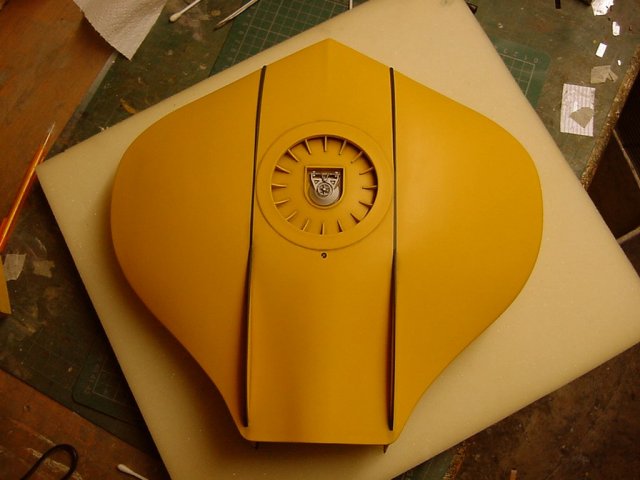
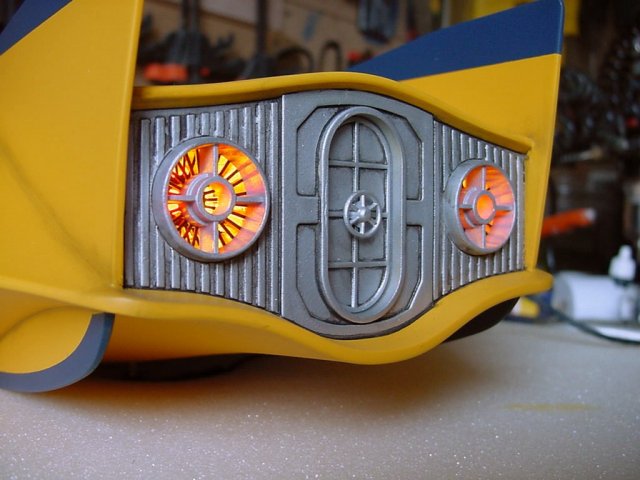
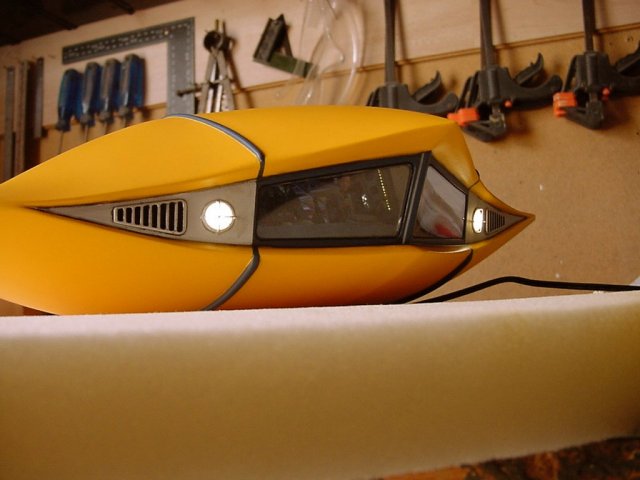
Well as far as the Flying sub is concerned, a second varnish coat all done and the guards for the front lights sorted out.
Nothing more exacting that drilling out four holes around each light.
Bringing some 0.5mm brass wire to the fray along with some fine pliers and side cutters, they got sorted.
Cyanoed in, painted and done!
And of course, the final look over...
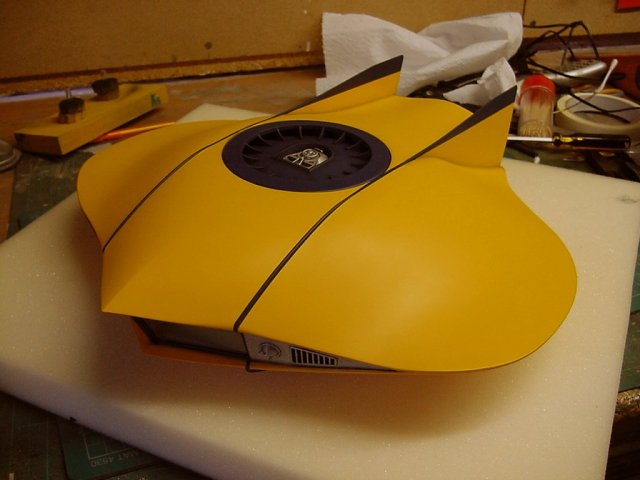
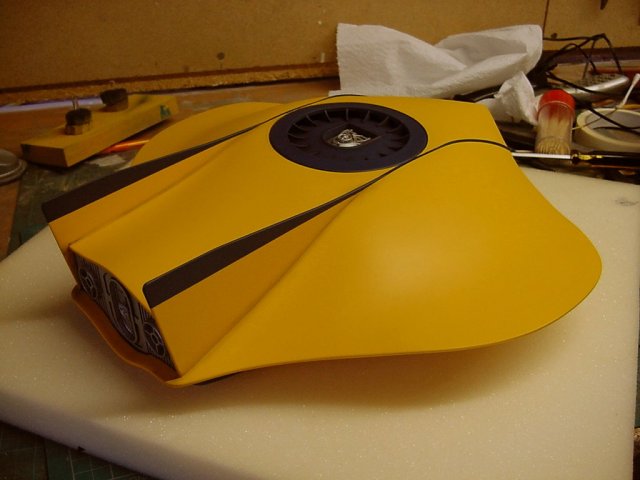
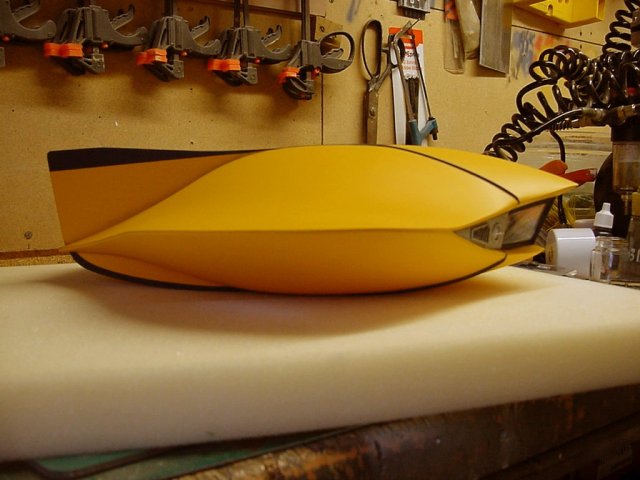
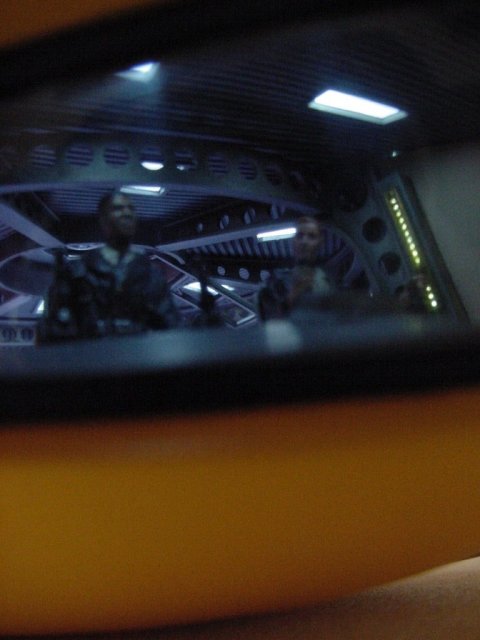
And of course, the lighting thing.
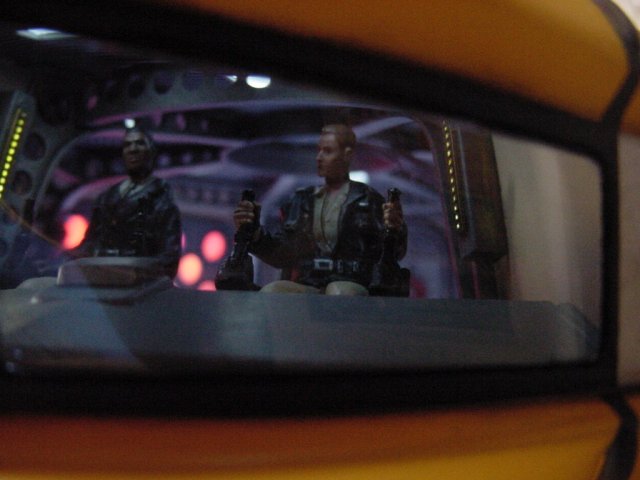
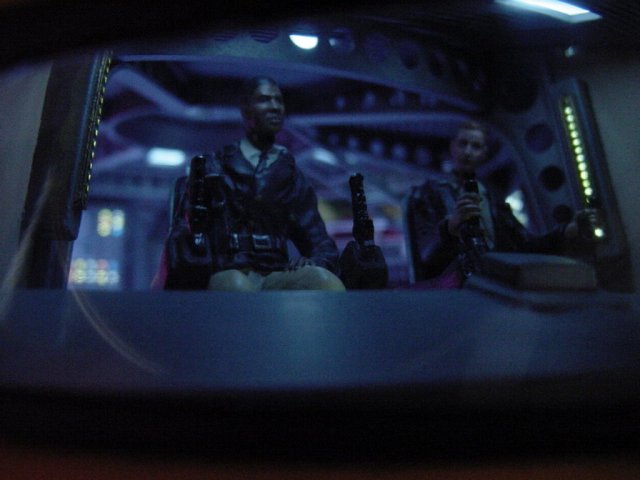
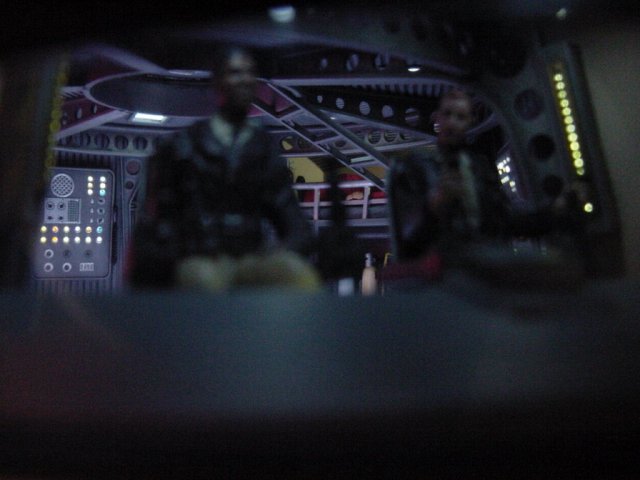
Well that's the hard bit done in a manner of speaking.
Thus far 'the man' has given the yea nod so onward with starting to get the stand thing dealt with.
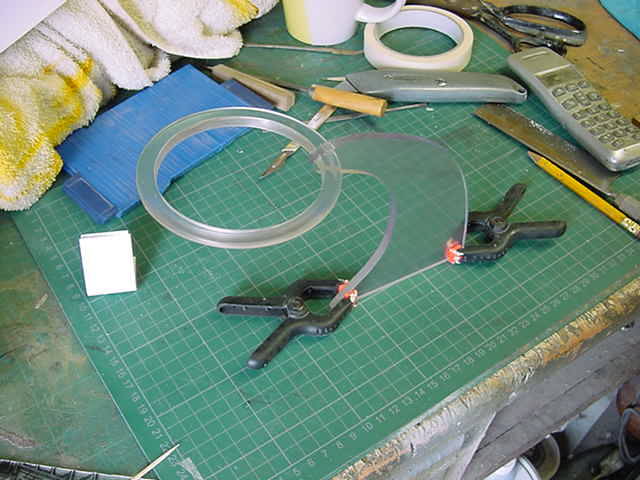
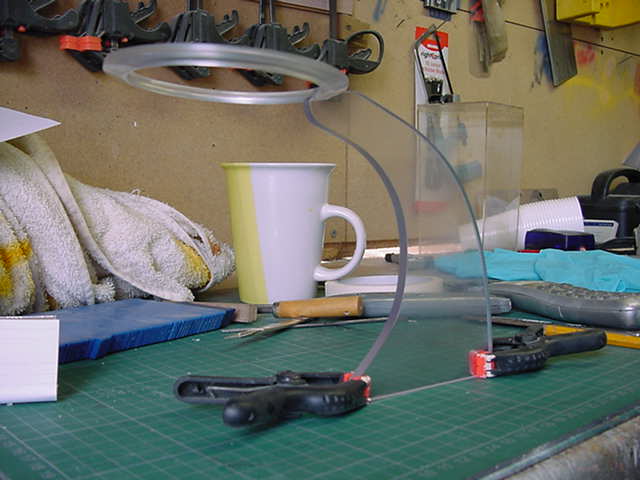
Now i'm usually of a mind to keep it simple so to begin with, the thing to hold it up in the air as it were.
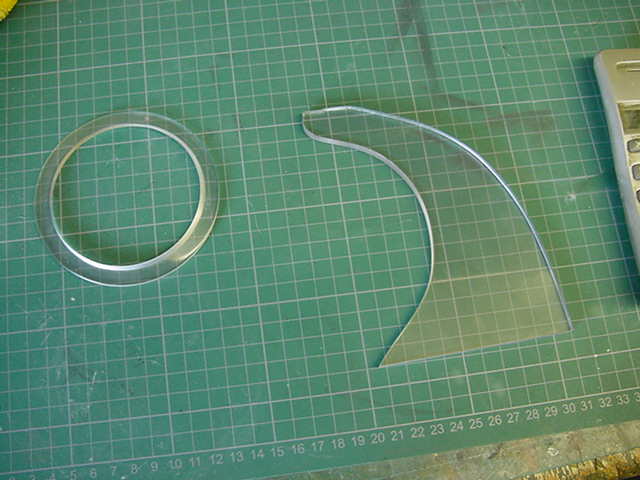
Some 1/4" clear acrylic sheet and there was much scratching, sawing, turning on lathe, filing and sanding goings on...going on.
Along with the occasional test fit to the model running back and forth.
As you do on occasion.
The result was these two lumps.
So to bring these two together, a notch and slot like effort got perpetrated.
The upright got the notch and the disc got the slot just to make it fair to all concerned.
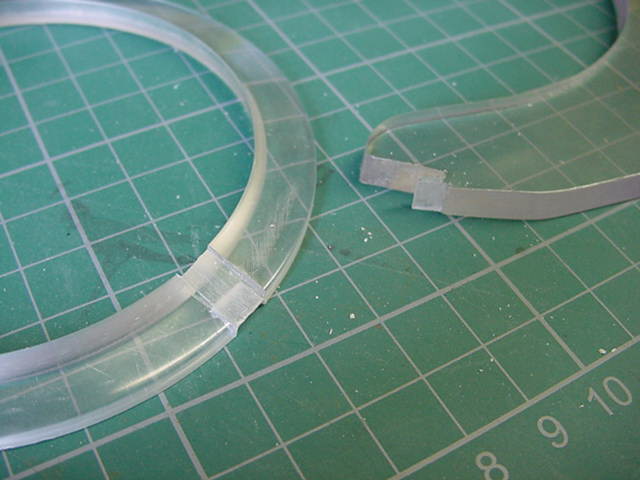
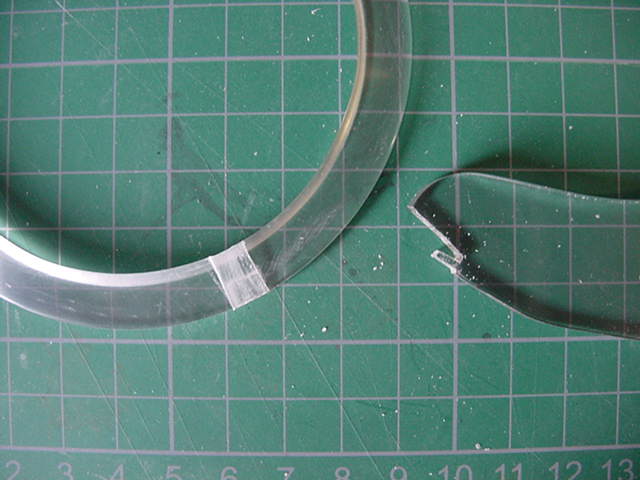
Nice and snug fit so a dab of epoxy to the surfaces and some gentle and delicate grunting/shoving ensued.
So far so good.
The plug due to be fitted into the top of the stand was another thing.
It's a 3mm plug, nice and neat.
But here's the thing...
These wee beastie's come as a plug and casing that you just unscrew, solder your wires, slip casing back on and done.
Well the casing wasn't needed and the plug proper has a thread on that's more than 1/4" wide.
Wider than the acrylic stand material by about 1/16th" overall.
Oh joy!
Well the plug got a spin in the lathe and some exceedingly gentle turning took place.
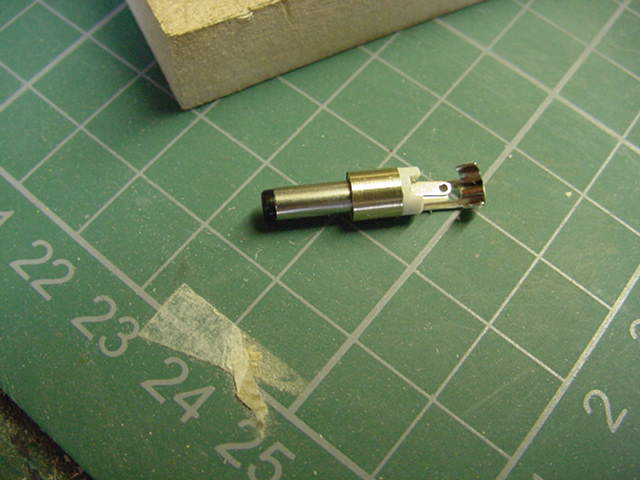
And that fits somewhat snugly into the only just under 1/4" hole in the stand top.
And by just under, i'm talking about the thickness of a sheet of paper under.
That had me gritting me teeth.
Well stand sorts sorted and now just have to await me delivery of a Novus plastic polishing kit to finish it proper.
Such is the result when you go and open the drawer where you keep the 'make it all smooth shiny' gear and find you haven't got any.
Dammit!
Anyway's, moving on.
Now an addition to the the stand.
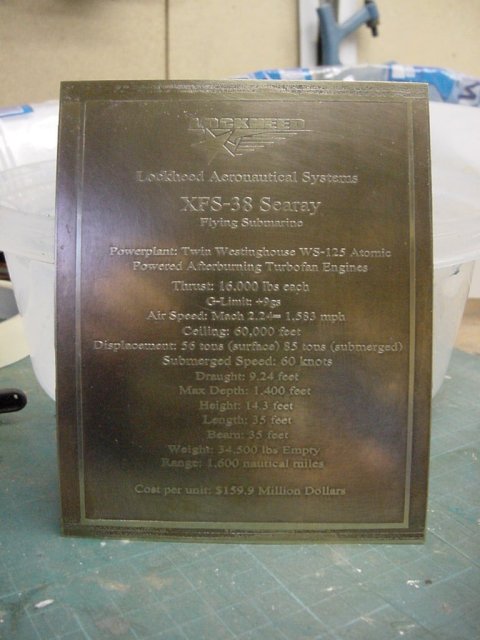
The client, bless his cotton socks, sent me a picture a while ago for a bit of trivia fun.
This be it in reduced to fit on this page resolution.
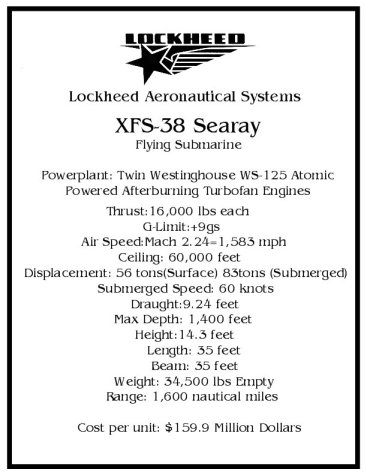
Nice eh?
No idea of it's origin or where he came by it but no matter.
"Wouldn't this look good as a brass plaque on the base" says I
"Yes it would" says he.
"Me and my big mouth" says I to meself...
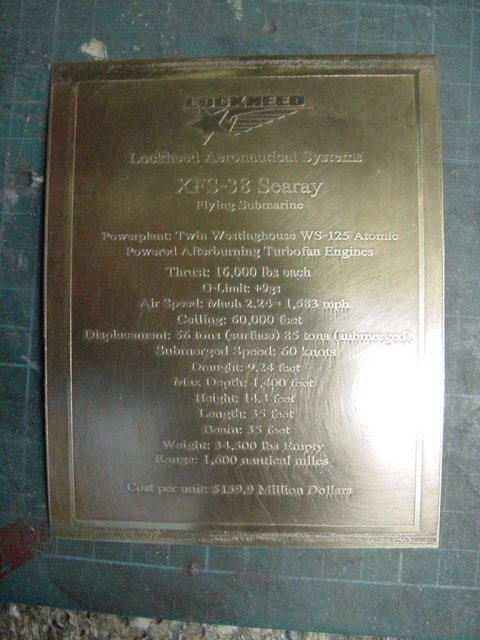
So out with the Micromark photo-etch kit and after a bit of reworked artwork,
A bit of printing and a small etching excursion exercise,
I had something to work with.
We go from a 4" X 5" 10 thou thick blank sheet o' brass...
To this
And after a smidgen of polishing, trimming, lacquering and a bit of blacking to bring out the lettering we got this.
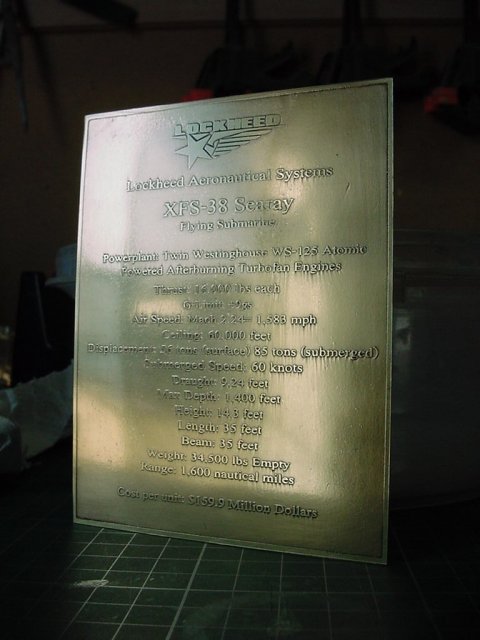
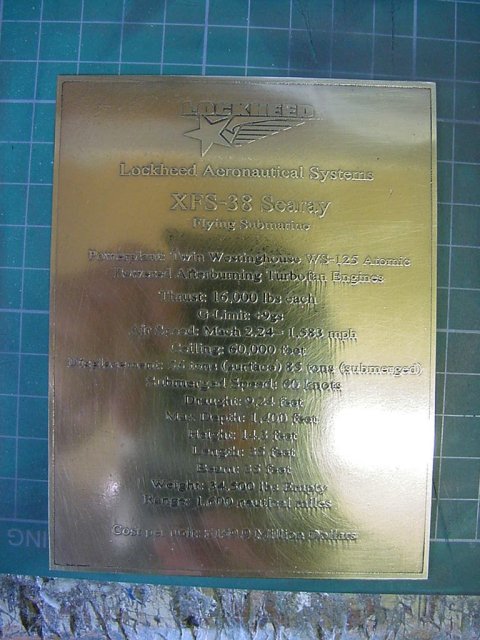
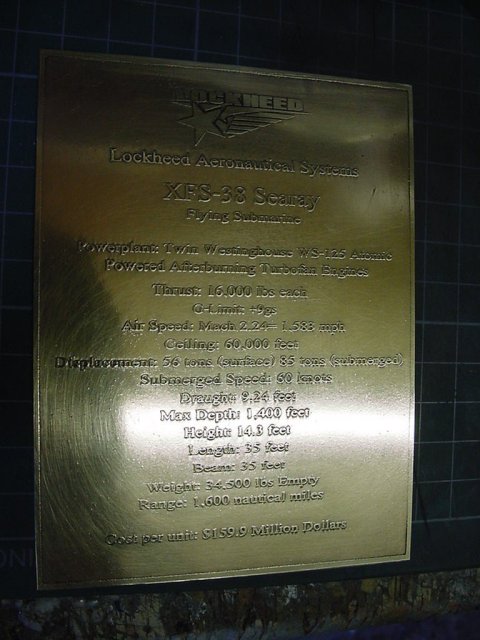
None too shabby methinks!
So that sorted, A lump of 1/2" MDF sliced into a 10" X 10" squarish bit.
A slot sorted chisel fashion for the stand it up thing and a bit of a test fit tryout as you do.
Starting to shape up as it should.
Next and final stage, clad the base in styrene to make all smooth,
install switch,
Socket and wire up,
Paint,
Finish off,
Get the yea or nay,
Sort it,
Pack and ship it the hell out sharpish.
And by that time the part of me finger that got a miniature chisel shoved in it to the bone should have stopped hurting.
Which will be nice.
I think that about covers it.
That's all for now though so you merry mob join me for the final installment of this sub-riveting saga next time!
Go easy out there all.
Page Number