
Moebius Models Flying Sub With Extras
1/32nd Scale


 Page Number
Yea verily, 'tis that time...
Time For The Piccie Packed Paintwork Pandemonium Update!
Indeedly!!
Welcome back folks and folkettes.
Right then, time to get to the paintwork nub of the matter so here we jolly well go.
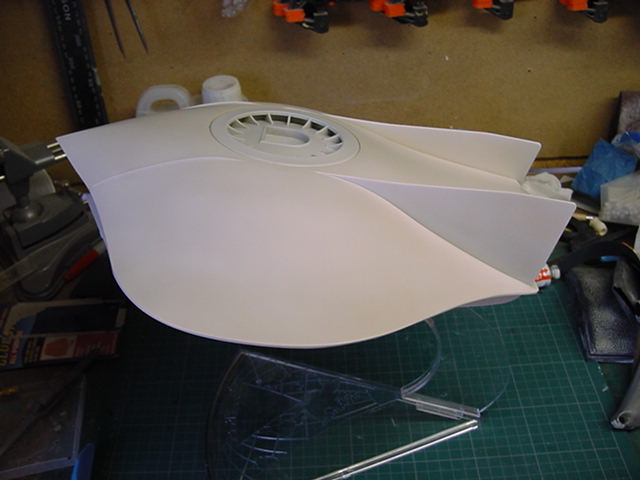
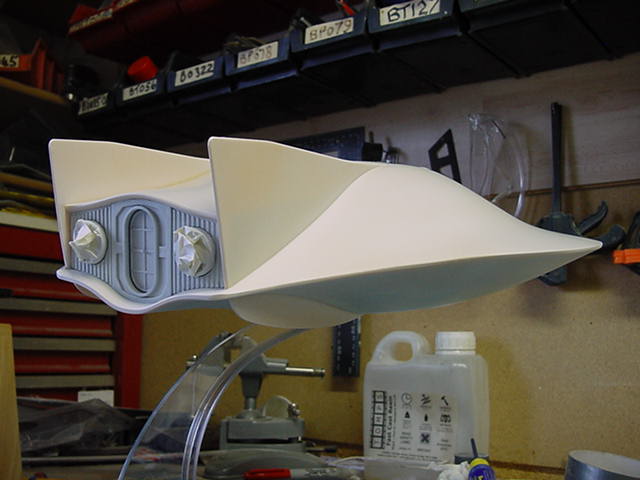
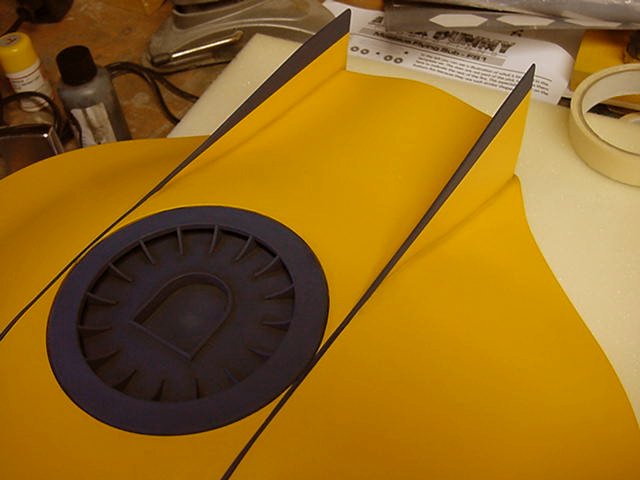
So dust clean out and closing up done with only a minor amount of shoving about and all sorted.
Plenty of filling and sanding lark took place.
Mostly just trying to get shot of the panel lines on the belly.
No fun there I can tell ya.
Anyway, all sorted finally and a wee bit of masking done, in with the Tamiya fine white surface primer.
one coat, rubdown with 3200 grit sanding pad and mucho H2O, second coat, grit pad rubdown, wash and done!
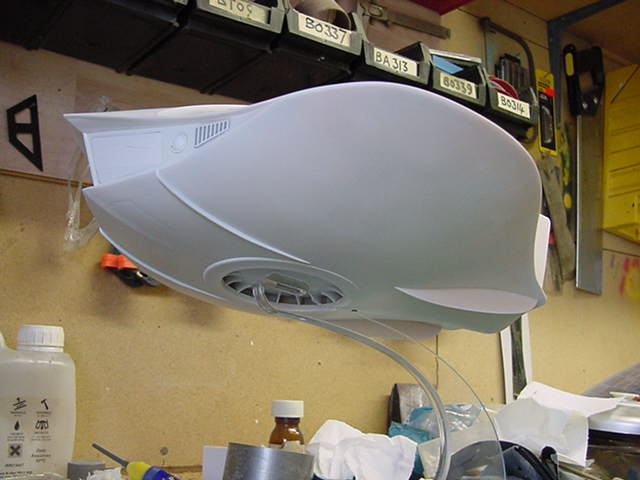
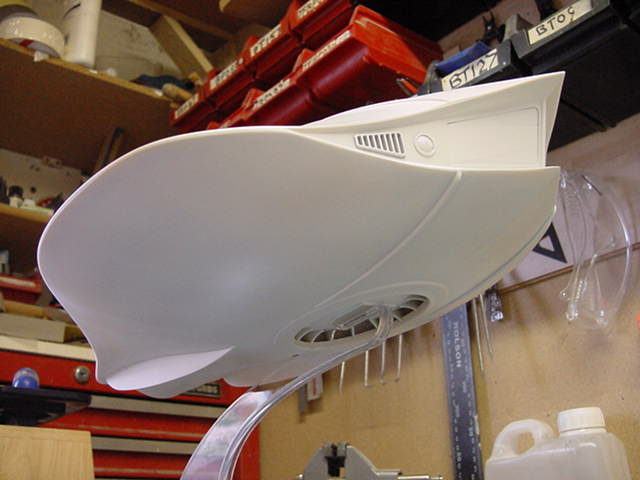
Silky smooth, nice.
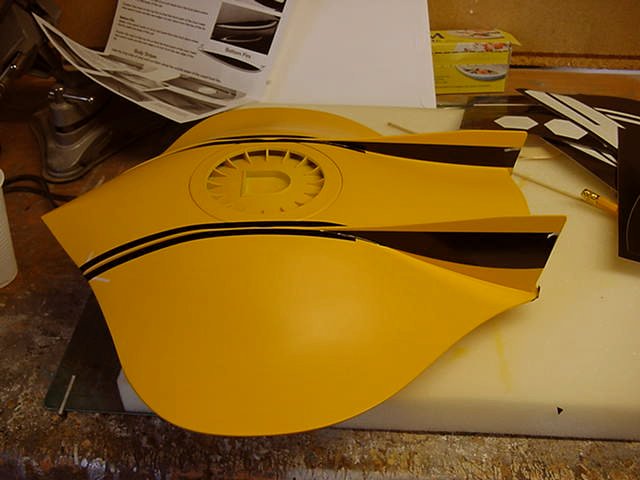
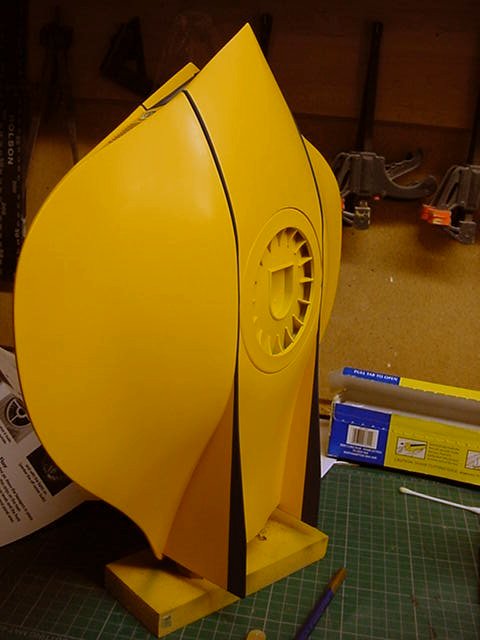
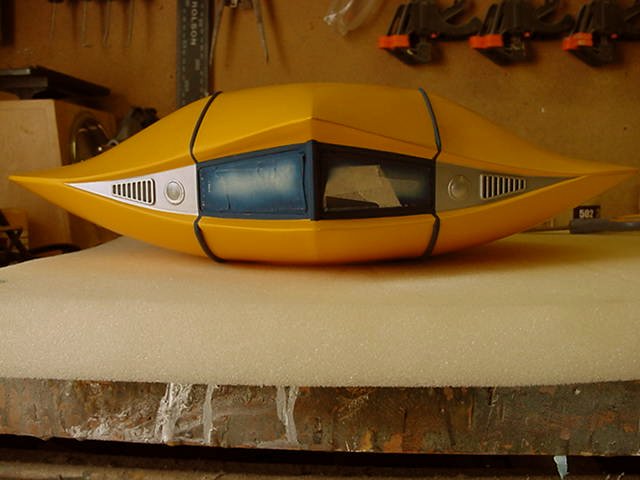
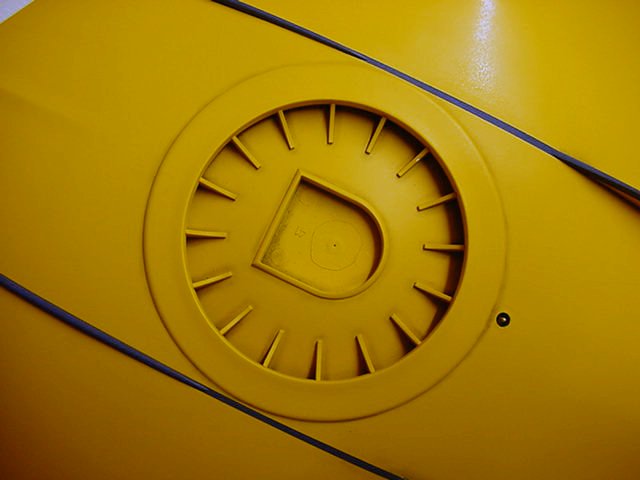
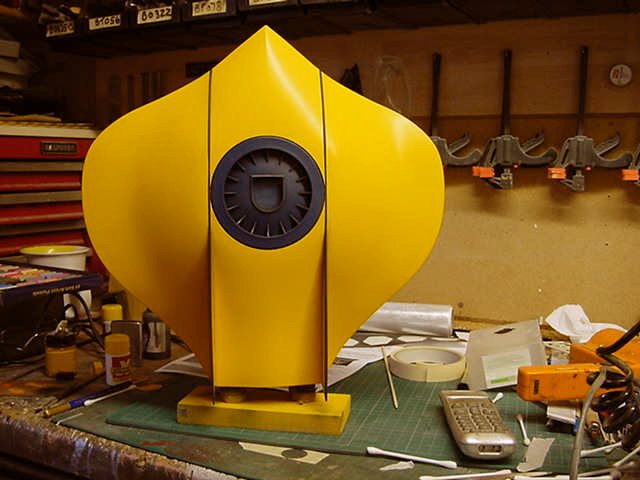
So the mixing of the yellow paint.
Client requested to use the same paint as the first build.
So into the slightly dusty file marked 'Possibly important Scribbling's To Be Kept Hold Of' and the paper work found.
into the paint drawer and grab the appropriate listed paints.
All Revell enamels for this turnout drawn and mixed in approx ratios as follows:
SM 310 Chrome Yellow 60%
Matt 15 Yellow 30%
Matt 05 White 10%.
Some thinner thrown in and airbrush loaded up.
Three coats applied, each coat getting a 24hr drying period.
3200 grit pad and water polish in between coats.
The result...
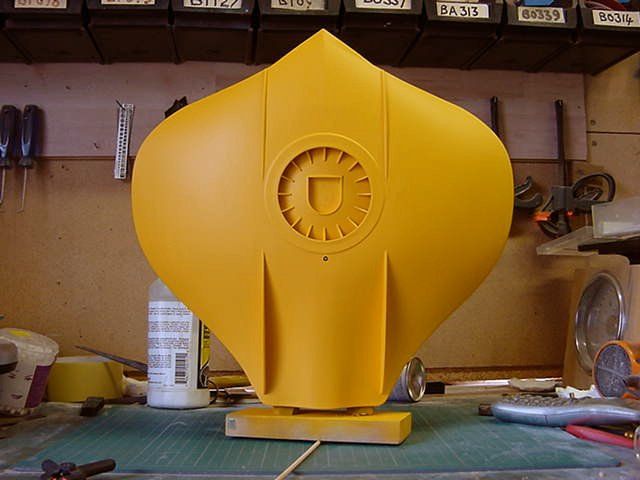

A fair amount of work I know but worth it.
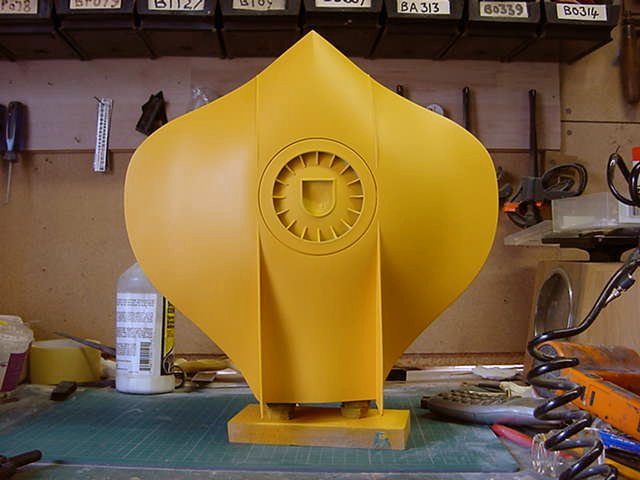
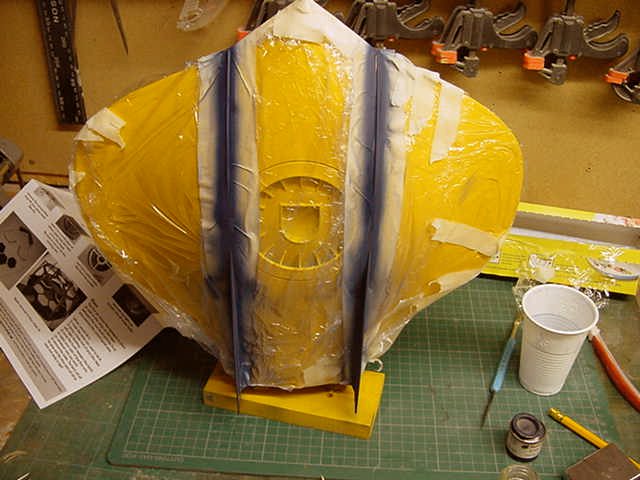
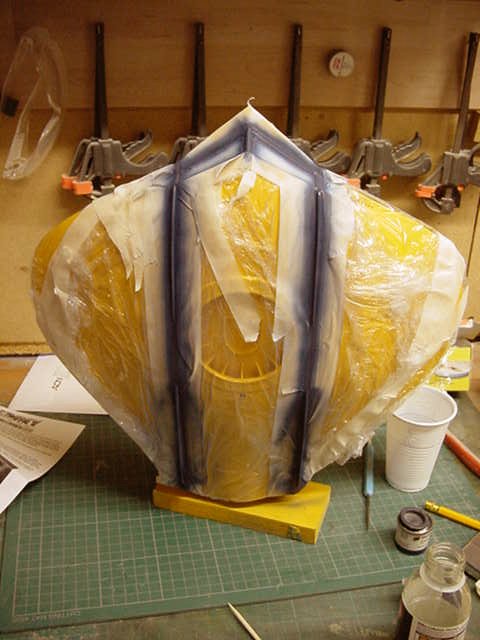
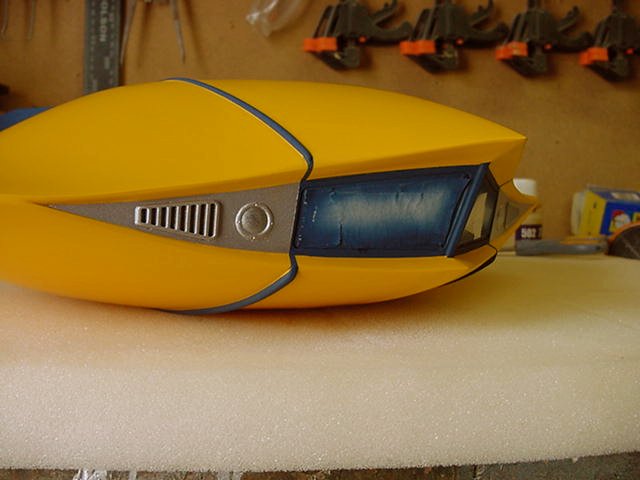
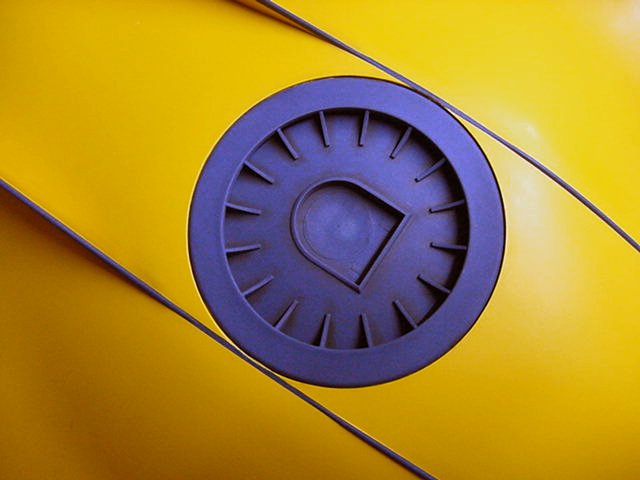
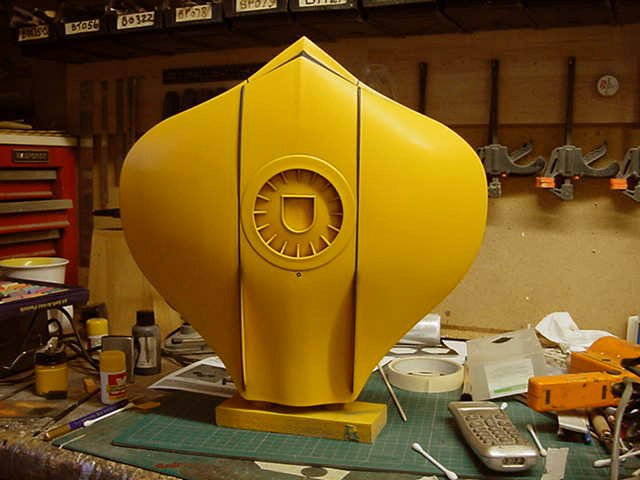
Ok, that dealt with, on to the masking for the blue bits.
Pulling the Aztek Dummy vynil masks from their hiding place and some peel and stick action got attended to.
With more than a few looks at the instructions I hasten to add.
This got backed up with some standard shop bought and Jammydog masking tapes for those awkward nooks and crannies.
The rest was just standard masking tape and clear thin plastic masking film.
Otherwise known as cling film/saran wrap or whatever it's called in your geographical area.
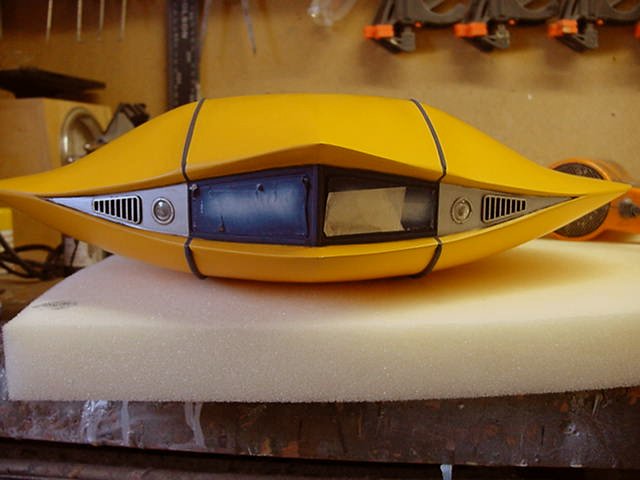
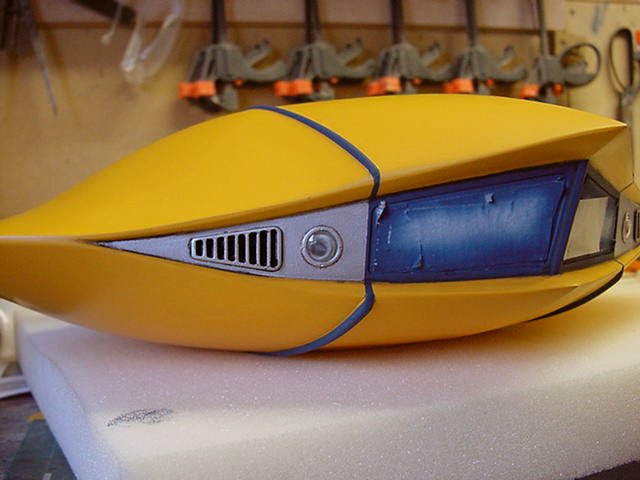
The blue colour here was another enamel mix.
Revell Matt 56 blue 60%
Humbrol Matt 104 Oxford Blue 40%
Thinned slightly, airbrushed on, allowed to cure and masking removed.

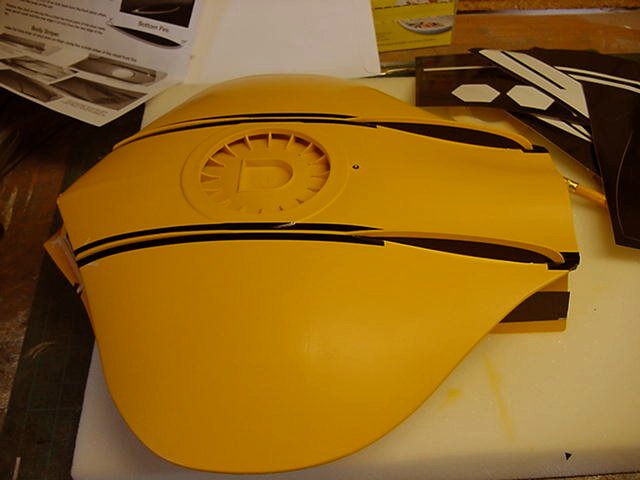
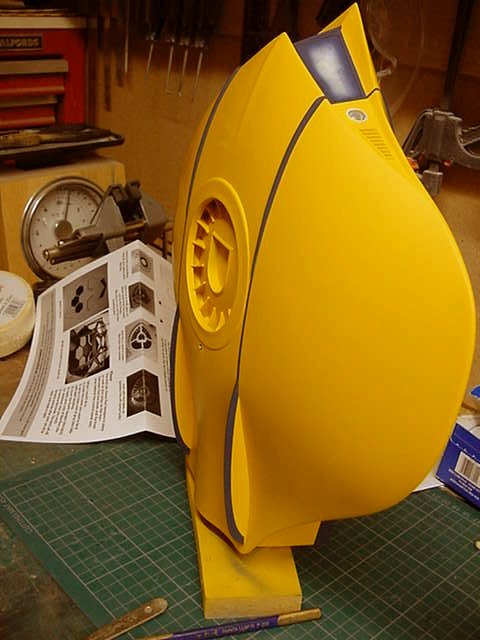
Nice and sharp!
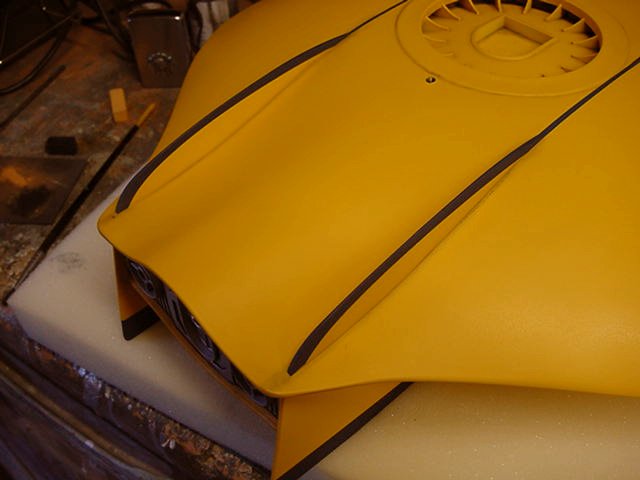
Same sort of deal done with the top docking ring.
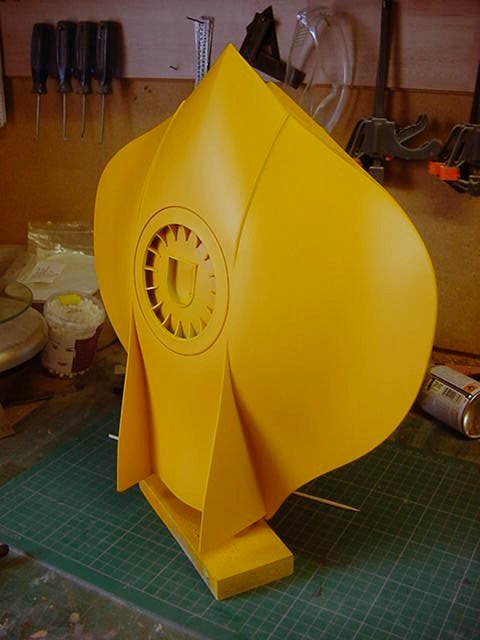
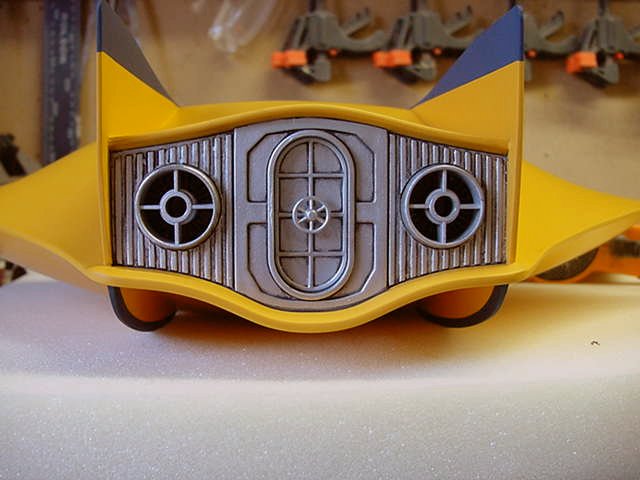
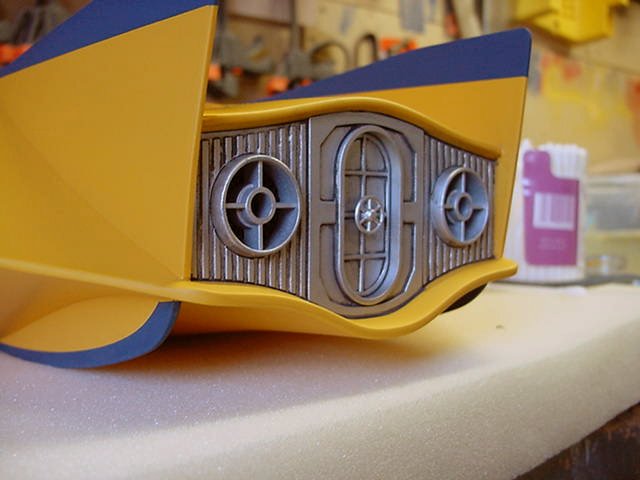
Then came time for the aluminium.
Humbrol enamel Metal Cote 27002 Polished aluminium is the weapon of choice here.
Masked up, airbrushed on, a swift buff up and remove masking.
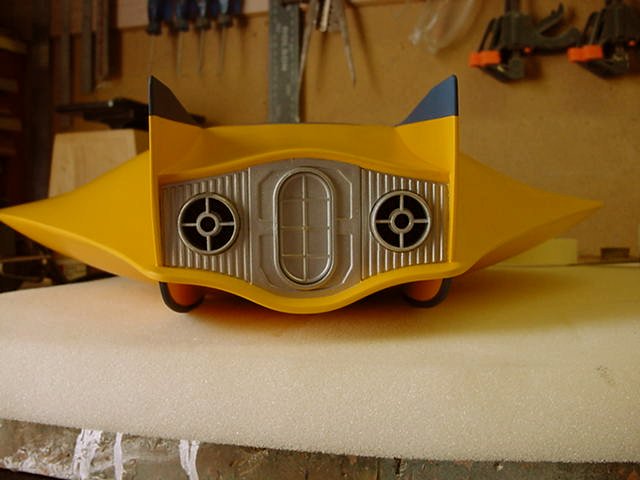
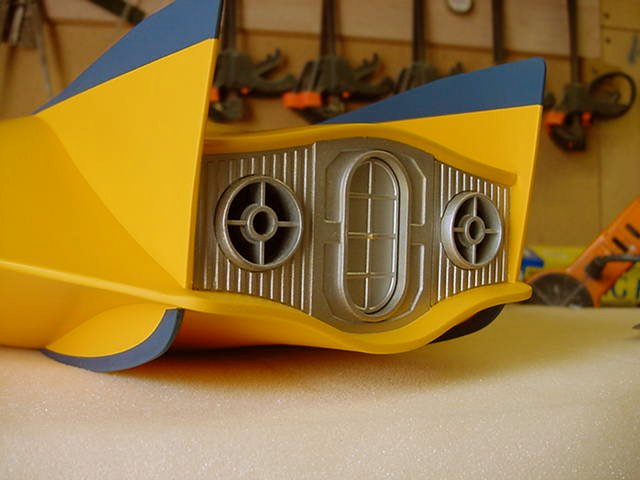
Sorted!.
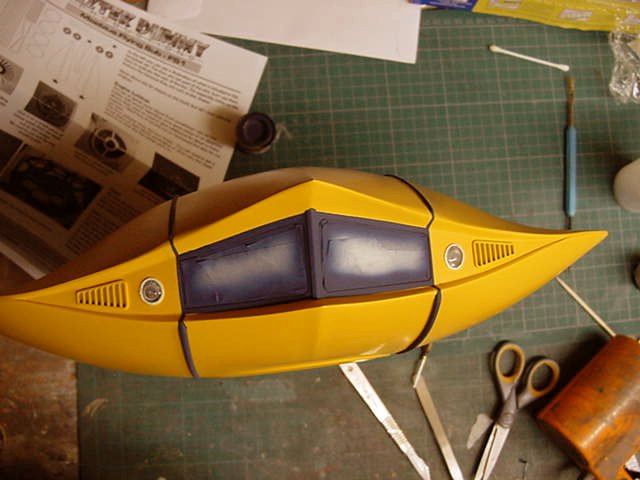
So next bit up now.
Some subtle pastel weathering/shading/definition doo-dad's here and there to get done.
Some black and dark yellow chalks ground and mixed.
Applied to the appropriate areas via brush.
Some pastel/Promodeller black and dark dirt wash work around the front and rear bulkheads just to accentuate.
And in finality, Xtracrylix sating varnish all over to seal.
Nice.
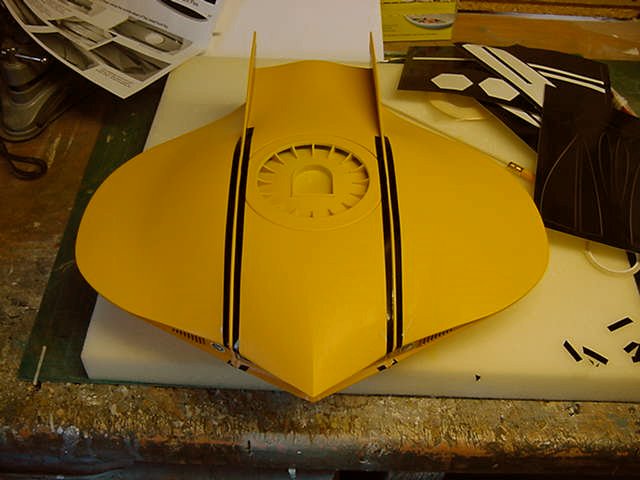
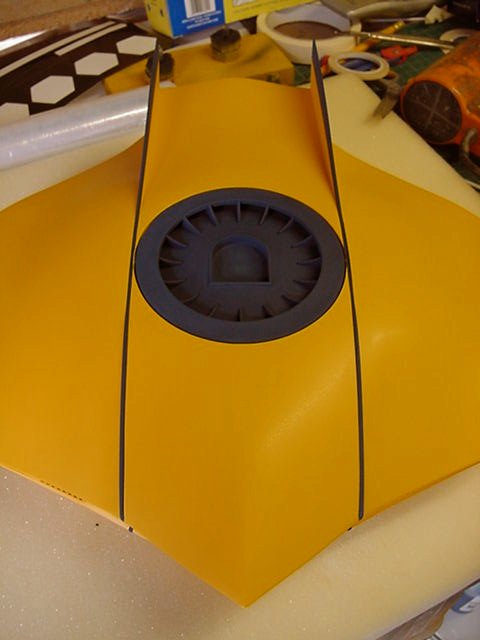
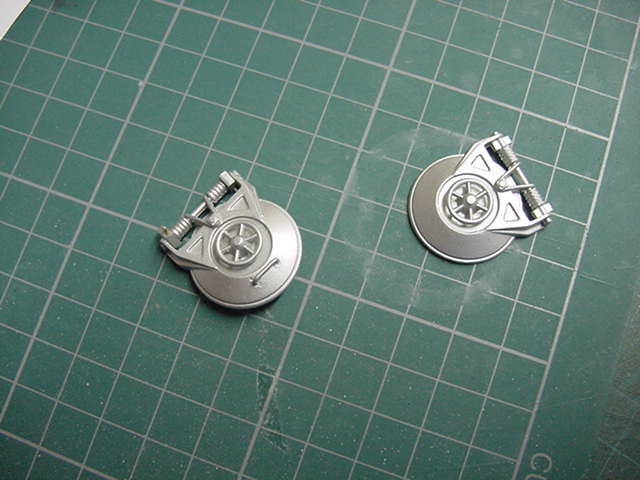
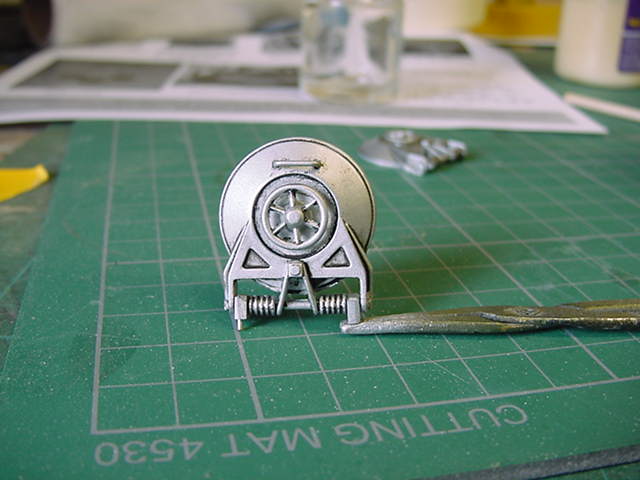
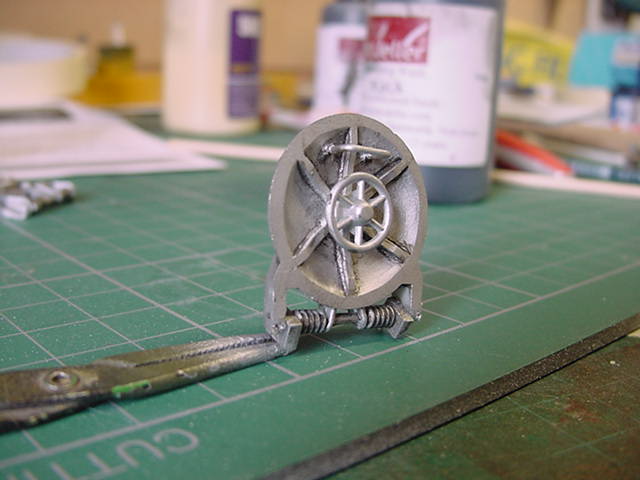
So as a final bits to this here update, top and bottom hatches.
Very little fussing here, both given a scrub, primed and hit with the polished aluminium.
Then given the dark dirt and black wash treatment, wiped and sealed mit der satin varnish.

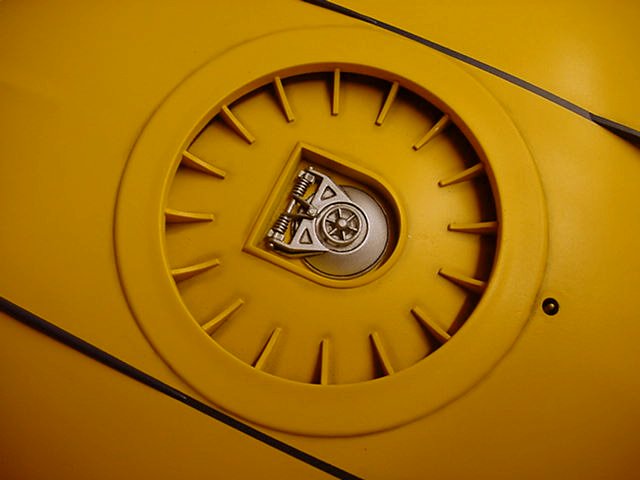
Bottom hatch area had a small circle of masking tape in it over the bare plastic.
Tape removed and hatch attached in permanent style.
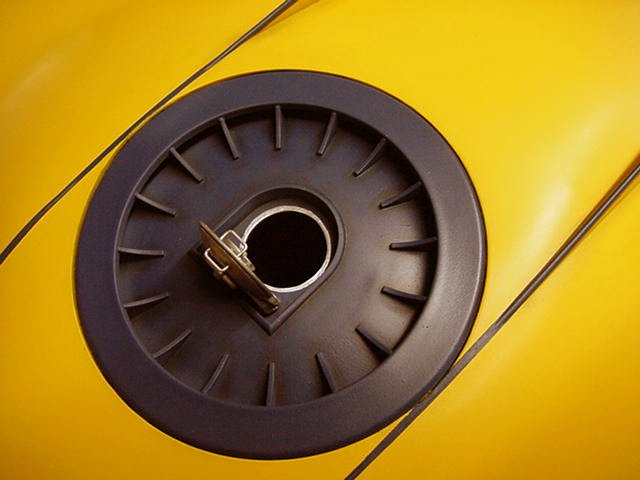
Neat and sharp, me likey.
The masking from the top hatch area removed and a lick of the aluminium painted on the lip of the open area.
Top hatch attached.
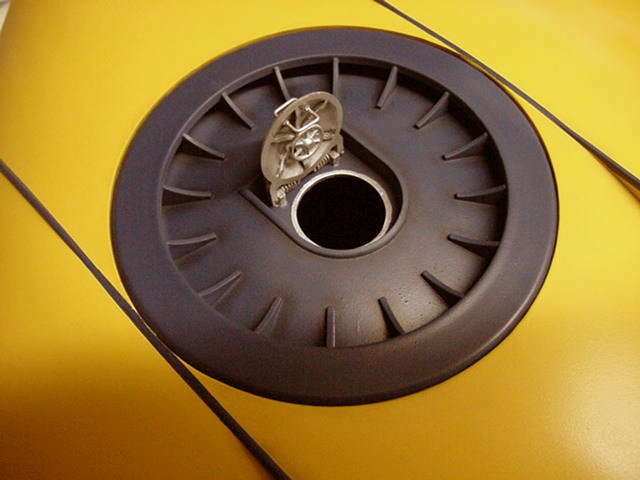
Yep, about what I was after.
And that's it for this round of fun and games.
Final update looms on the horizon.
That will consist of the front light guards and the much needed display stand.
And anything else that crops up that i've currently forgotten about while pounding this here keyboard.
Nothing unusual there I assure you.
Should all be fun in a masochistic sorta way i'm sure.
I'll see you merry lot then so take good care of yaselves and go easy out there!
Page Number